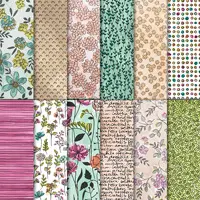
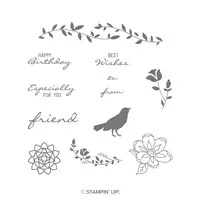
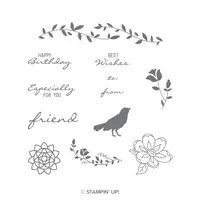
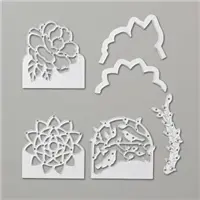
Petal Promenade Small Gift Box

Today’s project is a small gift box using Petal Promenade Designer Series Paper. I also have a video showing how easy it is to make the box! (more…)


Today’s project is a small gift box using Petal Promenade Designer Series Paper. I also have a video showing how easy it is to make the box! (more…)
Not only is the Stampin’ Up! Annual Catalog filled with great products but there are also tons of samples! Today’s card is right from the catalog on page 20. I love all the beautiful, delicate touches.
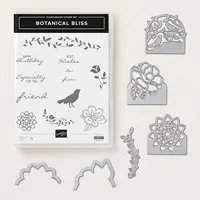
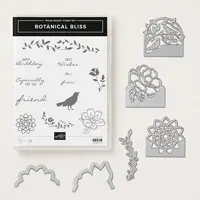
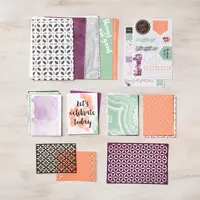
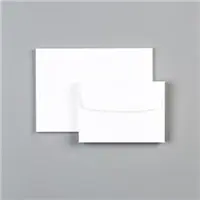
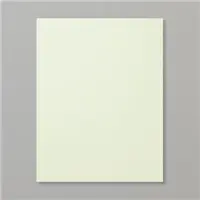
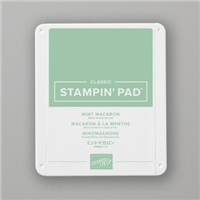
The base of the card is a Whisper White Note Card. These cards are cut, scored and ready to use and envelopes are also included. The next layer is a card from the Delightfully Detailed Memories & More Card Pack. Using the Botanical Bliss stamp set, the flower images were stamped onto it using Soft Sea Foam ink. To achieve that soft look, after inking up the image, it was stamped off onto another piece of paper before stamping onto the card.
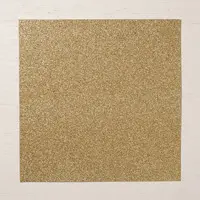
The Botanical Tags Thinlits Dies were used to cut out the intricate leaves in Soft Sea Foam and Gold Glimmer Paper. These dies are primarily showcased in the catalog as tags but as you can see, you can do so much more with them. When you purchase both the Botanical Bliss stamp set and the Botanical Tags Thinlits together, using the special bundle item numbers, you’ll save 10% (both the wood and clear mount bundles are in the supply list below).

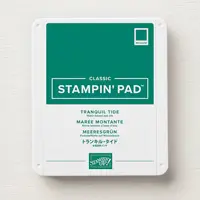
The banner was created using the Share What You Love Designer Series Paper. The sentiment was stamped with Tranquil Tide ink and the gold embossing beside it is absolutely stunning. It was cut out using the Stitched Shapes Framelits. It really is a beautiful card!
Supplies Used to Create Today’s Card
For easy shopping, click on any of the images below and you’ll be directed to my Stampin’ Up! online store.
Quick Links
$99 Starter Kit & 10 Free Stamp Pads

I used the gorgeous Petal Promenade Designer Series Paper and the new Powder Pink Mini Ruffled Ribbon to create a treat bag to share with you today. These little holders couldn’t be easier to make and after watching the video below you’ll see exactly what I mean! Petal Promenade is one of the select Designer Series Papers on sale this month. Buy 3 packages from any of the ten on sale and receive your fourth package FREE! That’s an $11.00 value!

I used the Darling Label Punch for the sentiment. This punch can only be purchased as part of the Darling Label Punch Box which includes the punch, two Stampin’ Spots, a clear block, a stamp set and a gorgeous tin. I share the box in the video and all the goodies inside. (more…)

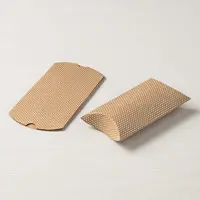
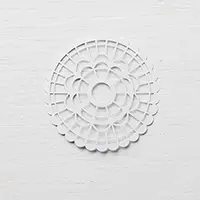
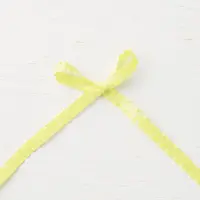
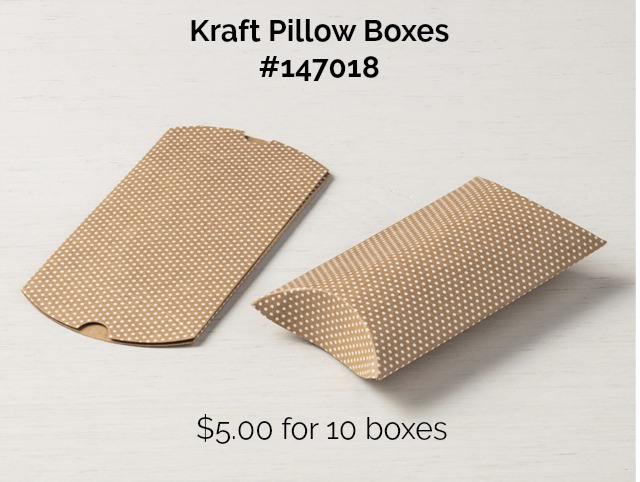
For today’s project, I used our new Kraft Pillow Boxes. Such a fun and easy way to wrap up a small gift! I added one of our new Pearlized Doilies to the front and then wrapped 3/8″ Mini Ruffled Ribbon in Lemon Lime Twist around it.
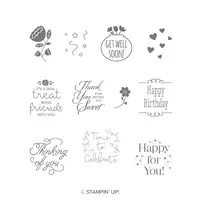
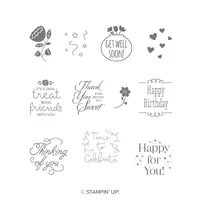
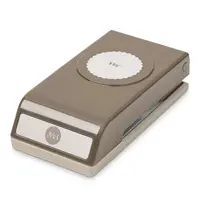
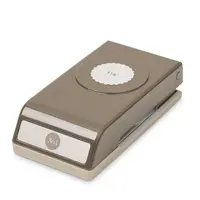
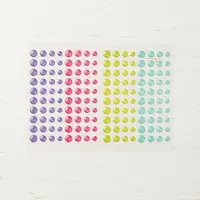
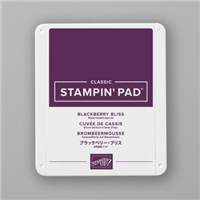
The sentiment is from the Treat Time stamp set and I used a Blackberry Bliss Stampin’ Pad to stamp it onto Whisper White cardstock. The entire stamp I used (see below) wouldn’t fit inside the 1-1/8″ Scallop Circle Punch, so I used Post It Note tape to cover the extra design. Once it was covered up, I inked up the stamp, removed the tape and stamped onto the paper. Easy fix! I used the 1-3/8″ Scallop Circle Punch to cut a Blackberry Bliss scallop circle and then put the sentiment on top of it. A Glitter Enamel Dot was the finishing touch!

All of the supplies I used are listed below. For easy shopping, click any of the images and you’ll head over to my Stampin’ Up! online store. If you have any questions, don’t hesitate to contact me!
Quick Links
Designer Series Paper Sale – Buy 3, Get 1 Free
2018-2019 Annual Catalog

The Petite Treats Framelits Dies are so much fun! It’s pretty easy to make your own sour cream container but these dies take them to a whole new level. Check out my video today as I show you everything included in this die set and how to use all of the pieces.


I’m so happy the stamp set, Petal Palette (and the coordinating Petals & More Thinlits) carried over into the Annual Catalog. They both debuted in the Occasions catalog and due to their extreme popularity, they didn’t retire! Yay!! Another product that debuted in the Occasions Catalog and is also available is the Tailored Tag punch. I used both of these products to make today’s card! (more…)

Today I have a gum holder and video to share with you today! This is an updated version from one I made several years ago. I used the beautiful 6″ x 6″ Garden Impressions Designer Series Paper to decorate the front and the actual gum holder is made using So Saffron cardstock.
Watch the video below to see how easy it is to create a little box for a package of gum! (more…)

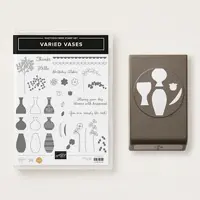
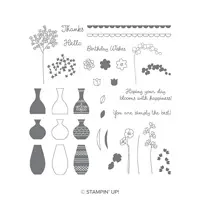
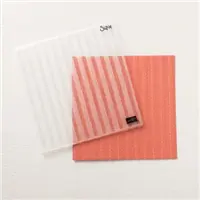
I used the Stampin’ Up! Varied Vases Bundle and the Striped Scallops embossing folder to create today’s card. My inspiration came right from the Annual Catalog on page 45. If you need ideas, the catalog is filled with ways to use all the wonderful products between the pages!

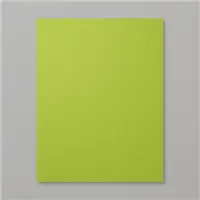
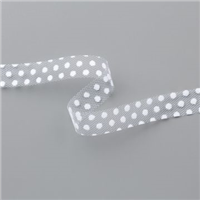
I used a piece of Granny Apple Green cardstock for the base of my card. I opened it up and put the front of the card inside the Striped Scallops Embossing Folder and ran it through the Big Shot. I cut a piece of Basic Black cardstock measuring 3″ x 3-1/2″ and glued it to the front of the card. Then, I cut a piece of 5/8″ Polka Dot Tulle Ribbon approx 4-1/4″, cut the ends at an angle and glued it to the top of the Basic Black piece of cardstock. If you check out the card on page 45 in the catalog, you’ll see that the tulle is more artistically placed. It’s just a bit too free form for me – I’d feel like it just didn’t look right so I went with just adding a piece across the cardstock.
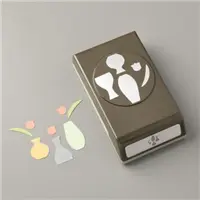
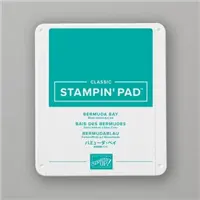
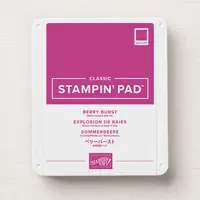
On a piece of Whisper White cardstock I stamped the vase in Bermuda Bay, a leaf in Granny Apple Green and two flowers in Berry Burst. I punched all three out using the Vases Builder Punch.
I stamped the stems onto another piece of Whisper White measuring 2-1/2″ x 3-1/4″. I glued the leaf beside the stems using Snail. I added regular sized Stampin’ Dimensionals to the back of the vase and Mini Dimensionals to the flowers and added them to the card. The sentiment was also stamped in Berry Burst and it’s also included in the Varied Vases stamp set. I added Stampin’ Dimensionals to the back and placed it on top of the Basic Black. I finished the card by adding a few Glitter Enamel Dots!
Supplies I Used to Create Today’s Card – Click on any of the images for more information or to place an order!
Quick Links
$99 Starter Kit PLUS 10 Free Ink Pads

I used the new Stampin’ Up! Bundle, Varied Vases, to create today’s card. The bundle includes the Varied Vases stamp set and the Vases Builder Punch. Did you know that you always save 10% when you purchase a Stampin’ Up! bundle? These two products can be purchased separately but they coordinate so well together, you’ll want to use them together! (more…)

I used my June Paper Pumpkin kit to create two cards to share with you today. Paper Pumpkin is delivered monthly right to your door and it contains everything you need to create either cards or 3D projects. To create my cards, the only thing I needed to supply were scissors to cut the sentiments. (more…)

I used the stamp set Botanical Bliss and the beautiful Garden Impressions Designer Series Paper to create two cards to share with you today. The base of my first card is a new color in the Annual Catalog called Soft Sea Foam and it pairs very nicely with Night of Navy. (more…)

I used the stamp set Healing Hugs and the Brights 6″ x 6″ Designer Series Paper to create a quick and easy card to share with you today. After stamping my sentiment in Gorgeous Grape, I cut it out with the Layering Squares Framelits using the Big Shot and then cut two more in Gorgeous Grape and Coastal Cabana. Quick and Easy! (more…)