Petal Promenade Happy Birthday Card

I have another card to share with you today that uses my Product of the Week, the beautiful Petal Promenade Designer Series Paper. It’s an easy card to make but this paper makes it look so fancy! (more…)


I have another card to share with you today that uses my Product of the Week, the beautiful Petal Promenade Designer Series Paper. It’s an easy card to make but this paper makes it look so fancy! (more…)
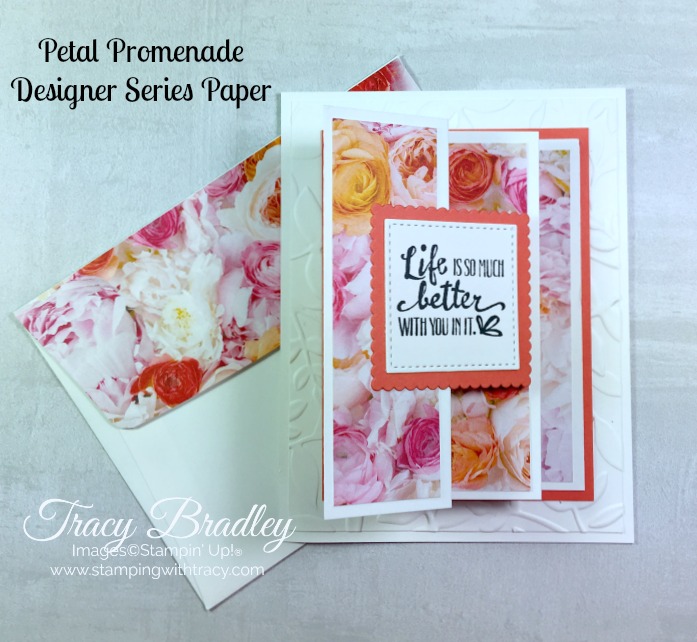
Today I have another card using Petal Promenade Designer Series Paper! It’s a fun fold and opens up to show off even more of the beautiful paper. I have a video below showing you how easy it is to make! (more…)
For this week only, when you place a $50 order (before shipping/tax) and use the special host code UKHYSQZX at my Stampin’ Up! online store, I’ll send you a package of the Share What You Love Artisan Pearls! In addition, Stampin’ Up! will send you a Bonus Days coupon to spend in September! Your package of pearls will be sent out on or before August 27th and will be mailed by me, Tracy Bradley, and will not be included in your order from Stampin’ Up! I will close out this special host code on the 19th and order your pearls. Once they arrive, I’ll send them out to you! Please note: you must use the host code UKHYSQZX when placing your online order to receive your pearls! This offer is good until August 19, 2018. (more…)

For the next few weeks I’m going to try something new! Each week I’ll have a Product of the Week and will feature that product throughout the week. This week it’s the gorgeous Petal Promenade Designer Series Paper and if you love flowers as much as I do, you’re going to love this paper! (more…)

Today’s card uses the same layout I used on this card from earlier in the week. Most of the elements are also the same: Tropical Escape Designer Series Paper, A Big Thank You stamp set and the Climbing Vine embossing folder. (more…)
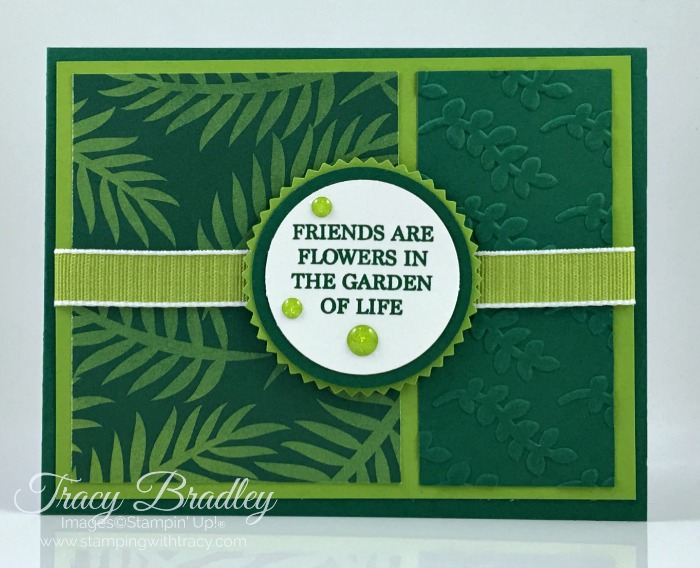
During the Designer Series Paper sale last month, I was able to get a package of Tropical Escape 6″ x 6″ Designer Series Paper absolutely free! Oh my gosh, this paper makes me want to grab a Pina Colada and sit by a pool! (more…)

If you’ve thought about subscribing to Paper Pumpkin, a monthly subscription kit, now is the time! Sign up today and you’ll get 50% off your first month. It’s a great way to give it a try and if you don’t like it after the first month, you can cancel. When you use the code BLOOM0818, you’ll be charged $9.98 for the August kit. The following month, you will be charged the normal kit price of $19.95. You can cancel your subscription at any time or you can even skip a month. This 50% off offer is only good until August 10, 2018 so hurry before this great opportunity goes away! Click here to sign up and don’t forget to use the promo code BLOOM0818! (more…)

Today’s card is a Double Z- Fold birthday card and I have a video below showing you just how easy it is to put together. I used the stamp set Blow Out the Candles along with the Candles & Confetti Framelits Dies which I used to cut out the cake and balloons. You can purchase the stamp set and framelits separately but when you purchase the Blow Out the Candles Bundle, you’ll save 10%!! (more…)
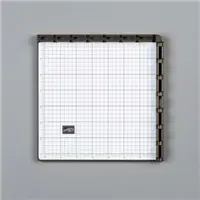
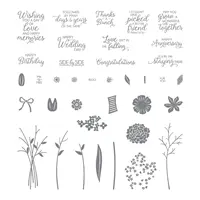
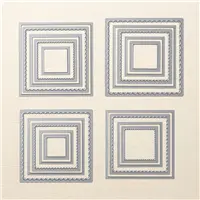
The Stamparatus, the new stamp positioning tool by Stampin’ Up!, has so many uses! For today’s card, I created a wreath using the stamp set Beautiful Bouquet, the Layering Squares Framelits and the Stamparatus. The video below will show you how easy it is to position the flowers so they’re evenly spaced.
Stampin’ Up! Supplies I Used To Create Today’s Card
Quick Links


Click here to learn more about using a host code!

Bonus Days are back!!! For the month of August, you’ll receive a Bonus Days coupon for every $50 you spend (before shipping and tax). Then in September you’ll be able to redeem your coupon(s)! There’s no limit to how many you can earn!

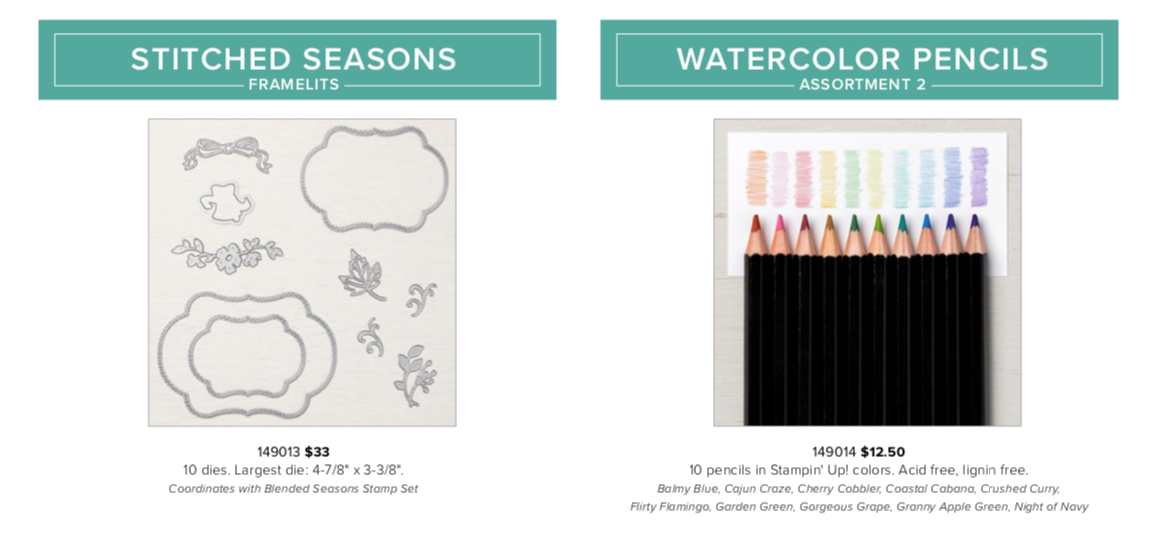
The Color Your Season promotion starts today! For the month of August, Color Your Season products are available but only while supplies last! Four items are available: Blended Seasons Stamp Set, Stitched Season Framelits, Watercolor Pencils in 10 New Colors and the Blended Seasons Bundle. Click here to place your order or for more information!



Quick Links
2018-2019 Annual Catalog (it’s a large file so give it a minute to download)
Two great offers are ending today!!! The first one is the Designer Series Paper Sale. When you choose three packages from any of the beautiful papers below, your fourth one will be free!

Click here to see all of the papers over at my Stampin’ Up! online store. Once you’ve selected a paper, click on the “+” sign for an enlarged view of the beautiful designs.


It’s the last day to earn 10 FREE stamp pads (in the color collection of your choice) when you purchase the $99 Starter Kit. If you like getting a discount every time you shop, the Starter Kit is for you! The cost of the kit is $99 but then you’ll choose $125 worth of products from the Annual Catalog. Choose anything you want! You’ll start earning a 20% discount on all your future purchases and who doesn’t like a discount. The Starter Kit always ships FREE so that’s an even greater savings! But today is the last day that 10 FREE stamp pads will be included with the Starter Kit. Click here to join now! (more…)

Hi there! I needed to take an unplanned break for a short while but I’m back! My project today is a gum holder and you’ll find a video below showing how easy it is to make. Several weeks ago I shared another gum holder with a flap but today’s ends are closed shut. You’ll find all the details for today’s project in the video below!