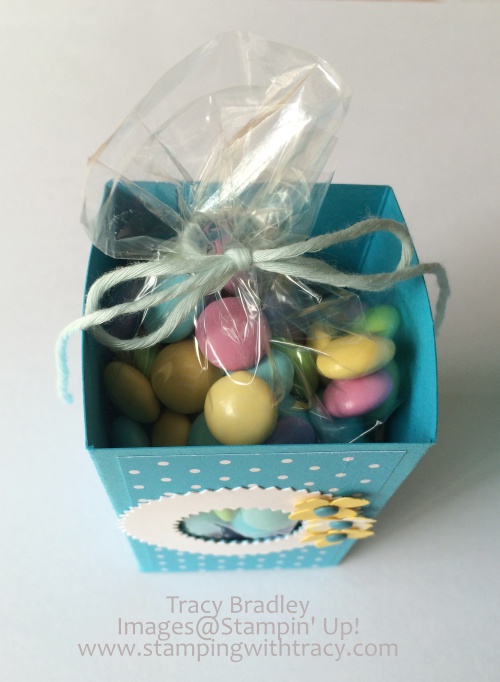
If you have never made a sour cream container before, you need to give it a try! They are so quick and easy to make! Pop a few treats inside and you’ll make someone’s day!
I made mine in two different sizes. The smaller one uses a piece of DSP measuring 4-1/4″ x 5-1/2″. The larger one uses a piece that measures 5-1/4″ x 6-1/2″. You aren’t limited to these two sizes, experiment and try different sizes!
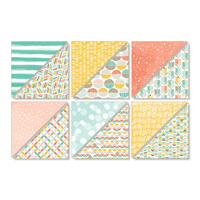
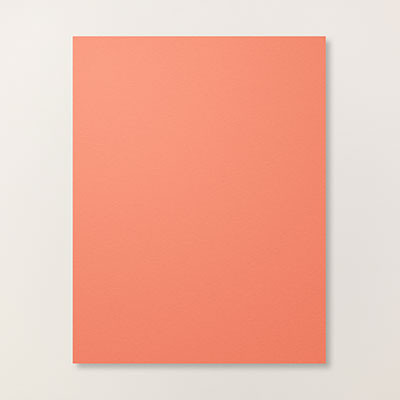
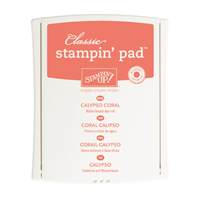
The Designer Series paper I used is a Sale-a-bration freebie called Best Day Ever. Tomorrow is the LAST day to receive this paper FREE with a $50 order! I used a crimper on the ends of the Calypso Coral sour cream container. Stampin’ Up! no longer carries this product but they are easy to find. And it really is just as cute without the crimping.
Watch the video below to see how to make your own sour cream container! If you have any questions, don’t hesitate to ask!
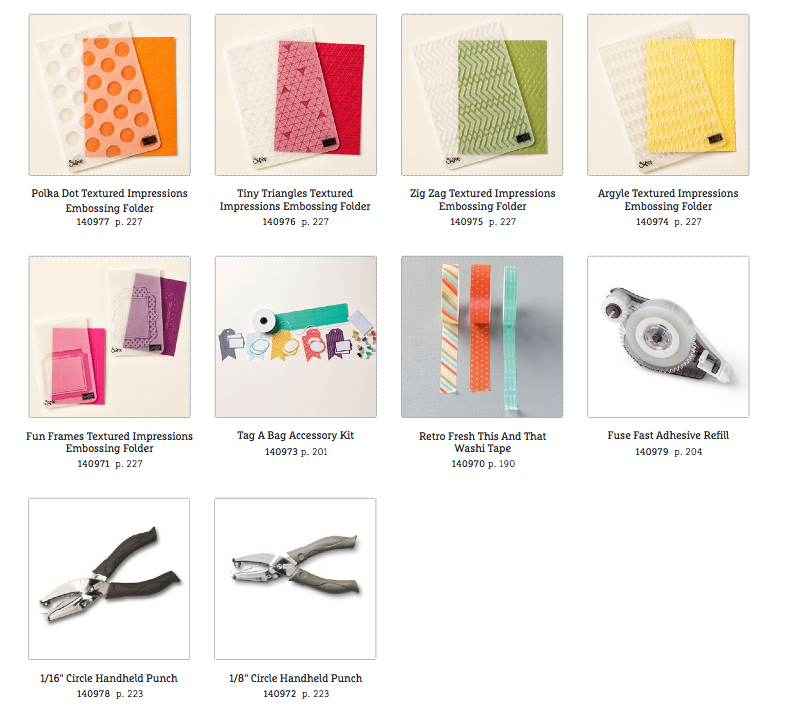
Product List – Click on any item below to go to my Stampin’ Up! online store
A quick and easy box to make is the 2, 4, 6, 8 box. Its name comes from the fact that you score it at 2″, 4″, 6′ and 8″.
You’ll start with a sheet of cardstock measuring 8-1/2″ x 5-1/2″. On the long side you’ll score at 2″, 4″, 6′ and 8 inches.
On the short side, score it at 2 inches.
Next, cut up from the bottom of the paper, up to the 2 inch score line. These will be your flaps. Cut the small section out from the bottom right.
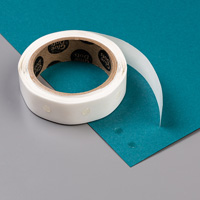
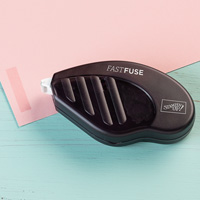
The picture below shows the inside of the box. If you want a hole so that you can see inside the box, put it on the panel indicated. Also, place adhesive (I recommend Sticky Strip or Fast Fuse for all of the areas where I indicate adhesive) on the flap shown. Tip: If you want to add DSP to your box, do it now BEFORE you cut a hole in the panel. You should have (4) pieces of DSP that measure 1-3/4″ x 3-1/4″.
This is the outside of the box. I’ve shown which flaps you should add adhesive to as well as what order to fold the flaps in when you start assembling. I’ve done it so that the last flap will fold towards the back of the box.
When putting the box together, I like to adhere the little flap to the opposite side first. Then fold the flaps in!
If you have any questions, let me know!
Product List – Click on any product and you’ll be taken to my Stampin’ Up! online store.
New items have been added to the Clearance Rack! I just realized today that you can sort the items in the Clearance Rack in a variety of ways. I always like to see what’s just been added so this is going to be very helpful! Many items from the Holiday catalog have been added. Click here to see the updated Clearance Rack!
Sale-a-bration
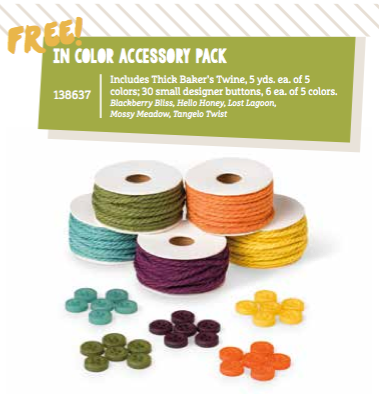
Sale-a-bration is almost over!! The last day to get FREE items with every $50 order will end on Tuesday, March 31st. You can add regular priced items, Clearance Rack, Weekly Deals and Digital products to your order to receive freebies! On the right hand sidebar of my blog, you can look through the Sale-a-bration catalog, Annual catalog, and the Occasions catalog. All items in the Sale-a-bration catalog are while supplies last. The items below are also available as freebies (while supplies last).
In Colors
I am going to stock up on Whisper White, Very Vanilla and other colors of cardstock that I use a lot so that I can receive another Sale-a-bration product. If you are in love with the 2013-2015 In Colors that will be retiring soon, I would buy your cardstock, stamp pads, reinkers, pens, and matching embellishments NOW. Last year when the Retiring List came out, the retiring In Color products sold out immediately. The colors that will be leaving us very soon are: Coastal Cabana ( I adore this color), Crisp Cantaloupe, Baked Brown Sugar, Pistachio Pudding and Strawberry Slush (another one of my favorites).
If you have any questions, please feel free to email me: tracy@stampingwithtracy.com
As soon as I saw this box on Sam Donald’s blog (a fellow demo from the UK), I knew that I wanted to make it! Sam is a whiz at creating boxes. This one is so unique with all of its faceted sides – I love it!
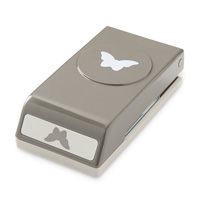
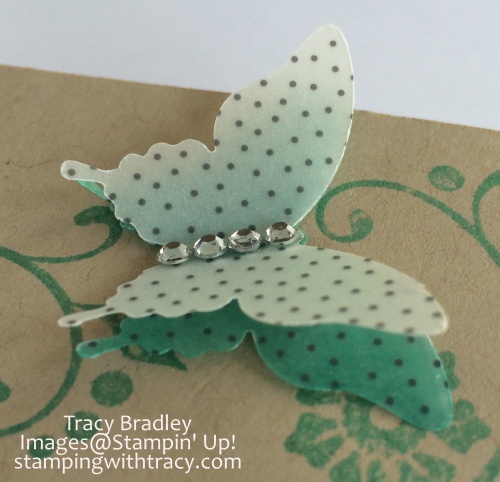
I wanted to make the box in Coastal Cabana (did you know that this gorgeous color is retiring soon??) but you need to start with a 12 x 12 piece of cardstock and unfortunately I didn’t have it in that size. So, I used Crumb Cake and decorated it using the stamp set Flowering Flourishes and Coastal Cabana ink. For the top of the box I used a Sale-a-bration freebie, Sheer Perfection Designer Vellum Stack, a pack of beautiful 6 x 6 vellum. I punched two butterflies with the Elegant Butterfly punch and colored one with my Stampin’ Write marker. I used glue dots to adhere them together and finished them with rhinestones.
I shredded some Crumb Cake cardstock (I cut very fine slivers of the paper with my paper cutter) and put it inside the box along with an EOS lip balm (which matches Coastal Cabana so perfectly)! I use lip balm a lot and love this brand! I’m sure once I get my hands on some new flavors, there will be more projects using them!
FREE with a $50 order during Sale-a-bration – ends March 31, 2015
If you’d like to make your own box, here’s a link to Sam’s tutorial! All of the products I used can be found below. Click on any pictures and you’ll be taken to my Stampin’ Up! online store!
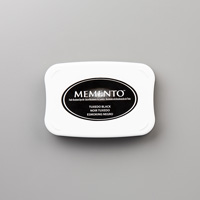
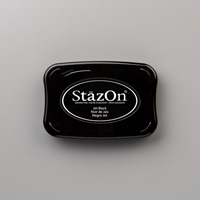
Yesterday I shared this card and today I have a video that will show you how I easily placed the tulips on my paper. As I mentioned yesterday, I used Memento Ink but if you are going to watercolor, I suggest Staz-On (I’ve listed both in my product list). I know my videos will get better as I keep doing them. Please be patient with me. 🙂 If you have any questions about the video, don’t hesitate to ask!
Product List – Click on any product below to be taken to my Stampin’ Up! online store.
I’m always excited for Spring. I love the warming weather and the beautiful flowers that start popping up. My husband is an airline pilot and has traveled all over the world. About ten years ago, on a trip to Amsterdam, he brought home some tulip bulbs that we planted in a flower bed. Every year about this time they pop out of the ground and we thoroughly love it when they make their appearance. They don’t last long but we look forward to seeing beautiful tulips each Spring.
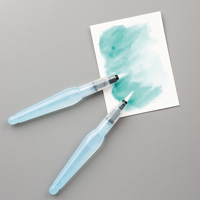
Now that Spring is officially here, I thought it would be a perfect time to use my Love is Kindness stamp! You’ll have to look below in the Product List to see the full stamp as I’ve only used a small portion of it on my card. I inked up the tulips with Memento ink but I would recommend Staz-On if you are going to do any kind of watercoloring. I accidentally used Memento ink and my card turned out ok but there’s always the risk of the black ink smearing. You CAN use Whisper White instead of watercolor paper when watercoloring, which I did, but you need to be very, very careful that you use a light touch or else the paper will start pilling. I colored with my stamp pads by tapping the color onto one of my clear blocks and then picking up the color with the Aqua Painter. I didn’t want excess water on my card so I was careful not to squeeze the Aqua Painter. (I could have emptied it but I didn’t want to waste the water while we are in the middle of a drought here in California). I tried using a blender pen but the Aqua Painter glided so nicely over my paper.
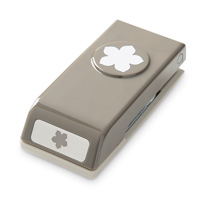
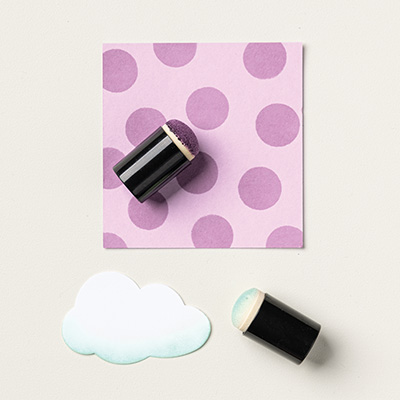
I punched out three flowers from the Itty Bitty Accents punch pack and then used my sponge dauber and Rose Red ink pad to add some color around the edges. I used Candy Dots in the center of each one.
Tomorrow I’ll have a video showing you how I was able to place my tulips exactly where I wanted them plus there will be new Weekly Deals!
Have a great day!
Sale-a-bration is winding down! Now’s the time to stock up on those items that you grab for all the time such as Whisper White and Very Vanilla cardstock and adhesive, so that you can receive free product! Click here if you would like to head over to my SU! online store!
Product List- Click on any item and you’ll be taken to my Stampin’ Up! online store
Is it just me or is it hard to believe that Easter is almost here??!! Time is just flying by!
When my daughters were growing up, they LOVED Cadbury eggs. I can’t pass them in the grocery store without thinking about my girls!
I was doing some Spring Cleaning the other day and came across a cello bag with Halloween candy (yes, the candy was still in there) and a cute topper. Since I haven’t made a topper in a while, I thought it would be perfect for the Cadbury eggs with a few Hershey eggs thrown in.
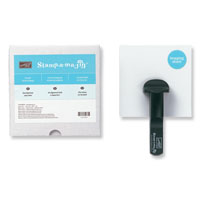
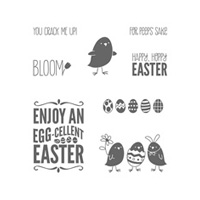
I used one of the cute little chicks from the set For Peeps’ Sake. The stamp has a row of three chicks but I only wanted the middle one, so I put some tape over the other two before I inked up the stamp. It’s very important to remove the tape before you stamp onto your Whisper White card stock (ask me how I know). My sentiment comes from this same set. I punched out my chick with the 2-3/8″ Scallop Circle punch and then used my Stamp-a-ma-jig to place the sentiment exactly where I wanted it. If you aren’t sure what a Stamp-a-ma-jig is or how to use it, you can watch a video I made two years ago by clicking here. I think this was my very first video. I’m a bit ( a lot) embarrassed by it but what the heck, gotta start somewhere, right?
Using my dauber, I sponged around the scallop circle and the flowers with Daffodil Delight. I think the topper would have been cute had it been embossed but I ALWAYS do that so I decided to just leave it plain. I have to admit, I love an embossed piece of paper.
Click here to place a Stampin’ Up! order. Every $50 (before shipping/tax) purchase entitles you to a free Sale-a-bration product. $100 = 2 Free products . . . . .
On Monday I shared the invitation I made for my sister’s wedding. For the day of their wedding I wanted to make them a card. I thought it would be fun to give them the same card as their invitation except change out their first names to their official married name! I hope they liked it!
Thanks for stopping by today!
Product List – Click on any of the items below to visit my Stampin’ Up! online store.
Since Blendabilities are no longer available as a Sale-a-bration item (and have been discontinued from the catalog), Stampin’ Up! has added more products that you can earn for free with a $50 order! Click here to see the flyer as a PDF.
Last week I shared several items I had made for Erin’s Baby Sprinke with My Digital Studio (MDS). It was announced this morning that as of May 31, 2015, MDS will be discontinued. For those of you that use MDS, be sure to check the digital download offerings and purchase the ones that you would like before they go away. The program can still be purchased until May 31st but after that date any MDS products as well as the Stampin’ Up! professional print service will no longer be available.
The Weekly Deals are here! These prices are good until March 23rd or while supplies last. Click on any picture below and you’ll be taken to my SU! online store.
If you’ve followed my blog for some time you know that I am not always consistent with my blog posts. When I retired almost three years ago from being a full time elementary school teacher, I thought that I would have oodles of time to do EVERYTHING, including posting to my blog seven days a week! What was I thinking???!!!! If anything, life has become even busier!! Three months after retiring, my first grandchild, Audrey, was born. And in a few short weeks, my grandson will be born!!!! As with any major life changes (in my case, retiring and grandchildren), you have to figure out your new direction in life. You have to find balance and decide what’s most important to you.
I love being a Stampin’ Up! demonstrator. I love seeing the excitement when my stamping friends come over and we create. I love when those same friends text or email me cards/projects that they’ve made with their SU! products. I love sharing on my blog and especially love when my blog followers reach out and tell me that they love something they’ve seen on my blog or that they’ve recreated one of my projects.
I also LOVE spending time with my family. Being retired has allowed me the freedom to spend more time with family and that has been absolutely wonderful! Trying to find the balance between spending time with my loved ones and my Stampin’ Up! business has been tricky. Both are important to me but as I am sure you would agree, family is always at the top of the list.
I would love to be in my craft room daily but at this point in my life, it doesn’t always happen. When I babysit my two year old granddaughter, I am bone tired at the end of the day. Now I know why you have children when you are young! Ha ha! I wouldn’t give up spending time with Audrey for anything.
I recently heard a successful blogger mention how important it is to post to your blog consistently. Okay, this isn’t new information to me. But, then she said, it can be as often as you want, as long as it IS consistent. The light bulb went off. I thought about it and tried to think what I could do consistently and the schedule below was born! I am sure there will be weeks when I can share more, but I will consistently post on the days noted below. This will give me the flexibility I need to juggle my crazy life these days!!
Monday – post a card/project
Tuesday – post the Weekly Deals any other important info
Thursday – post a card/project
Saturday – post a card/project
For several years now I’ve also had some ideas for offering an online stamp club. I’ll be able to work on this idea with my new schedule in place!
Thanks so much for reading this far! Since I’ve spoken so much about my family, I’d like to end this post with pictures of my loved ones. I’ll be back later with the Weekly Deals!
Audrey
My oldest daughter, Jenny
My youngest daughter, Erin, and my grandson (she is also Audrey’s mom)
My husband, Mark – our 35th anniversary is coming up in August!
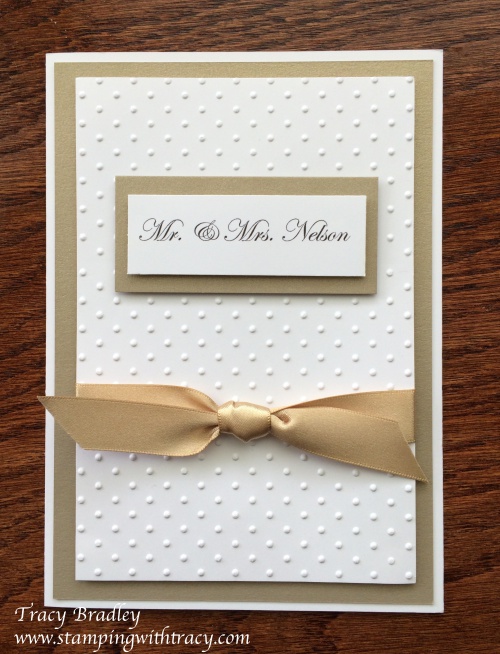
On Saturday I attended my sister’s wedding! Lisa is now Mrs. Nelson which is funny because Nelson is our maiden name! Both my mom and my sister are Mrs. Nelson! That doesn’t happen often! It was a lovely ceremony and my sister looked beautiful. We are very happy to have Dan in our family!
My dad passed away six years ago and he was greatly missed at this family gathering. My mom did a wonderful job walking my sister down the aisle. My daughter, son-in-law and granddaughter (Erin, Tyler and Audrey) were unable to attend the wedding as they live out of town and Erin is pregnant, due next month. They were very missed!!
When Lisa and Dad became engaged, she asked me if I would make their wedding invitations. It took many months to decide what design we wanted and which colors to use. Dan always gives Lisa beautiful flowers so we tried to make a photograph of a rose he had given her as the focal point of the invitation but we just couldn’t make it work.
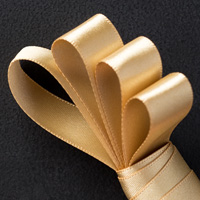
We then went in a different direction and Lisa decided that she would like to use gold paper. So, I checked the Stampin’ Up! catalog and found beautiful gold satin ribbon and gold paper. This was a shock to me as I have gone through our catalog from cover to cover (more times than I can tell you) and had no idea we had these two products! The Brushed Gold Cardstock is tucked away in the catalog on page 193 in the far bottom right corner, if you want to take a look (along with several other specialty papers)!
I made several prototypes for Lisa and she chose the one you see above. It is much prettier in person as you can see the flecks of color in the gold paper and the shiny ribbon. The finished card measures 5″ x 7″. I printed their names for the front on my printer using Whisper White cardstock. I did this on the inside as well with the invitation information.
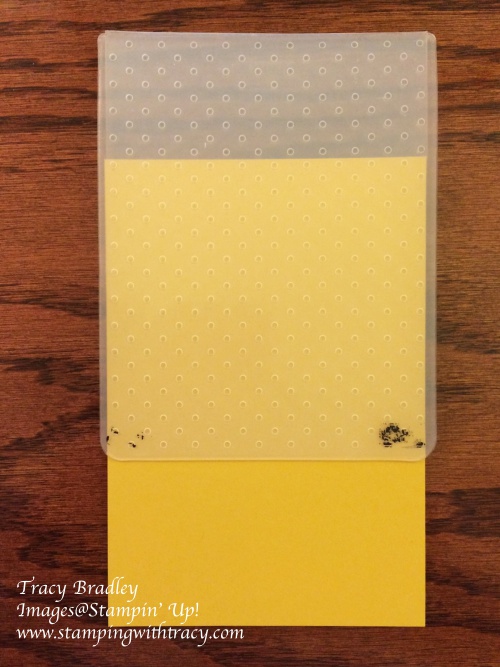
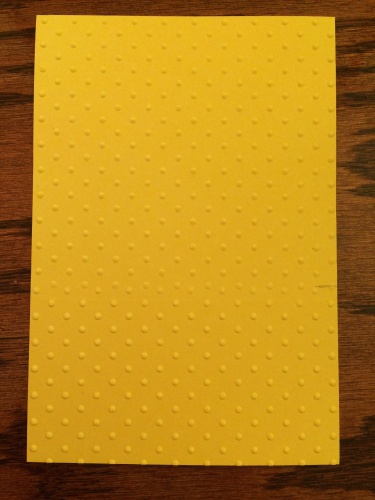
My Whisper White embossed piece measures 4-1/4″ x 6-1/4″. The one “problem” that I had to figure out with the card was how I was going to emboss this piece since our embossing folders are much smaller. Here’s a picture tutorial to show you how I did it. I’m using a piece of Hello Honey so that it’s easier to see.
1. First I placed a pencil mark where I knew my ribbon would be (you can see it in the far right corner at the bottom of the embossing folder). I then placed my paper inside the folder with the last row of dots aligning with my mark.
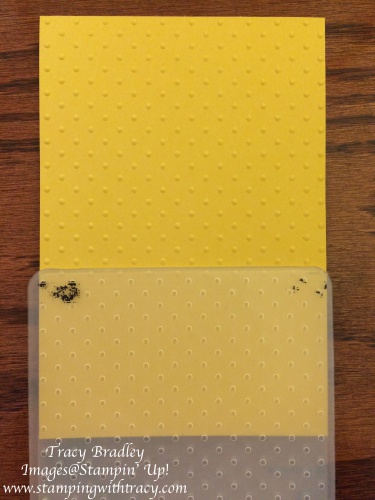
2. I turned the paper around and inserted it back into the embossing folder with the piece already embossed sticking out. If you look closely, you can see my pencil mark (it is still on the right hand side).
3. The next step is to run it through the Big Shot with the end not yet embossed, going through the Big Shot. The part already embossed WILL NOT be run through again or else it will be flattened! Roll it through and once you see that you’ve embossed the new part, run it backwards and out again.
4. Here’s the finished piece. You can still see my pencil mark. It is flattened a bit in this area but this is where the ribbon will go and it will be completely hidden. I did this 40 times on Whisper White and after doing it so many times, I was able to do it in such a way that I couldn’t even detect a line. I made the invitations in January so I am out of practice.
If you give this a try, let me know how it goes!
Product List – Click on each item to view at my Stampin’ Up! online store