by Tracy | Mar 3, 2017 | Uncategorized

I love buying pretty paper but sometimes it sits around and I don’t use it! Has that ever happened to you? The other day I pulled out my Cupcakes & Carousels DSP Stack and came up with this card! In fact I created several more cards with this paper but I’ll share those next week.
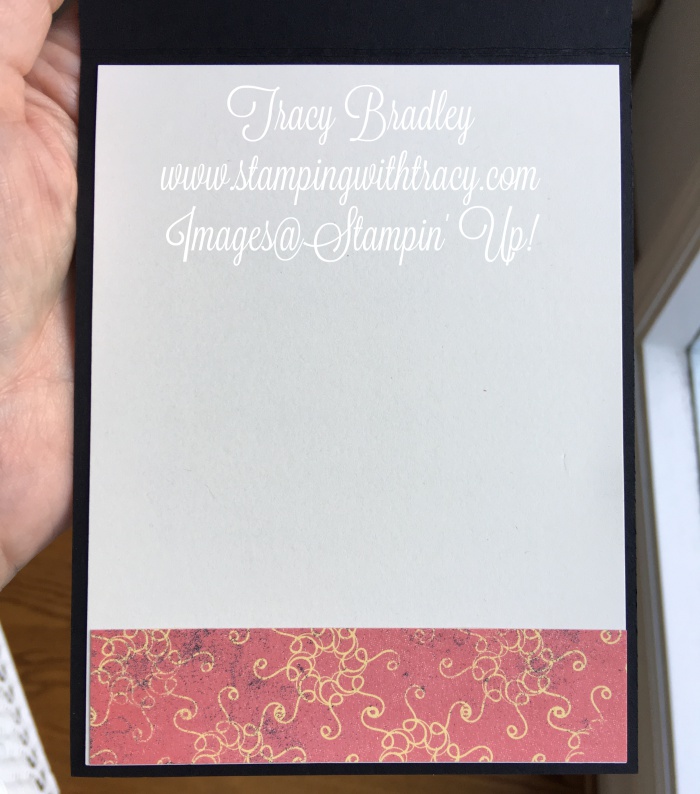
This particular paper comes with 40 sheets that are each 6″ x 6″. The picture below is another design in the stack but I wanted to show you that you can use the entire sheet for the base of your card, the butterfly AND to decorate the inside!

Go grab some of your paper and give this a try! If you do, email me as I’d love to see what you’ve created! All of the supplies I used to create my card can be found below in the Product List. If you have any questions, don’t hesitate to ask!

Measurements
Base of Card: Basic Black 11″ x 4-1/4″
Very Vanilla: 4″ x 5-1/4″ (2 pieces: one for the front of the card and one for the inside); sentiment 3/4″ x 2-3/4″
Designer Series Paper: 3-3/4″ x 5″ for the front of the card; 1″ x 4″ for inside of the card; scrap for the butterfly
Product List : All the supplies used to create this card are Stampin’ Up! They are shown below along with their item number and price. When you click on the picture, you’ll be taken to that item in my Stampin’ Up! online store. From there it’s easy to add it to your cart. Choose a FREE item from the Sale-A-Bration Catalog for every $50 you spend!
Click HERE and HERE to see what you can earn for FREE from the Sale-a-bration catalogs! Sale-a-bration ends on March 31st! For every $50 in product that you purchase (before tax/shipping), you can earn FREE gifts!
Click here to place your order! Use the March host code and receive a gift from me with your thank you card!
March Host Code: UAWUUQG4
by Tracy | Jun 4, 2015 | Uncategorized
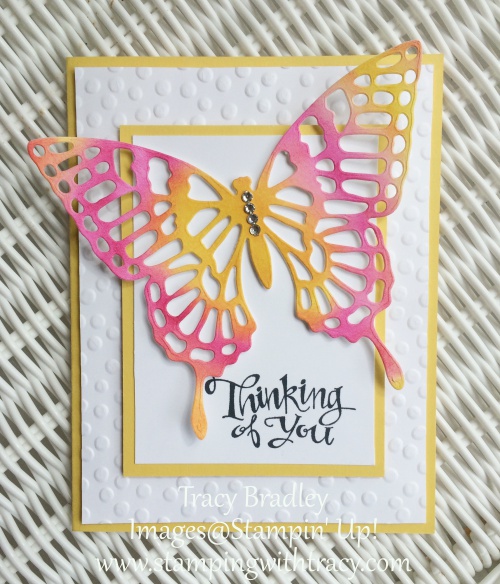
I’ve certainly been on a butterfly kick. Making them in any color you want can be addicting AND fun!
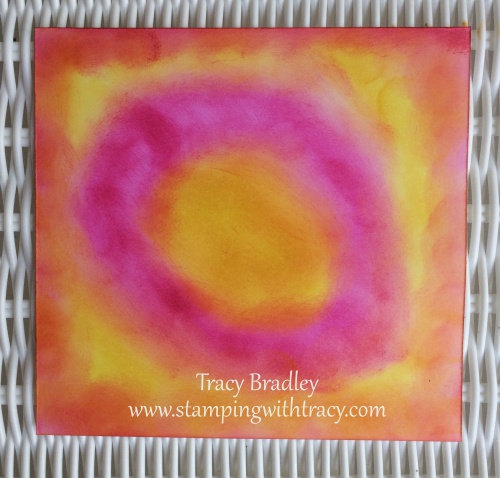
Using sponge daubers, I swirled color onto my Whisper White cardstock using Melon Mambo and Daffodil Delight. I wasn’t deliberately making circles and was surprised with what I created!
Once the paper dried, I cut out a butterfly using the Butterflies Thinlits. I LOVE how the butterfly turned out! Imagine all the possible beautiful color combinations! When using this die, I recommend adding a piece of waxed paper between the paper and the thinlit. This helps all the tiny pieces come out. Sometimes I also run the “sandwich” through my Big Shot twice just to be sure that it is completely cut out.

I hope you’ll give this a try and if you do, I’d love to see what you’ve created!
Product List – Click on any item below to be taken to my Stampin’ Up! online store!
by Tracy | May 14, 2015 | Uncategorized
I wasn’t sure that I would have a post for today. I’ve been staying with my mom for the past week as she hasn’t been feeling well. Unfortunately she was hospitalized yesterday afternoon but we are hoping that she will be back home in a few days. She is right where she should be and I know she’s getting excellent care. I’ll be spending the day at the hospital but before I go, I wanted to post a card that I made a week ago. You’ll notice that it’s very similar to the card I posted on Monday. This time though, my background for the butterflies was made using watercolor paper, my Stampin’ Up! ink pads and an Aqua Painter (you can see the background below).


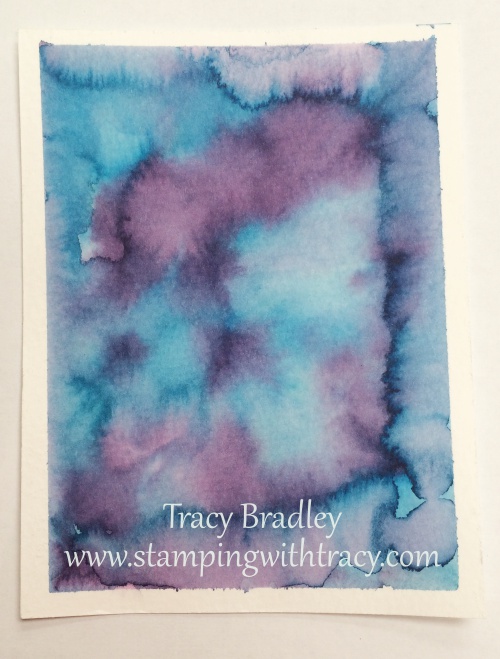
I did my watercoloring a few months ago and its been sitting on my desk all this time. I just haven’t known what to do with it until the idea for this card popped into my head (which I actually made before the one I posted Monday). When I adhered the butterflies, I used my 2 Way Glue pen. On the Mother’s Day card I posted on Monday (you can see it HERE), I used Stampin’ Dimensionals and I prefer having them popped up rather than completely flat in that area. Does that make sense?
I hope to have a post on Saturday, but we’ll see how things are progressing with my mom. Thank you for stopping by today.
Product List – Click on any item below to visit my Stampin’ Up! online store.
by Tracy | May 11, 2015 | Uncategorized
I hope your Monday has started off well!
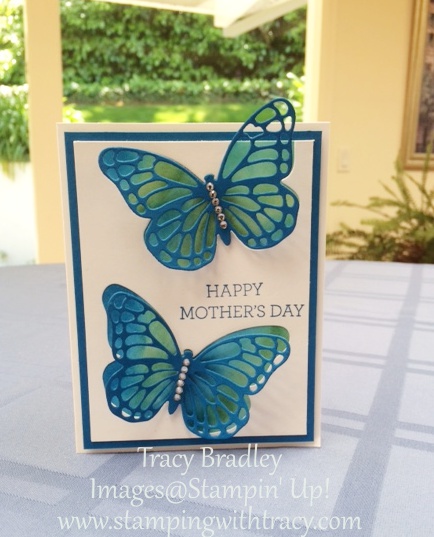
I have been visiting my mom for the past week. I brought some of my Stampin’ Up! supplies with me so that I could do some creating. I made this card yesterday for my sister for Mother’s Day. I didn’t think I had a Mother’s Day sentiment in any of the sets that I brought so I was happy when the set Crazy About You had just what I wanted!
I started out with a piece of Whisper White cardstock. Using my sponge daubers and the colors Pacific Point and Garden Green, I randomly applied color. Although I starting sponging off of my paper first, I still got some of the circles of color that you see. It doesn’t really matter with this card because that won’t be seen – just the beautiful shades of color.

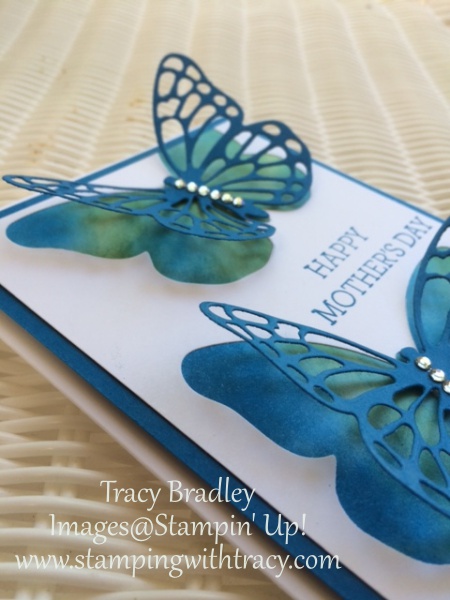
Using another piece of Whisper White, I cut out two butterflies using the Butterflies Thinlits (in the Occasions catalog) and then stamped my sentiment. I glued this piece to my colored piece using a 2 way glue pen so that I could really get glue around the outline of the butterflies. I cut two more butterflies out of Pacific Point and adhered them to the card with pieces of Stampin’ Dimensionals down the center of each one. The rhinestones added a nice amount of sparkle.
I forgot to bring envelopes with me so I left the top butterfly as is. If I had needed to send the card, I would have trimmed it off but I think it looks nice “flying” off the card.
Enjoy the rest of your day!
Product List – Click on any item below to go directly to my Stampin’ Up! online store!
by Tracy | Feb 26, 2015 | Uncategorized

I made a card very similar to this one the other day. My card today is all about a beautiful shade of green – Wild Wasabi! I paired it up with a sheet of paper from the Painted Blooms Designer Series Paper pack. This card was given to a customer who placed an order this month!
My sentiment comes from the set And Many More. If you are looking for a versatile stamp set, this is it!

And Many More
Wood #134273
Clear #134276
Tip: When making this card, make several at a time. When you cut out your butterfly, you will use that same piece you cut it out of, for the front of the card. Your butterflies and card fronts will be ready when you are to create a card.
Thanks for stopping by! Go create!
Product List- Click any item below to be taken to my Stampin’ Up! online store.


