by Tracy | Feb 9, 2015 | Uncategorized
Happy Monday! I haven’t been able to post to my blog (or create in my stamp room) in the last few days as I’ve been babysitting my granddaughter. There just aren’t enough hours in the day, or energy, to get everything done. But, this morning I was able to sit at my craft table for a few minutes. I needed a few cards to send out today and these were very quick and easy to create.
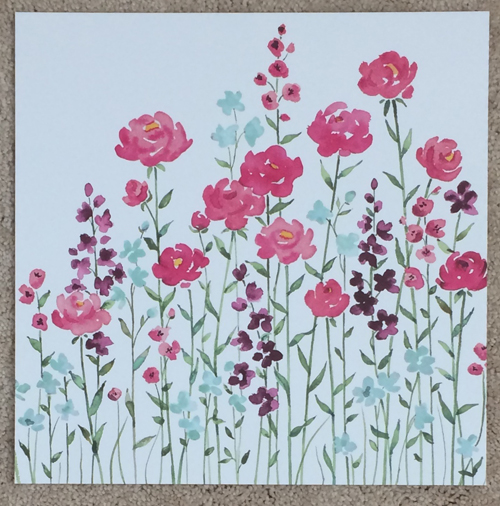
As I have mentioned before, I love the gorgeous Painted Blooms Designer Series paper. It is so pretty that I’ve been hesitant to cut it up, which is somewhat silly. Fellow demo, Patty Bennett, suggested cutting it up to make six individual cards. What a great idea!
Here are two cards I made this morning!
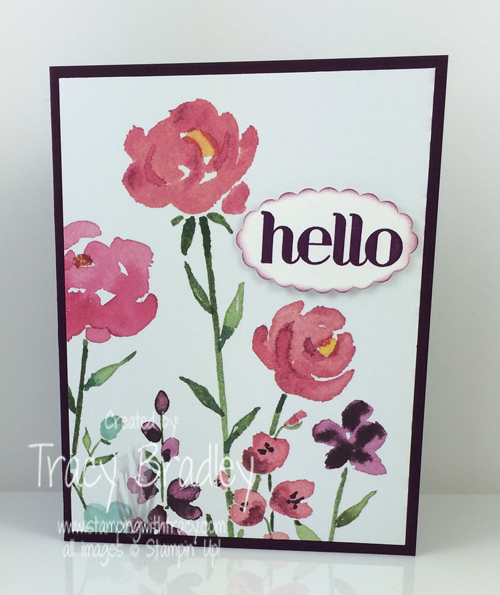

After cutting the DSP and adhering it to my Blackberry Bliss cardstock, I just needed to add a sentiment. E-a-s-y! Once I punched out my sentiment I did sponge some color around it for some dimension.
I will be back tomorrow with the Weekly Deals and hopefully later this week with more cards from this one sheet of paper!
Have a great day!
Product List (click on the pictures below and you’ll be taken to my Stampin’ Up! website)
by Tracy | Jan 19, 2015 | Uncategorized
Happy Monday! I hope you had a nice weekend and that your day has started well!
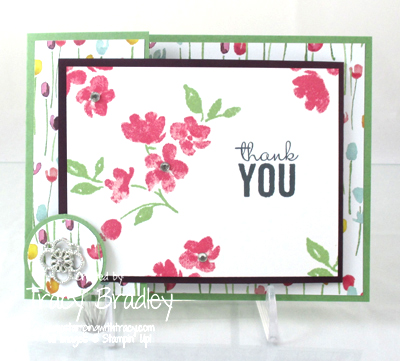
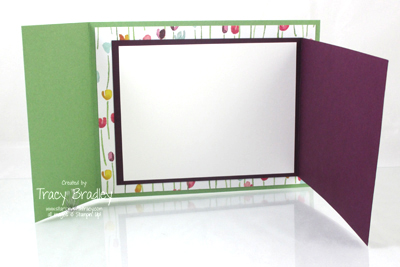
Today I have a Joy Fold card using lots of new products! You can see how the card opens up in my picture below. I really love the watercolor effect so I think that’s why this stamp set appeals to me so much. It’s called Painted Petals and I’ve matched it up with the Painted Blooms DSP. The base of my card is Wild Wasabi and the insert uses my favorite In Color, Blackberry Bliss. To hold the card closed, I used one of our beautiful shiny Something Borrowed Embellishments. If you love bling, you’ll really like these!
The products I used to make my card are listed below. Click on a thumbnail and you’ll be taken directly to that page on my online store.
Thanks so much for visiting today!
Product List
by Tracy | Jan 14, 2015 | Uncategorized

I love the new Mini Treat Bag Thinlits Dies and it couldn’t be easier to create the mini treat bag using the Thinlits and your Big Shot. You can put treats, a note or a gift card inside. I love that it will fit (opened up – see the last picture) inside our medium envelopes!
It comes with 2 dies to make the bag and 10 more dies to add extra details. I will admit that it has a hefty price tag but you receive so much more than just the die to create the bag.

Here’s another one where I haven’t folded the top of the bag over.
If you’re loving the goodies in the Salebration catalog, this purchase would entitle you to a free product:
Mini Treat Bag Thinlits Dies #137547 $39.95
Painted Blooms DSP #137784 $10.95
Total (before shipping/tax): $50.90
If you have any questions, please email me. If you would like to visit my online store, click here!
Thanks for visiting my blog today!
Product List
by Tracy | Jan 9, 2015 | Uncategorized

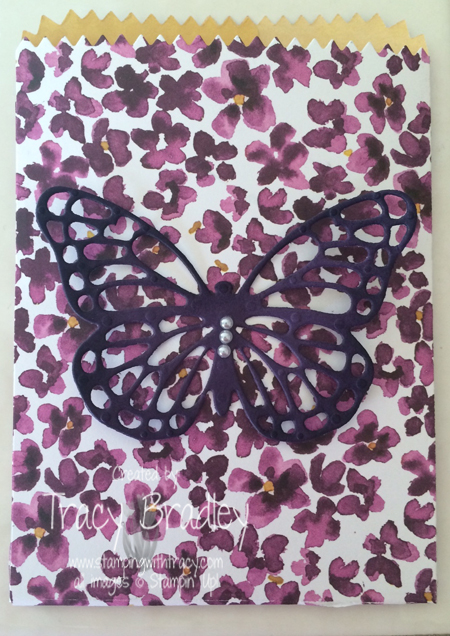
I almost forgot to post this today!! This card comes together pretty quickly using the Butterflies Thinlits Dies along with the Painted Blooms DSP and the stamp set Butterfly Basics. We’ll be making this card at my stamp class tomorrow!
Thanks for stopping by today!
Product List
by Tracy | Jan 7, 2015 | Uncategorized
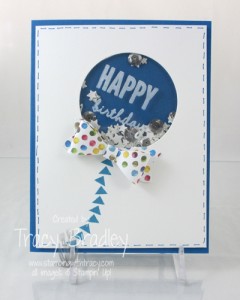
Today I have a shaker card using the Bow Builder punch. Yesterday I posted a video from Stampin’ Up! showing how to use the punch. If you missed that post, click here.
I also used the new Balloon Framelits and the new stamp set Celebrate Together. (If you decide to purchase both of these, be sure to use the bundle code – you’ll save 15% – see the list of supplies below).
I made my confetti using the Stars Border Punch and Silver Glimmer Paper. I also used silver sequins from a package of Frosted Sequins. These were in the Holiday catalog but I just checked and they are on the Clearance Rack! Besides the sequins, you’ll also receive pretty snowflakes that you can save for next year!
This set is photopolymer so it was very easy to place happy and birthday on my clear block so that they would fit on the front of the balloon. I used StazOn but had to wait a bit for it to dry. I immediately cleaned my stamp when I was done.
I don’t usually make shaker cards so I wasn’t sure how it was going to come together but it worked fine! I used the edges of my Stampin’ Dimensionals (a part that you might be tempted to throw away, but save them) to create a barrier so my sequins wouldn’t fall out. It wasn’t pretty to look at but that part gets all covered up! It was fun to make and I was happy with the results!
I want to thank fellow demo Jen Arkfeld for the inspiration for this card!
Thanks so much for stopping by my blog today!
Product List


