by Tracy | Nov 13, 2020 | Card Sampler, Designer Series Paper, Die-Cutting, Embossing Folders, Heat Embossing

My Gift Card Holder Card Sampler is now available but only for a limited time!
Here’s how you can earn my FREE Gift Card Holder Card Sampler :
- Place a minimum $50 order (before tax/shipping) at my Stampin’ Up! online store.
- Use my special Gift Card Holder Card Sampler Host Code when placing your order: RFT4GG4C
- Place your order on or before Thursday, November 19, 2020.
- If your order reaches $150 or more, please DO NOT use the host code so you can receive Stampin’ Rewards (free product directly from Stampin’ Up!). Once you place your order, simply drop me an email letting me know that you’d like the Gift Card Holder Card Sampler (you only need to contact me if your order is over $150).

Here’s What You’ll Receive:
- All the paper and embellishments needed to make six cards (two each of three different designs). The paper will be cut, scored, embossed and die cut for you! You’ll need to supply your own adhesive, ink and stamp set (per Stampin’ Up! I cannot send stamped images). Envelopes will also be provided.
- A PDF Tutorial with instructions, pictures, cutting measurements and a complete supply list of all the products used.
- Earn at least one Bradley Point (earn eight Bradley Points and redeem them for free product)
All the Other Important Stuff:
- Your Gift Card Holder Card Sampler will ship first-class mail on Saturday, November 28, 2020 and will be mailed to the address used on your online order.
- You’ll receive an email when I mail your Card Sampler. The PDF Tutorial will be included in that email.
- When using the Gift Card Holder Card Sampler Host Code to place your order, you will not qualify for my regular Customer Rewards Card Kits.
- Per Stampin’ Up! policy, kits can only be mailed within the United States.
- Limit 1 per person
The special Gift Card Holder Card Sampler HOST CODE will close at the end of day on November 19th and after that date, the Card Sampler will no longer be available.
Expected ship date of the Card Sampler is Saturday, November 28, 2020.
Click here to place an order
Supplies Needed To Create the Gift Card Holder Card Sampler
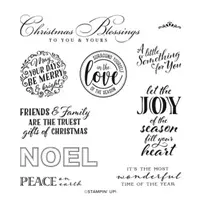
Listed below are the supplies you’ll need to complete the cards exactly as shown (or you can use what you already own). Simply click any of the products and you’ll be taken to my Stampin’ Up! online store. When placing your order, don’t forget to use the special Gift Card Holder Card Sampler Host Code (please do not use host code if your order is over $150 – see above).
Click here to place an order
If you aren’t sure how to use a host code, click here!
If you have questions, please don’t hesitate to contact me!
by Tracy | Nov 12, 2020 | Designer Series Paper, Embossing Folders
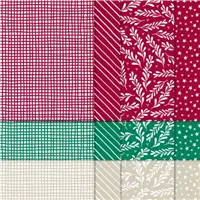
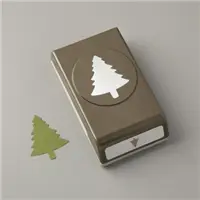
Today’s card features the Stampin’ Up! Pine Tree Punch and Classic Christmas 6″ x 6″ Designer Series Paper.

I started with a base of Cherry Cobbler cardstock and then added a layer of Shaded Spruce cardstock. The sentiment was stamped in Cherry Cobbler ink onto a piece of Whisper White cardstock using the stamp set, Wrapped in Christmas. Then a piece of Classic Christmas 6″ x 6″ Designer Series Paper was adhered to the top. Before adhering it to the card base, I wrapped a piece of 3/8″ Metallic-Edge Ribbon around the cardstock.

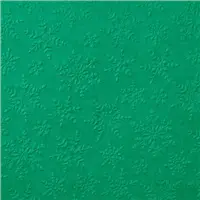
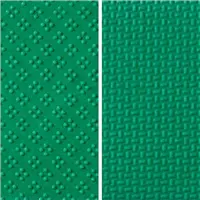
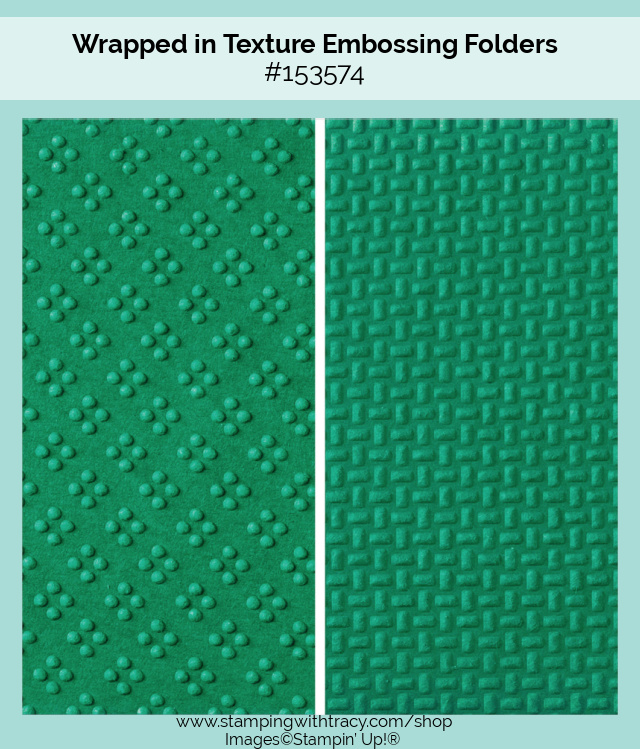
I cut three pine trees out of Silver Foil using the Pine Tree Punch. I placed two of the trees in one of the Wrapped in Texture Embossing Folders and ran it through my Stampin’ Cut & Emboss Machine. The other tree was embossed with the Winter Snow Embossing Folder. I added Stampin’ Dimensionals to the back of each tree and then placed the one embossed with Winter Snow down first and then placed the other two on each side.
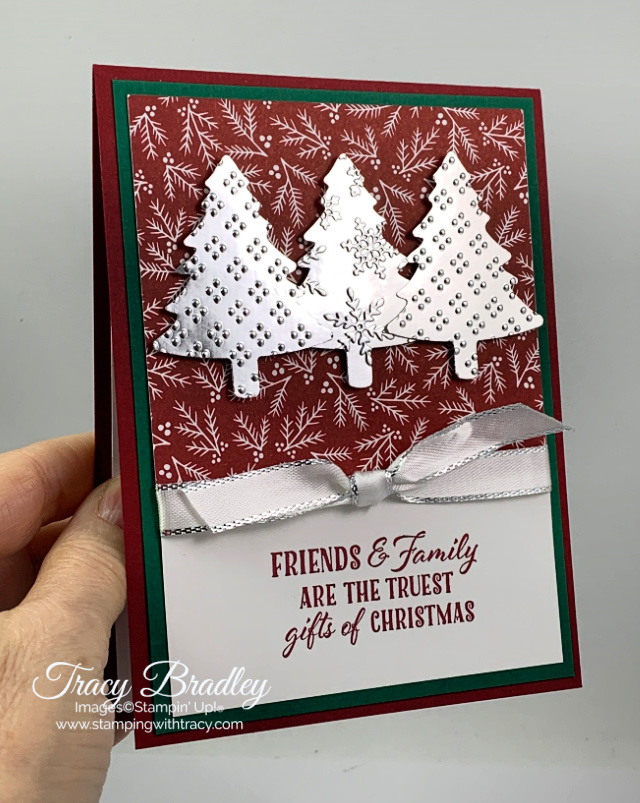

To complete the card, I added a piece of Whisper White cardstock to the inside. If you’d like to make today’s card, you can find the measurements I used below the Supply List.
Supply List
If you need any stamping supplies, I’d love to be your demonstrator! You can place an order by clicking any of the images below to go to my Stampin’ Up! online store. If you have questions about products you’re considering purchasing or ones you’ve already purchased, I’m just an email away (click the Email Me button on the sidebar of my blog).
Measurements
- Cherry Cobbler cardstock: 11″ x 4-1/4″
- Shaded Spruce cardstock: 5-1/4″ x 4″
- Whisper White cardstock (inside card): 5-1/4″ x 4″
- Whisper White cardstock: 5″ x 3-3/4″
- Classic Christmas 6″ x 6″ Designer Series Paper: 3-3/4″ x 3-1/4″
Tracy’s Quick Links
Place an Order
Clearance Rack
$99 Starter Kit
Paper Pumpkin
Tracy’s Customer Rewards
Bradley Points
by Tracy | Nov 11, 2020 | Uncategorized
It’s Wednesday but I have my Tuesday Tutorial for you today.
I took a few days off because on Monday, my daughter, Jenny, married her best friend, Mike!! We planned a big wedding in March with friends and family but sadly, it had to be canceled due to Coronavirus. We were able to postpone the wedding to September (because the virus would be over and done with by then, right?) but in July, the venue had a catastrophic fire so date number two was cancelled. Jenny & Mike didn’t want to wait for the pandemic to be over before they could get married so they planned wedding #3 with just immediate family and they took great care to make sure the ceremony and reception would be social distanced and responsible. Several weeks before the wedding was to take place, our county went into the purple tier because of increased Coronavirus cases and yes, we had to cancel, again. At the last minute, they were able to find another venue in a different county and they were married! It was a gorgeous wedding and there was such joy on both of their faces. I couldn’t be happier for the two of them!! Here’s a picture of the happy couple!


You can access your free tutorial below the Supply List!
Supply List

Tracy’s Quick Links
Place an Order
Clearance Rack
$99 Starter Kit
Paper Pumpkin
Tracy’s Customer Rewards
Bradley Points
by Tracy | Nov 9, 2020 | Uncategorized
Today’s card features the Rectangular Postage Stamp Punch and the brand new (and available for a limited time) Classic Christmas 6″ x 6″ Designer Series Paper.


I started with a base of Shaded Spruce cardstock and then added layers of Cherry Cobbler and Whisper White. Before adhering the Whisper White cardstock, I placed it inside the Tasteful Textile Embossing Folder and ran it through the Stampin’ Cut & Emboss Machine

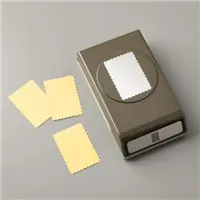
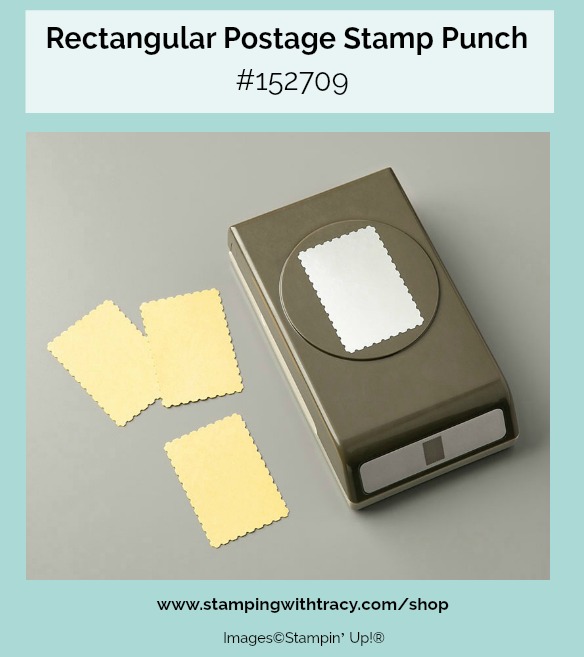
The Classic Christmas 6″ x 6″ Designer Series Paper was cut out with the Rectangular Postage Stamp Punch. I really enjoying using punches and am thrilled that Stampin’ Up! keeps adding more to their product lineup!
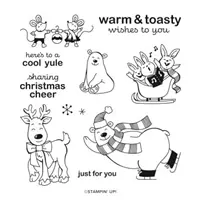
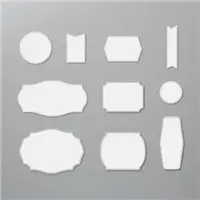
The sentiment was stamped in Shaded Spruce ink using the stamp set, Warm & Toasty and was cut out using the Layering Circles Dies. The Cherry Cobbler cardstock underneath the sentiment was cut out using the Tasteful Labels Dies. I love the detail around this die!


If you’d like to make today’s card, you can find all the measurements below the Supply List.
Supply List
If you need any stamping supplies, I’d love to be your demonstrator! You can place an order by clicking any of the images below to go to my Stampin’ Up! online store. If you have questions about products you’re considering purchasing or ones you’ve already purchased, I’m just an email away (click the Email Me button on the sidebar of my blog).
Supply List
Measurements
- Shaded Spruce cardstock: 11″ x 4-1/4″
- Cherry Cobbler cardstock: 5-1/4″ x 4″
- Cherry Cobbler cardstock: scrap for Tasteful Label Die
- Classic Christmas 6″ x 6″ Designer Series Paper: scraps for rectangles
- Whisper White cardstock: 5-1/4″ x 4″
- Whisper White cardstock: 5″ x 3-3/4″
- Whisper White cardstock: scrap for sentiment
Tracy’s Quick Links
Place an Order
Clearance Rack
$99 Starter Kit
Paper Pumpkin
Tracy’s Customer Rewards
Bradley Points
by Tracy | Nov 6, 2020 | Designer Series Paper, Die-Cutting, Heat Embossing, Stitched Shapes Dies
In the last few months, I’ve received several No Contact orders which means that the customer would prefer I not contact them. Please know that I always send a thank you via email for any orders placed through me and that I’m very appreciative. If you’ve placed an order and have NOT received a thank you and didn’t realize you chose No Contact, please contact me. On to today’s card!
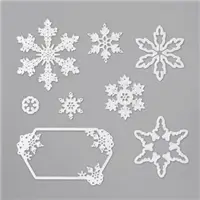
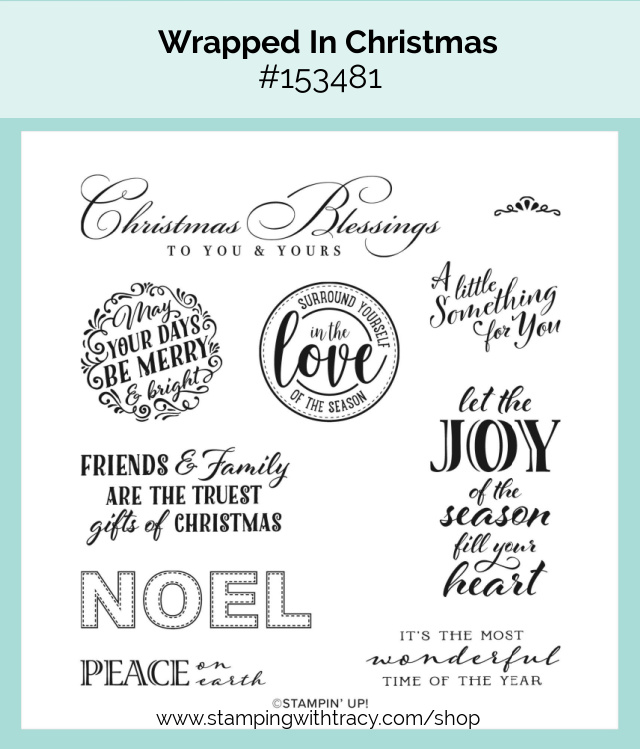
Today’s card features the stamp set, Wrapped in Christmas and the So Many Snowflakes Dies.

I started with a base of Pool Party cardstock with a layer of Whisper White cardstock that was cut using the So Many Snowflakes Dies and the Stampin’ Cut & Emboss Machine. I love how the die, cuts an opening in the paper with pretty stitching and snowflakes!

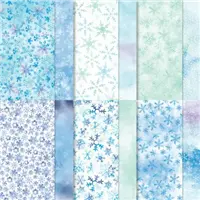
I added a piece of Snowflake Splendor Designer Series Paper behind the opening before adhering the Whisper White cardstock to the card base. The sentiment was stamped with Versamark ink using the stamp set Wrapped in Christmas and then embossed with Silver Embossing Powder (see directions for heat embossing below). I cut it out using the Stitched Shapes Dies and popped it up with Stampin’ Dimensionals.
Using the So Many Snowflakes Dies, I cut two snowflakes out of Silver Foil (I rolled up several Mini Glue Dots into balls to attach them). It was a fun card to make and really quick and easy!

How to Heat Emboss
Prepare your cardstock by rubbing an anti-static pouch over the surface (this helps keep away stray particles of embossing powder). Stamp your sentiment or image using a Versamark pad. This is very sticky ink and your embossing powder will stick right to it. Sprinkle embossing powder over the stamped image. Shake off any excess. Before applying heat to your paper, heat the Heat Tool first so the paper won’t warp (about 10 seconds). Direct the heat over your image and watch as your sentiment is transformed!
Supply List
If you need any stamping supplies, I’d love to be your demonstrator! You can place an order by clicking any of the images below to go to my Stampin’ Up! online store. If you have questions about products you’re considering purchasing or ones you’ve already purchased, I’m just an email away (click the Email Me button on the sidebar of my blog).
Measurements
- Pool Party cardstock: 11″ x 4-1/4″
- Whisper White cardstock: (2) 5-1/4″ x 4″
- Whisper White cardstock: scrap for sentiment
- Snowflake Splendor Designer Series Paper: approx. 5″ x 3-1/4″
Tracy’s Quick Links
Place an Order
Clearance Rack
$99 Starter Kit
Paper Pumpkin
Tracy’s Customer Rewards
Bradley Points