by Tracy | Nov 20, 2020 | Die-Cutting, Embossing Folders, Heat Embossing, Layering Ovals Dies
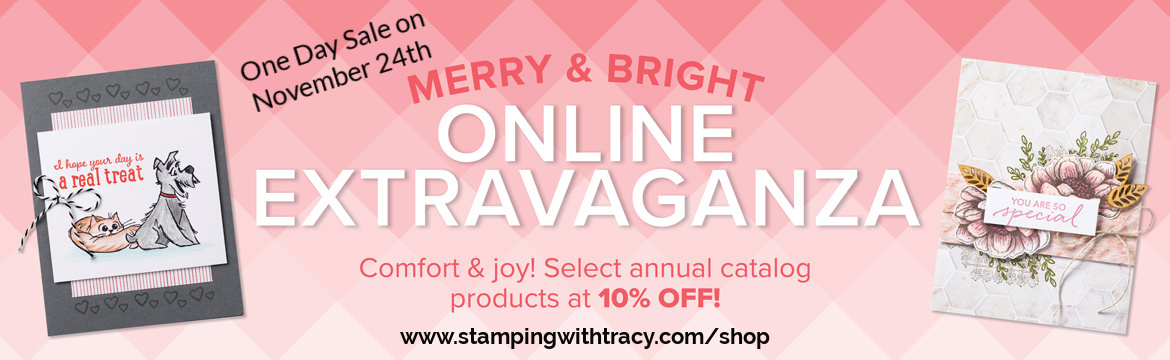
I have a card to share with you today but first I want to let you know about the Stampin’ Up! Merry & Bright Online Extravaganza! This event will take place for one day only on November 24th and you’ll save 10% on almost everything in the 2020-2021 Annual Catalog. Get your lists ready and order early on the 24th!
Details
- Sale begins at 12:01 am (Mountain Time) on Tuesday, November 24th
- Sale ends at 11:50 pm (Mountain Time) on Tuesday, November 24th

There are some exclusions and you can see everything not included in the sale HERE.
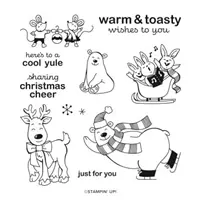
Today’s card features the stamp sets Warm & Toasty and Banner Year along with the Woodland Embossing Folder.
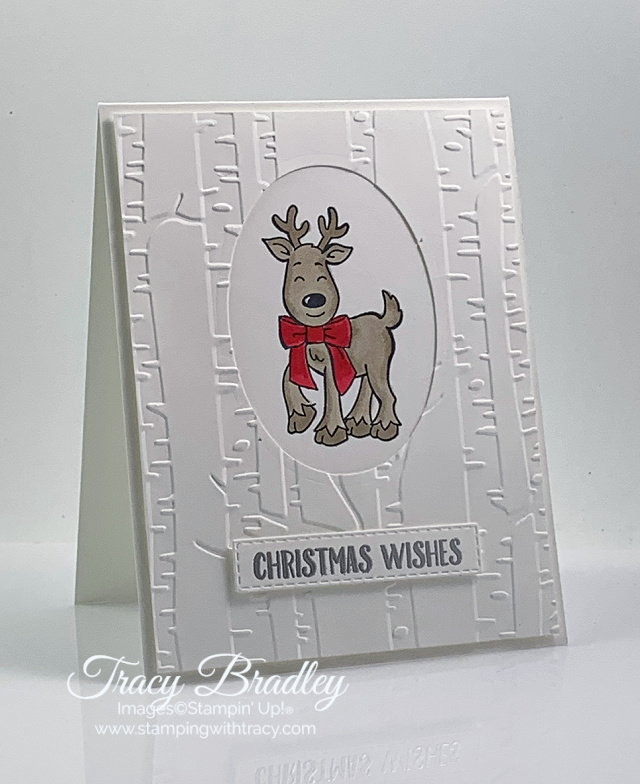
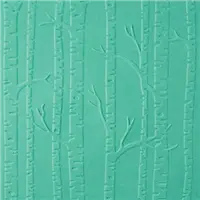
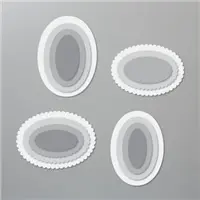
I started with a piece of Whisper White cardstock and using one of the larger dies in the Layering Ovals Dies and the Stampin’ Cut & Emboss Machine, I made an opening. Then I placed it inside the Woodland Embossing Folder and ran it through my die-cutting machine. It’s important to do these steps in this order. If you emboss first and then cut the opening, your embossing will be flattened.
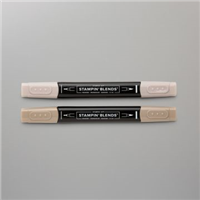
Next, I stamped my reindeer in Memento Ink onto Whisper White cardstock and then colored him using Real Red & Crumb Cake Stampin’ Blends. On the back of the embossed piece, I added adhesive all around the outside edges of the opening and then placed the reindeer piece over it (if you like to fussy cut, it would look really cute to cut him out and then add Stampin’ Dimensionals to the back). I added Stampin’ Dimensionals to the back of the embossed piece and adhered it to my Thick Whisper White card base
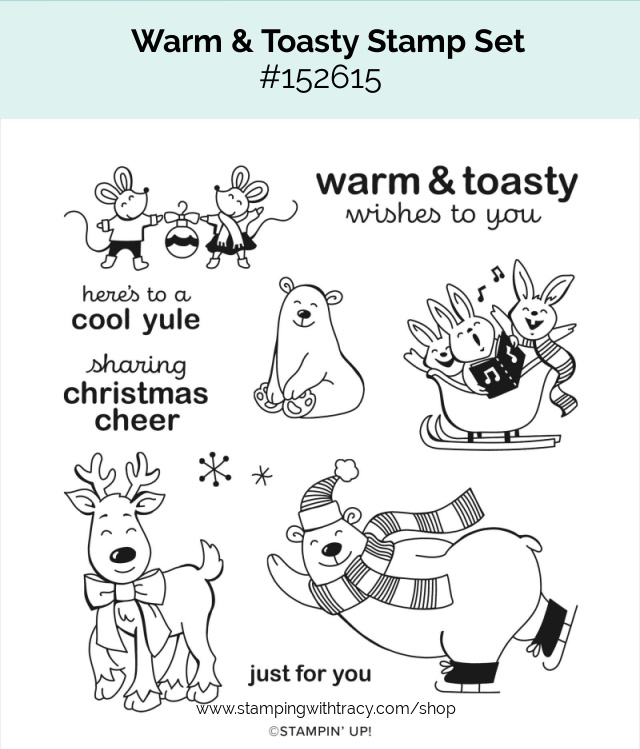

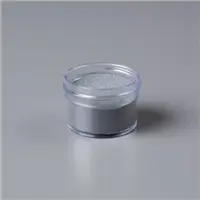
I wanted to use a sentiment in the Warm & Toasty stamp set but there wasn’t enough space below the opening so I used a smaller sentiment in the stamp set, Banner Year. I stamped it in Versamark ink onto Whisper White cardstock using Stampin’ Emboss Powder in Silver. If you’ve never heat embossed, and you really should because it’s so much fun, I have directions below on how to do it. So easy!
I cut the sentiment out using our Rectangle Stitched Dies and then added Stampin’ Dimensionals to the back and added it to the front of the card.

How to Heat Emboss
Prepare your cardstock by rubbing an anti-static pouch (Stampin’ Up! no longer carries this product but it’s a must when embossing) over the surface as it helps keep away stray particles of embossing powder. Stamp your sentiment or image using a Versamark pad. This is very sticky ink and your embossing powder will stick right to it. Sprinkle embossing powder over the stamped image. Shake off any excess. Before applying heat to your paper, heat the Heat Tool first so the paper won’t warp (about 10 seconds). Direct the heat over your image and watch as your sentiment is transformed!
Supply List
If you need any stamping supplies, I’d love to be your demonstrator! You can place an order by clicking any of the images below to go to my Stampin’ Up! online store. If you have questions about products you’re considering purchasing or ones you’ve already purchased, I’m just an email away (click the Email Me button on the sidebar of my blog).
I forgot to add Memento Ink to my Supply List but HERE’S the link for it.

Tracy’s Quick Links
Place an Order
Clearance Rack
$99 Starter Kit
Paper Pumpkin
Tracy’s Customer Rewards
Bradley Points
by Tracy | Nov 19, 2020 | Uncategorized
Today’s the last day to receive my FREE Gift Card Sampler when you place a minimum $50 order at my Stampin’ Up! online store and use my special host code (RFT4GG4C). You’ll receive all the paper and embellishments needed to make six cards, two each of three designs. I used the stamp set, Wrapped in Christmas, for the sentiment on all three cards but you can use whatever you already own. For all the details, please click here.


Yesterday (scroll to the bottom of the post) I shared a sneak peek of one of the cards in the Free Gift Card Sampler and here’s one more.

Tracy’s Quick Links
Place an Order
Clearance Rack
$99 Starter Kit
Paper Pumpkin
Tracy’s Customer Rewards
Bradley Points
by Tracy | Nov 18, 2020 | Card Sampler, Designer Series Paper, Die-Cutting, Embossing Folders
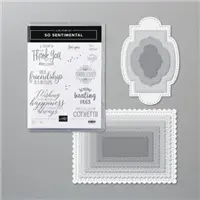
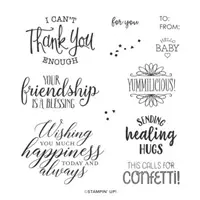
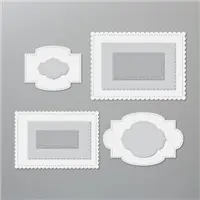
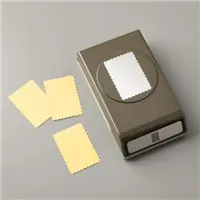
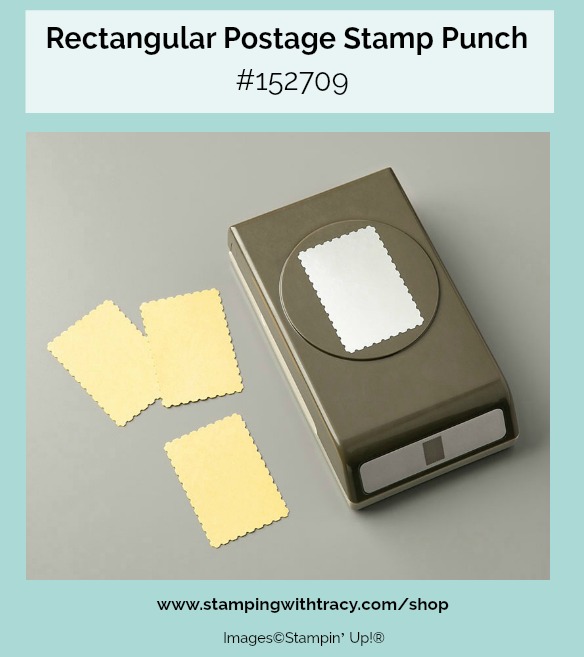
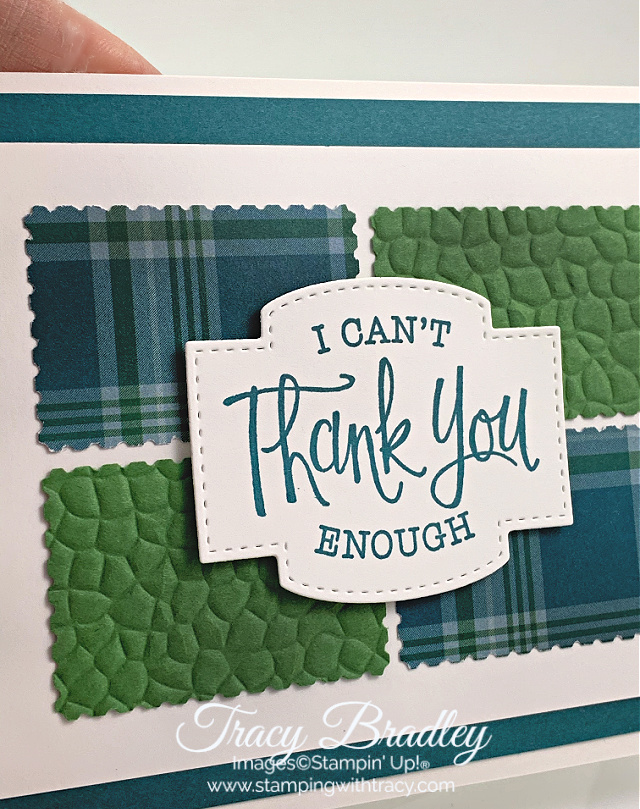
Today’s card features the So Sentimental Bundle and the Rectangular Postage Stamp Punch. The So Sentimental Bundle (bundles always save you 10%) includes the So Sentimental stamp set and the Stitched So Sweetly Dies (one of my favorite set of dies).
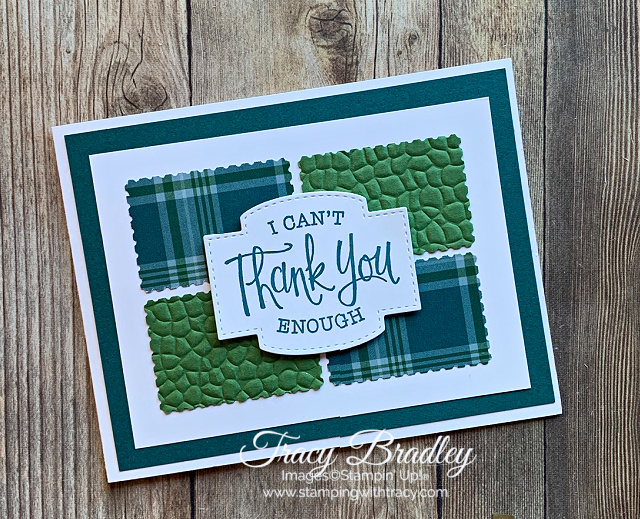
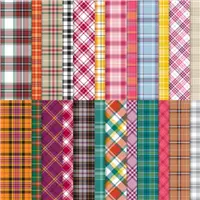
This is a fun layout and you’ll get a completely different look by just changing up the papers. I used Plaid Tidings Designer Series Paper and Garden Green cardstock which I ran through the Cut & Emboss Machine using the Hammered Metal Embossing Folder.

The base of the card is Thick Whisper White cardstock with a layer of Pretty Peacock cardstock. The punched pieces were adhered to a piece of our regular Whisper White cardstock. The sentiment was stamped using Pretty Peacock ink and was cut out with the Stitched So Sweetly Dies. I added Stampin’ Dimensionals to the back of the sentiment before adhering it to the front of the card.
If you’d like to make today’s card, you can find the measurements I used below the Supply List.
Supply List
If you need any stamping supplies, I’d love to be your demonstrator! You can place an order by clicking any of the images below to go to my Stampin’ Up! online store. If you have questions about products you’re considering purchasing or ones you’ve already purchased, I’m just an email away (click the Email Me button on the sidebar of my blog).
Measurements
- Thick Whisper White cardstock: 11″ x 4-1/4″ scored at 5-1/2″
- Whisper White cardstock: 4-3/4″ x 3-1/2″
- Whisper White cardstock: scrap for sentiment
- Pretty Peacock cardstock: 5-1/4″ x 4″
- Garden Green cardstock (punched pieces): approx. 3-1/2″ x 2-1/2″
- Plaid Tidings Designer Series Paper: approx. 3-1/2″ x 2-1/2″
Gift Card Holder Card Sampler
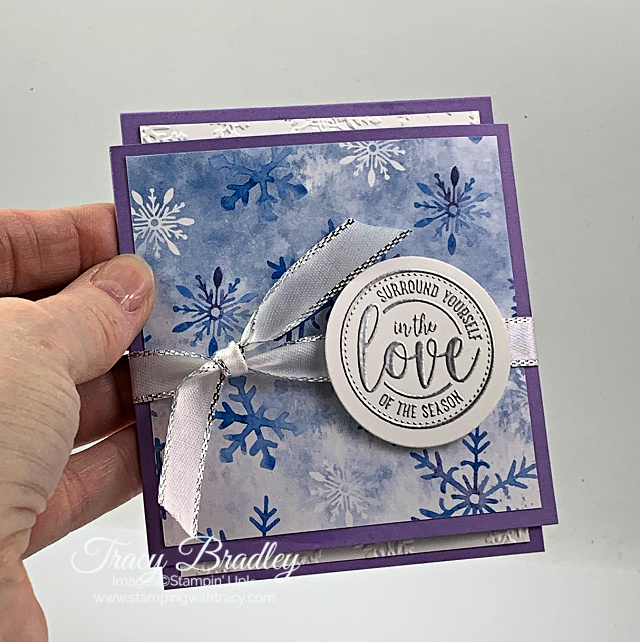
Tomorrow is the last day to place a minimum $50 order to receive my free Gift Card Holder Card Sampler. You’ll receive all the paper and embellishments needed to make six cards (two of three different designs) that are made specifically to slip a gift card inside. For all the details click here! Here’s a sneak peek of one of the cards!
Click here to place an order
Tracy’s Quick Links
Place an Order
Clearance Rack
$99 Starter Kit
Paper Pumpkin
Tracy’s Customer Rewards
Bradley Points
by Tracy | Nov 17, 2020 | Designer Series Paper, Die-Cutting, Free Tutorial

Yesterday I shared three cards using Plaid Tidings Designer Series Paper and today I have three more to share with you. I made all of the cards using the same measurements (with the exception of the black/white design from yesterday and you’ll find those measurements on yesterday’s post). If you missed yesterday’s post, you can see it here. You’ll find your free Tuesday Tutorial under the Supply List!
This first card has a base of Thick Whisper White cardstock and the Designer Series Paper is layered with a piece of Pretty Peacock cardstock. The embellishments I used are All the Trimmings. I used Pretty Peacock ink for the sentiment.

This card has a base of Crumb Cake cardstock with a layer of Blackberry Bliss. I used our Rhinestone Basic Jewels for some sparkle. Blackberry Bliss ink was used for the sentiment.

This card has a base of Pretty Peacock with a layer of Garden Green cardstock. The sentiment is stamped in Pretty Peacock ink and I used our Elegant Faceted Gems.

Supply List
If you need any stamping supplies, I’d love to be your demonstrator! You can place an order by clicking any of the images below to go to my Stampin’ Up! online store. If you have questions about products you’re considering purchasing or ones you’ve already purchased, I’m just an email away (click the Email Me button on the sidebar of my blog).

Gift Card Holder Card Sampler
Place a minimum $50 order and receive my Gift Card Holder Card Sampler. Many of us give gift cards during the holiday season and with my Card Sampler, you’ll be able to quickly assemble six cards to slip a gift card into. All the paper will be cut, scored and die cut for you! Click here for all the details!
Tracy’s Quick Links
Place an Order
Clearance Rack
$99 Starter Kit
Paper Pumpkin
Tracy’s Customer Rewards
Bradley Points
by Tracy | Nov 16, 2020 | Card Sampler, Designer Series Paper, Die-Cutting
Today I have three cards to share with you today and they all feature Plaid Tidings Designer Series Paper, the So Sentimental stamp set and the coordinating dies, Stitched So Sweetly (these two products can also be purchased as a bundle – see below). This first card has a Thick Whisper White base. The Designer Series Paper is on a Whisper White layer that’s been popped up with Stampin’ Dimensionals. The sentiment was stamped in Misty Moonlight ink and three Elegant Faceted Gems were added to finish the card (all the supplies I used can be found in the Supply List).
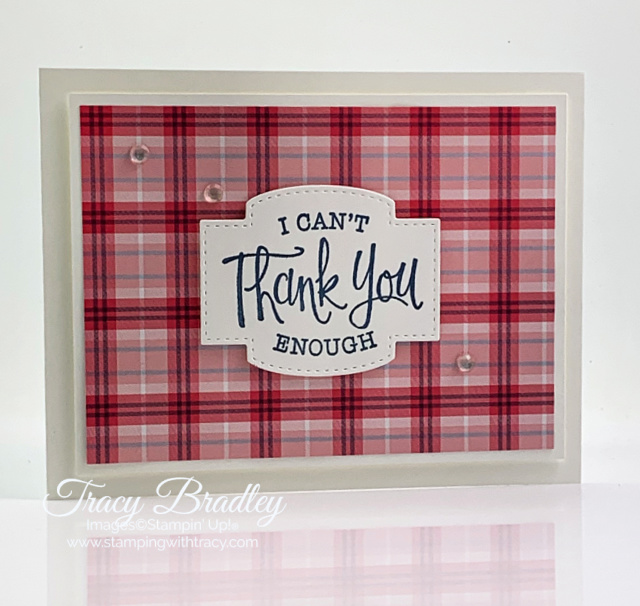
This next card has a base of Real Red cardstock and the sentiment is stamped in Real Red. I made the layer of Plaid Tidings Designer Series Paper just a little bit smaller than the first card and I added some of our Wonderful Gems

My last card has a base of Seaside Spray cardstock with a layer of Misty Moonlight cardstock. The sentiment was stamped in Misty Moonlight and I added some of our Basic Rhinestones.

The So Sentimental stamp set and Stitched So Sweetly Dies can be purchased as a bundle and you’ll save 10%!

If you’d like to make today’s cards, all the measurements I used can be found below the Supply List.
Supply List
If you need any stamping supplies, I’d love to be your demonstrator! You can place an order by clicking any of the images below to go to my Stampin’ Up! online store. If you have questions about products you’re considering purchasing or ones you’ve already purchased, I’m just an email away (click the Email Me button on the sidebar of my blog).
Measurements
- Base of card: 11″ x 4-1/4″
- Second Layer: 5″ x 3-3/4″
- Plaid Tidings Designer Series Paper: 4-3/4″ x 3-1/2″ OR (black & white design) 4-1/2″ x 3-1/4″
- Inside: 5-1/4″ x 4-1/4″
Gift Card Holder Card Sampler
My Gift Card Holder Card Sampler is available until Thursday, November 19, 2020. Place a minimum $50 order using the host code RFT4GG4C and you’ll receive all the paper and embellishments need to create six gift card holders (two of three different designs. Click here for all the details.
Tracy’s Quick Links
Place an Order
Clearance Rack
$99 Starter Kit
Paper Pumpkin
Tracy’s Customer Rewards
Bradley Points