by Tracy | Dec 2, 2020 | Designer Series Paper, Die-Cutting, Embossing Folders
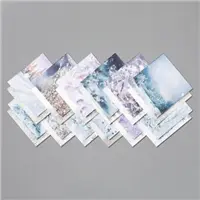
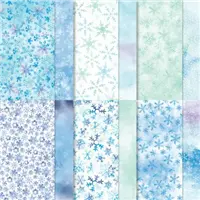
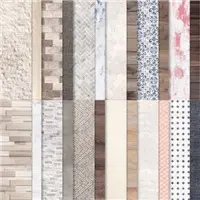
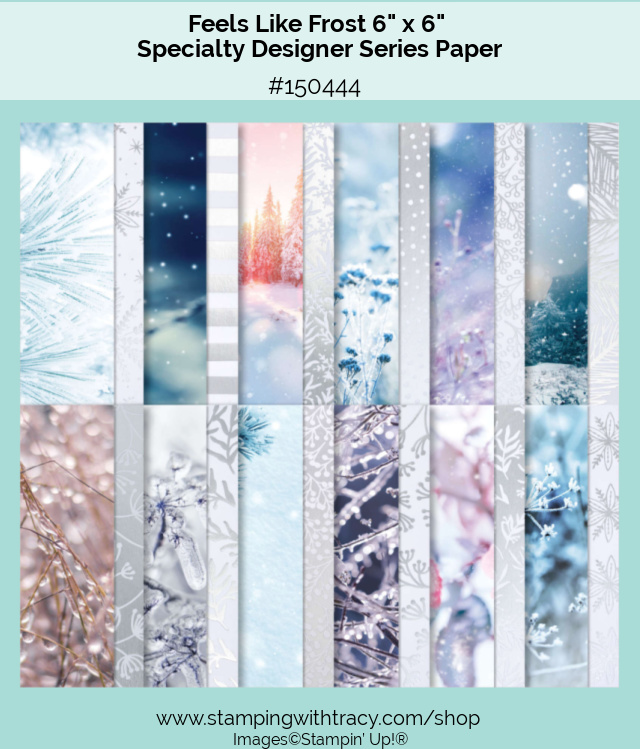
Today’s card features Feels Like Frost 6″ x 6″ Designer Series Paper and the Tasteful Textile 3D Embossing Folder.
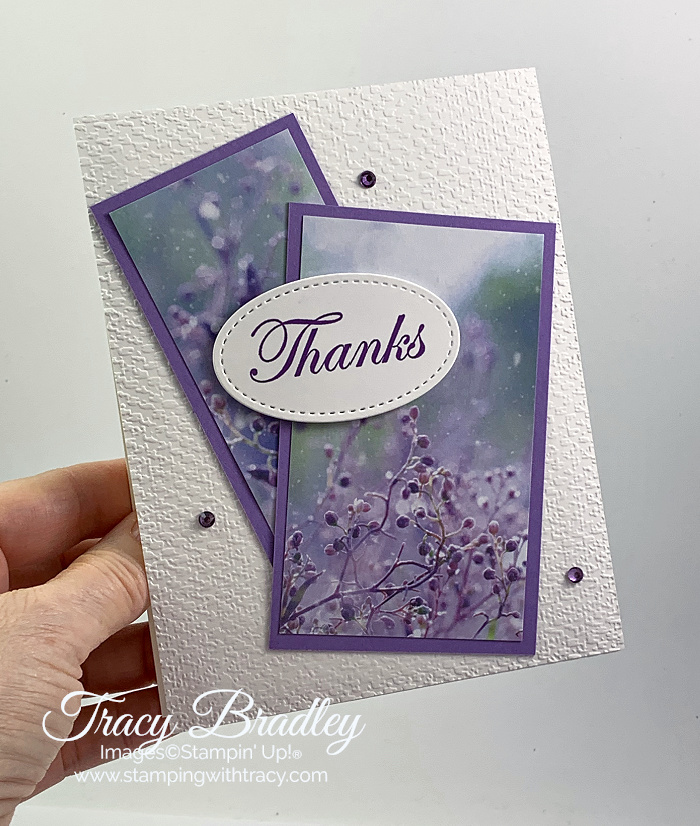
I started with a base of Thick Whisper White cardstock and then added a layer of Whisper White cardstock on top. Before adhering it to the card base, I placed it inside the Tasteful Textile Embossing Folder and ran it through my Stampin’ Cut & Emboss Machine. The Feels Like Frost Designer Series Paper was layered onto pieces of Highland Heather cardstock.

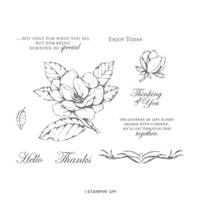
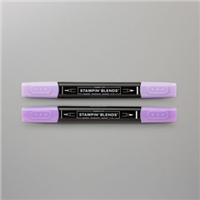
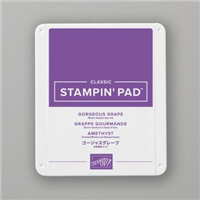
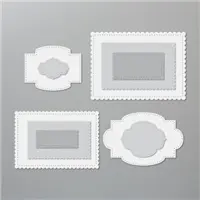
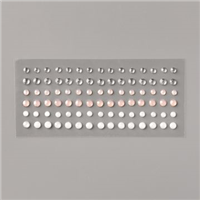
The sentiment was stamped onto Whisper White cardstock using the stamp set Good Morning Magnolia in Gorgeous Grape ink and cut out using the Stitched Shapes Dies. Before placing the sentiment onto the front of the card, I added some Stampin’ Dimensionals to the back. I used my Dark Highland Heather Stampin’ Blend to color our Basic Rhinestones. I love that my paper and rhinestones match!
If you’d like to make today’s card, you can find the measurements below the supply list.
Supply List
If you need any stamping supplies, I’d love to be your demonstrator! You can place an order by clicking any of the images below to go to my Stampin’ Up! online store. If you have questions about products you’re considering purchasing or ones you’ve already purchased, I’m just an email away (click the Email Me button on the sidebar of my blog).
Measurements
- Thick Whisper White cardstock: 11″ x 4-1/4″
- Whisper White cardstock: 5-1/2″ x 4-1/4″
- Whisper White cardstock: scrap for sentiment
- Highland Heather cardstock: 4″ x 2-1/2″
- Highland Heather cardstock: 3-3/4″ x 2″
- Feels Like Frost Designer Series Paper: 3-3/4″ x 2-1/4″
- Feels Like Frost Designer Series Paper: 3-1/2″ x 1-3/4″
I have a new host code! All orders receive one of my card kits (and a tutorial) but use my host code when placing your order and I’ll send you an extra card kit!


Tracy’s Quick Links
Place an Order
Clearance Rack
$99 Starter Kit
Paper Pumpkin
Tracy’s Customer Rewards
Bradley Points
by Tracy | Dec 1, 2020 | Die-Cutting, Embossing Folders

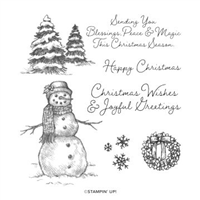
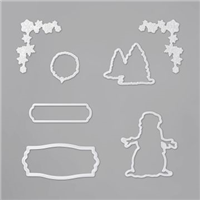
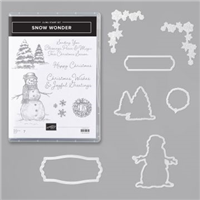
Today’s Tuesday Tutorial features the Snow Wonder Bundle which includes the Snow Wonder stamp set and the Snow Time Dies (bundles always save you 10%). If you’d like the free tutorial, you can access it below the Supply List.


Supply List
If you need any stamping supplies, I’d love to be your demonstrator! You can place an order by clicking any of the images below to go to my Stampin’ Up! online store. If you have questions about products you’re considering purchasing or ones you’ve already purchased, I’m just an email away (click the Email Me button on the sidebar of my blog).

Tracy’s Quick Links
Place an Order
Clearance Rack
$99 Starter Kit
Paper Pumpkin
Tracy’s Customer Rewards
Bradley Points
by Tracy | Nov 30, 2020 | Designer Series Paper, Punches
Happy Monday!
Before sharing my projects with you today, I wanted to let you know that the new January-June 2021 Mini Catalog is coming soon and will be available on January 5th. If you’ve ordered from me in the last six months, I ordered a catalog for you (and the Sale-a-Bration brochure) from Stampin’ Up! yesterday. It will come directly from Stampin’ Up! and they will begin to mail them on December 9th. If you don’t want to wait until January to buy products from this jam-packed catalog, consider joining my team by purchasing the $99 Starter Kit. You’ll receive $125 in product for $99 and it will ship free. One of Starter Kit perks is that you can preorder products from the new catalog early! If you’d to purchase the Starter Kit, click here. Feel free to email me with any questions you might have!

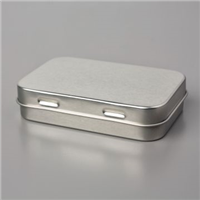
Our Rectangle Tins are a fun way to package a gift card (or any small gift). I wrapped a 8″ x 2-1/2″ piece of Poinsettia Place Designer Series Paper around the tin and then used our Gold 3/8″ Metallic-Edge Ribbon to “tie” it up. To open the tin, the recipient just needs to slip off the sleeve. The sentiment was stamped onto Very Vanilla cardstock using the stamp set, Wrapped in Christmas, and was cut out using the Rectangular Postage Stamp Punch. As you can see from the picture below, a gift card fits inside perfectly!

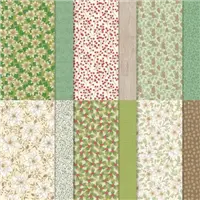
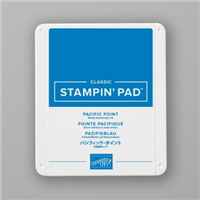
I wrapped this next tin with Snowflake Splendor Designer Series Paper and wrapped our Silver 3/8″ Metallic-Edge Ribbon around it. The sentiment was stamped onto Whisper White cardstock using Pacific Point ink. The ribbon will need to be removed first to open the tin.

Each package of tins come in a four pack and they are food safe! It’s such a quick and easy, but cute, way to wrap up a gift!
Supply List
If you need any stamping supplies, I’d love to be your demonstrator! You can place an order by clicking any of the images below to go to my Stampin’ Up! online store. If you have questions about products you’re considering purchasing or ones you’ve already purchased, I’m just an email away (click the Email Me button on the sidebar of my blog).
Tracy’s Quick Links
Place an Order
Clearance Rack
$99 Starter Kit
Paper Pumpkin
Tracy’s Customer Rewards
Bradley Points
by Tracy | Nov 27, 2020 | Designer Series Paper, Die-Cutting, Quick & Easy Card
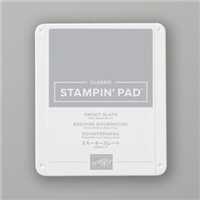
I needed a masculine birthday card this week and created it using the stamp set Happiest of Birthdays and In Good Taste Designer Series Paper.
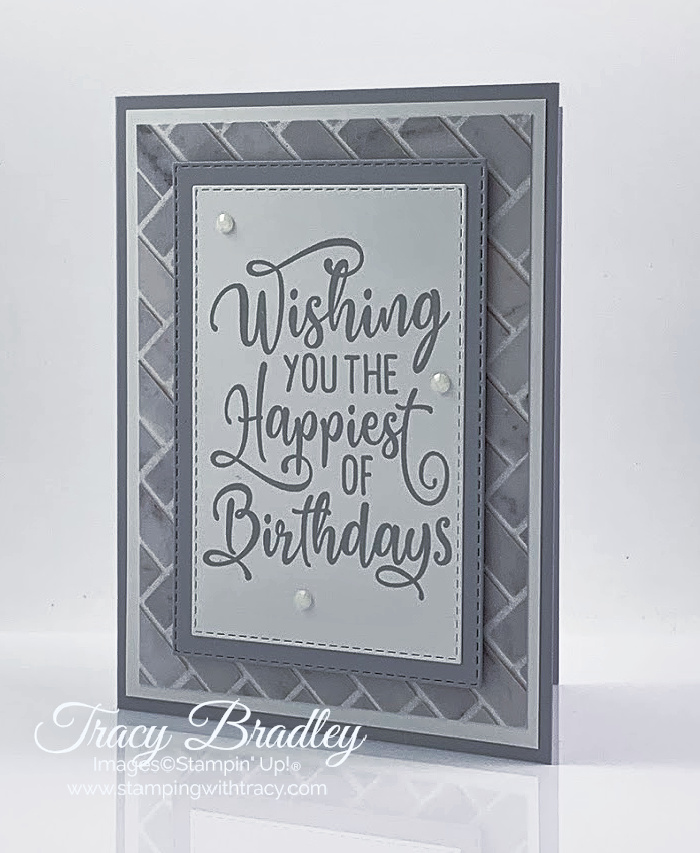

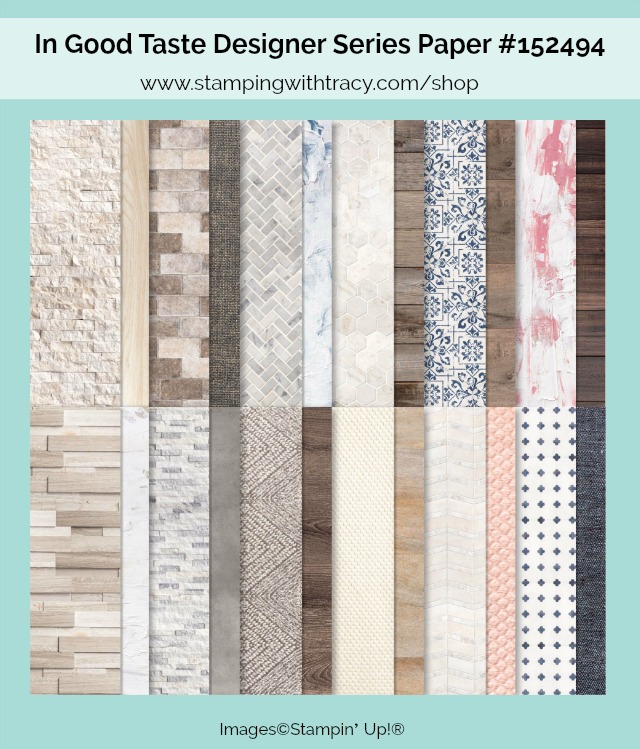
I started with a base of Smoky Slate cardstock and then added a layer of Whisper White cardstock and then a layer of In Good Taste Designer Series Paper. I struggle bit with masculine cards but this was the perfect paper to use!
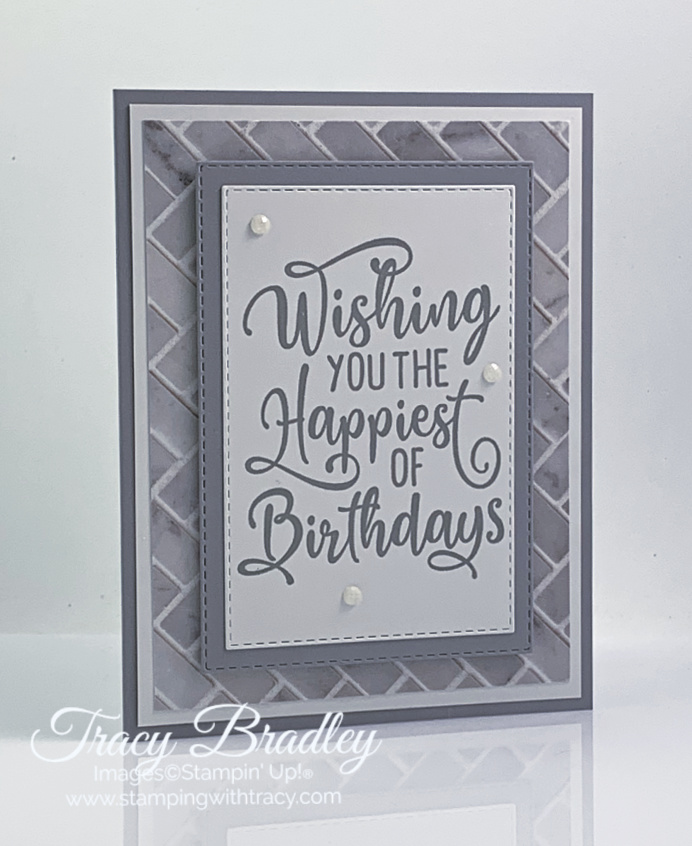
I stamped the sentiment in Smoky Slate ink using the stamp set Happiest of Birthdays and then cut it out using the Stitched Rectangle Dies. I cut another larger rectangle out of Smoky Slate cardstock and layered the two pieces together. Stampin’ Dimensionals were added to back to give the card some dimension. I finished by adding three Elegant Faceted Gems to the front. If you’d like to make today’s card, you can find the measurements I used below the Supply List.

Supply List
If you need any stamping supplies, I’d love to be your demonstrator! You can place an order by clicking any of the images below to go to my Stampin’ Up! online store. If you have questions about products you’re considering purchasing or ones you’ve already purchased, I’m just an email away (click the Email Me button on the sidebar of my blog).
Measurements
- Smoky Slate cardstock: 8 -1/2″ x 5-1/2″
- Smoky Slate cardstock: approx. 4-3/4″ x 3-1/4″ (for stitched rectangle)
- Whisper White cardstock: (2) 5-1/4″ x 4″ (one for inside the card)
- Whisper White cardstock: approx. 4-1/4″ x 3″ (for stitched rectangle)
- In Good Taste Designer Series Paper: 5″ x 3-3/4″
Tracy’s Quick Links
Place an Order
Clearance Rack
$99 Starter Kit
Paper Pumpkin
Tracy’s Customer Rewards
Bradley Points
by Tracy | Nov 26, 2020 | Uncategorized

Happy Thanksgiving Day to everyone in the United States. This holiday feels very different as many of us are not gathering together with our families but there are many things to be grateful for. Mark and I will be having a very quiet Thanksgiving but we’re going all out in the food department and making all our favorites.
2020 has brought challenges to all of us. This past year I’ve had so many of you reach out to me and I’m very thankful for all of you!
From my family to yours, Happy Thanksgiving! Be safe, healthy and happy!