by Tracy | Oct 12, 2020 | Die-Cutting, Embossing Folders, Rectangle Stitched Dies
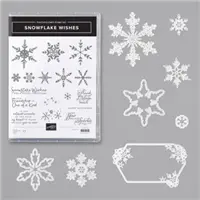
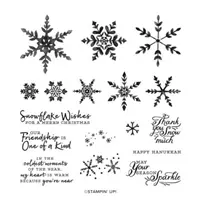
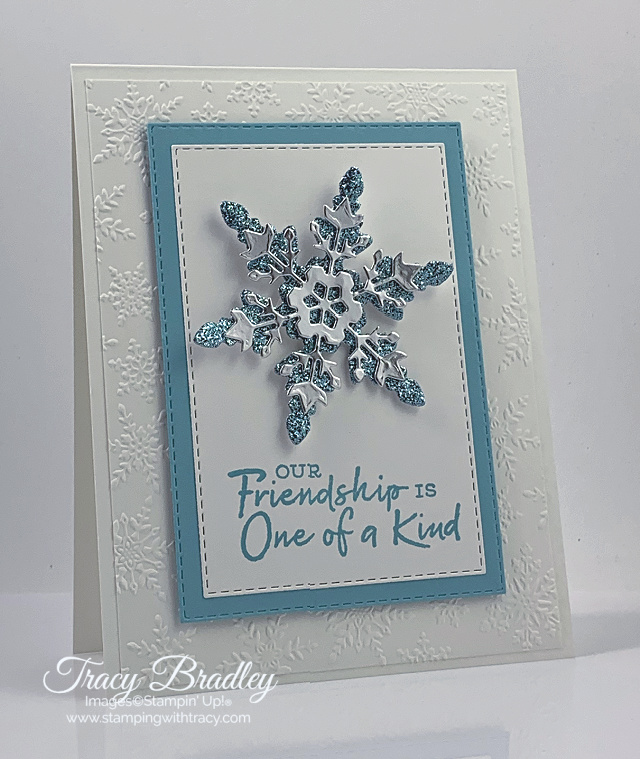
Today’s card features the Snowflake Wishes Bundle which includes the Snowflake Wishes stamp set and So Many Snowflakes Dies.


I started with a base of Thick Whisper White cardstock and then added a layer of Whisper White cardstock that was embossed using the Winter Snow Embossing Folder and the Stampin’ Cut & Emboss Machine. The two stitched rectangles were made using the Rectangle Stitched Dies. These dies are currently on the Low Inventory List which means they could go on backorder soon so grab them while they’re still in stock.


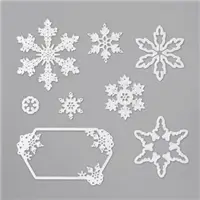
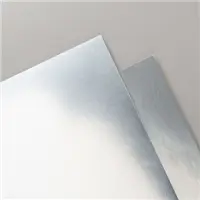
The two snowflakes were made using the So Many Snowflakes Dies. I used Balmy Blue Glimmer Paper for the bottom snowflake (you can find this paper in the Mini Catalog) and Silver Foil for the top snowflake. To the Silver Foil snowflake, I added Glue Dots (I rolled them into a ball) and placed them all around the center before attaching it to the Glimmer Paper snowflake. Two Dimensionals were added to the back before adhering it to the Stitched Rectangle. The sentiment was stamped in Balmy Blue ink. If you’d like to make today’s card, all the measurements I used can be found below the Supply List.
Supply List
If you need any stamping supplies, I’d love to be your demonstrator! You can place an order by clicking any of the images below to go to my Stampin’ Up! online store. If you have questions about products you’re considering purchasing or ones you’ve already purchased, I’m just an email away (click the Email Me button on the sidebar of my blog).
Measurements
- Thick Whisper White cardstock: 11″ x 4-1/4″
- Whisper White cardstock: 5-1/4″ x 4″
- Whisper White cardstock: approx. 4-1/8″ x 2-3/4″ (stitched rectangle)
- Balmy Blue cardstock: approx. 4-5/8″ x 3-1/8″ (stitched rectangle)
- Balmy Blue Glimmer Paper: scrap for snowflake
- Silver Foil Sheet: scrap for snowflake
Poinsettia Place Card Sampler
Place a minimum $50 order at my Stampin’ Up! online store using the host code QF2N6TDS and as a thank you, you’ll receive 6 card kits (2 each of three designs) with envelopes and a PDF Tutorial with instructions, pictures and a supply list. You’ll receive all the paper and embellishments needed to make the cards and all the paper will be cut, scored and die cut for you (you’ll need to supply your own adhesive, ink and stamp set). All the work is done for you! The last day to sign up for the Poinsettia Place Card Sampler is Tuesday, October 13th. For all the details, please click here.




Tracy’s Quick Links
Place an Order
Clearance Rack
$99 Starter Kit
Paper Pumpkin
Tracy’s Customer Rewards
Bradley Points
by Tracy | Oct 9, 2020 | Designer Series Paper, Die-Cutting, Quick & Easy Card
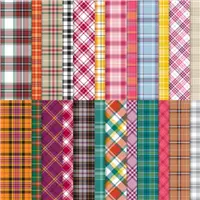
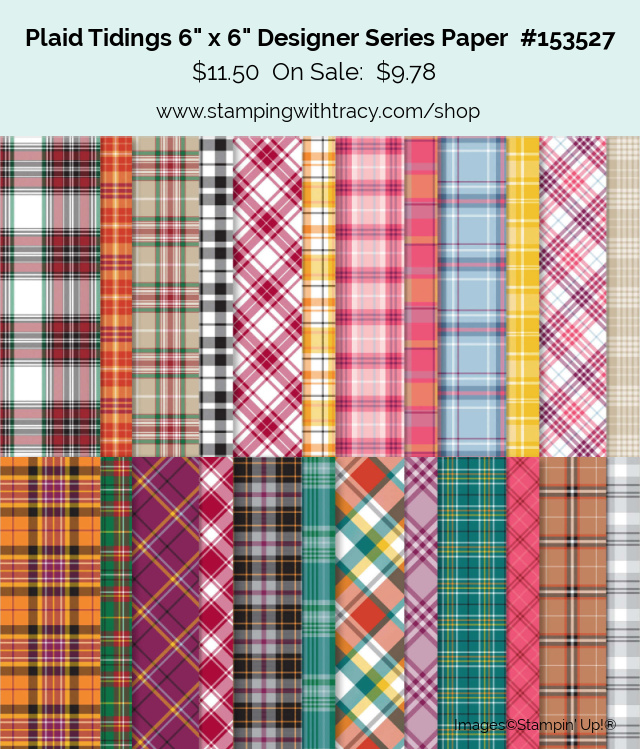
Today I have another card featuring Plaid Tidings Designer Series Paper, one of fifteen packages of Designer Series Paper on sale this month.
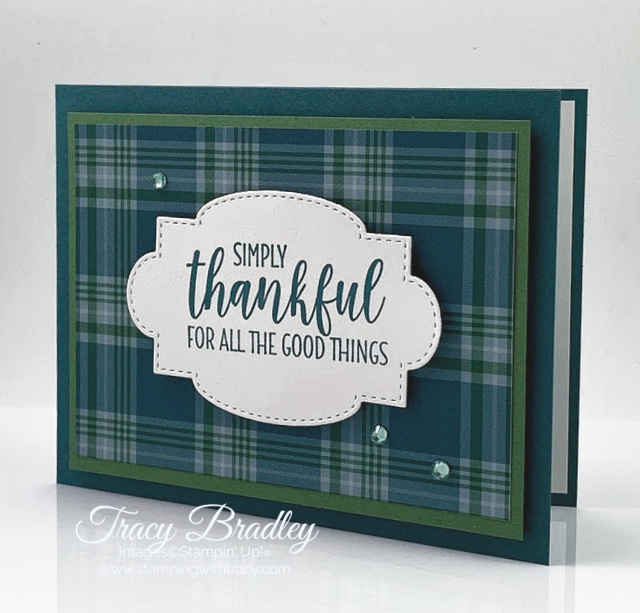
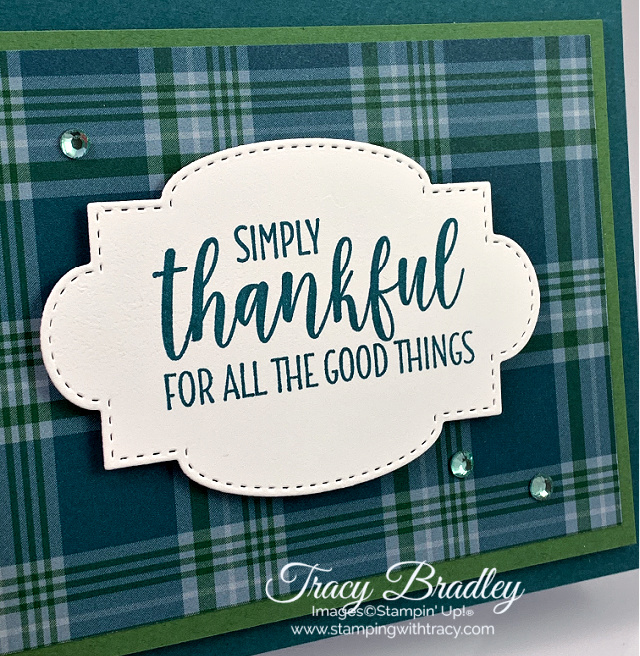
The Designer Series Paper is definitely the star of this card! I started with a base of Pretty Peacock cardstock and then added a layer of Garden Green. These two colors coordinate beautifully with this design.

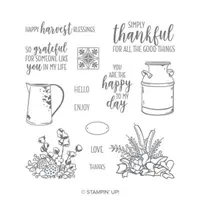
The sentiment was stamped in Pretty Peacock ink using the stamp set, Country Home. and was cut out using the Stitched So Sweetly Dies. For some sparkle, I added three Holiday Rhinestones in Coastal Cabana. Don’t let the name of these rhinestones fool you. They can be used any time of the year! If you’d like to make today’s card, you can find the measurements I used below the Supply List.

Supply List
If you need any stamping supplies, I’d love to be your demonstrator! You can place an order by clicking any of the images below to go to my Stampin’ Up! online store. If you have questions about products you’re considering purchasing or ones you’ve already purchased, I’m just an email away (click the Email Me button on the sidebar of my blog).
Sale: $9.78
Price: $11.50
Measurements
- Pretty Peacock cardstock: 11″ x 4-1/4″
- Garden Green cardstock: 5″ x 3-3/4″
- Plaid Tidings Designer Series Paper: 4-3/4″ x 3-1/2″
- Whisper White cardstock: 5-1/4″ x 4 (inside card)
- Whisper White cardstock: scrap for sentiment
Poinsettia Place Card Sampler
Place a minimum $50 order at my Stampin’ Up! online store using the host code QF2N6TDS and as a thank you, you’ll receive 6 card kits (2 each of three designs) with envelopes and a PDF Tutorial with instructions, pictures and a supply list. You’ll receive all the paper and embellishments needed to make the cards and all the paper will be cut, scored and die cut for you (you’ll need to supply your own adhesive, ink and stamp set). All the work is done for you! The last day to sign up for the Poinsettia Place Card Sampler is Tuesday, October 13th. For all the details, please click here.
Tracy’s Quick Links
Place an Order
Clearance Rack
$99 Starter Kit
Paper Pumpkin
Tracy’s Customer Rewards
by Tracy | Oct 6, 2020 | Card Sampler, Designer Series Paper, Die-Cutting, Embossing Folders
My Poinsettia Place Card Sampler is now available but only for a limited time!
Here’s how you can earn my FREE Poinsettia Place Card Sampler:
- Place a minimum $50 order (before tax/shipping) at my Stampin’ Up! Online Store.
- Use my special Poinsettia Place Card Sampler Host Code when placing your order: QF2N6TDS
- Place your order on or before Tuesday, October 13, 2020.
- If your order reaches $150 or more, please DO NOT use the host code so you can receive Stampin’ Rewards (free product directly from Stampin’ Up!). Once you place your order, simply drop me an email letting me know that you’d like the Poinsettia Place Card Sampler (you only need to contact me if your order is over $150).
Here’s What You’ll Receive:
- All the paper and embellishments needed to make six cards (two each of three different designs). The paper will be cut, scored, embossed and die cut for you! You’ll need to supply your own adhesive, ink and stamp set (per Stampin’ Up! I cannot send stamped images). Envelopes will also be provided.
- A PDF Tutorial with instructions, pictures, cutting measurements and a complete supply list of all the products used.
- Earn at least one Bradley Point (earn eight Bradley Points and redeem them for free product)
All the Other Important Stuff:
- Your Poinsettia Place Card Sampler will ship first-class mail on Friday, October 23, 2020 and will be mailed to the address used on your online order.
- You’ll receive an email when I mail your Card Sampler. The PDF Tutorial will be included in that email.
- When using the Poinsettia Place Card Sampler Host Code to place your order, you will not qualify for my regular Customer Rewards Card Kits.
- Per Stampin’ Up! policy, kits can only be mailed within the United States.
- Limit 1 per person
The special Poinsettia Card Sampler HOST CODE will close at the end of day on October 13th and after that date, the Card Sampler will no longer be available.
Expected ship date of the Card Sampler is Friday, October 23, 2020.
Click here to place an order
Supplies Needed To Create the Poinsettia Place
Card Sampler
Listed below are the supplies you’ll need to complete the cards exactly as shown (or you can use what you already own). Simply click any of the products and you’ll be taken to my Stampin’ Up! online store. When placing your order, don’t forget to use the special Poinsettia Place Card Sampler Host Code (please do not use host code if your order is over $150 – see above).
Click here to place an order
If you aren’t sure how to use a host code, click here!
If you have questions, please don’t hesitate to contact me!
by Tracy | Oct 6, 2020 | Designer Series Paper, Die-Cutting, Embossing Folders, Free Tutorial, Stampin' Cut & Emboss Machine
Today I have my FREE Tuesday Tutorial for you but first I’d like to thank everyone who left a comment about their favorite crafting tool. I loved reading all of your comments!
I used a random generator to choose the winner of the (retired) Country Floral Embossing Folder and it’s “L”. Congratulations!!! Please contact me within 24 hours with your name and mailing address!

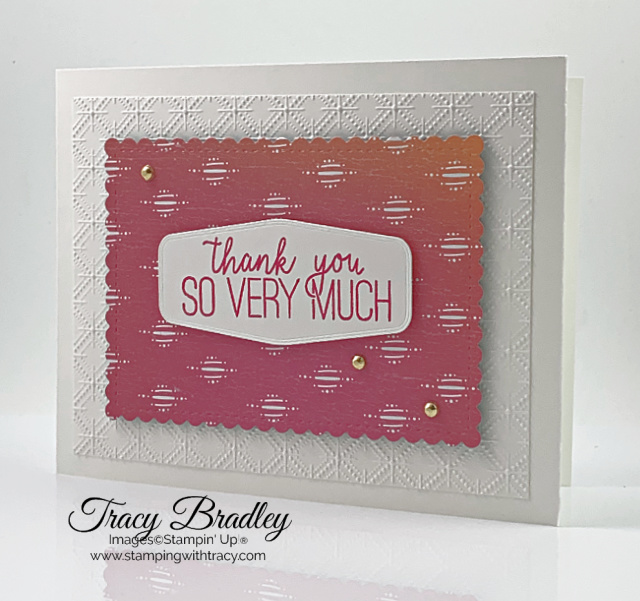
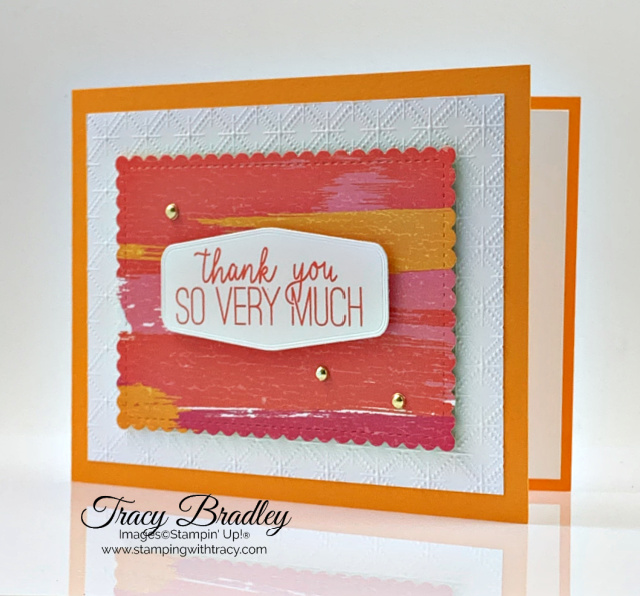
Today’s tutorial is for the card I shared yesterday and you can see that post here. Today I have several more variations of the same card using different designs of our Artistry Blooms Designer Series Paper (this paper, along with 14 others, is on sale all this month)! You can access your free tutorial below the Supply List.
All of the cards below use the same supplies as the one featured in the tutorial (the first card is the one I shared yesterday) except for the cardstock and ink.

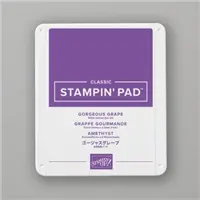
Gorgeous Grape cardstock and Gorgeous Grape ink

Whisper White Thick & Whisper White cardstock and Melon Mambo Ink
Mango Melody cardstock and Mango Melody ink
Night of Navy cardstock and Night of Navy ink

Supply List
If you need any stamping supplies, I’d love to be your demonstrator! You can place an order by clicking any of the images below to go to my Stampin’ Up! online store. If you have questions about products you’re considering purchasing or ones you’ve already purchased, I’m just an email away (click the Email Me button on the sidebar of my blog).
Sale: $9.78
Price: $11.50


Tracy’s Quick Links
Place an Order
Clearance Rack
$99 Starter Kit
Paper Pumpkin
Tracy’s Customer Rewards
Bradley Points
by Tracy | Oct 5, 2020 | Designer Series Paper, Die-Cutting, Embossing Folders, Stampin' Cut & Emboss Machine
Today’s card features Artistry Blooms Designer Series Paper, one of fifteen packages of paper on sale this month! You can see all the paper on sale HERE.

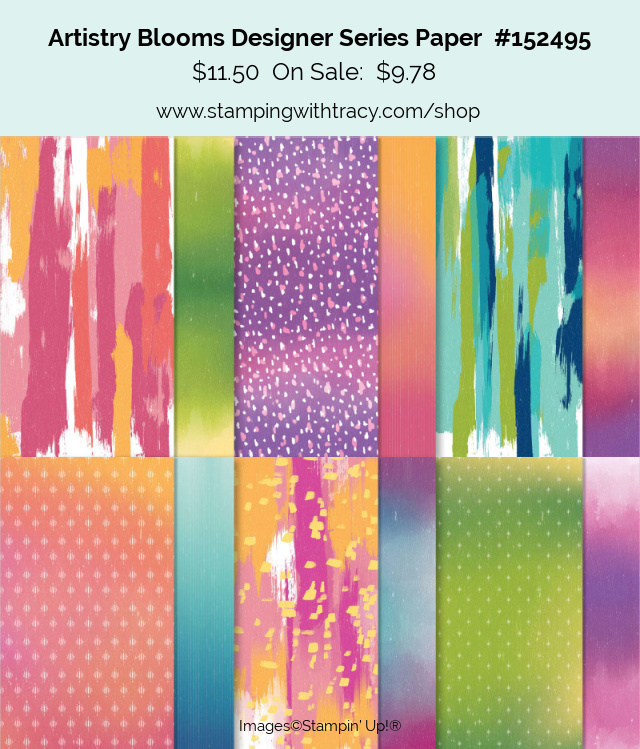
I started with a base of Granny Apple Green cardstock and then added another layer of this pretty green paper but embossed it first with the Dainty Diamonds Embossing Folder using the Cut & Emboss Machine. For this particular card, I found that when using the Dainty Diamonds Embossing Folder, you need to be very careful that you’re placing your cardstock in the embossing folder straight. I had to add a few sheets to the recycle bin because I wasn’t paying attention that the paper was straight and when I glued it to the base, the whole card looked crooked. I’ve used this embossing folder many times before and have never had this problem but it was obvious with this card.
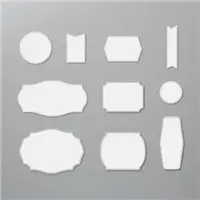
The Artistry Blooms Designer Series Paper was cut out using the Stitched So Sweetly Dies and I added Stampin’ Dimensionals to the back before adding it to the front of my card. The sentiment was stamped in Garden Green ink using the stamp set, Butterfly Gala, and then cut out with the Tasteful Labels Dies. I added some Gilded Gems to complete the card (these are very sparkly in person).

Here’s another version of the card using the Hammered Metal Embossing Folder. You can find all the measurements I used below the Supply List.

Did you make a card on Saturday for World Cardmaking Day? In honor of that day, I offered a chance to win the Country Floral Embossing Folder (retired). If you’d like to enter, please head over to my post from Saturday and leave a comment (please note, I am unable to ship outside the U.S. but would still love to hear from you if you don’t live in the U.S). I’ll announce the winner tomorrow.

Supply List
If you need any stamping supplies, I’d love to be your demonstrator! You can place an order by clicking any of the images below to go to my Stampin’ Up! online store. If you have questions about products you’re considering purchasing or ones you’ve already purchased, I’m just an email away (click the Email Me button on the sidebar of my blog).
Sale: $9.78
Price: $11.50
Measurements
- Granny Apple Green cardstock: 11″ x 4-1/4″
- Granny Apple Green cardstock: 5″ x 3-3/4″
- Artistry Blooms Designer Series Paper: approx. 4-1/4″ x 3-1/4″
- Whisper White cardstock: 5-1/4″ x 4″ (inside)
- Whisper White cardstock: scrap for sentiment
Tracy’s Quick Links
Place an Order
Clearance Rack
$99 Starter Kit
Paper Pumpkin
Tracy’s Customer Rewards
Bradley Points