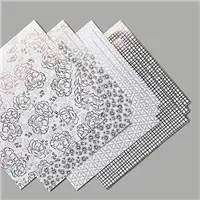
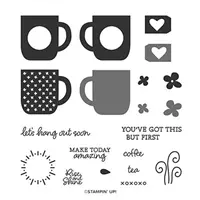
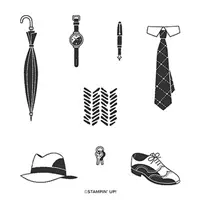
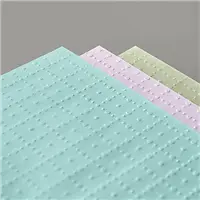
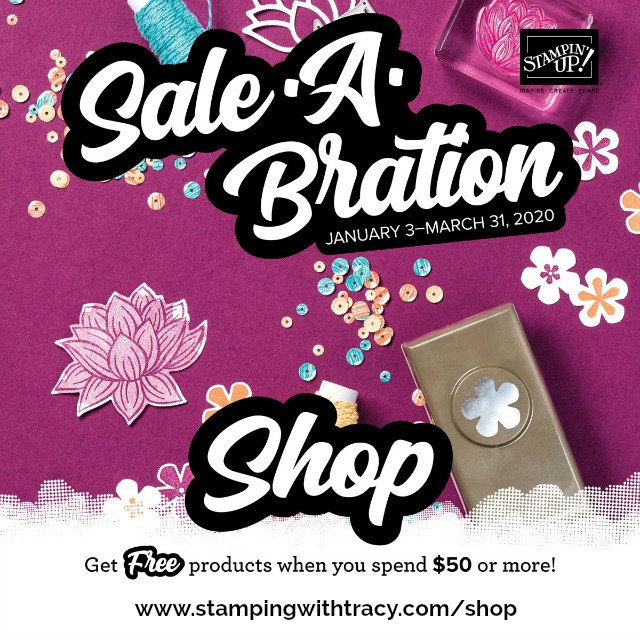
Sale-a-Bration just got even better!! Starting today, five new Sale-a-Bration products are available!
Choose one of these NEW items with a $50 order:
Flowering Foils Specialty Designer Series Paper
Well Dressed Stamp Set
So Very Vellum Specialty Designer Series Paper
Choose one of these NEW items with a $100 order:
Rise & Shine Stamp Set
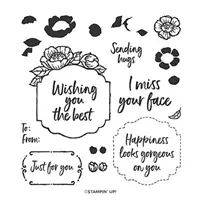
Tags in Bloom Stamp Set
There’s no limit to how many products you can earn! For more information about each of these NEW items, click the images below. All Sale-a-Bration products are while supplies last!!! (The Kerchief Card Kit and Metallic Baker’s Twin & Sequins Combo Pack have already sold out).
Click the image below to download the 2nd Release Sale-a-Bration brochure.
It’s Tuesday so I have another free tutorial for you! Click below to access it!
Supply List
If you need any stamping supplies, I’d love to be your demonstrator! You can place an order by clicking any of the images below to go to my Stampin’ Up! online store.If you have questions about products you’re considering purchasing or ones you’ve already purchased, I’m just an email away (click the Email Me button on the sidebar of my blog).
Starting tomorrow, Flowering Foils Specialty Designer Series Paper (#152312) will be available as a FREE Sale-a-Bration gift with a $50 purchase. Sale-a-Bration is that time of year when you earn free products with every $50 purchase and tomorrow, five new products will be released! Three of them will be available with a $50 purchase and two, with a $100 purchase. This is the last month of Sale-a-Bration and all the FREE gifts are while supplies last!
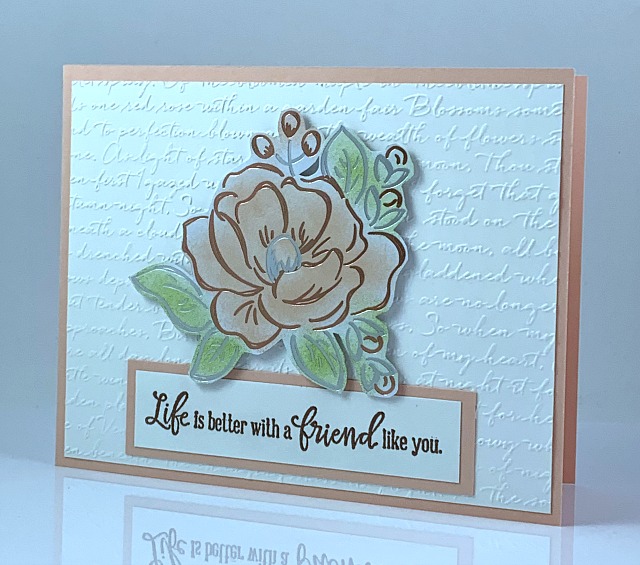
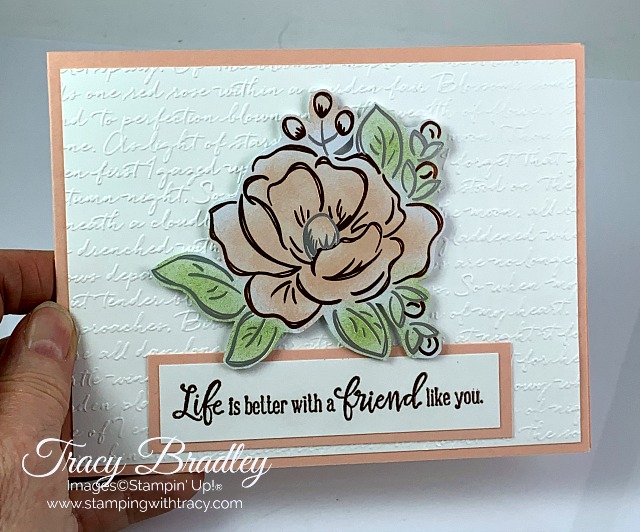
To create today’s card, I hand-cut a flower from one of the sheets in the Flowering Foils Designer Series Paper. I really don’t care for fussy cutting, but it really was pretty easy. Then using sponge daubers and ink pads, I added Petal Pink and Granny Apple Green to the flower. I added Stampin’ Dimensionals to the back and set it aside.
The base of the card is Petal Pink cardstock with a layer of Whisper White that was embossed using a die-cutting machine and the Scripty 3D embossing folder. The embossed piece was adhered to the Petal Pink using Multipurpose Glue.
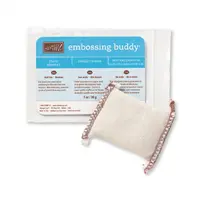
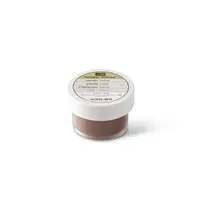
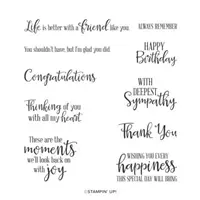
The sentiment was embossed onto a piece of Whisper White cardstock using the stamp set Peaceful Moments and Copper Embossing Powder. To prepare for embossing, rub the Embossing Buddy over the Whisper White paper. Then, stamp the sentiment in Versamark ink, pour the embossing powder over it and shake off the excess. Heat the Heat Tool for at least thirty seconds and then hold it over the sentiment and watch the magic happen as the embossing powder melts. The sentiment was then layered onto a piece of Petal Pink cardstock and adhered to the card using Multipurpose Glue. The flower (with the Stampin’ Dimensionals on the back) was then adhered to the front.
Optional: Add a piece of Whisper White cardstock to the inside of the card.
Another product available tomorrow for the Sale-a-Bration 2nd Release is So Very Vellum Specialty Designer Series Paper. This paper will be FREE with a $50 purchase and it’s beautiful! I’ll have a card to share with you later in the week using this fun paper. In the meantime, take a look at the video below!
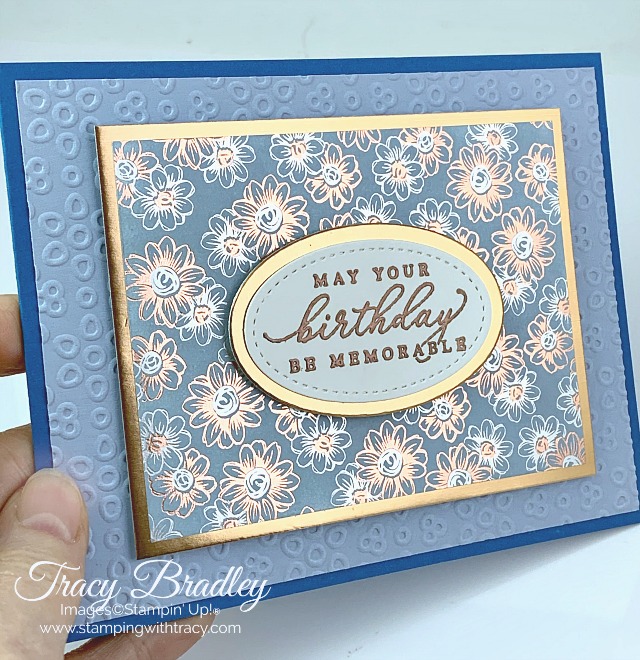
I used the Flowering Foils Specialty Designer Series Paper (#152312) to create today’s card. Beginning on March 3rd, this beautiful foil paper will be available as a FREE Sale-a-Bration gift with a $50 purchase but only while supplies last!
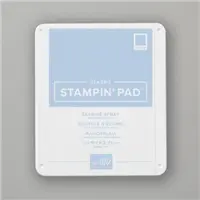
This design is pretty all on it’s own but I used a Seaside Spray ink pad and a sponge dauber to add color to the paper.
The card base is Pacific Point cardstock with a layer of Seaside Spray cardstock, embossed using the Eyelet Lace embossing folder and a die-cutting machine (all the measurements I used can be found below the Supply List).
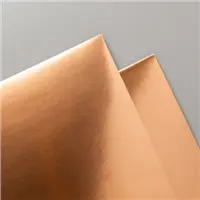
After coloring the Flowering Foils Designer Series paper, I adhered it to a piece of Gold Foil and then added Stampin’ Dimensionals to the back.
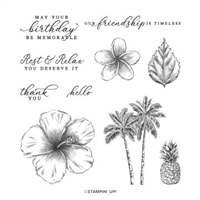
The sentiment was stamped with Copper Stampin’ Emboss Powder using the stamp set, Timeless Tropical. To prepare my Whisper White paper, I went over the surface with an Embossing Buddy as it helps extra powder from sticking. Then I stamped the sentiment using a Versmark pad, poured the embossing powder over the paper and shook off the excess. Once my Heat Tool was very hot (cuts down on warping) I melted the embossing powder for beautiful results!
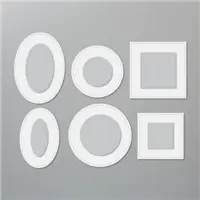
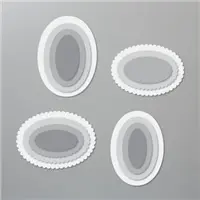
The sentiment was cut out using the Stitched Shapes Dies and a larger oval in Gold Foil was cut out using the Layering Ovals Dies. They were adhered together and then Stampin’ Dimensionals were added to the back before placing it on my card.
Supply List
If you need any stamping supplies, I’d love to be your demonstrator! You can place an order by clicking any of the images below to go to my Stampin’ Up! online store.If you have questions about products you’re considering purchasing or ones you’ve already purchased, I’m just an email away (click the Email Me button on the sidebar of my blog).
Please note: Flowering Foils Specialty Designer Series Paper (#152312) will be available as a FREE Sale-A-Bration gift with a $50 order beginning March 3, 2020.
Whisper White cardstock: 5-1/4″ x 4″ for inside card
Paper Pumpkin
The last day to order the March Paper Pumpkin kit is March 10th. This kit contains two stamp sets! Click here to sign up today!
Coordinating Colors: Balmy Blue, Basic Gray, Calypso Coral, Grapefruit Grove, Gray Granite, Pear Pizzazz, Petal Pink, Shaded Spruce, and So Saffron
New Host Code
I have a new host code. Please use this code when placing your order ($149 or less) and I’ll send you an extra card kit. If your order is over $150, do not use this code so you’ll be eligible for Host Rewards directly from Stampin’ Up! Click here to place an order!
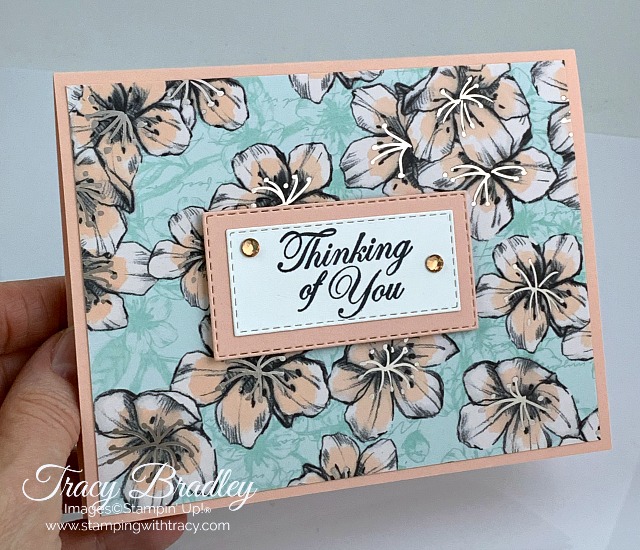
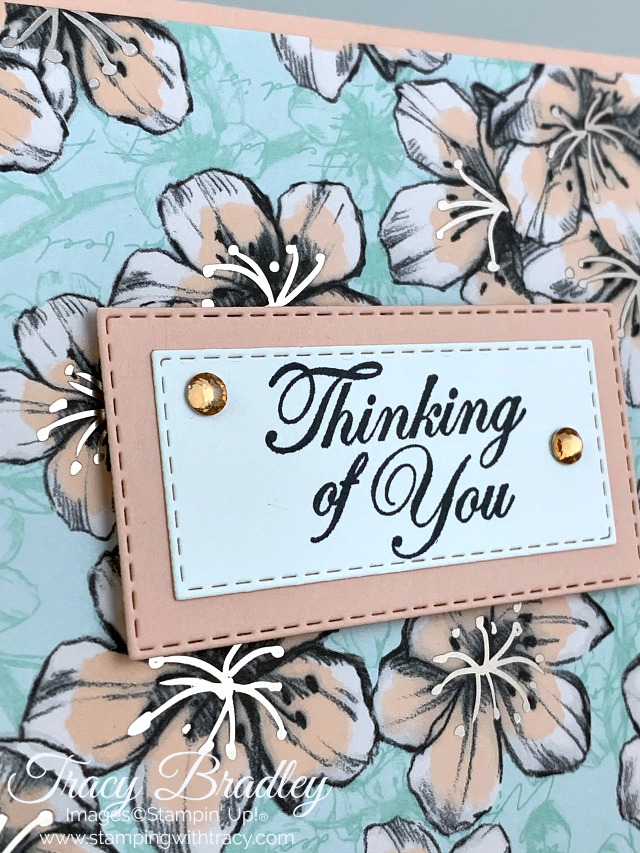
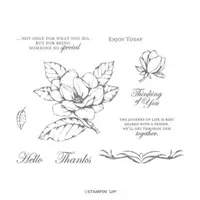
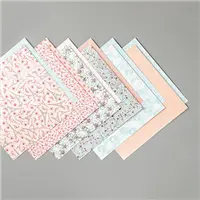
I used Parisian Blossoms Designer Series Paper and the stamp set Good Morning Magnolia to create today’s card. It’s quick and easy to create! If you’d like to make today’s card, you can find all the measurements below the Supply List.
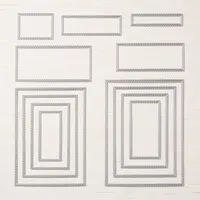
I adhered a piece of Parisian Blossoms Designer Series Paper to a Petal Pink card base using Snail adhesive. Then, I stamped the sentiment onto a piece of Whisper White cardstock using Memento Ink and cut it out using my die-cutting machine and the Stitched Rectangles Dies. I also cut a larger Petal Pink cardstock rectangle and then layered the two pieces together using Snail adhesive. Stampin’ Dimensionals were placed on the back and it was adhered to the Designer Series Paper. To complete the card, I used two Champagne Rhinestones. Quick and easy!
Supply List
If you need any stamping supplies, I’d love to be your demonstrator! You can place an order by clicking any of the images below to go to my Stampin’ Up! online store.If you have questions about products you’re considering purchasing or ones you’ve already purchased, I’m just an email away (click the Email Me button on the sidebar of my blog).
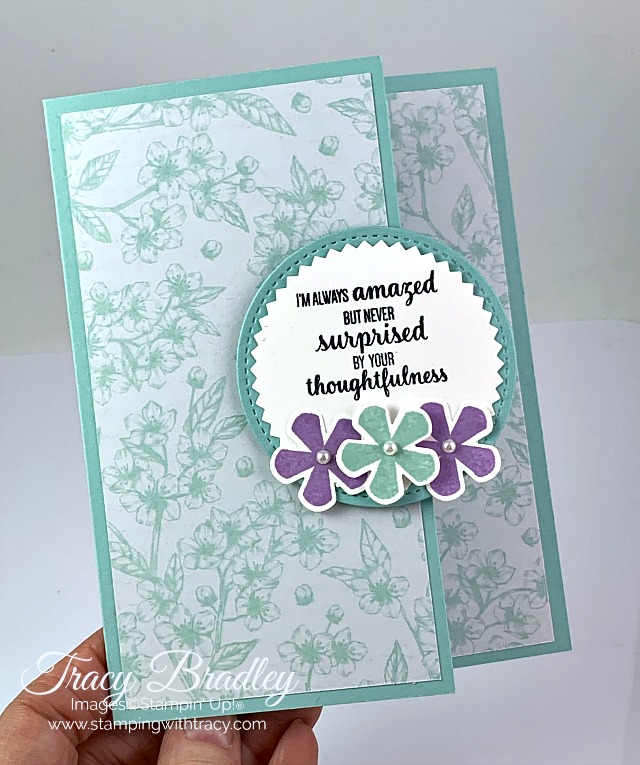
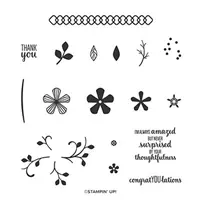
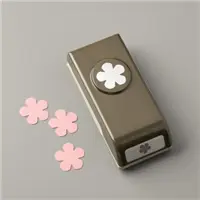
To create my card to share with you today, I used the Stampin’ Up! stamp set Thoughtful Blooms and the Small Bloom Punch. These two coordinating products are FREE Sale-a-Bration products you can earn. When you place a $50 order, you can choose the Thoughtful Blooms stamp set and with a $100 order, the Small Bloom Punch. All products in the Sale-a-Bration catalog are while supplies last (two products have already sold out – the Kerchief Card Kit and the Metallic Baker’s Twine & Sequins Combo Pack).
I started by adhering two panels of Parisian Blossoms Designer Series Paper to the Pool Party card base (you can find all the measurements I used below the supply list). I added another panel of Whisper White to the inside of the card.
The sentiment was stamped onto Whisper White cardstock using Memento Ink and then cut out using the Starburst Punch. I adhered it to a larger piece of Pool Party cut out with the Stitched Shapes Dies and a die-cutting machine. On the back, Stampin’ Dimensionals were added to the right side and then attached to the card.
I stamped three flowers, two in Highland Heather ink and one in Pool Party and then cut them out with the Small Bloom Punch. I adhered the Highland Heather flowers to the card using Multipurpose Glue but the Pool Party flower has a Mini Stampin’ Dimensional on the back. To complete the card, I added a pearl to the inside of each flower.
Supply List
If you need any stamping supplies, I’d love to be your demonstrator! You can place an order by clicking any of the images below to go to my Stampin’ Up! online store.If you have questions about products you’re considering purchasing or ones you’ve already purchased, I’m just an email away (click the Email Me button on the sidebar of my blog).