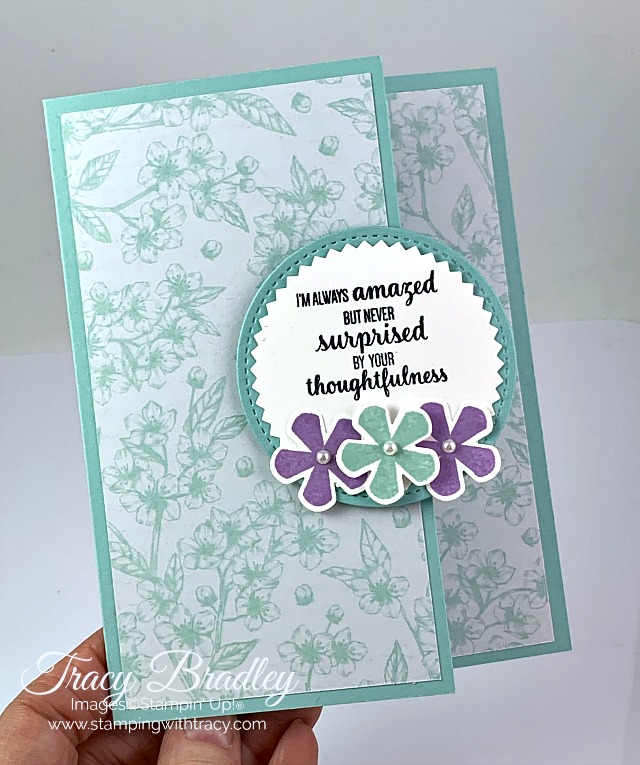
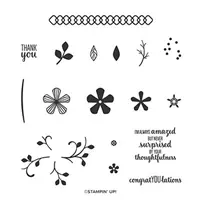
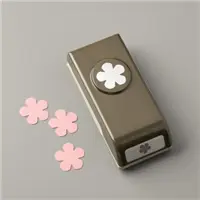
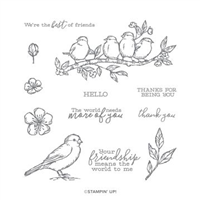
It’s Tuesday which means I have another free tutorial for you! This fun fold card was on my blog several weeks ago and features two Sale-a-Bration gifts: the Thoughtful Blooms stamp set (FREE with a $50 purchase) and the Small Bloom Punch (FREE with a $100 purchase). Sale-a-Bration ends on the 31st but all of the free gifts are while supplies last. Unfortunately three items have already sold out:
Golden Honey Designer Series Paper
Metallic Baker’s Twine & Sequins Combo
Kerchief Card Kit
But there are many items still available! If you’ve been planning to place an order and you’ve had your eye on any of the Sale-a-Bration gifts, please order as soon as you can! I don’t want you to be disappointed that one of your favorites has sold out.
Click here to see all of the Sale-a-Bration gifts you can earn with your $50 and $100 purchase!
Supply List
If you need any stamping supplies, I’d love to be your demonstrator! You can place an order by clicking any of the images below to go to my Stampin’ Up! online store.If you have questions about products you’re considering purchasing or ones you’ve already purchased, I’m just an email away (click the Email Me button on the sidebar of my blog).
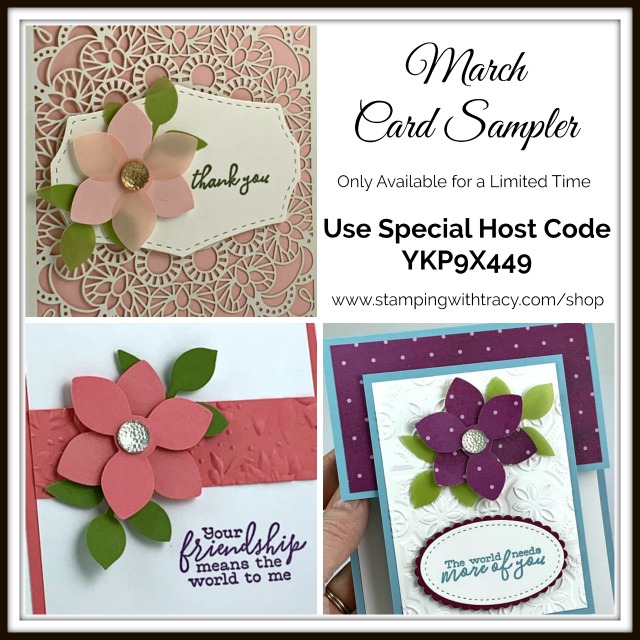
Don’t miss out! Today’s the last day to place your minimum $50 order to receive my March Card Sampler. The Sampler includes six cards, individually packaged and ready for you to assemble (you’ll need to supply your own adhesive, ink and stamp set).
This month I’m also including a FREE package of Clear Faceted Gems that you’ll use on four of the cards. You’ll also receive a link to a video that will guide you as you assemble your cards, along with a PDF Tutorial that includes directions, measurements, pictures and a supply list. And because it’s Sale-A-Bration time, you’ll also choose a FREE gift, directly from Stampin’ Up! For all the details, please click here!
Tomorrow is the last day to sign up for the March Paper Pumpkin. This month each box will receive two stamp sets! Yay! Click hereto sign up before it’s too late!
One of the new 2nd Release Sale-a-Bration products is the Rise and Shine Stamp Set, available absolutely FREE with a $100 purchase. This set coordinates with the Cup of Cheer Dies which debuted in the Holiday Catalog. Check out the video below for more information about this fun stamp set!
All Sale-A-Bration gifts are available while supplies last!!!
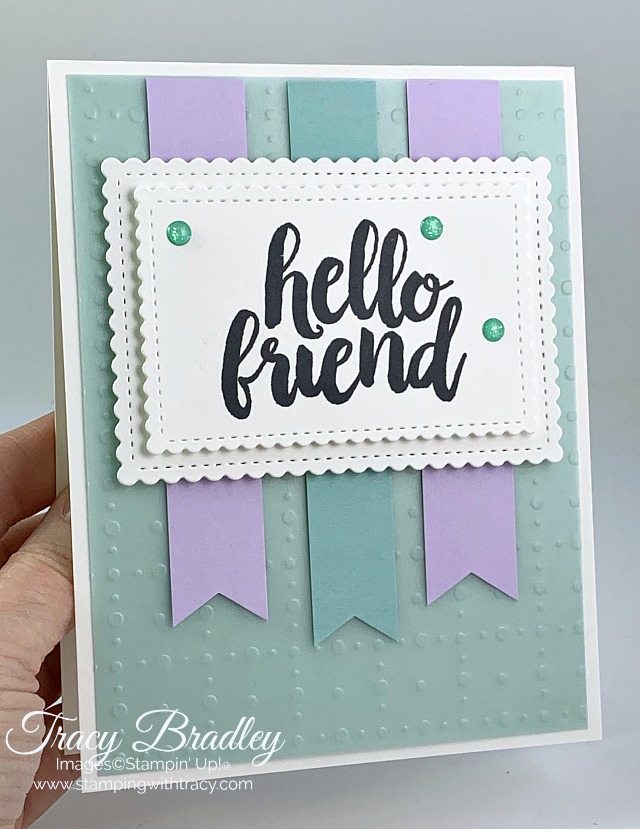
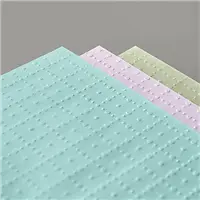
Today’s card features a FREE Sale-a-Bration gift – So Very Vellum Specialty Designer Series Paper (DSP). You can choose this as your free gift with a $50 order (before shipping/tax) and there’s no limit to how many free gifts you can earn. All Sale-a-Bration products are while supplies last or March 31. 2020.
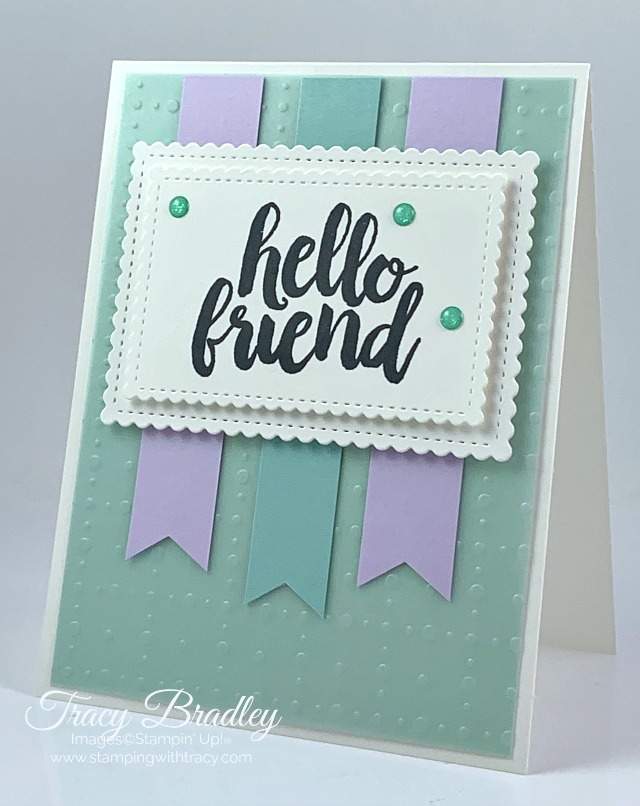
The base of my card is Thick Whisper White with a layer of So Very Vellum DSP. Because the vellum is see-through, I used glue dots to secure it to the card base. I only put one in each corner of the paper and tried to place it where there was a “bump” in the paper.
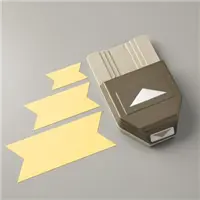
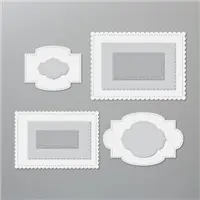
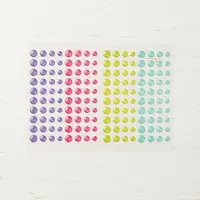
To make my Purple Posy and Pool Party banners, I used the Banner Triple Punch (all measurements are below the Supply List). The sentiment was stamped onto Whisper White cardstock using Memento Ink and the stamp set, Seriously the Best. It was cut using the Stitched So Sweetly Dies and another, larger one, also in Whisper White cardstock, was cut out to adhere the sentiment. I used Stampin’ Dimensionals on both layers. To complete the card, I added three Glitter Enamel Dots which give the card some sparkle!
Supply List
If you need any stamping supplies, I’d love to be your demonstrator! You can place an order by clicking any of the images below to go to my Stampin’ Up! online store.If you have questions about products you’re considering purchasing or ones you’ve already purchased, I’m just an email away (click the Email Me button on the sidebar of my blog).
Whisper White cardstock: approx. 8-1/2″ x 5-1/2″ for (2) stitched rectangles
When you place a minimum $50 order AND use the host code YKP9X449, you’ll receive my March Card Sampler. It includes all the paper (cut, scored, die-cut & punched) and embellishments needed to complete six cards, a PDF tutorial, a link to a video showing how to complete the cards and a free package of Clear Faceted Gems. My March Card Sampler is only available for a limited time so click here for all the details!
Today’s card was created using Flowering Foils Specialty Designer Series Paper. This paper is one of the free gifts you can earn during Sale-a-Bration with a $50 order but it’s only available while supplies last!
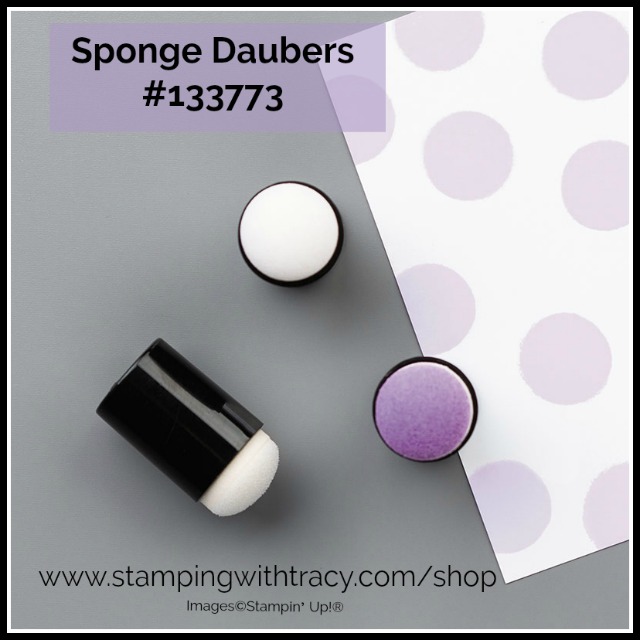
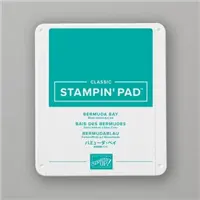
Using a Sponge Dauber and Bermuda Bay ink, I applied color to the front of the Designer Series Paper. If you haven’t used our daubers before, simply slip the dauber on your finger, rub the dauber over the ink pad and apply the ink to your paper. With all the colors Stampin’ Up! carries (and cardstock to match), imagine the possibilities!
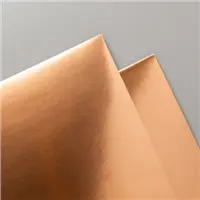
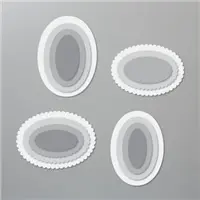
The base of my card is Bermuda Bay with a layer of Whisper White cardstock. I used the stamp set, So Sentimental, for the sentiment and embossed it with Versamark Ink and Copper Embossing Powder. Both the sentiment and scalloped foil oval were cut out using the Layering Ovals Dies and a die-cutting machine, Optional: Add a piece of Whisper White cardstock to the inside.
Supply List
If you need any stamping supplies, I’d love to be your demonstrator! You can place an order by clicking any of the images below to go to my Stampin’ Up! online store.If you have questions about products you’re considering purchasing or ones you’ve already purchased, I’m just an email away (click the Email Me button on the sidebar of my blog).
Flowering Foils Designer Series Paper: 5″ x 3-3/4″
Copper Foil Sheet: scrap for scalloped oval
When you place a minimum $50 order AND use the host code YKP9X449, you’ll receive my March Card Sampler. It includes all the paper (cut, scored, die-cut & punched) and embellishments needed to complete six cards, a PDF tutorial, a link to a video showing how to complete the cards and this month I’m including a free package of Clear Faceted Gems. My March Card Sampler is only available for a limited time! Click here for all the details!
Sale-a-Bration is the perfect time to purchase the no risk Starter Kit. You’ll receive $125 worth of product for just $99 plus a free stamp set of your choice, a free mini paper cutter and a free 6″ x 6″ Sampler of Designer Series Paper. Did I mention that the Starter Kit always ships free??? Once you purchase the kit, you’ll start receiving a 20% discount on everything you purchase.You’ll automatically become a demonstrator and many people think they need to start having parties and selling to others but that is ONLY if you want to! You can choose to purchase just for yourself or start your own business. Whatever you decide, I’m here to support you in any way I can.
How Do I Purchase the Starter Kit?
Grab a catalog (or look online) and choose $125 worth of Stampin’ Up! products you’d like.
My March Card Sampler is now available but only for a limited time! This month I’m adding an extra bonus: a FREE package of Clear Faceted Gems!
Here’s how you can earn my FREE March Card Sampler:
Place a minimum $50 order (before tax/shipping) at my Stampin’ Up! online store.
Use my special March Card Sampler Host Code when placing your order: YKP9X449
Place your order on or before Monday, March 9, 2020.
If your order reaches $150 or more, please DO NOT use the host code so you can receive Stampin’ Rewards (free product directly from Stampin’ Up!). Once you place your order, simply drop me an email letting me know that you’d like the Card Sampler (you only need to contact me if your order is over $150).
Here’s What You’ll Receive:
a FREE package of Clear Faceted Gems
All the paper and embellishments needed to make 6 cards (2 each of three designs). The paper will be cut, scored, punched and die cut for you! You’ll need to supply your own adhesive, ink and stamp set (per Stampin’ Up! I cannot send stamped images). Envelopes will also be provided for each card.
A FREE video explaining how to make each card.
A FREE PDF Tutorial with instructions, pictures, cutting measurements and a complete supply list of all the products used. Keep the instructions in a binder so you can refer to them over and over again!
At least one Free Sale-a-Bration gift directly from Stampin’ Up!
All the Other Important Stuff
Your kits will ship first-class mail no later than Wednesday, March 18, 2020 and will be mailed to the address used on your online order.
On Wednesday, March 18, 2020, you’ll receive an email from me that will include your PDF Tutorial and link for the video.
When using the March Card Sampler Host Code to place your order, you will not qualify for my regular Customer Rewards Card Kits.
Per Stampin’ Up! policy, kits can only be mailed within the United States.
The special March Card Sampler HOST CODE will close at the end of the day on March 9, 2020 and after that date, the card sampler will no longer be available!
Expected ship date of the kits is March 18, 2020.
If you aren’t sure how to use a host code, click here!
Listed below are the supplies, not included in your kit, that you’ll need to complete the cards exactly as shown (or you can use what you already own). Simply click any of the products and you’ll be taken to my Stampin’ Up! online store. When placing your order, don’t forget to use the special March Card Sampler host code to receive your free Clear Faceted Gems, card kits, PDF tutorial and video link for orders (unless your order is over $150 – see above).