It’s Tuesday which means I have a FREE tutorial for you today! Click the link below to access your tutorial!
Supply List
If you need any stamping supplies, I’d love to be your demonstrator! You can place an order by clicking any of the images below to go to my Stampin’ Up! online store.If you have questions about products you’re considering purchasing or ones you’ve already purchased, I’m just an email away (click the Email Me button on the sidebar of my blog).
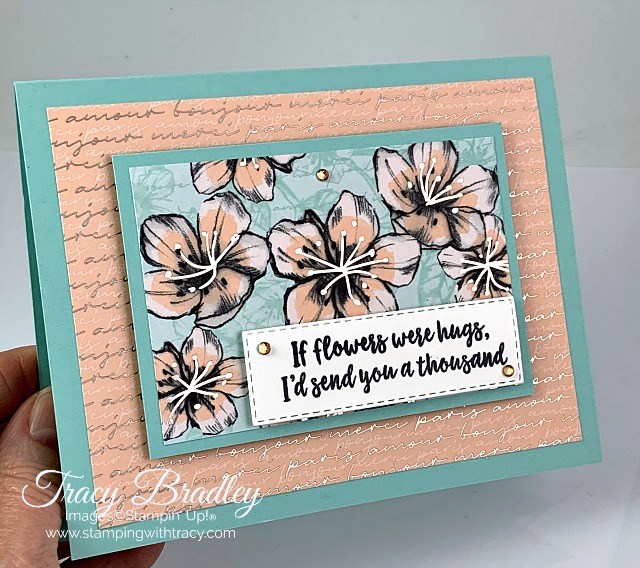
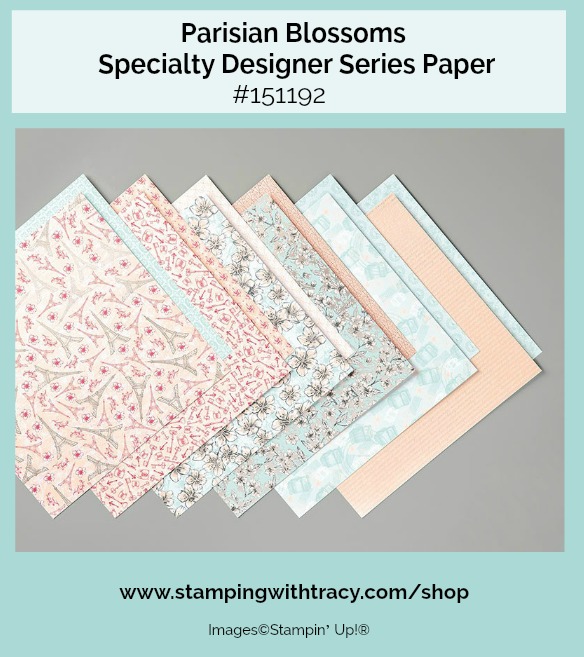
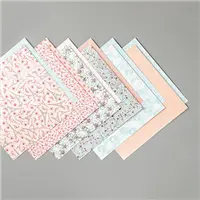
I began with a base of Pool Party cardstock and then added a layer of Parisian Blossoms Designer Series Paper. I layered another smaller piece of Pool Party with another design from the package, added Stampin’ Dimensionals to the back and adhered it to the front of the card.
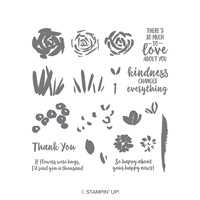
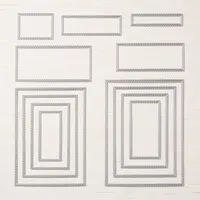
The sentiment was stamped in Memento Ink using the stamp set, Abstract Impressions. It was cut out using the Stitched Rectangle Dies and a die-cutting machine. I also added Stampin’ Dimensionals to the back of this piece before adhering it to the front of the card. To finish the card, I added three Champagne Rhinestones.
If you’d like to make today’s card, you can find the measurements I used below the Supply List.
Happy Stamping!
Supply List
If you need any stamping supplies, I’d love to be your demonstrator! You can place an order by clicking any of the images below to go to my Stampin’ Up! online store.If you have questions about products you’re considering purchasing or ones you’ve already purchased, I’m just an email away (click the Email Me button on the sidebar of my blog).
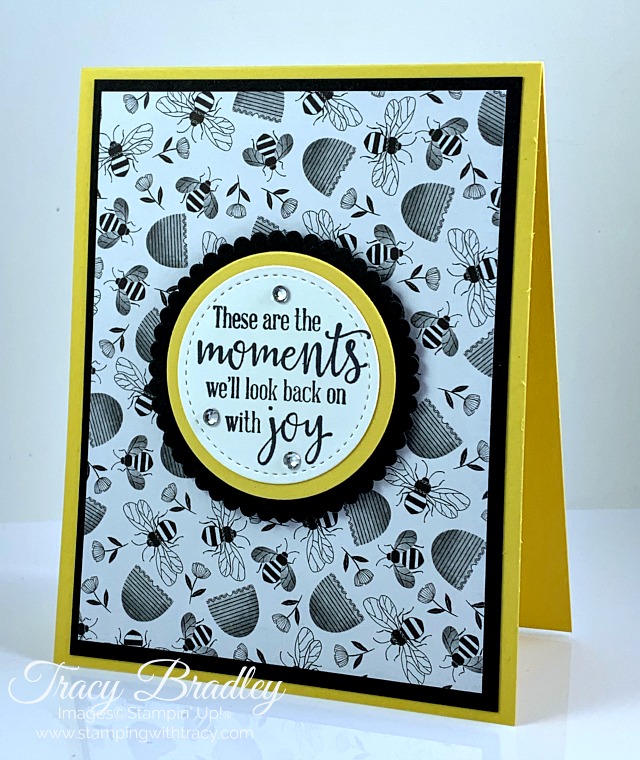
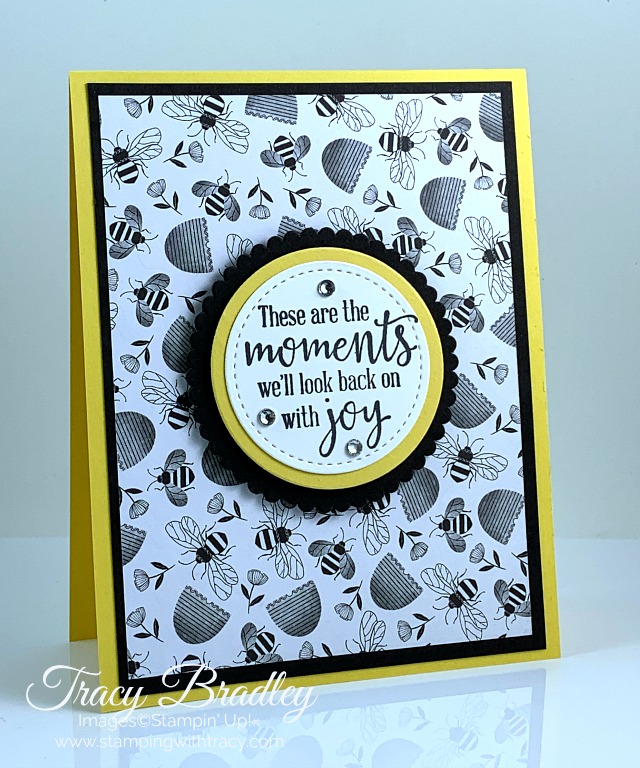
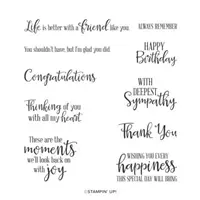
I love the sentiment on today’s card from the stamp set, Peaceful Moments. Every time I read it, I’m reminded to stop and smell the roses and appreciate every day.
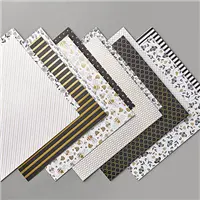
To create today’s card, I layered a piece of Golden Honey Designer Series Paper (FREE with a $50 order) onto Basic Black cardstock and then adhered it to my Daffodil Delight card base.
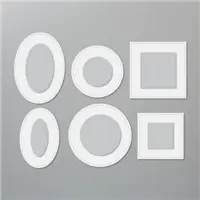
The sentiment was stamped in Memento Ink and cut out with the Stitched Shapes Dies using a die-cutting machine. Using the Layering Circles Dies, I cut a Daffodil Delight circle and a Basic Black scalloped circle. The sentiment was adhered to the Daffodil Delight circle using Snail adhesive and then Stampin’ Dimensionals were added to the back before adhering it to the Basic Black scalloped circle. Before attaching it to the front of the card, more Stampin’ Dimensionals were added. To complete the card, I added three rhinestones.
If you’d like the measurements for today’s card, you can find them below the Supply List.
Happy Stamping!
Supply List
If you need any stamping supplies, I’d love to be your demonstrator! You can place an order by clicking any of the images below to go to my Stampin’ Up! online store.If you have questions about products you’re considering purchasing or ones you’ve already purchased, I’m just an email away (click the Email Me button on the sidebar of my blog).
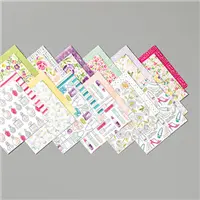
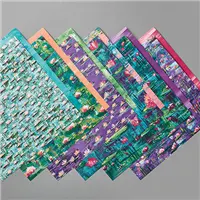
Today’s card was made using Best Dressed Designer Series Paper. Many of the designs I’ve previously shared using this paper have been with the floral side of the paper but as you can see, there’s a variety of different designs!
To create today’s card, I started by running a piece of Purple Posy cardstock through my die-cutting machine using the Subtle embossing folder. Then I added a piece of Best Dressed Designer Series Paper (DSP) to the lower half of the Purple Posy cardstock (you can find all the measurements I used below the Supply List). Before adhering this piece to the Mint Macaron card base, I wrapped our Flax Ribbon around the card so I could cover up where the cardstock and DSP meet. I used Multipurpose Glue to adhere this entire piece to the card base.
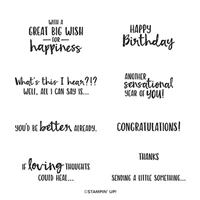
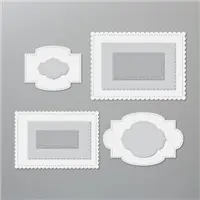
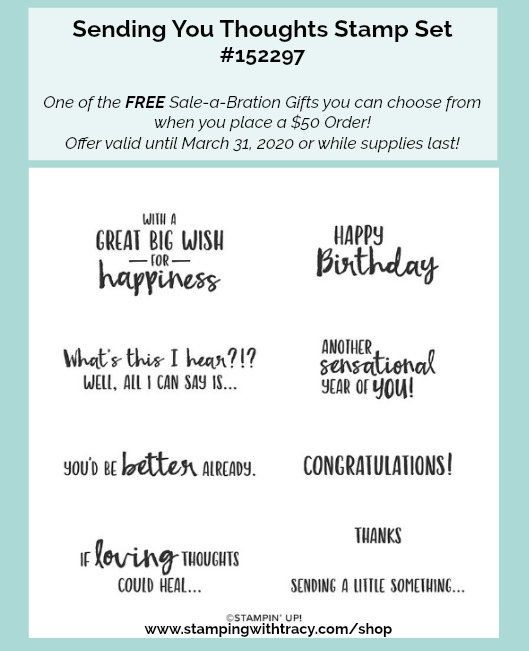
The sentiment was stamped onto Whisper White cardstock using the FREE Sale-a-Bration stamp set, Sending You Thoughts. I cut it out, along with a larger rectangle in Mint Macaron, using my die-cutting machine and the Stitched So Sweetly Dies. After adhering the two pieces together, I added Stampin’ Dimensionals to the back and adhered it to the front of the card.
Since I had some extra Designer Series Paper, I glued some to the flap of my envelope. It makes the envelope look so fancy! If you want to give this a try, it’s super simple and the short video below will show you how to do it!
Supply List
If you need any stamping supplies, I’d love to be your demonstrator! You can place an order by clicking any of the images below to go to my Stampin’ Up! online store.If you have questions about products you’re considering purchasing or ones you’ve already purchased, I’m just an email away (click the Email Me button on the sidebar of my blog).
Golden Honey Designer Series Paper has been on backorder but I’m happy to say, it’s back in stock! This paper is one of the FREE gifts you can choose from when you place a $50 order and there’s no limit to how many free gifts you can earn. All of the FREE Sale-a-Bration gifts are available while supplies last and unfortunately the Metallic Baker’s Twine & Sequins Combo Pack has sold out but there’s still lots more to choose from!
On to today’s card! This is a super easy card to make but the gold embossing on the paper and the sentiment gives it that WOW factor!
I started with a base of Thick Whisper White cardstock and then added a layer of Basic Black cardstock with another layer of Golden Honey Designer Series Paper.
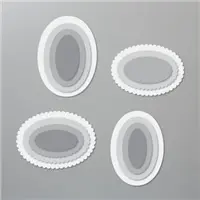
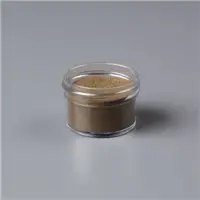
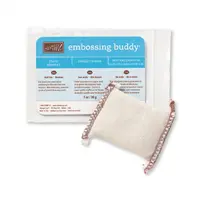
The sentiment was stamped in Versamark ink onto Whisper White cardstock using the stamp set, Seriously the Best. Rubbing an Embossing Buddy over the surface of your paper before embossing will help to repel stray particles of embossing powder. After sprinkling Gold Embossing Powder over the sentiment, I heated it up with my Heat Tool. Then I cut it out with a die-cutting machine and the Layering Ovals Dies. A larger oval was cut out of Basic Black and the two were layered together. Stampin’ Dimensionals were added to the back before adhering it to the card.
You can find the measurements I used below the Supply List.