by Tracy | Feb 18, 2020 | Die-Cutting

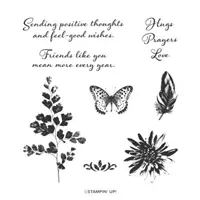
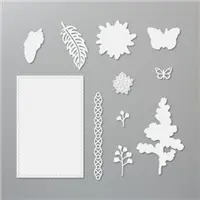
Happy Tuesday! This the day of the week when you can find a free tutorial on my blog! Today’s free tutorial showcases the stamp set Positive Thoughts and the coordinating Nature’s Thoughts Dies. These dies are only available while supplies last so grab them while you can! You can find the free tutorial for today’s card below the supply list.
Have a great day!

Supply List
If you need any stamping supplies, I’d love to be your demonstrator! You can place an order by clicking any of the images below to go to my Stampin’ Up! online store. If you have questions about products you’re considering purchasing or ones you’ve already purchased, I’m just an email away (click the Email Me button on the sidebar of my blog).



Click here to place an order!

Tracy’s Quick Links
Place an Order
My Customer Rewards
Bradley Points
$99 Starter Kit
Clearance Rack
Mini Catalog
Sale-A-Bration Catalog
by Tracy | Feb 17, 2020 | Designer Series Paper, Embossing Folders, Punches

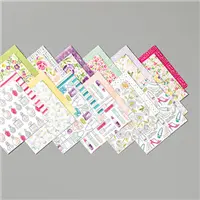
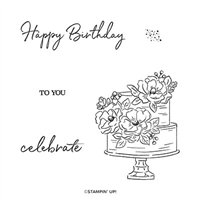
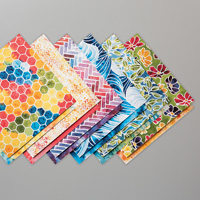
Today’s card was created using one of the beautiful designs in Stampin’ Up! Best Dressed Designer Series Paper as well as the stamp set, Happy Birthday to You, a FREE Sale-A-Bration gift with a $50 order.
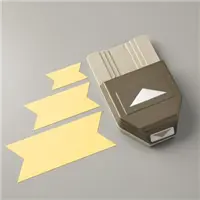
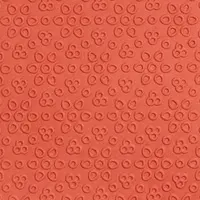
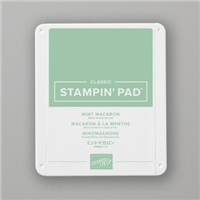
I started with a base of Mint Macaron cardstock and added a layer of Purple Posy cardstock and then another layer of Best Dressed Designer Series Paper. My banner was created using the Banner Triple Punch and then embossed with the Eyelet Lace Embossing Folder. My motto is, why leave a piece of cardstock plain when you can emboss it!?
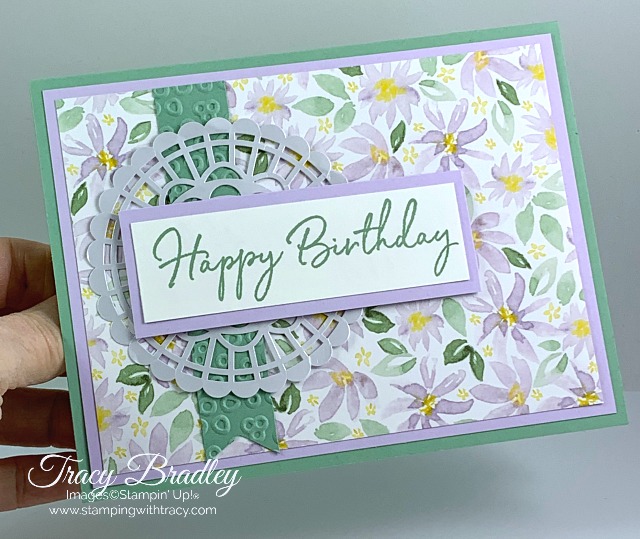
After the banner was adhered with Multipurpose Glue, I added one of our Pearlized Doilies. The sentiment was stamped in Mint Macaron ink onto Whisper White cardstock. It was adhered to a piece of Purple Posy cardstock and popped up with Stampin’ Dimensionals.

To finish the card, I added a strip of Best Dressed Designer Series Paper to the inside.
Enjoy your day!
Supply List
If you need any stamping supplies, I’d love to be your demonstrator! You can place an order by clicking any of the images below to go to my Stampin’ Up! online store. If you have questions about products you’re considering purchasing or ones you’ve already purchased, I’m just an email away (click the Email Me button on the sidebar of my blog).

Tracy’s Quick Links
Place an Order
My Customer Rewards
Bradley Points
$99 Starter Kit
Clearance Rack
Mini Catalog
Sale-A-Bration Catalog
by Tracy | Feb 14, 2020 | Dahlia Fold, Designer Series Paper, Die-Cutting, Embossing Folders
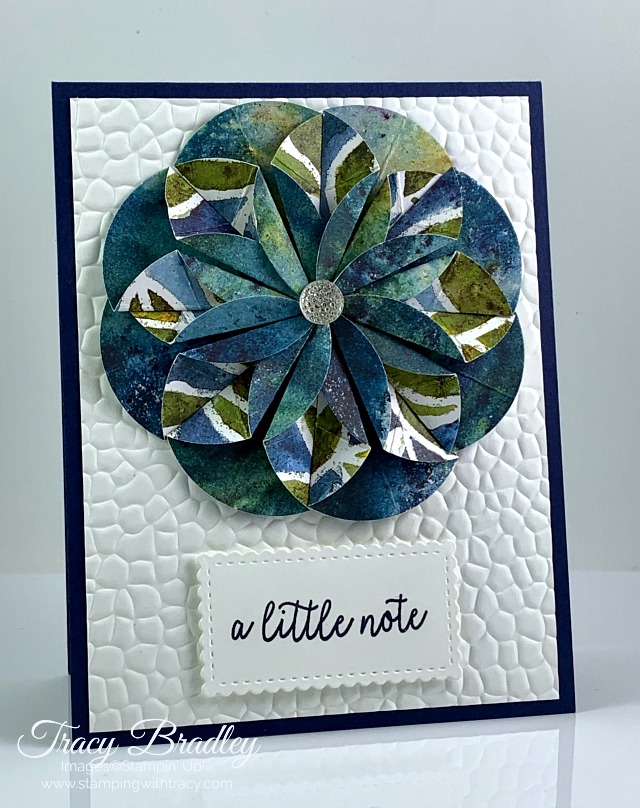
Happy Valentine’s Day!
Once you learn to make a flower using the Dahlia Fold Technique, it’s pretty hard to stop at just one! If you visited yesterday, you know that I shared another card using this technique with our Best Dressed Designer Series Paper. If you’d like to see yesterday’s card, you can check it out here.
To create the flower on my card today, I used See a Silhouette Designer Series Paper. The base of the card is Night of Navy cardstock with a layer of Whisper White cardstock which I ran through my die-cutting machine using the Hammered Metal Embossing Folder (all the supplies I used can be found in the Supply List below).
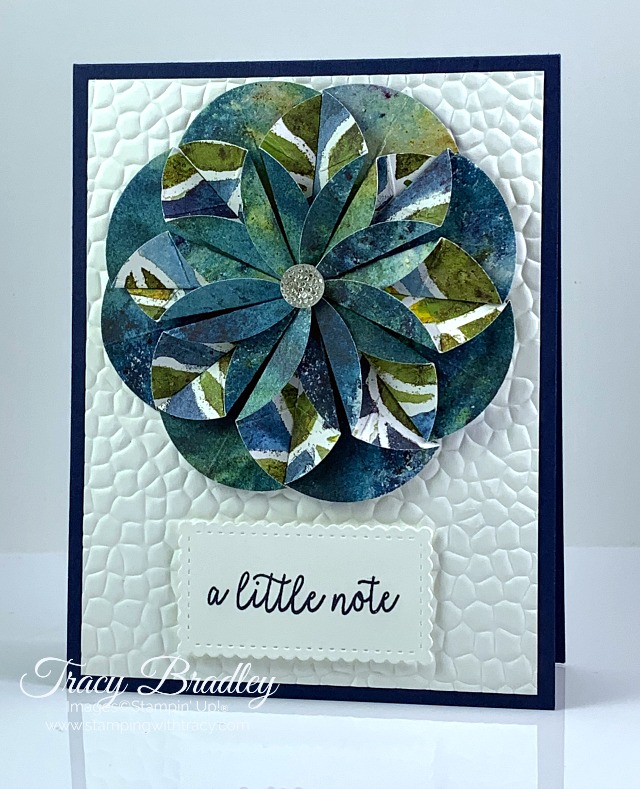
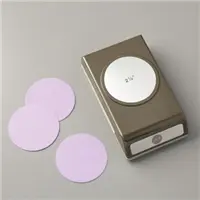
As I mentioned yesterday, about 1-1/2 years ago, I made a video showing how to create the flower using a 1-3/4″ Circle Punch but since then, the punch has retired. For today’s card, I used a circle in the Layering Circles Dies (the inside of the circle is approximately 1-7/8″) and I used our 2-1/4″ Circle Punch as a base to glue the pieces to. In the video I use a larger circle as I show you how to make the fold so that it’s easier to see what I’m doing and I recommend doing the same thing when you’re practicing BUT don’t use cardstock, use a thinner paper such as computer paper. You’ll get frustrated trying to make the folds if your paper is too heavy. You can view the video HERE and please note that several products in the video have since retired.

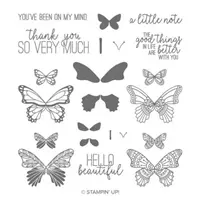
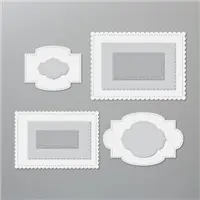
The sentiment was stamped in Night of Navy ink onto Whisper White cardstock using the stamp set Butterfly Gala. It was die-cut using the Stitched So Sweetly Dies and popped up with Stampin’ Dimensionals.
I hope you’ll give this fold a try! It may look difficult but it really is much easier than it looks!
Supply List
If you need any stamping supplies, I’d love to be your demonstrator! You can place an order by clicking any of the images below to go to my Stampin’ Up! online store. If you have questions about products you’re considering purchasing or ones you’ve already purchased, I’m just an email away (click the Email Me button on the sidebar of my blog).
Click here for more information about Sale-A-Bration!
Tracy’s Quick Links
Place an Order
My Customer Rewards
Bradley Points
$99 Starter Kit
Clearance Rack
Mini Catalog
Sale-A-Bration Catalog
by Tracy | Feb 13, 2020 | Dahlia Fold, Designer Series Paper, Die-Cutting

I love making flowers using the Dahlia Fold technique and whenever new Stampin’ Up! paper is released, I always look to see which ones will work best. Since both sides of the paper can be seen, the two sides need to complement one another other, such as this design from Best Dressed Designer Series Paper.
If you’re looking at this flower and thinking that it’s way too complicated, I’m here to tell you that it really isn’t! You just need to master the fold (which isn’t difficult) and then repeat it seven more times. About 1-1/2 years ago, I made a video showing how to create the fold using a 1-3/4″ Circle Punch but since then, the punch has retired. For today’s card, I used a circle in the Layering Circles Dies (the inside of the circle is approximately 1-7/8″) and I used our 2-1/4″ Circle Punch as a base to glue the pieces to. In the video I use a larger circle as I show you how to make the fold so that it’s easier to see what I’m doing and I recommend doing the same thing when you’re practicing BUT don’t use cardstock, use a thinner paper such as computer paper. You’ll get frustrated trying to make the folds if your paper is too heavy. You can view the video HERE and please note that several products in the video have since retired.

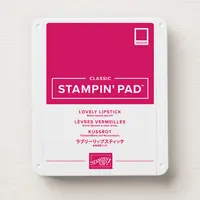
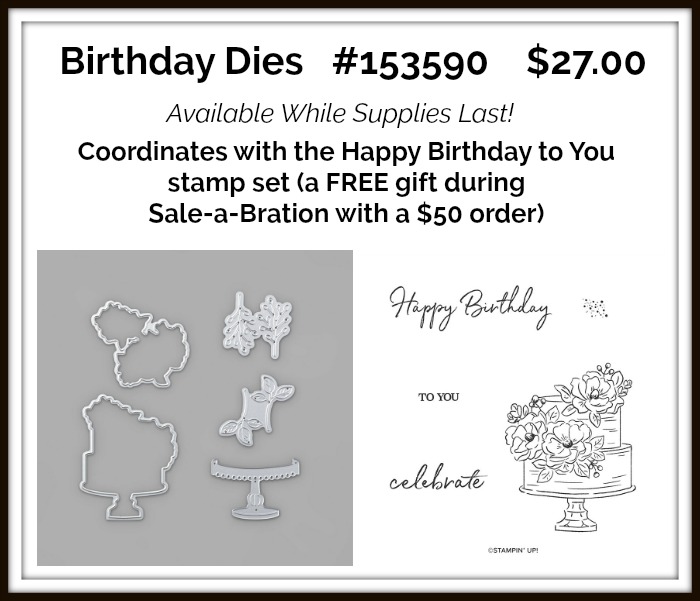
The base of my card is Daffodil Delight cardstock. I added a layer of Whisper White cardstock that was placed inside the Layered Leaves Embossing Folder and run through a die-cutting machine. The sentiment was also stamped on Whisper White using Lovely Lipstick and the stamp set, Happy Birthday to You and die-cut using the Stitched So Sweetly Dies. The Happy Birthday to You stamp set is one of the FREE Sale-A-Bration gifts you can choose from with a $50 order (coordinating dies for this stamp set were just released this week and are available while supplies last).


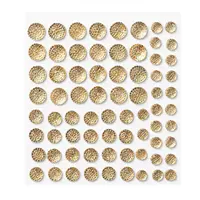
To complete my card, I added one of our Gold Faceted Gems to the center of the flower. These gems have a sticky back but I recommend also adding Multipurpose Glue to the back. I didn’t use the extra glue and the gem came off (I’m still looking for it). On the second try, I added glue and it has stayed in place. Normally the adhesive works fine but all of the flower pieces come together in the middle and it’s quite a bit of bulk.
If you give this technique a try, I’d love to hear from you!
Supply List
If you need any stamping supplies, I’d love to be your demonstrator! You can place an order by clicking any of the images below to go to my Stampin’ Up! online store. If you have questions about products you’re considering purchasing or ones you’ve already purchased, I’m just an email away (click the Email Me button on the sidebar of my blog).
Measurements
- Daffodil Delight cardstock: 11″ x 4-1/4″
- Whisper White cardstock: 5-1/4″ x 4″
- Whisper White cardstock: scrap for sentiment
- Whisper White cardstock: scrap for 2-1/4″ circle
- Best Dressed Designer Series Paper: (8) circles
Tracy’s Quick Links
Place an Order
My Customer Rewards
Bradley Points
$99 Starter Kit
Clearance Rack
Mini Catalog
Sale-A-Bration Catalog
Earn FREE gifts during Sale-A-Bration! Level 1 gifts can be earned with a $50 purchase and Level 2 gifts with a $100 order. For instance, if your order total equals $105, you can choose (2) Level 1 gifts or (1) Level 2 gift. There’s no limit on how many gifts you can earn! For more information about Sale-A-Bration, click here!
by Tracy | Feb 12, 2020 | Die-Cutting, Embossing Folders

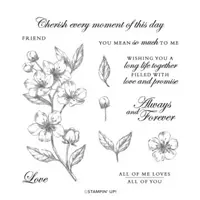
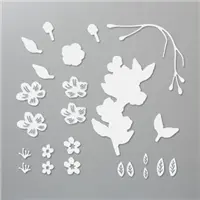
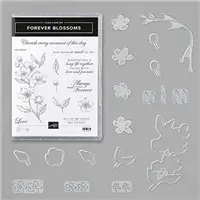
I used the Forever Blossoms Bundle to create today’s card. This bundle includes the Forever Blossoms stamp set and Cherry Blossoms Dies. These two products can be purchased separately but when you purchase the bundle, you’ll save 10%.

I started with a base of Rococo Rose cardstock and then added an embossed layer of Whisper White using the Coastal Weave embossing folder.
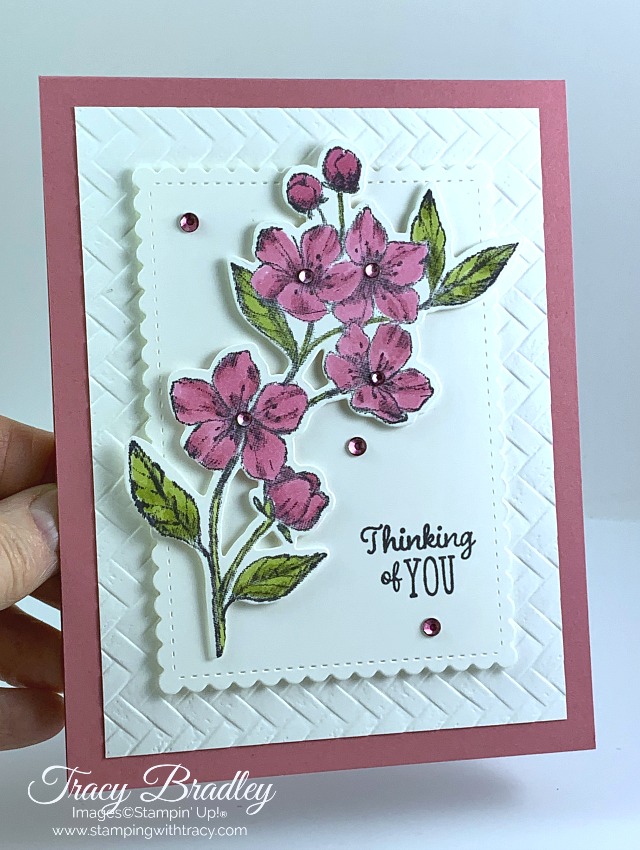
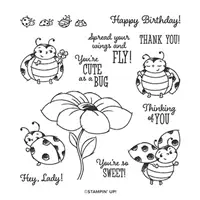
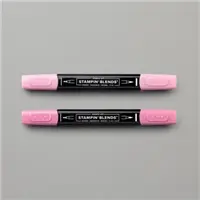
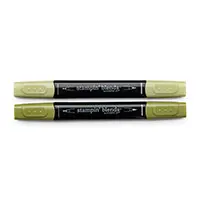
The flowers were stamped onto Whisper White cardstock using Memento Ink and then colored with Stampin’ Blends: Rococo Rose (Light and Dark) and Old Olive (Light and Dark). They were cut out using a die-cutting machine and the Cherry Blossoms Dies. I added Stampin’ Dimensionals to the back and attached them to another piece of Whisper White cardstock that was die-cut using the Stitched So Sweetly Dies. The sentiment was stamped in Memento Ink using the stamp set, Little Ladybug (a free host set with a $300 order during Sale-a-Bration). I added more Stampin’ Dimensionals to the back of this piece and adhered it to the front of the card.
I used my Dark Rococo Rose Stampin’ Blend to color our regular rhinestones so that they would match the rest of the card!
Supply List
If you need any stamping supplies, I’d love to be your demonstrator! You can place an order by clicking any of the images below to go to my Stampin’ Up! online store. If you have questions about products you’re considering purchasing or ones you’ve already purchased, I’m just an email away (click the Email Me button on the sidebar of my blog).
Measurements
- Rococo Rose cardstock: 11″ x 4-1/4″
- Whisper White cardstock: 3-3/4″ x 5″
- Whisper White cardstock (optional for inside card): 5-1/4″ x 4′
- Whisper White cardstock: approx. 3-1/4″ x 4-1/4″ for stitched rectangle
- Whisper White cardstock: scrap for flowers
Tracy’s Quick Links
Place an Order
My Customer Rewards
Bradley Points
$99 Starter Kit
Clearance Rack
Mini Catalog
Sale-A-Bration Catalog