You can now sign up to receive the Paper Pumpkin kit for August but you must do so by August 10th. After the deadline of August 10th, Stampin’ Up! will start shipping the kits.
With this kit Stampin’ Up! will be offering a special add-on bundle but only for Paper Pumpkin subscribers. The video below will explain all the details but the add on bundle will include card fronts and envelopes. The regular kit includes gift bags but if you prefer cards, you’ll have that option with the add on bundle. Be sure to check out the video below for a sneak peek of the kit and what’s included in the add-on bundle.
You will be able to purchase the add-on bundle beginning on August 1st. It will only be available while supplies last and only for Paper Paper Pumpkin subscribers. I will be ordering the add-on bundle on the 1st (I love the envelopes that are included)! The cost of the add-on bundle is $10.00 (#152885) and you’ll receive 24 card bases in 2 different designs and coordinating envelopes.
If you have any questions, don’t hesitate to contact me! Look for the Email Me button on the sidebar.
Every order placed through my Stampin’ Up! online store receives a card kit which includes all the paper and embellishments needed to create a beautiful card. Last week I shared my Rococo Rose kit and today I have the Purple Posy version.
You’ll also receive a FREE PDF Tutorial that includes pictures, directions and a supply list. I send my kits so you have a chance to see, touch and play with our paper and embellishments (you’ll need to supply your own ink, adhesive and stamp set).
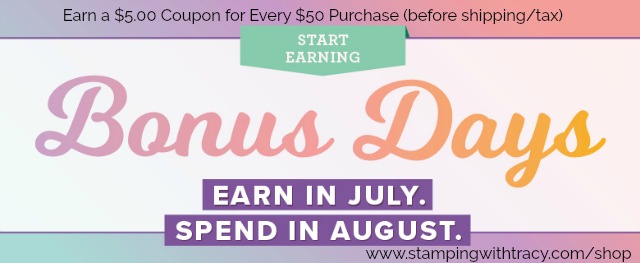
Any size order through my Stampin’ Up! store will receive at least one kit (it will come from me, not Stampin’ Up!). In addition, Stampin’ Up! will send you a $5.00 Bonus Days coupon for every $50 purchase you make and there’s no limit to how many Bonus Days coupons you can earn. You’ll be able to use the coupon(s) in August but hurry, Bonus Days will be over on July 31, 2019! Click here to place your order!
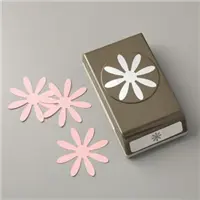
Supply List
If you need any stamping supplies, I’d love to be your demonstrator! You can place an order by clicking any of the images below to go to the homepage of my Stampin’ Up! online store.If you have questions about products you’re considering purchasing or ones you’ve already purchased, I’m just an email away (click the Email Me button on the sidebar of my blog).
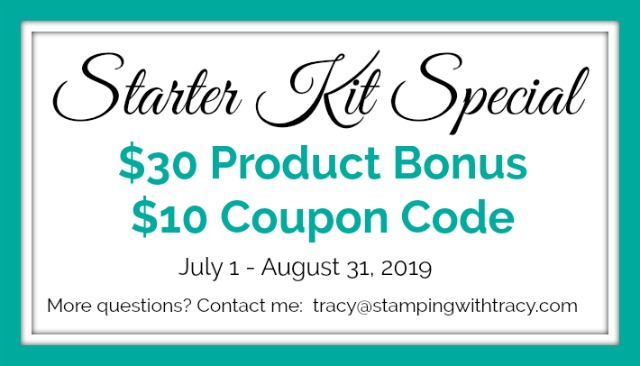
If you like to save money (who doesn’t, right?), you should consider purchasing the Starter Kit. You’ll pay $99 BUT (and this is a big one), you’ll then get to select $155 in Stampin’ Up! product! Plus you’ll receive a $10 coupon to use the following month. PLUS, you’ll start earning a 20% discount on all your future Stampin’ Up! purchases. This is just too good to pass up but this special offer is only available in July & August! For more information, click hereor if you’re ready to sign up, you can click here. Of course if you have questions, please don’t hesitate to contact me!
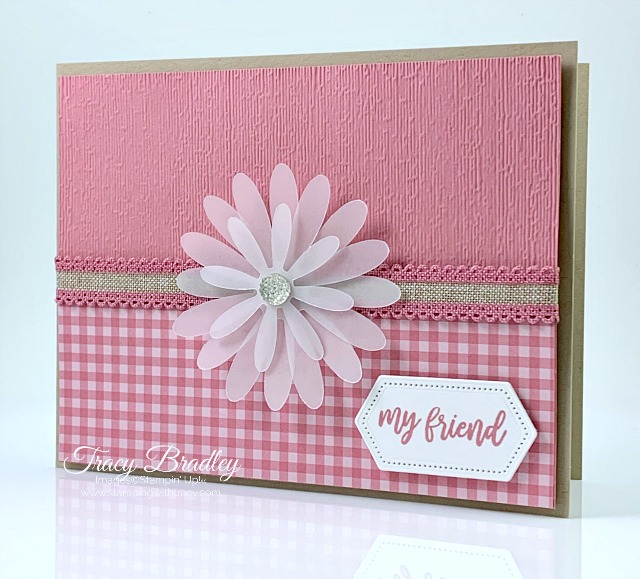
It’s Tuesday and time for a new tutorial! Today’s FREE PDF is for the card, pictured below. I shared this card several weeks ago and if you missed that post, you can see it here.
Bonus Days are here! For every $50 purchase you make at my Stampin’ Up! online store, you’ll receive a $5.00 Bonus Coupon from Stampin’ Up! You’ll be able to use the coupon in August and there’s no limit to how many you can earn! Plus, you’ll receive a FREE PDF Tutorial and a card kit from me!
If you like to save money (who doesn’t, right?), you should consider purchasing the Starter Kit. You’ll pay $99 BUT (and this is a big one), you’ll then get to select $155 in Stampin’ Up! product! Plus you’ll receive a $10 coupon to use the following month. PLUS, you’ll start earning a 20% discount on all your future Stampin’ Up! purchases. This is just too good to pass up but this special offer is only available in July & August! For more information, click hereor if you’re ready to sign up, you can click here. Of course if you have questions, please don’t hesitate to contact me!
Does today’s card look a bit familiar? It’s actually the same card I posted last Thursday (see below) with a few minor changes.
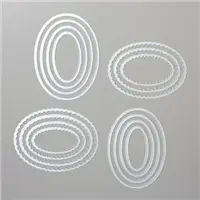
I changed the direction of the card and used a different sentiment. For today’s card I used the Layering Ovals Dies and for the card last week, I used the Layering Squares Dies and our Stitched Shapes Dies.
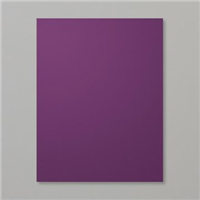
You can find the directions for today’s card over on my post from last Thursday. The only change would be to stamp the sentiment in Old Olive ink and cut it out with the Layering Ovals Dies and to cut another, larger oval using Blackberry Bliss cardstock.
If you have any questions, feel free to contact me!
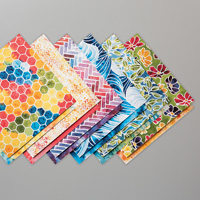
Supply List
If you need any stamping supplies, I’d love to be your demonstrator! You can place an order by clicking any of the images below to go to the homepage of my Stampin’ Up! online store.If you have questions about products you’re considering purchasing or ones you’ve already purchased, I’m just an email away (click the Email Me button on the sidebar of my blog).
Purchase the $99 Starter Kit and you’ll be able to choose $155 in Stampin’ Up! product!! It’s an amazing opportunity being offered in July & August and it’s an absolutely risk free offer. For more details, visit this page here. You are also more than welcome to contact me with any and all questions!
Today’s card is one of five free card kits you’ll receive when you place an order at my Stampin’ Up! online store. Each kit includes all the paper and embellishments you’ll need. Just supply your own stamp set (I used I Say Hello), ink (I used Rococo Rose) and adhesive.
I’ve made kits up in all the new In Colors – Rococo Rose, Terracotta Tile, Pretty Peacock, Seaside Spray and Purple Posy. In addition to the card kit, you’ll also receive a PDF tutorial with directions, pictures and a supply list. (more…)