Today I have an easy card featuring Wrapped in Plaid Designer Series Paper from the Holiday Catalog but first, I have a winner to announce! On Friday I offered Blog Candy (a make n take packet) for the project I shared. Thanks so much to everyone who left a comment! The random name drawn was Lesa! Congratulations, Lesa!!!! (I will contact Lesa but if I don’t hear back from her within 24 hours, I will draw another name on Tuesday).
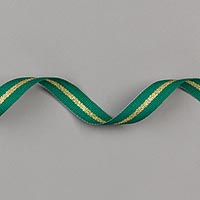
I combined several new products from the Holiday Catalog to create today’s card. The base of the card is Real Red. The next layer is also Real Red and I placed it inside the Hammered Metal embossing folder using my die-cutting machine. Then I added a piece of Wrapped in Plaid Designer Series Paper on the lower half of the Real Red. Before adhering it to the base, I wrapped the elegant Shaded Spruce/Gold 3/8″ Ribbon around the cardstock/Designer Series Paper and tied a bow. Stampin’ Dimensionals were added to the back before adhering it to the base.
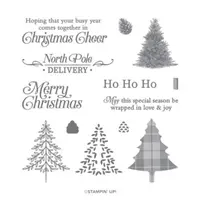
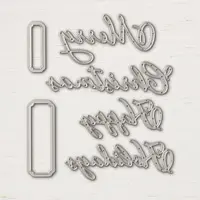
For the sentiment, I used the stamp set Perfectly Plaid and stamped it in Shaded Spruce onto Whisper White cardstock. It was cut out using the Merry Christmas Dies. All the products I used can be found in the supply list below!
If you need any stamping supplies, I’d love to be your demonstrator! You can place an order by clicking any of the images below to go to the homepage of my Stampin’ Up! online store.If you have questions about products you’re considering purchasing or ones you’ve already purchased, I’m just an email away (click the Email Me button on the sidebar of my blog).
It’s time for the Glitter Queens Blog Hop and this month we’re sharing treat holders!
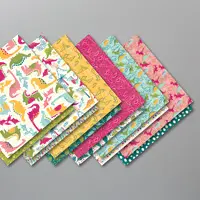
My treat holder fits a pack of gum, perfectly! This is a project I’ve shared before but when you use brand new paper (I used Monster Bash Designer Series Paper), it becomes new again! Three months ago I joined Weight Watchers so I knew my treat holder couldn’t have chocolate in it (I LOVE chocolate) so I opted for a delicious pack of gum!
This little treat holder couldn’t be easier to make! You’ll need to do a little scoring and a little cutting and that’s it. It comes together really quickly! I don’t have a new video today creating my project using Monster Bash Designer Series Paper but I do have a video I made last year that will demonstrate how to make the holder and all the measurements (please note: the Designer Series Paper and stamp set used in the video are no longer available). You can find the video farther down in this post.
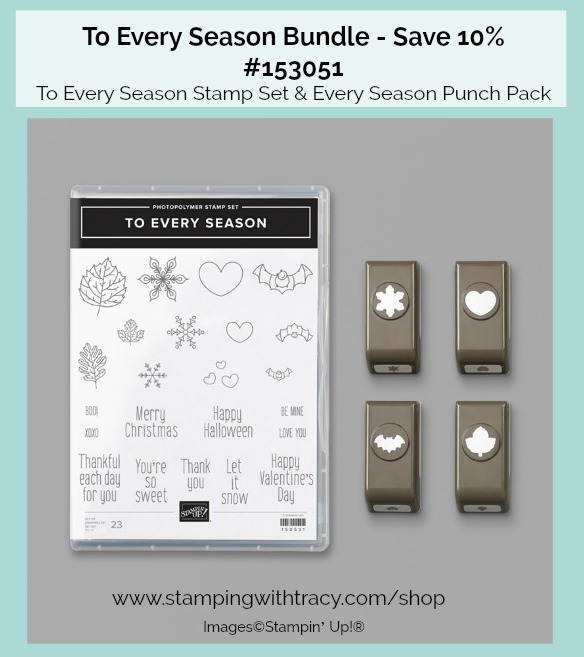
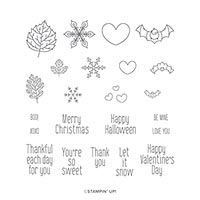
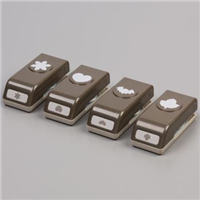
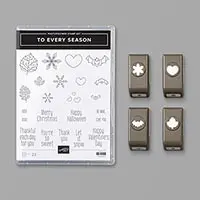
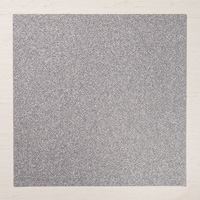
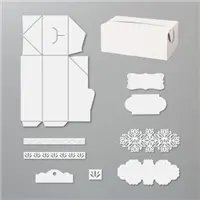
I used Basic Black and Pumpkin Pie cardstock to create the holder. A strong adhesive is needed to assemble the box so I used Tear & Tape. There’s a little flap on the front of the box that is held closed with Glittered Organdy Ribbon. The sentiment sits on Silver Glimmer Paper and both were cut out using our Layering Circle Dies. Sometimes it can be tricky getting things to stick to glimmer paper so I used Multipurpose Liquid Glue. To attach the glimmer paper and sentiment to the box, I added more liquid glue to the upper half of the circle. Our Every Season Punch Pack has a cute little bat that I cut out using Basic Black cardstock and adhered with a glue dot (you could use the glue again but the dot fits perfectly). I used Snail adhesive to attach the Monster Mash Designer Series Paper to the holder but again, you could use liquid glue.
This is the gum I used!
Blog Candy
Leave a comment today to be entered to win my blog candy! I’ll send one person all the paper and embellishments needed to create today’s project (you’ll need to supply your own stamp set, ink and adhesive). I’m sorry but I can only send to a U.S.A. address but all comments are welcome! The winner will be announced on Monday right here on my blog. If your name is drawn, you’ll be asked to email me your address. If I don’t receive a reply within 24 hours, I’ll draw an alternate winner who will be announced on Tuesday.
Ready for more treat ideas? Dee Slater is next in the lineup! Click here to head over to her blog!
If you need any stamping supplies, I’d love to be your demonstrator! You can place an order by clicking any of the images below to go to the homepage of my Stampin’ Up! online store.If you have questions about products you’re considering purchasing or ones you’ve already purchased, I’m just an email away (click the Email Me button on the sidebar of my blog).
Here’s the video from last year that will walk you through the steps to make the holder.
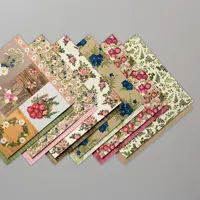
Place an order at my Stampin’ Up! online storeand I’ll send you at least one of my card kits which will include all the paper and embellishments needed to create a beautiful card. You’ll also receive a PDF Tutorial with pictures, directions, measurements and a supply list. The paper in your card kit may differ from the card below, but all of the kits are made with Perennial Essence Designer Series Paper (the cards with this design will be available until October 6th).
Use the host code VHD7EB7A when placing your order and you’ll receive an extra kit! This offer is available until October 6, 2019.
If you aren’t sure how to use a host code, click here.
To complete the card below, exactly as shown, you’ll need to supply your own adhesive, Blueberry Bushel ink and the stamp set, Bloom & Grow.
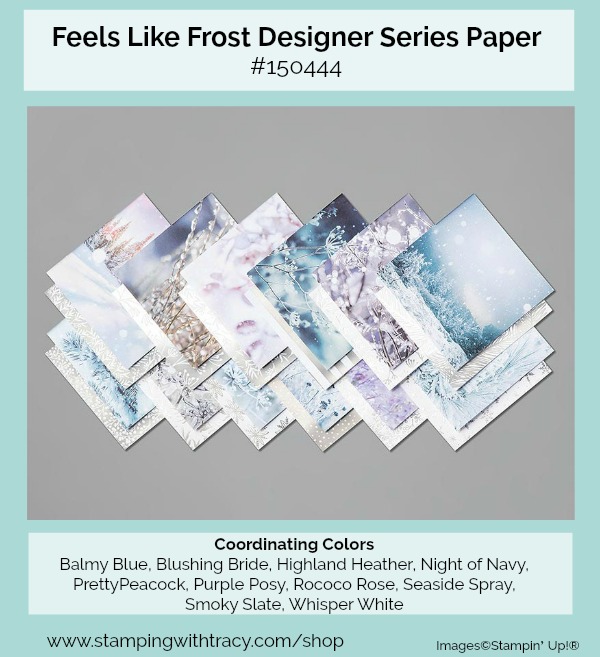
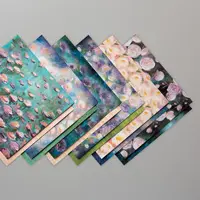
Today’s card features Feels Like Frost Designer Series Paper and Rococo Rose cardstock. Because this paper is so stunning, you don’t need much to create a quick and easy card!
As of today, Feels Like Frost is currently on backorder but should be arriving in the warehouse next week. It can still be added to your order and will ship when it’s back in stock.
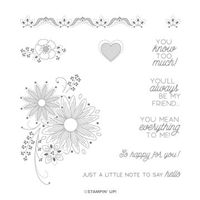
I love the sentiment which is from the stamp set A Little Lace. I stamped it onto Whisper White cardstock using Rococo Rose ink. I used Stampin’ Dimensionals to pop the sentiment up which I think makes all the difference!
All the supplies I used to create today’s card can be found below, as well as the measurements.
Supply List
If you need any stamping supplies, I’d love to be your demonstrator! You can place an order by clicking any of the images below to go to the homepage of my Stampin’ Up! online store.If you have questions about products you’re considering purchasing or ones you’ve already purchased, I’m just an email away (click the Email Me button on the sidebar of my blog).
Feels Like Frost Designer Series Paper: 5″ x 3-3/4″
Tracy’s Card Kits
Place an order at my Stampin’ Up! online storeand I’ll send you at least one of my card kits which will include all the paper and embellishments needed to create a beautiful card. You’ll also receive a PDF Tutorial with pictures, directions, measurements and a supply list. The paper in your card kit may differ from the card above, but all of the kits are made with Perennial Essence Designer Series Paper (the cards with this design will be available until October 6th).
Use the host code VHD7EB7Awhen placing your order and you’ll receive an extra kit! This offer is available until October 6, 2019.
If you aren’t sure how to use a host code, click here.
To complete the card above, exactly as shown, you’ll need to supply your own adhesive, Balmy Blue ink and the stamp set, Bloom & Grow.
It’s Tuesday which means I have a free tutorial for you! I chose a card I shared last week that uses our beautiful Feels Like Frost Designer Series Paperfrom the Holiday Catalog. If you missed that post, you can see it here. You can access your free tutorial below!
October 10th is the last day to sign up to receive the next Paper Pumpkin kit! To sign up or for more information, click here!
I have a very quick and easy card today! This is another card where the Designer Series Paper does all the work! I used Feels Like Frost Designer Series Paperalong with Seaside Spray and Night of Navy cardstock.
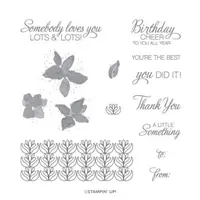
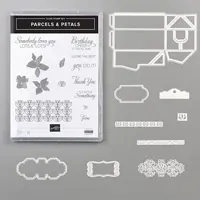
I used the stamp set, Parcels & Petals, and cut the sentiment out using the Perfect Parcels Dies. If you purchase both the stamp set and dies using the special bundleitem number 151107, you’ll save 10%!
If you’d like the measurements for today’s card, you can find them farther down in the post.
If you need any stamping supplies, I’d love to be your demonstrator! You can place an order by clicking any of the images below to go to the homepage of my Stampin’ Up! online store.If you have questions about products you’re considering purchasing or ones you’ve already purchased, I’m just an email away (click the Email Me button on the sidebar of my blog).
Place an order at my Stampin’ Up! online storeand I’ll send you at least one of my card kits which will include all the paper and embellishments needed to create a beautiful card. You’ll also receive a PDF Tutorial with pictures, directions, measurements and a supply list. The paper in your card kit may differ from the card above, but all of the kits are made with Perennial Essence Designer Series Paper (the cards with this design will be available until October 6th).
Use the host code VHD7EB7Awhen placing your order and you’ll receive an extra kit! This offer is available until October 6, 2019.
If you aren’t sure how to use a host code, click here.
To complete the card above, exactly as shown, you’ll need to supply your own adhesive, Blueberry Bushel ink and the stamp set, Bloom & Grow.
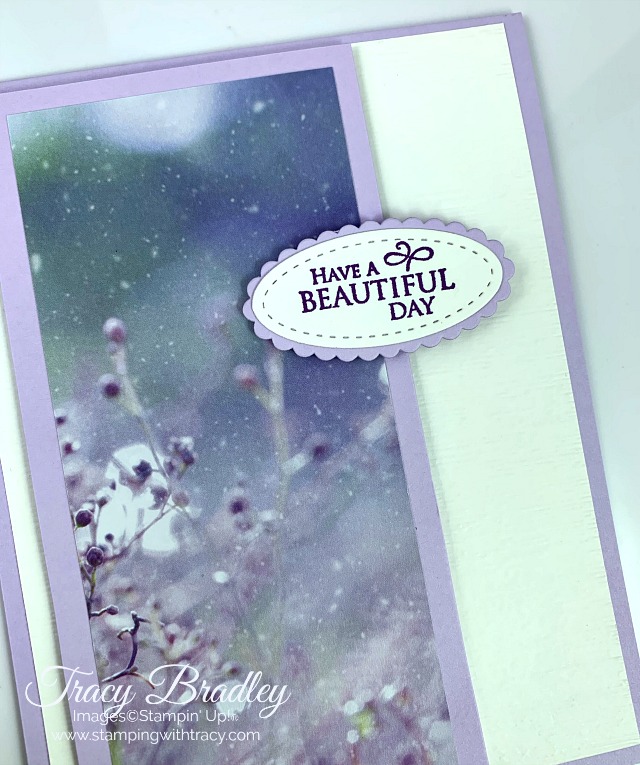
Yesterday I shared a card using Feels Like Frost Designer Series Paper (you can see it here). This gorgeous paper comes in 6″ x 6″ sheets and after making yesterday’s card, I had a strip of paper left over and used it to make today’s card!
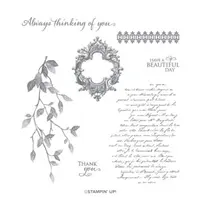
I used Purple Posy cardstock for the base of my card. The next layer is Whisper White that was embossed with the Subtle embossing folder. This step is optional but I personally like the added texture. The sentiment is from the stamp set, Very Versailles. It was inked up with Gorgeous Grape and then cut out with the Stitched Shapes Dies. The Purple Posy layer below it was made using the Layering Ovals Dies. All the supplies I used are listed below in the Supply List and below that, you’ll find the measurements.
Have a great weekend!
Supply List
If you need any stamping supplies, I’d love to be your demonstrator! You can place an order by clicking any of the images below to go to the homepage of my Stampin’ Up! online store.If you have questions about products you’re considering purchasing or ones you’ve already purchased, I’m just an email away (click the Email Me button on the sidebar of my blog).
Feels Like Frost Designer Series Paper: 4-7/8″ x 2-1/4″
Purple Posy cardstock: 11″ x 4-1/4″
Purple Posy cardstock: 5-1/4″ x 2-5/8″
Purple Posy cardstock: scrap for layer under sentiment
Whisper White cardstock: 5-1/4″ x 4″
Whisper White cardstock: scrap for sentiment
Tracy’s Card Kits
Place an order at myStampin’ Up! online storeand I’ll send you at least one of my card kits which will include all the paper and embellishments needed to create a beautiful card. You’ll also receive a PDF Tutorial with pictures, directions, measurements and a supply list. The paper in your card kit may differ from the card above, but all of the kits are made with Perennial Essence Designer Series Paper (the cards with this design will be available until October 6th).
Use the host code VHD7EB7A when placing your order and you’ll receive an extra kit! This offer is available until October 6, 2019.
If you aren’t sure how to use a host code, clickhere.
To complete the card above, exactly as shown, you’ll need to supply your own adhesive, Gorgeous Grape ink and the stamp set, Bloom & Grow.
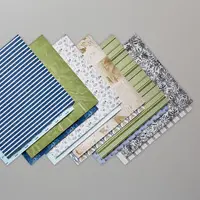
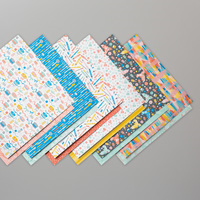
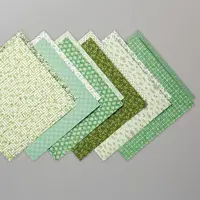
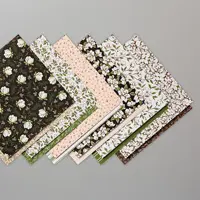
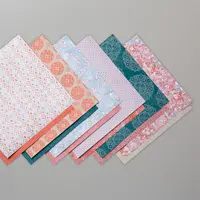
When you purchase three packages of any of the papers below, you’ll get the fourth one absolutely free! When placing your order, add the three packages you’d like and then the system will prompt you to enter your FREE fourth package! Click here for more information! Clicking on the images below will give you more information about each package of paper.