by Tracy | Dec 13, 2021 | Designer Series Paper, Die-Cutting, Fun Fold Card
Stampin’ Up! has a new Mini Catalog debuting on January 4, 2022. If you’ve ordered from me in the last six months, I ordered a catalog for you in late November and you’ll be receiving it directly from Stampin’ Up!. As I understand, they were mailed in early December so be on the lookout for it soon (it will also include the Sale-a-Bration brochure). If you placed an order from me for the first time in the month of December, I will be directly mailing yours to you.
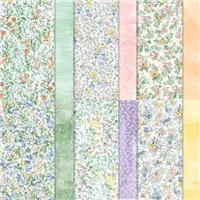
Last Friday I shared two cards with you (and a free tutorial) and unfortunately the Designer Series Paper I used on both cards is no longer available. So I made another version of the card using Hand-Penned Designer Series Paper from the Annual Catalog.

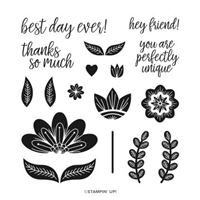
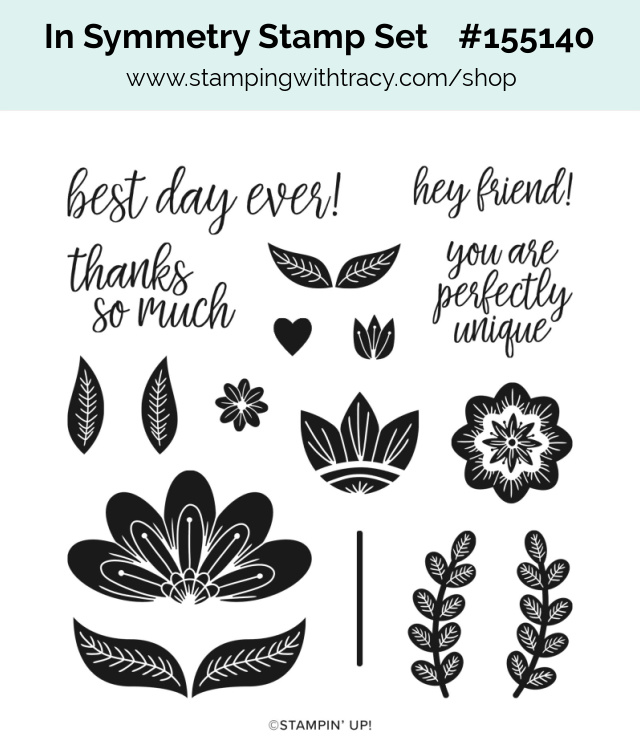
I also used the stamp set In Symmetry along with the Layering Circles Dies.

You can find the measurements I used in last week’s free tutorial along with the directions on how to create this fun fold card. The Supply List for today’s card can be found below.

Supply List
Below you’ll find all the Stampin’ Up! supplies I used for today’s card. If you need any stamping supplies, I’d love to be your demonstrator! You can place an order by clicking any of the images below to go to my Stampin’ Up! online store.
Paper Pumpkin

Kisses & Hugs
Details:
- Kit contains enough supplies to create 10 cards—5 each of 2 designs—and 10 coordinating envelopes
- Kit features an exclusive Two-Step photopolymer stamp set
- Kit includes a Gray Granite Classic Stampin’ Spot
- Card size: 4-1/2″ x 4-1/4″ heart-shaped cards; folded
- Coordinating colors: Blushing Bride, Flirty Flamingo, Gray Granite, Very Vanilla
Click here to order Kisses & Hugs
You can cancel at any time or even skip a month
This month’s Paper Pumpkin Kit has an Add On (see the photo above)! The coordinated treat boxes are not included in this month’s kit and are only available for purchase separately as an add-on online starting January 25, 2022. You must be a Paper Pumpkin subscriber to purchase and they are only available while supplies last.
Kisses & Hugs Mini Treat Boxes
Item number: 160147 | $10.00 USD
- Contains 20 mini treat boxes and 20 heart tags
- Gold cord: 10-1/2″ yards (9.6 m)
- Finished size: 1-3/4″ x 1-3/4″ x 1-3/4″
- Printed with gold foil
Last Chance Products
Shop Last Chance Products here!
All items are available while supplies last or January 3. 3022!

Upcoming
December 20, 2021: New Card Sampler Will Be Released (it’s delayed due to the holidays)
January 3, 2022: Last Day to Order Last Chance Products
January 4, 2022: January – June 2022 Mini Catalog Debuts
January 4, 2022: Sale-a-Bration Begins
January 10, 2022: Last Day to Order Hugs & Kisses Paper Pumpkin
Have a wonderful day!
by Tracy | Dec 7, 2021 | Card Sampler, Designer Series Paper, Die-Cutting
Tomorrow, December 8, 2021, all orders of $50 or more (before tax), will ship FREE!! We LOVE free shipping, right? This sale is only for one day so get those shopping lists started!

Today’s was supposed to be the last day my Happiest of Birthdays Card Sampler would be available but since finding out that there will be a free shipping sale tomorrow, I’ve decided to extend the deadline to tomorrow.
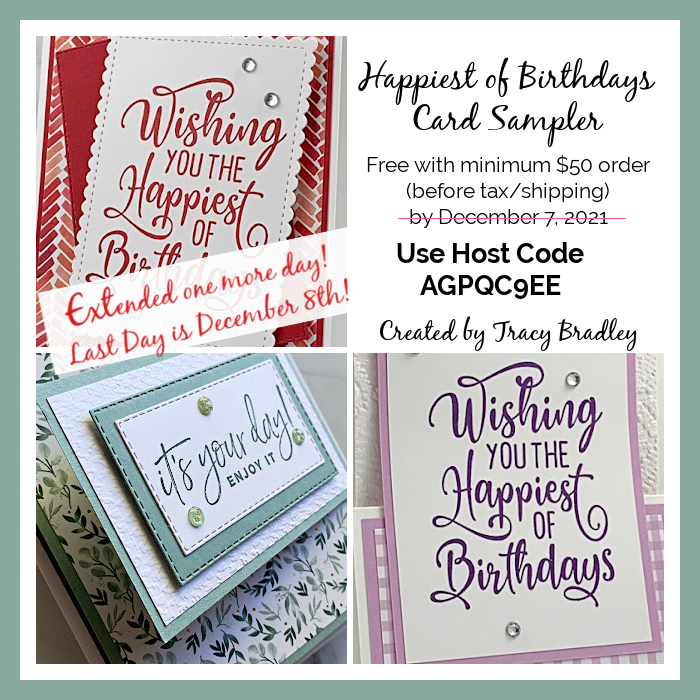
Place a minimum $50 order (before tax/shipping) at my Stampin’ Up! Online Store using my special host code AGPQC9EE and I’ll send you my Happiest of Birthdays Card Sampler. Orders must be placed by tomorrow, December 8, 2021 and the Card Samplers will be mailed on December 16, 2021. Please click HERE for all the details.

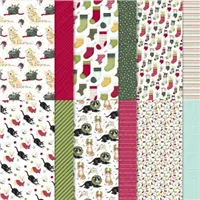
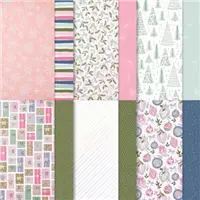
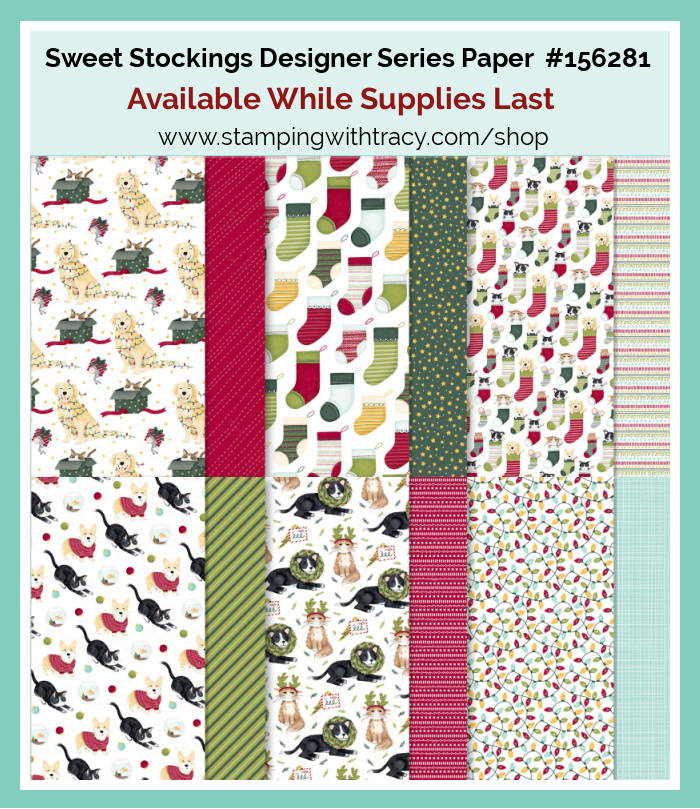
Today’s card, just like yesterday’s, features Sweet Stockings 12″ x 12″ Designer Series Paper (retiring and available while supplies last). I also used the Scalloped Contours Dies. These dies are so cute with stitching and scallops!
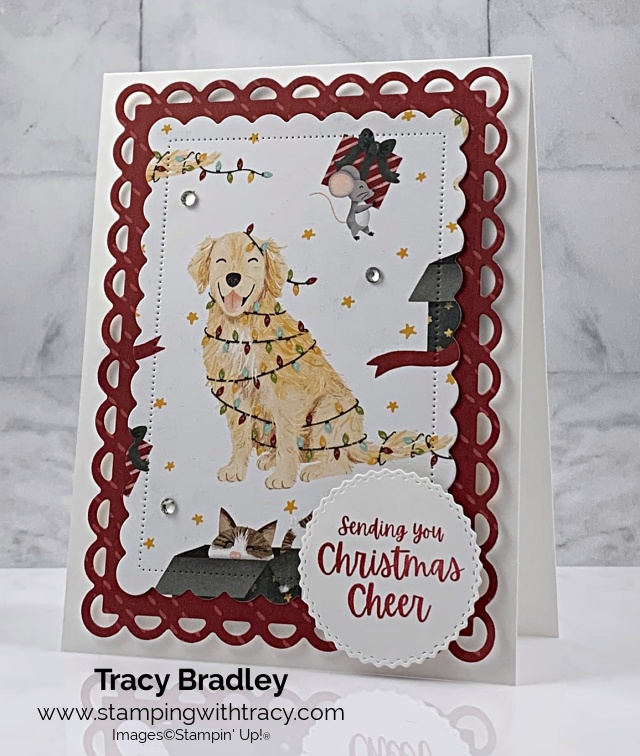
I started with a piece of Thick Basic White cardstock. Then I used a piece of Sweet Stockings Designer Series Paper and the Scalloped Contours Dies to cut the large scalloped shape. I used these dies again to cut the smaller scalloped shaped with the dog, mouse and kitty. I adhered the smaller scalloped piece to the larger one and then added Stampin’ Dimensionals to the back and placed it on the front of the card.

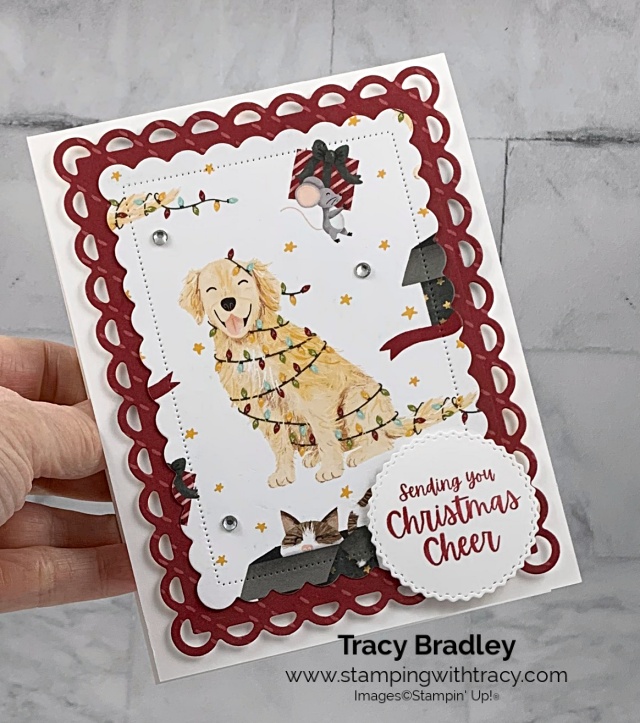
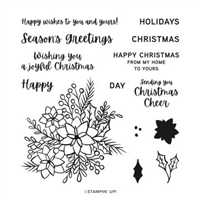
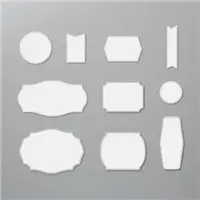
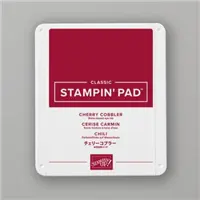
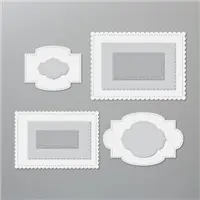
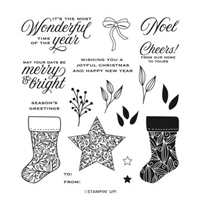
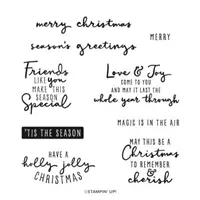
I stamped the sentiment onto Basic White cardstock using Cherry Cobbler ink and the stamp set, Words of Cheer (retiring and available while supplies last). I cut it out using the Tasteful Labels Dies. I added Stampin’ Dimensionals to the back and tried to place it on the card where it wasn’t blocking any of the animals.

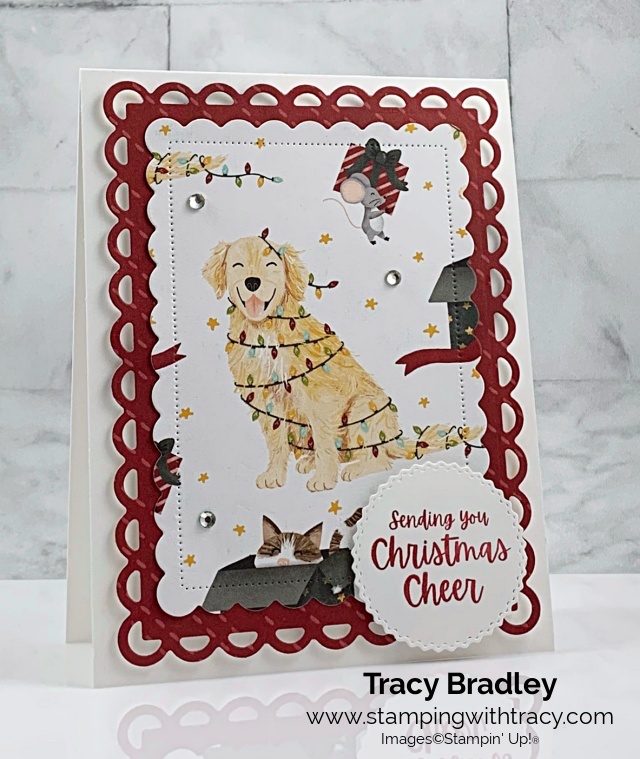
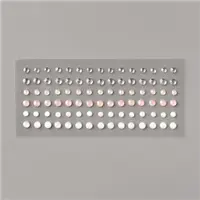
To complete the card, I added three rhinestones. This is a quick and easy card to make!
Supply List
Below you’ll find all the Stampin’ Up! supplies I used for today’s card. If you need any stamping supplies, I’d love to be your demonstrator! You can place an order by clicking any of the images below to go to my Stampin’ Up! online store.
Measurements
- Thick Basic White cardstock: 11” x 4-1/4” score at 5-1/2” OR 8-1/2” x 5-1/2” score at 4-1/4” (the only difference is how your card opens)
- Sweet Stockings Designer Series Paper: approx. 5-1/2″ x 4-1/4″
- Sweet Stockings Designer Series Paper: approx. 4-3/4″ x 3-3/8″
- Basic White cardstock: approx. 2″ x 2″
Last Chance Products

Get all your retiring favorites before they’re gone!
Click HERE to shop! the Last Chance List!

Thanks for stopping by!
by Tracy | Dec 6, 2021 | Card Sampler, Designer Series Paper, Die-Cutting, Embossing Folders
Today’s card features Sweet Stockings 12″ x 12″ Designer Series Paper, the Stockings Dies (retiring and 50% off), and the Stitched So Sweetly Dies. All retiring products are available while supplies last!
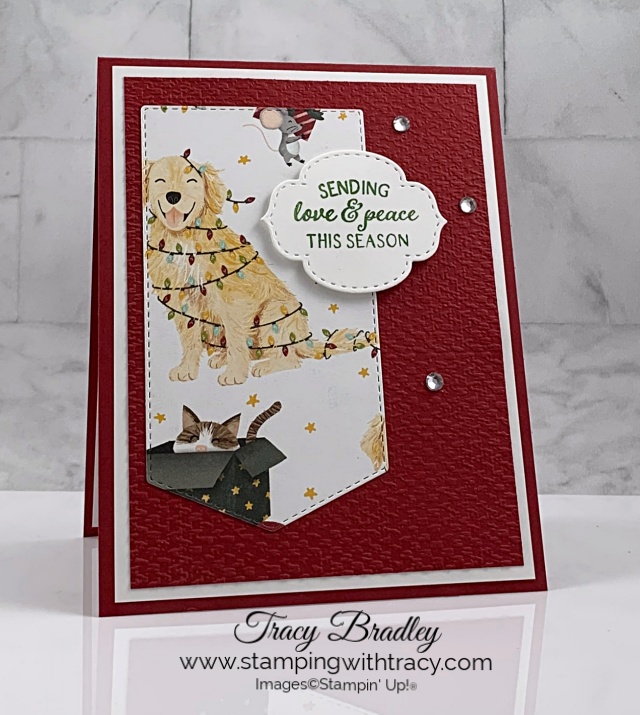
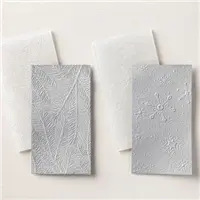
I started with a piece of Cherry Cobbler cardstock and then added a layer of Basic White cardstock. Next, I ran a piece of Cherry Cobbler cardstock through the Stampin’ Cut & Emboss Machine using the Tasteful Textile 3D Embossing Folder and then adhered it to the card front. I love this embossing folder and I know I use it a lot but it’s great when you want the embossing to be very subtle.

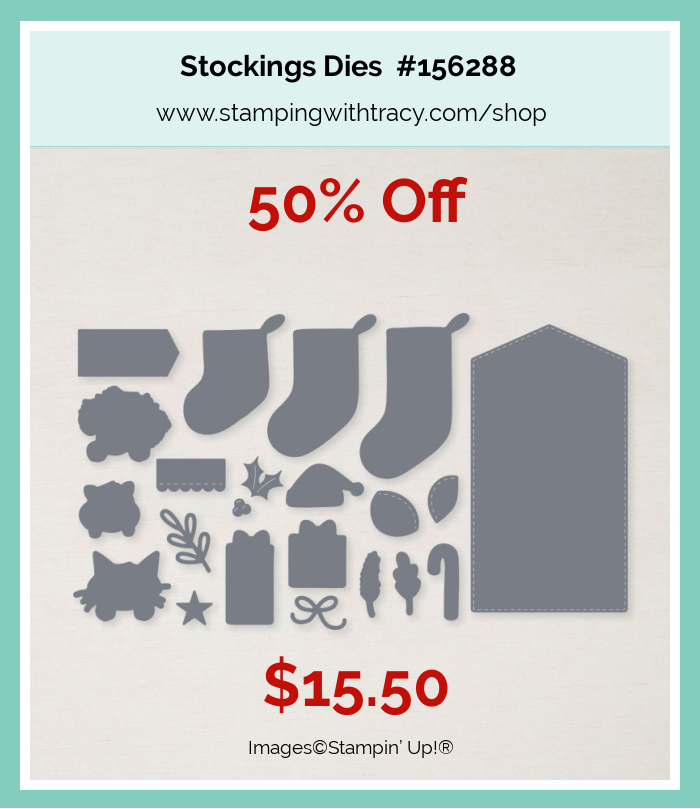
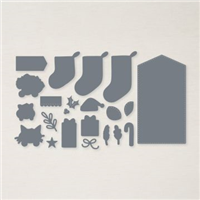
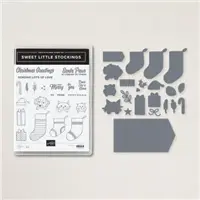
I used the Stockings Dies to cut a piece of Sweet Stockings 12″ x 12″ Designer Series Paper and then adhered it to the card front. The Stockings Dies coordinate with the Sweet Little Stockings stamp set (I didn’t use it for today’s card) and they are both included in the Sweet Little Stockings Bundle but you’ll save $10.00 buying these two products separately since the dies are so discounted.
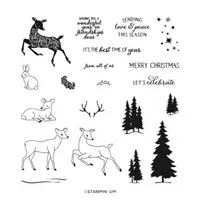
I stamped the sentiment onto Basic White cardstock using the Peaceful Deer stamp set and Garden Green ink. I cut it out using the Stitched So Sweetly Dies, added Stampin’ Dimensionals to the back and adhered it to the front of the card. The Peaceful Deer stamp set is unfortunately not available right now but is estimated to be back in stock the week of December 13th. The Peaceful Deer stamp set and the coordinating Deer Builder Punch are not retiring (yay!!) BUT the Peaceful Deer Bundle is retiring on January 3, 2022 and beginning on January 4th, these two products will be sold separately. The Peaceful Deer Bundle is also unavailable but is estimated to also be back in stock the week of December 13th
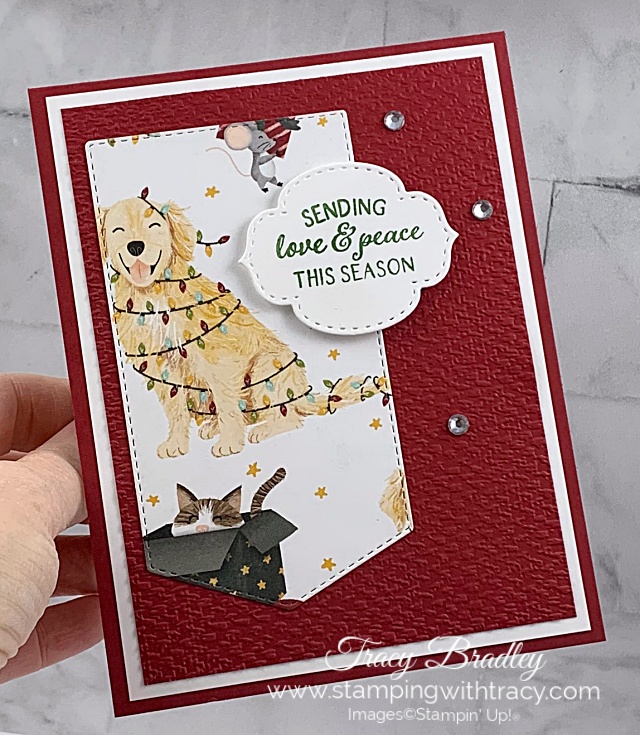
To complete the card, I added three Rhinestone Basic Jewels for some sparkle and added a piece of Basic White cardstock inside. You can find the measurements I used below the Supply List.
Supply List
Below you’ll find all the Stampin’ Up! supplies I used for today’s card. If you need any stamping supplies, I’d love to be your demonstrator! You can place an order by clicking any of the images below to go to my Stampin’ Up! online store.
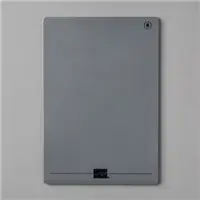
The Specialty Plate is used with 3D Embossing Folders.
Sale: $15.50
Price: $31.00
Measurements
- Cherry Cobbler cardstock: 11” x 4-1/4” score at 5-1/2” OR 8-1/2” x 5-1/2” score at 4-1/4” (the only difference is how your card opens)
- Cherry Cobbler cardstock: 5″ x 3-3/4″
- Basic White cardstock: (2) 5-1/4″ x 4″
- Basic White cardstock: scrap for sentiment
- Sweet Stockings Designer Series Paper: approx. 2-1/4″ x 1-3/4″
Happiest of Birthdays Card Sampler

Place a minimum $50 order (before tax/shipping) at my Stampin’ Up! Online Store using my special host code AGPQC9EE and I’ll send you my Happiest of Birthdays Card Sampler. Orders must be placed by tomorrow, December 7, 2021 and the Card Samplers will be mailed on December 16, 2021. Please click HERE for all the details.

Last Chance Products

PDF Store
My Ever Eden Card Sampler is now available in my PDF Store for $9.00. Please click here to visit my PDF Store.

Enjoy your day!
by Tracy | Nov 24, 2021 | Designer Series Paper, Die-Cutting, Embossing Folders
I have one more card using the card design I used to make the card from yesterday and the one from last week. It’s SUCH a versatile design and I really got on a roll making these cards!
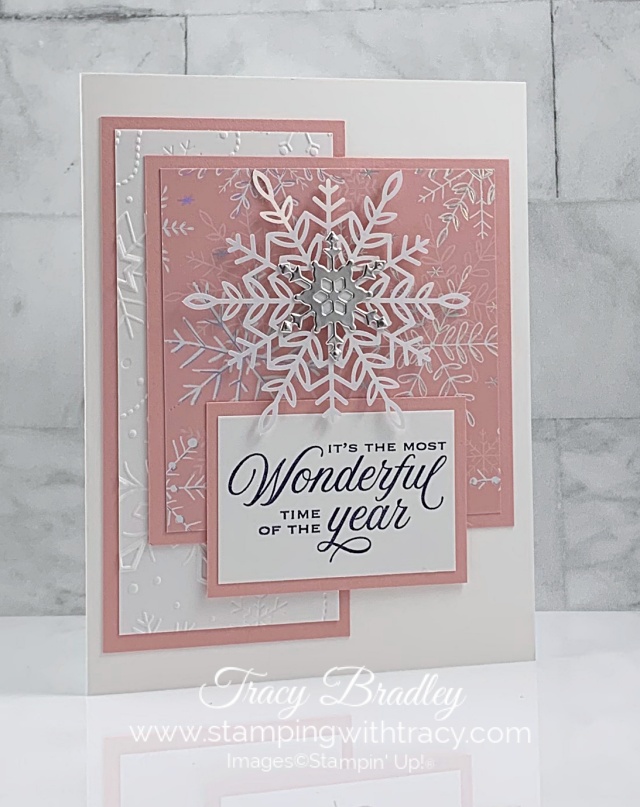
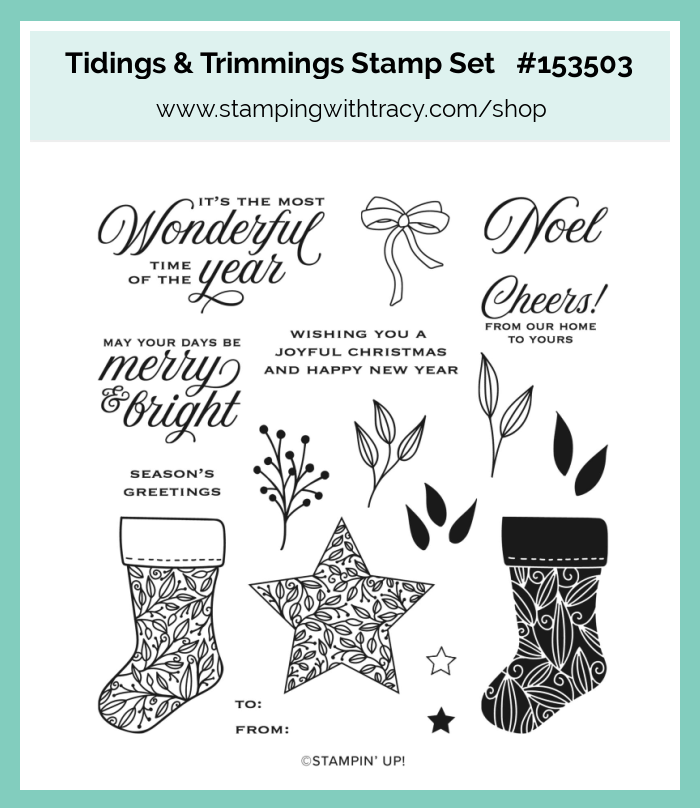
I started with a piece of Thick Basic White cardstock for the card base and then layered a piece of Blushing Bride cardstock with a piece of Basic White cardstock that was embossed using the Wintry 3D Embossing Folder. I then layered Blushing Bride cardstock with a piece of Whimsy & Wonder Designer Series Paper. The sentiment was stamped in Night of Navy ink onto a piece of Basic White cardstock using the stamp set Tidings & Trimmings and then was layered with another piece of Blushing Bride cardstock.

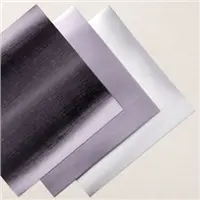
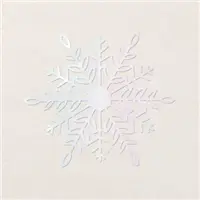
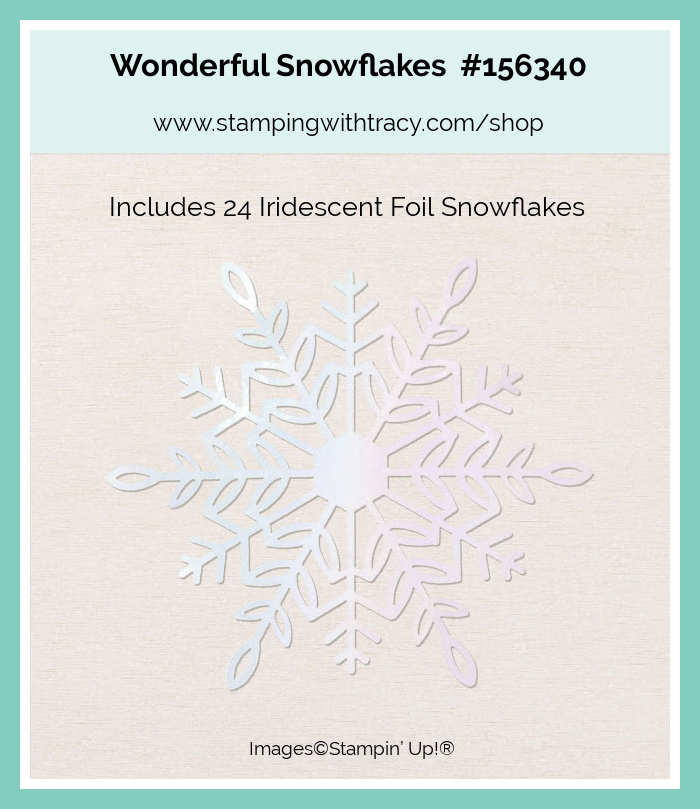
I placed a Stampin’ Dimensional in the center of the Wonderful Snowflake before adhering it to the front of the card. I made a small silver foil snowflake out of Silver Foil Specialty Paper using the So Many Snowflakes Dies. I added small dots of glue to the snowflake before adhering it to the center of the large iridescent snowflake.

I won’t be posting on Thursday so I can enjoy being with my family but for those of you that live in the United States, I want to wish you a very Happy Thanksgiving!
Supply List
Below you’ll find all the Stampin’ Up! supplies I used for today’s card. If you need any stamping supplies, I’d love to be your demonstrator! You can place an order by clicking any of the images below to go to my Stampin’ Up! online store.
The Specialty Plate is used with 3D Embossing Folders.
Measurements
- Thick Basic White cardstock: 8-1/2″ x 5-1/2″ score at 4-1/4″
- Blushing Bride cardstock: 4-3/4″ x 2-1/4″
- Blushing Bride cardstock: 3-1/2″ x 3-1/2″
- Blushing Bride cardstock: 2-3/4″ x 1-3/4″
- Basic White cardstock: 4-1/2″ x 2″
- Basic White cardstock: 2-1/2″ x 1-1/2″
- Whimsy & Wonder Designer Series Paper: 3-1/4″ x 3-1/4″
- Silver Foil: scrap for snowflake
December Paper Pumpkin

Lots of Pun Paper Pumpkin Kit
- The kit contains enough elements to create 9 cards—3 each of 3 designs—and 9 coordinating envelopes. This all-inclusive kit includes printed card bases, die-cut paper pieces, embellishments, adhesive, and more!
- The Lots of Pun Stamp Set is a builder stamp set! This means the included images can be mixed and matched to build a variety of unique characters with different looks and features.
- Card size: 4-1/4″ x 5-1/2″
- Envelope size: 4-1/2″ x 5-3/4″
- Coordinating colors: Crumb Cake, Daffodil Delight, Early Espresso, Granny Apple Green, Pool Party, Poppy Parade
- Includes a Classic Stampin’ Spot
- Ordering ends on December 10, 2021 for this kit
Click here to order Paper Pumpkin
You can cancel at any time or even skip a month

by Tracy | Nov 23, 2021 | Designer Series Paper, Die-Cutting, Embossing Folders, Heat Embossing
Before sharing today’s card, Stampin’ Up! issued a statement today about backorders. You can read it below:
As you may have heard reported in the news, unprecedented shipping and logistics issues have resulted in a global supply chain crisis. This is affecting businesses world-wide and Stampin’ Up! is no exception. Due to extreme difficulties caused by these issues, starting 1 December 2021, Stampin’ Up! will no longer take orders for products that are not in stock. In other words, Stampin’ Up! will no longer accept backorders. This change will help to reduce frustrations from unpredictable product availability and allow you to order products that will be delivered right away, rather than products that may not be delivered for months. All current orders that include backordered product will still be fulfilled as soon as inventory becomes available
If you want to know the status of a product, you can use the online store to check product availability. If you’re looking for a specific item, enter it into the search box (item code is generally the most effective way to search). If the item is not available for order, you will see the product, but it will say that it is currently unavailable and there will be no ADD TO CART button.
If you have any questions, please don’t hesitate to contact me.
Today’s Card
I love taking a card design I’ve used before and changing it up with different paper and cardstock. If today’s card looks familiar it’s because I used this same design last week but it wasn’t holiday themed. You can see last week’s card here.

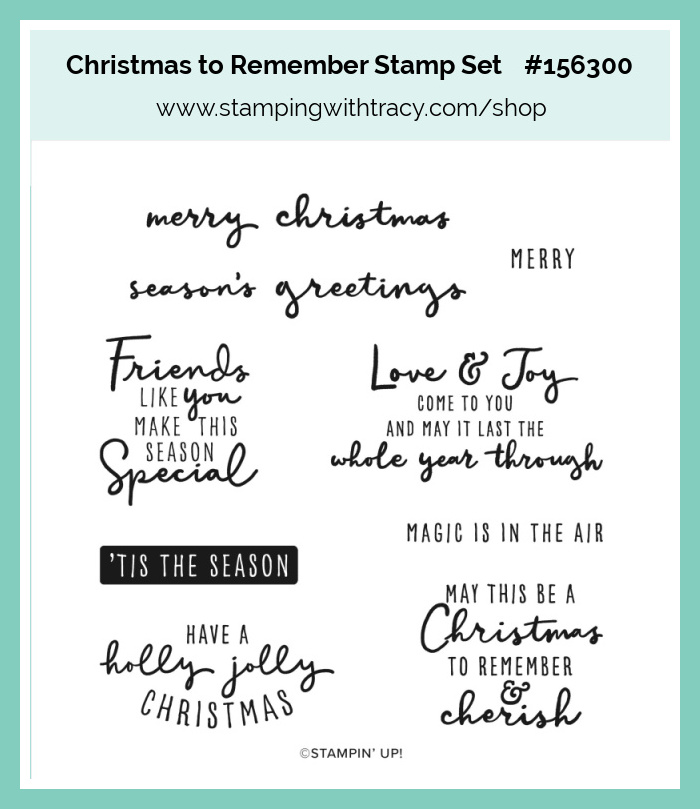
Today’s card features Whimsy & Wonder Designer Series Paper and the stamp set Christmas to Remember. I usually like making holiday cards with very traditional colors but I have to admit I’ve enjoyed using the colors in this Designer Series Paper!
I started with a piece of Thick Basic White cardstock for the card base. Then I added a layer of Polished Pink and Mint Macaron cardstock (you can find all the measurements below). I embossed the Mint Macaron using one of the Wintry 3D Embossing Folders. The next layer is Polished Pink cardstock with Whimsy & Wonder Designer Series Paper.

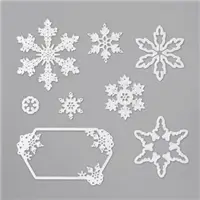
I heat embossed the sentiment onto Basic White cardstock using the stamp set Christmas to Remember (you can find the directions for heat embossing farther down in the post) and layered it onto another piece of Polished Pink cardstock. I added one Stampin’ Dimensional to the back of a Wonderful Snowflake and adhered it above the sentiment. The finishing touch was adding a silver snowflake to the center that was made using the So Many Snowflakes Dies and our Silver Foil.

How to Heat Emboss
Prepare your cardstock by rubbing an anti-static pouch over the surface of the paper as it helps keep away stray particles of embossing powder (Stampin’ Up! no longer carries this product but it’s a must when embossing). Stamp your sentiment or image using a Versamark pad. This is very sticky ink and your embossing powder will stick right to it. Sprinkle embossing powder over the stamped image and then shake off any excess. Before applying heat to your paper, heat the Heat Tool first so the paper won’t warp (about 10 seconds). Direct the heat over your image and watch as your image is transformed!
Supply List
Below you’ll find all the Stampin’ Up! supplies I used for today’s card. If you need any stamping supplies, I’d love to be your demonstrator! You can place an order by clicking any of the images below to go to my Stampin’ Up! online store.
The Specialty Plate is used with 3D Embossing Folders.
Measurements
- Thick Basic White cardstock: 11″ x 4-1/4″ score at 5-1/2″ or 8-1/2″ x 5-1/2″ score at 4-1/4″ (the only difference is how the card opens)
- Polished Pink cardstock: 4-3/4″ x 2-1/4″
- Polished Pink cardstock: 3-1/2″ x 3-1/2″
- Polished Pink cardstock: 2-3/4″ x 1-3/4″
- Mint Macaron cardstock: 4-1/2″ x 2″
- Basic White cardstock: 2-1/2″ x 1-1/2″
- Whimsy & Wonder Designer Series Paper: 3-1/4″ x 3-1/4″
- Silver Foil: scrap for snowflake
PDF Store Coming Soon
I’ve been working on releasing my Card Sampler PDF Store and many of my past Card Sampler PDF Tutorials will be available for purchase (this is just the PDF Tutorial, not the precut cardstock). The price of each tutorial will be dependent on the number of pages so they will vary from $7.00-$10.00. To kick it off, each tutorial will be on sale for $5.95 from November 26 – 29. My PDF’s will be available to everyone, regardless of which country you reside in and I’ll be using PayPal for payment. Check back on November 26th for all the details!

Starter Kit Promotion Coming to an End
Stampin’ Up! has lowered the Starter Kit to $75 for the month of November (it’s normally $99 and there’s just a few days left! When you purchase the Starter Kit you’ll choose $125 worth of Stampin’ Up! product – that’s $50 in free Stampin’ Up! product!!! Then you’ll enjoy the perks of being a demonstrator with access to products early, a discount on all your purchases (think of it as a discount card to your favorite place to shop) and so much more. You never have to run a class or sell to others but you certainly have that option if you’d like to start your own business. If you have questions, please ask! For more information, click here. If you’re ready to purchase the Starter Kit, click here!

Enjoy your day!
by Tracy | Nov 22, 2021 | Card Sampler, Designer Series Paper, Die-Cutting, Embossing Folders, Heat Embossing
I’ve extended my Ever Eden Card Sampler one more day!
Place a minimum $50 order (before tax/shipping) at my Stampin’ Up! Online Store using my special host code XC6U7GD4 and I’ll send you my Ever Eden Card Sampler. Orders must be placed by the end of today, November 22, 2021 and the Card Samplers will be mailed on December 1, 2021. Please click HERE for all the details.

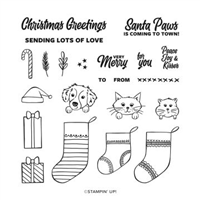
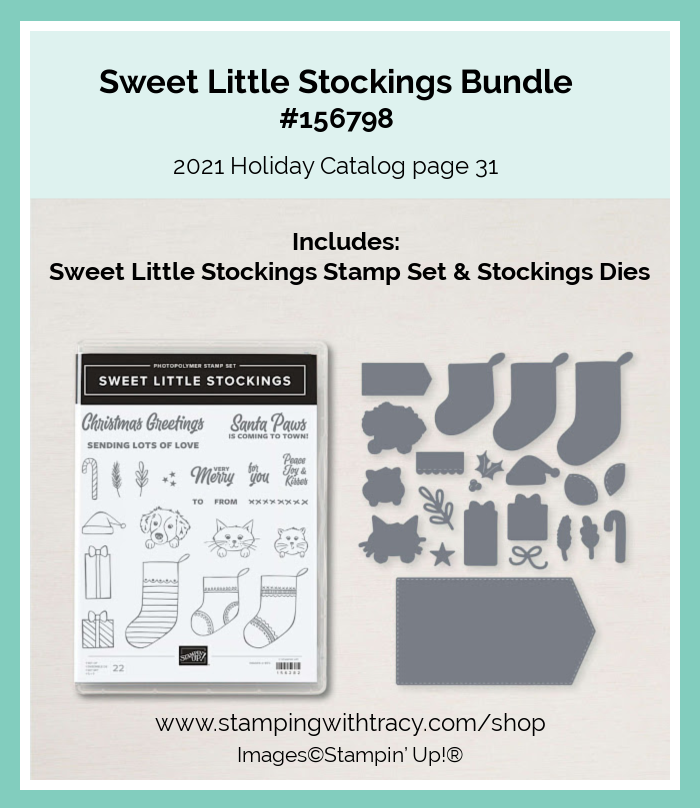
Today’s card features the super cute Sweet Little Stockings Bundle (when you purchase a bundle, you save 10%) which includes the Sweet Little Stockings stamp set and the Stockings Dies.

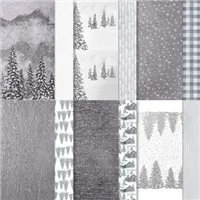
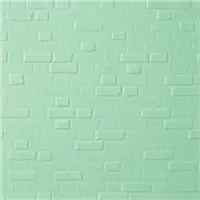
I started with a piece of Thick Basic White cardstock for the card base. Then I added a piece of Basic Gray cardstock layered with a piece of Peaceful Place Designer Series Paper. I added another layer of Basic Gray cardstock with a piece of Basic White cardstock that I embossed with the Brick & Mortar 3D Embossing Folder.


I used the Stockings Dies to cut two stockings out of Peaceful Place Designer Series Paper and used Basic White cardstock for the top of the stockings. I stamped the kitty, presents and candy cane in Memento Ink and then colored them using these Stampin’ Blends: Smoky Slate, Real Red and Shaded Spruce. I then cut them out using the Stockings Dies.

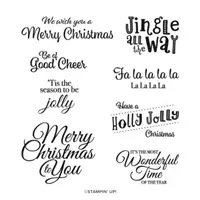
I glued the bottom half of the kitty to one stocking and then added glue to the front of the presents and candy cane and placed them so they look like they are tucked into the stocking. I added glue to each stocking and adhered them to the front of the card. When I was making the card, I went back and forth as to whether to adhere them using Stampin’ Dimensionals and I think next time, I will. I heat embossed (see the directions below for heat embossing) the sentiment onto Basic White cardstock using Versamark ink and the stamp set Holly Jolly Wishes and then cut it out using the Tasteful Labels Dies. I added Stampin’ Dimensionals to the back and placed it on the card. You can find the measurements I used below the Supply List.
How to Heat Emboss
Prepare your cardstock by rubbing an anti-static pouch over the surface of the paper as it helps keep away stray particles of embossing powder (Stampin’ Up! no longer carries this product but it’s a must when embossing). Stamp your sentiment or image using a Versamark pad. This is very sticky ink and your embossing powder will stick right to it. Sprinkle embossing powder over the stamped image and then shake off any excess. Before applying heat to your paper, heat the Heat Tool first so the paper won’t warp (about 10 seconds). Direct the heat over your image and watch as your image is transformed!
Supply List
Below you’ll find all the Stampin’ Up! supplies I used for today’s card. If you need any stamping supplies, I’d love to be your demonstrator! You can place an order by clicking any of the images below to go to my Stampin’ Up! online store.
The Specialty Plate is used with 3D Embossing Folders.
Measurements
- Thick Basic White cardstock: 11″ x 4 -1/4″
- Basic White cardstock: 3-3/4″ x 3″
- Basic White cardstock: scrap for sentiment
- Basic White cardstock: scraps for kitty, present, candy cane and tops of stockings
- Basic Gray cardstock: 5-1/4″ x 4″
- Basic Gray cardstock: 4″ x 3-1/4″
- Peaceful Place Designer Series Paper: 5″ x 3-3/4″
- Peaceful Place Designer Series Paper: scraps for stockings
Card Sampler PDF Tutorial Sale
I’ve been working on releasing my Card Sampler PDF Store and many of my past Card Sampler PDF Tutorials will be available for purchase. The price of each tutorial will be dependent on the number of pages so they will vary from $7.00-$10.00. To kick it off, each tutorial will be on sale for $5.95 from November 26 – 29. My PDF’s will be available to everyone, regardless of which country you reside in and I’ll be using PayPal for payment. Check back on November 26th for all the details!

Have a great day!


