by Tracy | Feb 18, 2020 | Die-Cutting

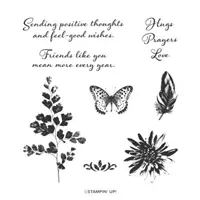
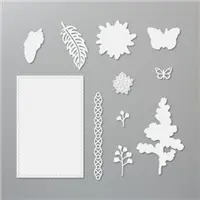
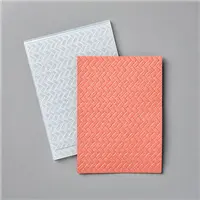
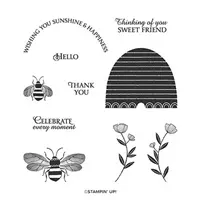
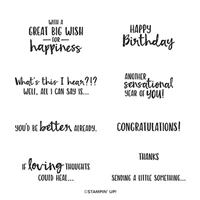
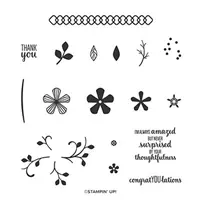
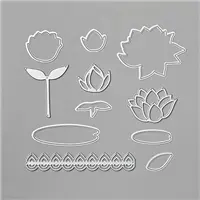
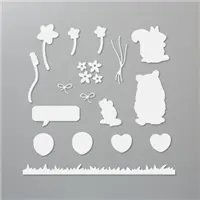
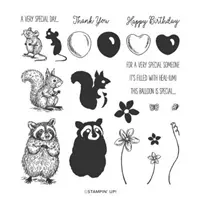
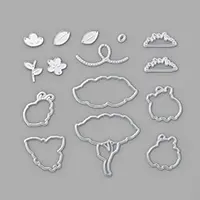
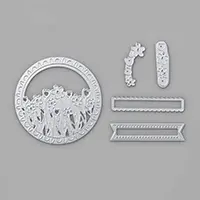
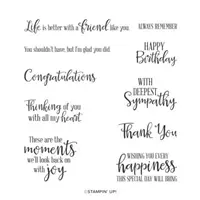
Happy Tuesday! This the day of the week when you can find a free tutorial on my blog! Today’s free tutorial showcases the stamp set Positive Thoughts and the coordinating Nature’s Thoughts Dies. These dies are only available while supplies last so grab them while you can! You can find the free tutorial for today’s card below the supply list.
Have a great day!

Supply List
If you need any stamping supplies, I’d love to be your demonstrator! You can place an order by clicking any of the images below to go to my Stampin’ Up! online store. If you have questions about products you’re considering purchasing or ones you’ve already purchased, I’m just an email away (click the Email Me button on the sidebar of my blog).



Click here to place an order!

Tracy’s Quick Links
Place an Order
My Customer Rewards
Bradley Points
$99 Starter Kit
Clearance Rack
Mini Catalog
Sale-A-Bration Catalog
by Tracy | Feb 17, 2020 | Designer Series Paper, Embossing Folders, Punches

Today’s card was created using one of the beautiful designs in Stampin’ Up! Best Dressed Designer Series Paper as well as the stamp set, Happy Birthday to You, a FREE Sale-A-Bration gift with a $50 order.
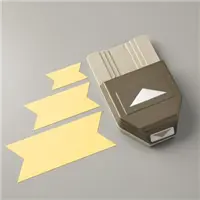
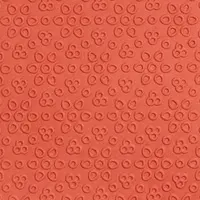
I started with a base of Mint Macaron cardstock and added a layer of Purple Posy cardstock and then another layer of Best Dressed Designer Series Paper. My banner was created using the Banner Triple Punch and then embossed with the Eyelet Lace Embossing Folder. My motto is, why leave a piece of cardstock plain when you can emboss it!?
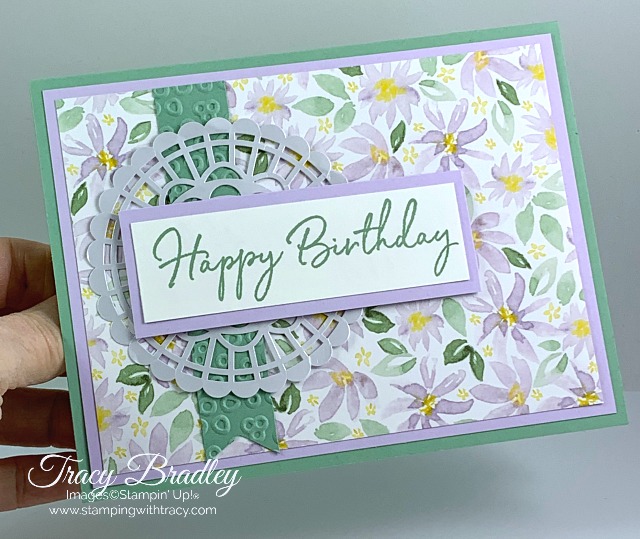
After the banner was adhered with Multipurpose Glue, I added one of our Pearlized Doilies. The sentiment was stamped in Mint Macaron ink onto Whisper White cardstock. It was adhered to a piece of Purple Posy cardstock and popped up with Stampin’ Dimensionals.

To finish the card, I added a strip of Best Dressed Designer Series Paper to the inside.
Enjoy your day!
Supply List
If you need any stamping supplies, I’d love to be your demonstrator! You can place an order by clicking any of the images below to go to my Stampin’ Up! online store. If you have questions about products you’re considering purchasing or ones you’ve already purchased, I’m just an email away (click the Email Me button on the sidebar of my blog).

Tracy’s Quick Links
Place an Order
My Customer Rewards
Bradley Points
$99 Starter Kit
Clearance Rack
Mini Catalog
Sale-A-Bration Catalog
by Tracy | Feb 14, 2020 | Dahlia Fold, Designer Series Paper, Die-Cutting, Embossing Folders
Happy Valentine’s Day!
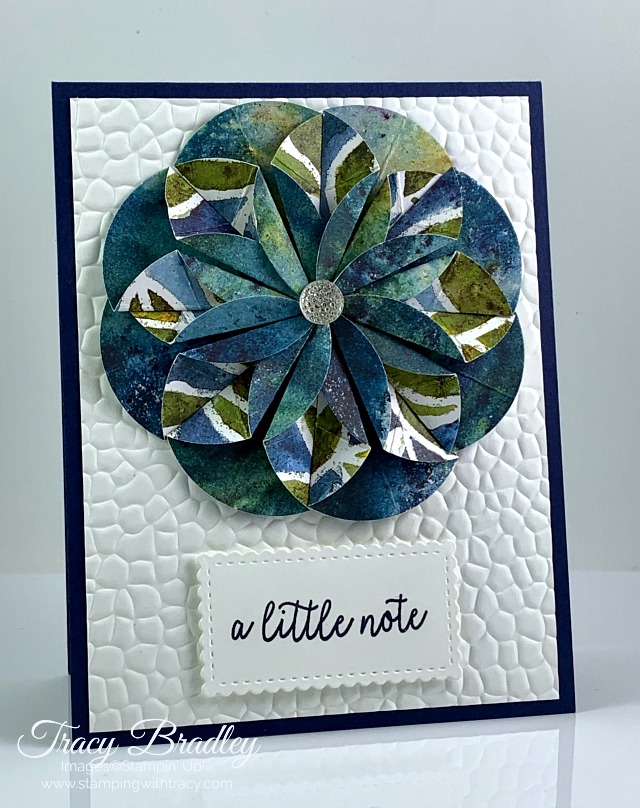
Once you learn to make a flower using the Dahlia Fold Technique, it’s pretty hard to stop at just one! If you visited yesterday, you know that I shared another card using this technique with our Best Dressed Designer Series Paper. If you’d like to see yesterday’s card, you can check it out here.
To create the flower on my card today, I used See a Silhouette Designer Series Paper. The base of the card is Night of Navy cardstock with a layer of Whisper White cardstock which I ran through my die-cutting machine using the Hammered Metal Embossing Folder (all the supplies I used can be found in the Supply List below).
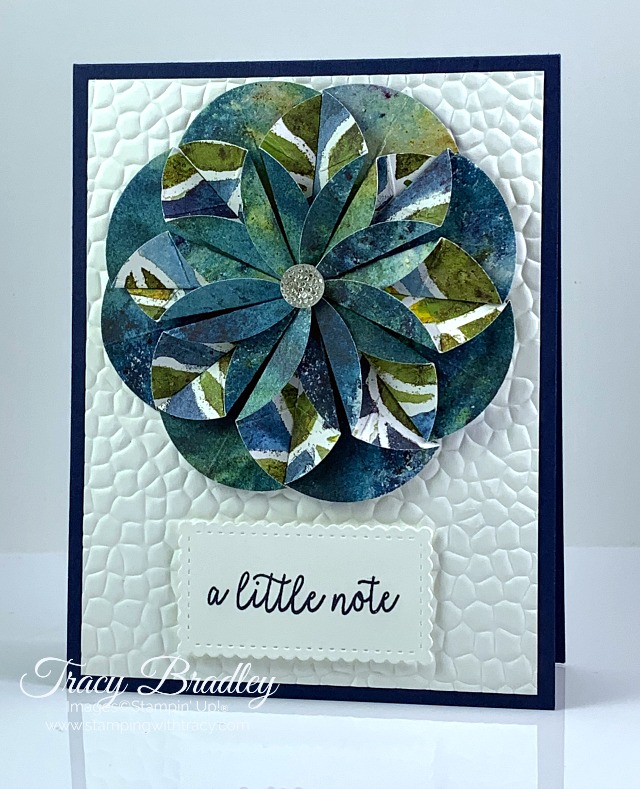
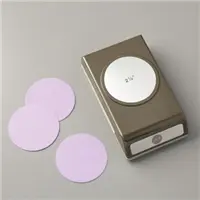
As I mentioned yesterday, about 1-1/2 years ago, I made a video showing how to create the flower using a 1-3/4″ Circle Punch but since then, the punch has retired. For today’s card, I used a circle in the Layering Circles Dies (the inside of the circle is approximately 1-7/8″) and I used our 2-1/4″ Circle Punch as a base to glue the pieces to. In the video I use a larger circle as I show you how to make the fold so that it’s easier to see what I’m doing and I recommend doing the same thing when you’re practicing BUT don’t use cardstock, use a thinner paper such as computer paper. You’ll get frustrated trying to make the folds if your paper is too heavy. You can view the video HERE and please note that several products in the video have since retired.

The sentiment was stamped in Night of Navy ink onto Whisper White cardstock using the stamp set Butterfly Gala. It was die-cut using the Stitched So Sweetly Dies and popped up with Stampin’ Dimensionals.
I hope you’ll give this fold a try! It may look difficult but it really is much easier than it looks!
Supply List
If you need any stamping supplies, I’d love to be your demonstrator! You can place an order by clicking any of the images below to go to my Stampin’ Up! online store. If you have questions about products you’re considering purchasing or ones you’ve already purchased, I’m just an email away (click the Email Me button on the sidebar of my blog).
Click here for more information about Sale-A-Bration!
Tracy’s Quick Links
Place an Order
My Customer Rewards
Bradley Points
$99 Starter Kit
Clearance Rack
Mini Catalog
Sale-A-Bration Catalog
by Tracy | Feb 13, 2020 | Dahlia Fold, Designer Series Paper, Die-Cutting

I love making flowers using the Dahlia Fold technique and whenever new Stampin’ Up! paper is released, I always look to see which ones will work best. Since both sides of the paper can be seen, the two sides need to complement one another other, such as this design from Best Dressed Designer Series Paper.
If you’re looking at this flower and thinking that it’s way too complicated, I’m here to tell you that it really isn’t! You just need to master the fold (which isn’t difficult) and then repeat it seven more times. About 1-1/2 years ago, I made a video showing how to create the fold using a 1-3/4″ Circle Punch but since then, the punch has retired. For today’s card, I used a circle in the Layering Circles Dies (the inside of the circle is approximately 1-7/8″) and I used our 2-1/4″ Circle Punch as a base to glue the pieces to. In the video I use a larger circle as I show you how to make the fold so that it’s easier to see what I’m doing and I recommend doing the same thing when you’re practicing BUT don’t use cardstock, use a thinner paper such as computer paper. You’ll get frustrated trying to make the folds if your paper is too heavy. You can view the video HERE and please note that several products in the video have since retired.

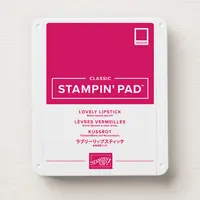
The base of my card is Daffodil Delight cardstock. I added a layer of Whisper White cardstock that was placed inside the Layered Leaves Embossing Folder and run through a die-cutting machine. The sentiment was also stamped on Whisper White using Lovely Lipstick and the stamp set, Happy Birthday to You and die-cut using the Stitched So Sweetly Dies. The Happy Birthday to You stamp set is one of the FREE Sale-A-Bration gifts you can choose from with a $50 order (coordinating dies for this stamp set were just released this week and are available while supplies last).


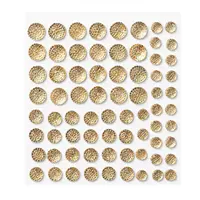
To complete my card, I added one of our Gold Faceted Gems to the center of the flower. These gems have a sticky back but I recommend also adding Multipurpose Glue to the back. I didn’t use the extra glue and the gem came off (I’m still looking for it). On the second try, I added glue and it has stayed in place. Normally the adhesive works fine but all of the flower pieces come together in the middle and it’s quite a bit of bulk.
If you give this technique a try, I’d love to hear from you!
Supply List
If you need any stamping supplies, I’d love to be your demonstrator! You can place an order by clicking any of the images below to go to my Stampin’ Up! online store. If you have questions about products you’re considering purchasing or ones you’ve already purchased, I’m just an email away (click the Email Me button on the sidebar of my blog).
Measurements
- Daffodil Delight cardstock: 11″ x 4-1/4″
- Whisper White cardstock: 5-1/4″ x 4″
- Whisper White cardstock: scrap for sentiment
- Whisper White cardstock: scrap for 2-1/4″ circle
- Best Dressed Designer Series Paper: (8) circles
Tracy’s Quick Links
Place an Order
My Customer Rewards
Bradley Points
$99 Starter Kit
Clearance Rack
Mini Catalog
Sale-A-Bration Catalog
Earn FREE gifts during Sale-A-Bration! Level 1 gifts can be earned with a $50 purchase and Level 2 gifts with a $100 order. For instance, if your order total equals $105, you can choose (2) Level 1 gifts or (1) Level 2 gift. There’s no limit on how many gifts you can earn! For more information about Sale-A-Bration, click here!
by Tracy | Feb 12, 2020 | Die-Cutting, Embossing Folders

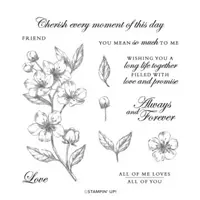
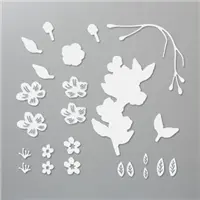
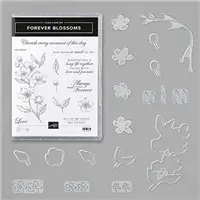
I used the Forever Blossoms Bundle to create today’s card. This bundle includes the Forever Blossoms stamp set and Cherry Blossoms Dies. These two products can be purchased separately but when you purchase the bundle, you’ll save 10%.

I started with a base of Rococo Rose cardstock and then added an embossed layer of Whisper White using the Coastal Weave embossing folder.
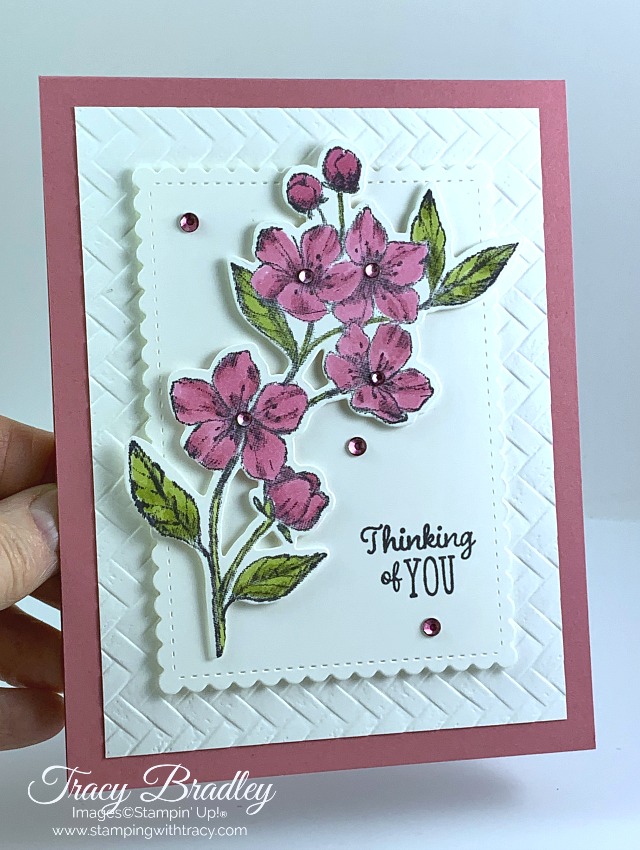
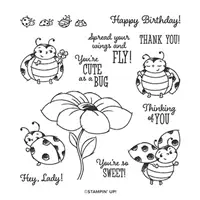
The flowers were stamped onto Whisper White cardstock using Memento Ink and then colored with Stampin’ Blends: Rococo Rose (Light and Dark) and Old Olive (Light and Dark). They were cut out using a die-cutting machine and the Cherry Blossoms Dies. I added Stampin’ Dimensionals to the back and attached them to another piece of Whisper White cardstock that was die-cut using the Stitched So Sweetly Dies. The sentiment was stamped in Memento Ink using the stamp set, Little Ladybug (a free host set with a $300 order during Sale-a-Bration). I added more Stampin’ Dimensionals to the back of this piece and adhered it to the front of the card.
I used my Dark Rococo Rose Stampin’ Blend to color our regular rhinestones so that they would match the rest of the card!
Supply List
If you need any stamping supplies, I’d love to be your demonstrator! You can place an order by clicking any of the images below to go to my Stampin’ Up! online store. If you have questions about products you’re considering purchasing or ones you’ve already purchased, I’m just an email away (click the Email Me button on the sidebar of my blog).
Measurements
- Rococo Rose cardstock: 11″ x 4-1/4″
- Whisper White cardstock: 3-3/4″ x 5″
- Whisper White cardstock (optional for inside card): 5-1/4″ x 4′
- Whisper White cardstock: approx. 3-1/4″ x 4-1/4″ for stitched rectangle
- Whisper White cardstock: scrap for flowers
Tracy’s Quick Links
Place an Order
My Customer Rewards
Bradley Points
$99 Starter Kit
Clearance Rack
Mini Catalog
Sale-A-Bration Catalog
by Tracy | Feb 11, 2020 | Free Tutorial
Happy Tuesday!
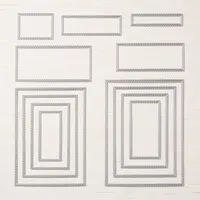
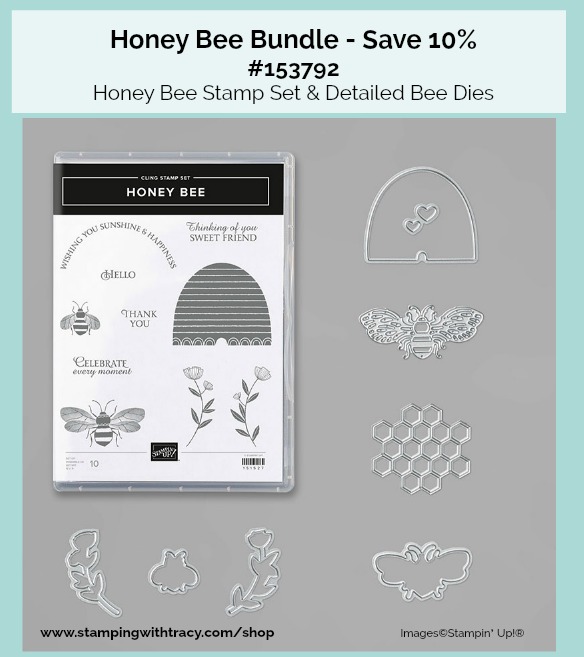
Today’s card uses the Honey Bee Stamp Set and Stitched Rectangles Dies and because it’s Tuesday, I have a FREE PDF tutorial for you. You’ll find all the directions and measurements for today’s card in the PDF which you can access below the supply list

Supply List
If you need any stamping supplies, I’d love to be your demonstrator! You can place an order by clicking any of the images below to go to my Stampin’ Up! online store. If you have questions about products you’re considering purchasing or ones you’ve already purchased, I’m just an email away (click the Email Me button on the sidebar of my blog).
Low Inventory Alert: Both the Honey Bee Bundle and Detailed Bee Dies are on the low inventory list which means they will go into backorder status soon. If you’ve been on the fence about purchasing either of these products, my recommendation would be to get them just as soon as you can.

Click here for more information about the Starter Kit! If you have any questions, please feel free to contact me.
Tracy’s Quick Links
Place an Order
My Customer Rewards
Bradley Points
$99 Starter Kit
Clearance Rack
Mini Catalog
Sale-A-Bration Catalog
by Tracy | Feb 10, 2020 | Die-Cutting, Punches

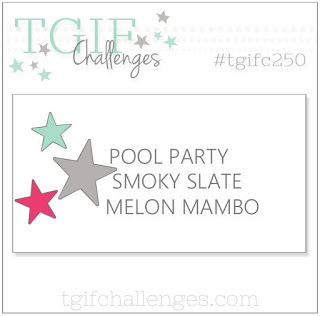
The inspiration for today’s card is from the color challenge over at TGIF Challenges (#tgifc250) which is to create a card using the colors Pool Party, Smoky Slate and Melon Mambo.
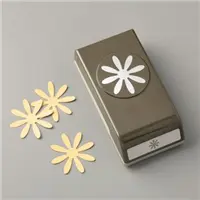
My daisy was created using Stampin’ Up! 6″ x 6″ Brights Designer Series Paper in Melon Mambo (all of the Brights colors are included in this package) using the Daisy Punch and the Medium Daisy Punch. I used a Mini Stampin’ Dimensional between the two layers of the daisy and placed a Clear Faceted Gem in the middle for some sparkle.

The base of the card is Pool Party with a layer of Smoky Slate that I ran through my die-cutting machine using the Coastal Weave Embossing Folder. On top of that is another layer of Pool Party, popped up with Stampin’ Dimensionals (you can find all the measurements below the Supply List).
I used the Stitched So Sweetly Dies to cut a stitched rectangle out of Whisper White cardstock and then ran it through the Coastal Weave Embossing Folder. It’s important to cut the rectangle first and then emboss it. If you do it the other way around, you’ll flatten the embossing (I know this from firsthand experience).

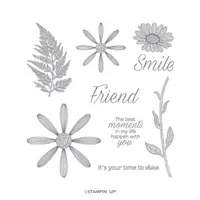
The sentiment was stamped in Melon Mambo onto Whisper White cardstock using the stamp set, Daisy Lane and cut out using the Layering Ovals Dies. The Pool Party oval was cut using the Stitched Shapes Dies. I added Stampin’ Dimensionals to the back of the Pool Party oval and one in the middle of the daisy and attached both to the front of the card.
All of the supplies I used to create today’s card can be found in the supply list below.
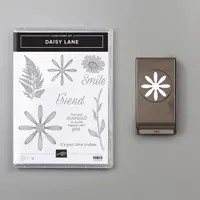
Daisy Lane Bundle Alert: Purchase the Daisy Lane Bundle and you’ll save 10%. It includes the Daisy Lane Stamp Set and the Medium Daisy Punch.

February Card Sampler – Last Day!

Today is the last day my February Card Sampler will be available! Place a minimum $50 at my Stampin’ Up! online store using the host code DKBJKZRD and I’ll send you my sampler which includes 6 card kits, a PDF Tutorial and a video link. You’ll also be able to choose a FREE Sale-a-Bration gift directly from Stampin’ Up! Click here for all the details.
Supply List for Today’s Card
If you need any stamping supplies, I’d love to be your demonstrator! You can place an order by clicking any of the images below to go to my Stampin’ Up! online store. If you have questions about products you’re considering purchasing or ones you’ve already purchased, I’m just an email away (click the Email Me button on the sidebar of my blog).
Measurements
- Pool Party cardstock: 11″ x 4-1/4″
- Pool Party cardstock: 4-1/2″ x 3-1/4″
- Pool Party cardstock: scrap for stitched oval
- Smoky Slate cardstock: 5-1/4″ x 4″
- Whisper White cardstock: approximately 4-1/2″ x 3-1/4″ (die-cut rectangle)
- Whisper White cardstock: scrap for sentiment
- Brights 6″ x 6″ Designer Series Paper: scraps for two daisies
Tracy’s Quick Links
Place an Order
My Customer Rewards
Bradley Points
$99 Starter Kit
Clearance Rack
Mini Catalog
Sale-A-Bration Catalog
by Tracy | Feb 7, 2020 | Designer Series Paper, Die-Cutting, Uncategorized

Today’s card was made using Golden Honey Specialty Designer Series Paper. The best part about this card is that the paper was FREE! When you place a $50 order during Sale-a-Bration, this is one of the free gifts you can choose! Place a $100 order and you can choose 2 packs of this paper, OR a pack of paper and another $50 gift OR one of the $100 choices. Don’t you love it when you can earn free product?? I do! If you’d like to see everything available, scroll down to the bottom of my post or click here to download the Sale-a-Bration brochure.

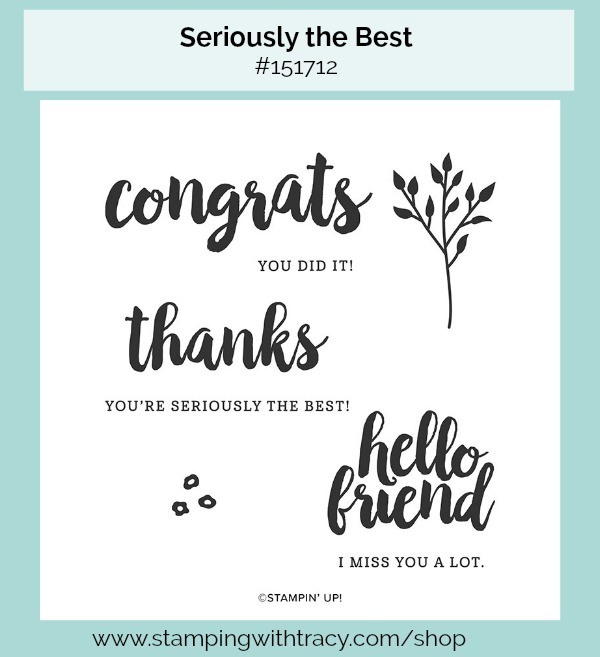
The sentiment is from the stamp set, Seriously the Best, and was inked up with Memento Ink. It was cut out using the Stitched Shapes Dies and a die-cutting machine. The black scalloped oval was cut out using the Layering Ovals Dies. These two sets of dies get some serious use in my craft room!

What you can’t really see in the picture is that the flowers are gold foil so the card is very shimmery.
The base of the card is Thick Whisper White with a layer of Basic Black on top. Super easy card to make but I’m pretty sure it will bring a smile to anyone’s face. You can find the measurements for today’s card below the supply list!
Edited to add: Golden Honey Specialty Designer Series Paper has been so popular that it’s currently on backorder. It should be back in stock around February 24th. Just a few weeks to wait!
Supply List
If you need any stamping supplies, I’d love to be your demonstrator! You can place an order by clicking any of the images below to go to my Stampin’ Up! online store. If you have questions about products you’re considering purchasing or ones you’ve already purchased, I’m just an email away (click the Email Me button on the sidebar of my blog).
Measurements
- Thick Whisper White cardstock: 11″ x 4-1/4″
- Basic Black cardstock: 5-1/4″ x 4″
- Golden Honey Specialty Designer Series Paper: 5″ x 3-3/4″
- Whisper White cardstock: scrap for sentiment
- Basic Black cardstock: scrap for scalloped oval

My February Card Sampler is only available for a few more days! Click here for more information.
Choose FREE gifts with every $50 purchase during Sale-a-Bration!
There’s no limit to how many free gifts you can earn!
FREE gifts with a $50 purchase:
FREE gifts with a $100 purchase:
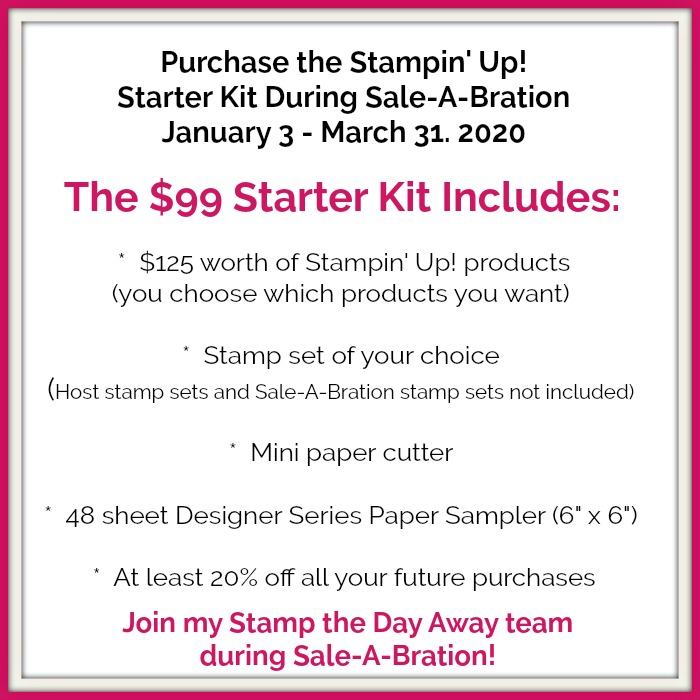
If you’re planning to place a $99 order, you might want to consider purchasing the Starter Kit! You’ll pick $125 worth of Stampin’ Up! product and because it’s Sale-A-Bration, you’ll receive a mini paper cutter, a Designer Series Paper Sampler and a free stamp of your choice! You’ll also start receiving at least a 20% discount on all your future purchases. You’ll will automatically become a demonstrator and many people think they need to start having parties and selling to others but that’s only if you want to! You can choose to purchase just for yourself or start your own business. There’s absolutely no risk but there are plenty of perks! If you’d like more information, you can click here or feel free to contact me!
by Tracy | Feb 6, 2020 | Birthday Card, Die-Cutting, Embossing Folders

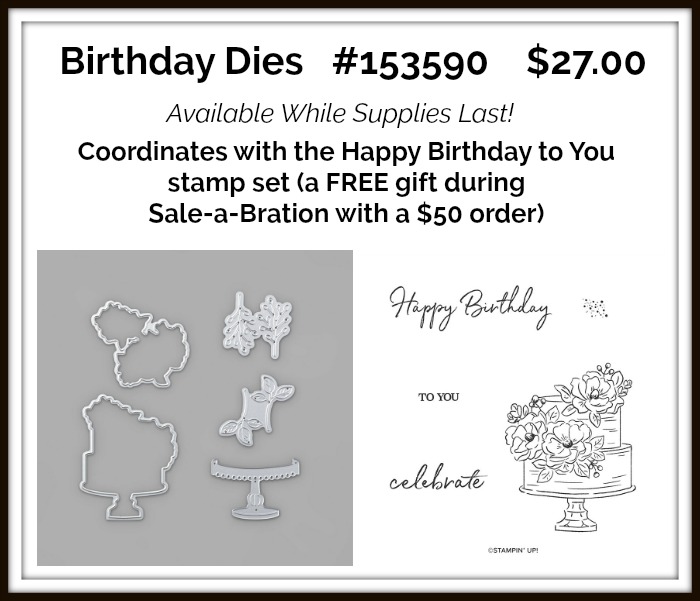
I used the stamp set, Happy Birthday to You, a FREE Sale-a-Bration gift with a $50 order, to create today’s card. The coordinating Birthday Dies, just released on Tuesday, were used to cut the cake and stand. These dies, along with four others, are only available while supplies last so grab them while you can!
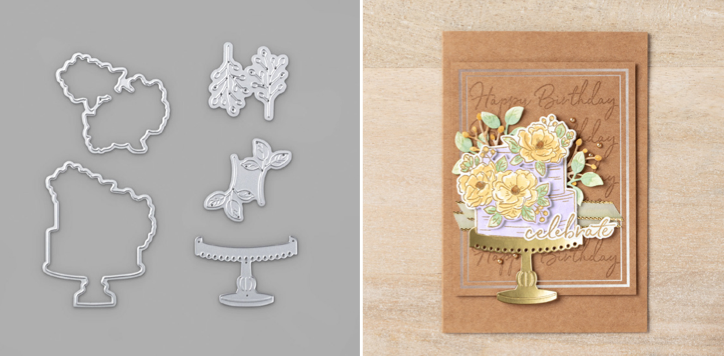
The cake image was stamped using a Basic Gray Stampin’ Pad onto Whisper White cardstock. Usually when I’m going to use my Stampin’ Blends, I use Memento ink but I went with gray for a softer look. The blends I used to color the image were: Flirty Flamingo (light and dark), Granny Apple Green (light and dark) and Smoky Slate (light). After cutting the cake with the Birthday Dies, I added Stampin’ Dimensionals to the back.
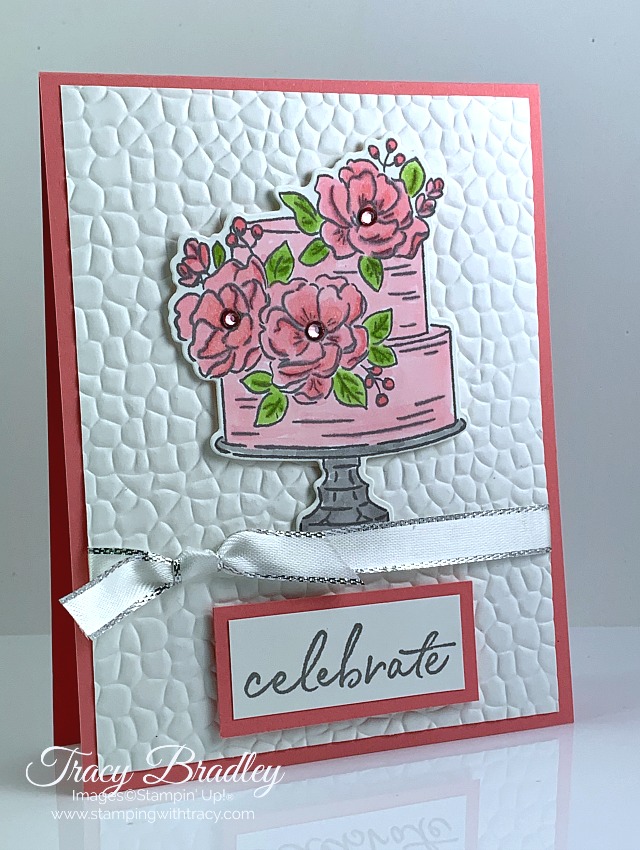
The base of the card is Flirty Flamingo with a layer of Whisper White that was embossed using the Hammered Metal Embossing Folder. Before adhering this layer to the Flirty Flamingo, I wrapped our Metallic-Edged Ribbon around the cardstock and used Multipurpose Glue to attach it to the card base.
The sentiment was stamped in Smoky Slate onto Whisper White cardstock. I adhered it to a piece of Flirty Flamingo cardstock, added Stampin’ Dimensionals to the back and attached it below the ribbon. Using my Dark Flirty Flamingo Blend, I colored my rhinestones and then placed one in the middle of the three large flowers.
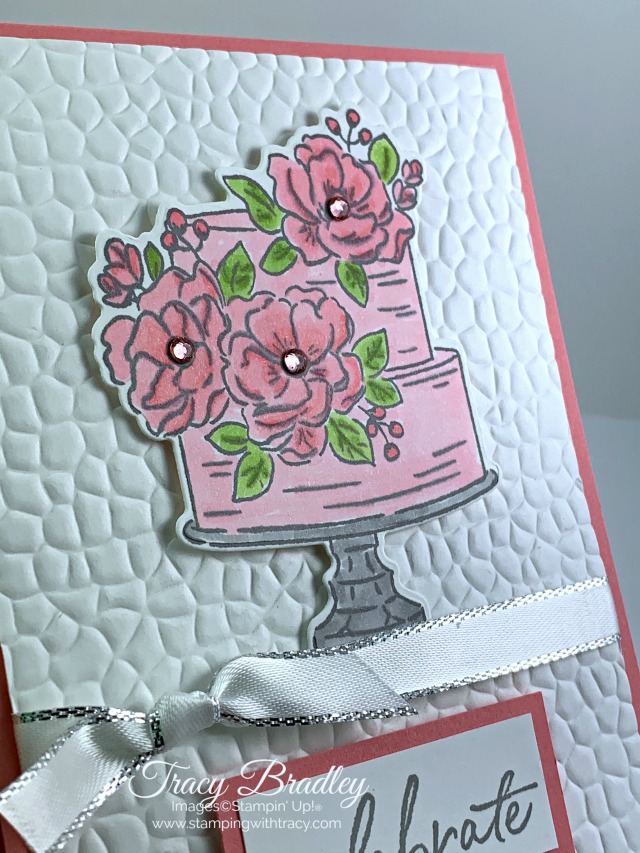
If you’d like to create today’s card, you’ll find the measurements below the supply list.
Supply List
If you need any stamping supplies, I’d love to be your demonstrator! You can place an order by clicking any of the images below to go to my Stampin’ Up! online store. If you have questions about products you’re considering purchasing or ones you’ve already purchased, I’m just an email away (click the Email Me button on the sidebar of my blog).
Measurements
- Flirty Flamingo cardstock: 11″ x 4-1/4″
- Flirty Flamingo cardstock: 2-1/4″ x 1″
- Whisper White cardstock: 5-1/4″ x 4″
- Whisper White cardstock: 2″ x 3/4″
- Whisper White cardstock: scrap for cake
- Whisper White cardstock: (optional for inside card) 5-1/4″ x 4″
February Card Sampler
For more information about my February Card Sampler, click here.
Tracy’s Quick Links
Place an Order
My Customer Rewards
Bradley Points
$99 Starter Kit
Clearance Rack
Mini Catalog
Sale-A-Bration Catalog
by Tracy | Feb 5, 2020 | Card Kit, Card Sampler
My February Card Sampler is now available! Place a minimum $50 order at my Stampin’ Up! online store using my special February Card Sampler Host Code (DKBJKZRD) and I’ll send you six card kits, two each of three designs. Plus, you’ll be able to choose a FREE Sale-a-Bration gift when you place your order!
Here’s how you can earn my FREE February Card Sampler:
- Place a minimum $50 order (before tax/shipping) at my Stampin’ Up! online store.
- Use my special February Card Sampler Host Code when placing your order: DKBJKZRD
- Place your order on or before Monday, February 10, 2020.
- If your order reaches $150 or more, please DO NOT use the host code so you can receive Stampin’ Rewards (free product directly from Stampin’ Up!). Once you place your order, simply drop me an email letting me know that you’d like the Card Sampler (you only need to contact me if your order is over $150).
Here’s What You’ll Receive:
- All the paper and embellishments needed to make 6 cards (2 each of three designs). The paper will be cut, scored, and die cut for you! You’ll need to supply your own adhesive, ink and stamp set (per Stampin’ Up! I cannot send stamped images). Envelopes will also be provided for each card.
- A FREE video explaining how to make each card.
- A FREE PDF Tutorial with instructions, pictures, cutting measurements and a complete supply list of all the products used. Keep the instructions in a binder so you can refer to them over and over again!
- At least one free Sale-a-Bration gift directly from Stampin’ Up!
All the Other Important Stuff
- Your kits will ship first-class mail no later than Monday, February 17, 2020 and will be mailed to the address used on your online order.
- On Monday, February 17, 2020, you’ll receive an email from me that will include your PDF Tutorial and link for the video.
- When using the February Card Sampler Host Code to place your order, you will not qualify for my regular Customer Rewards Card Kits.
- Per Stampin’ Up! policy, kits can only be mailed within the United States.
The special February Card Sampler HOST CODE will close at the end of the day on February 10th and after that date, the card sampler will no longer be available!
Expected ship date of the kits is February 17, 2020
If you aren’t sure how to use a host code, click here!
Place your order here!
Supplies Needed to Complete the Cards
Listed below are the supplies, not included in your kit, that you’ll need to complete the cards exactly as shown (you can also use what you already own). Simply click any of the products and you’ll be taken to my Stampin’ Up! online store. When placing your order, don’t forget to use the special February Card Sampler host code to receive your free card kits, PDF tutorial and video link.
If you have any questions, don’t hesitate to contact me.
by Tracy | Feb 4, 2020 | Designer Series Paper, Die-Cutting
I have a free PDF Tutorial for you today but first I want to let you know that it’s the first day of the Product Coordination Release. There are five new dies and a package of Designer Series Paper available starting today that coordinate with products from the Mini & Sale-a-Bration catalogs. They will only be available while supplies last!
Farther down in the post, in the supply list, you can click each item for a closer look.

Nature’s Thoughts Dies #153586 $29.00 Coordinates with Positive Thoughts Stamp Set from Mini Catalog
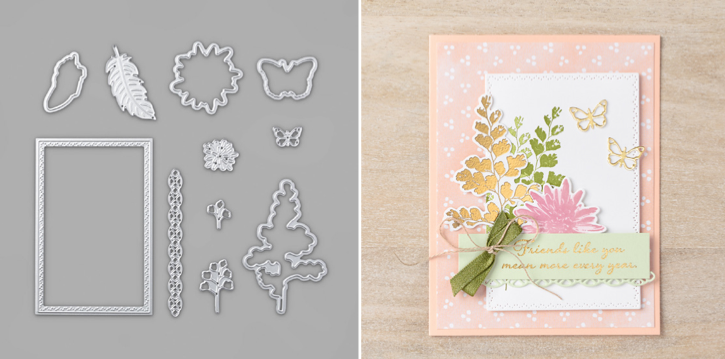
Special Day Dies #153587 $29.00 Coordinates with Special Someone Stamp Set from Mini Catalog

Ladybugs Dies #153588 $29.00 Coordinates with Little Ladybug Stamp Set from Sale-a-Bration Catalog (this stamp set is FREE HOST set that you’ll receive when you place a $300 order or more).
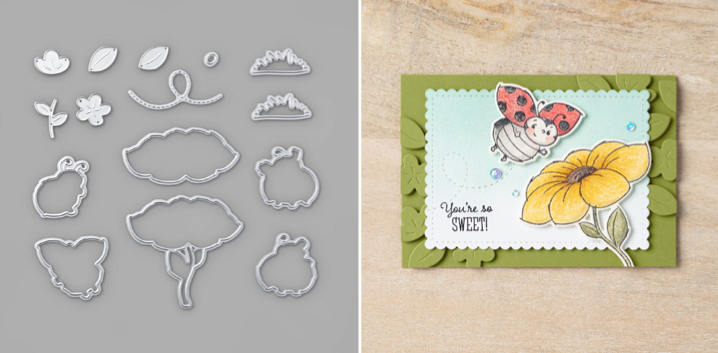
Sending Flowers Dies #153589 $27.00 Coordinates with Sending You Thoughts Stamp Set from Sale-a-Bration Catalog.

Birthday Dies #153590 $27.00 Coordinates with Happy Birthday to You Stamp Set from Sale-a-Bration Catalog
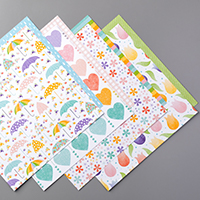
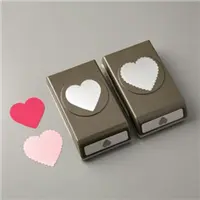
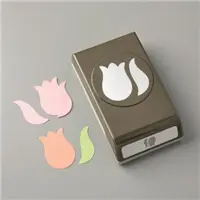
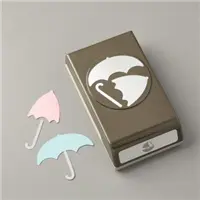
Pleased as Punch Designer Series Paper #153558 $11.50 Coordinates with Small Bloom Punch (Sale-A-Bration), Heart Punch Pack (Mini Catalog), Tulip Builder Punch (Mini Catalog), Builder Umbrella Punch (Mini Catalog)

Supply List
Below you’ll find the new dies and Designer Series Paper as well as the products that coordinate with them.
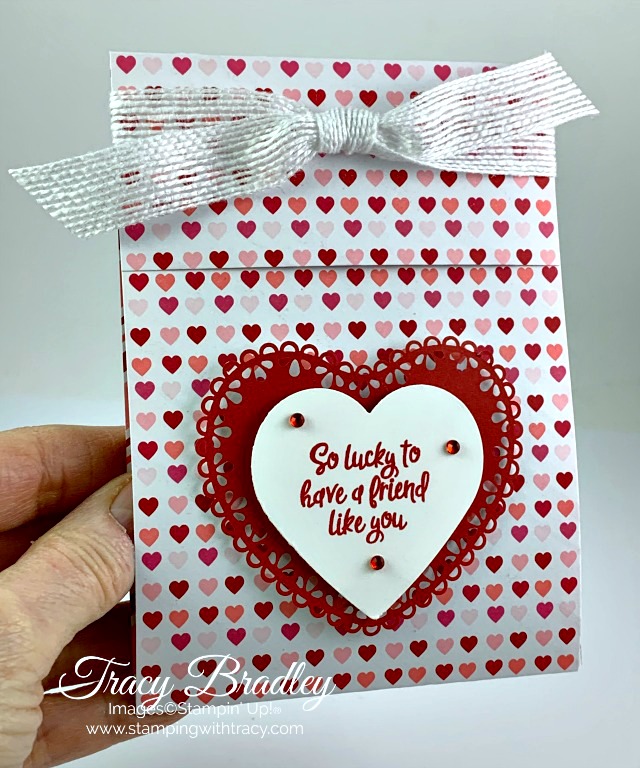
My Tuesday Tutorial is for a project I featured several weeks ago. As we’re getting closer to Valentine’s Day, I thought this project would be a good one to share again. You can access your FREE tutorial below.
Tracy’s Quick Links
Place an Order
My Customer Rewards
Bradley Points
$99 Starter Kit
Clearance Rack
Mini Catalog
Sale-A-Bration Catalog
by Tracy | Feb 3, 2020 | Birthday Card, Designer Series Paper, Embossing Folders

Today’s card was created using Stampin’ Up! Best Dressed Designer Series Paper combined with the Stitched So Sweetly Dies and the Layered Leaves embossing folder. Several days ago I made quite a few cards using this Designer Series Paper and had a pile of strips leftover. I knew I couldn’t throw them away and my card today uses one of those scraps. I love when I can use all my leftover pieces!
I embossed the Petal Pink cardstock using my die-cutting machine and the Layered Leaves embossing folder. On the bottom half, I adhered the Best Dressed Designer Series Paper. Before attaching it to the Petal Pink card base, I wrapped Petal Pink 1/4″ Metallic Edge Ribbon around the cardstock and made a bow. Then I added Stampin’ Dimensionals to the back and adhered it to the card front.

I used the Peaceful Moments stamp set for the sentiment and stamped it in Mossy Meadow ink. It was cut out with the Stitched So Sweetly Dies and mounted onto a large rectangle in Petal Pink. Both pieces have Stampin’ Dimensionals on the back. I added three of our Champagne Rhinestones to complete the card. You can find all the measurements I used below the supply list!

Supply List
If you need any stamping supplies, I’d love to be your demonstrator! You can place an order by clicking any of the images below to go to my Stampin’ Up! online store. If you have questions about products you’re considering purchasing or ones you’ve already purchased, I’m just an email away (click the Email Me button on the sidebar of my blog).
Measurements
- Petal Pink cardstock: 11″ x 4-1/4″
- Petal Pink cardstock: 5-1/4″ x 4″
- Petal Pink cardstock: scrap for rectangle
- Best Dressed Designer Series Paper: 5-1/4″ x 2″
- Whisper White cardstock: scrap for sentiment
Coordination Product Release Available Tomorrow!
Starting tomorrow, you’ll be able to purchase several products that coordinate with items in the Mini and Sale-a-Bration catalogs!
Nature’s Thoughts Dies #153586 $29.00 Coordinates with Positive Thoughts Stamp Set from Mini Catalog
Special Day Dies #153587 $29.00 Coordinates with Special Someone Stamp Set from Mini Catalog
Ladybugs Dies #153588 $29.00 Coordinates with Little Ladybug Stamp Set from Sale-a-Bration Catalog.
Sending Flowers Dies #153589 $27.00 Coordinates with Sending You Thoughts Stamp Set from Sale-a-Bration Catalog.
Birthday Dies #153590 $27.00 Coordinates with Happy Birthday to You Stamp Set from Sale-a-Bration Catalog
Pleased as Punch Designer Series Paper #153558 $11.50 Coordinates with Small Bloom Punch (Sale-A-Bration), Heart Punch Pack (Mini Catalog), Tulip Builder Punch (Mini Catalog), Builder Umbrella Punch (Mini Catalog)
Host Code and Card Kits
All orders placed at my Stampin’ Up! online store receive at least one of my card kits and a PDF tutorial. Use the host code and I’ll send you an extra one!
- All orders receive 1 card kit
- Orders $50 – $149 receive 2 card kits (and you’ll start earning Bradley Points)
- Orders $150 or more receive 3 card kits
- Use the host code and you’ll receive one more card kit!
Tracy’s Quick Links
Place an Order
My Customer Rewards
Bradley Points
$99 Starter Kit
Clearance Rack
Mini Catalog
Sale-A-Bration Catalog