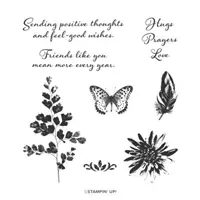
My card today features the stamp set Positive Thoughts and next week, on February 4th, you’ll be able to purchase the coordinating dies (while supplies last). Check back on Tuesday for all the details!
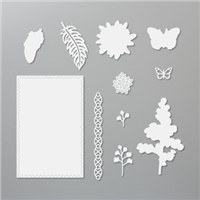
To create my card, I started with a base of Thick Whisper White cardstock. Granny Apple Green cardstock was used for the next layer but before adhering it to the card base, I ran it through my die-cutting machine using the Scripty 3D embossing folder. The Whisper White rectangle was cut using the Nature’s Thoughts Dies (will be released on February 4th). Before adhering the rectangle to the embossed Granny Apple Green layer, I stamped the leaf using Granny Apple Green ink and the stamp set, Positive Thoughts. I added Stampin’ Dimensionals to the back and attached it to the front of the card.
On a scrap piece of Whisper White cardstock, I stamped another leaf, also using Granny Apple Green ink but this time I did a technique called stamping off. After inking up the stamp, I stamped onto my grid paperand then stamped onto the Whisper White. This gives the illusion that two different colors of ink were used!
I also stamped a flower in Highland Heather ink and then cut both the flower and leaf out using the Nature’s Thoughts Dies. I added Stampin’ Dimensionals to the back of both pieces and adhered them to the card.
The sentiment, also from the stamp set Positive Thoughts, was stamped in Memento Ink onto Whisper White cardstock. Stampin’ Dimensionals were added to the back before attaching it to the card front. To complete the card, I added three rhinestones below the sentiment.
If you’d like to make today’s card, you’ll find the measurements below the Supply List.
Supply List
Please note: The Nature’s Thoughts Dies will not be available for purchase until February 4, 2020 and only while supplies last.
If you need any stamping supplies, I’d love to be your demonstrator! You can place an order by clicking any of the images below to go to my Stampin’ Up! online store.If you have questions about products you’re considering purchasing or ones you’ve already purchased, I’m just an email away (click the Email Me button on the sidebar of my blog).
Whisper White cardstock: approximately 3″ x 4-3/8″ for rectangle
Whisper White cardstock: 3-1/8″ x 3/4″ for sentiment
Whisper White cardstock: scraps for leaf and flower
Host Code and Card Kits
I have a new host code! All orders placed at my Stampin’ Up! online store receive at least one of my card kits and a PDF tutorial. Use the host code and I’ll send you an extra one!
Use the host code and you’ll receive one more card kit!
When you spend $50, you get to pick a FREE Sale-a-Bration gift! Spend $100 and you can choose from a Level 2 free gift or (2) Level 1 gifts. There’s no limit to how many gifts you can earn! You can learn more, here!
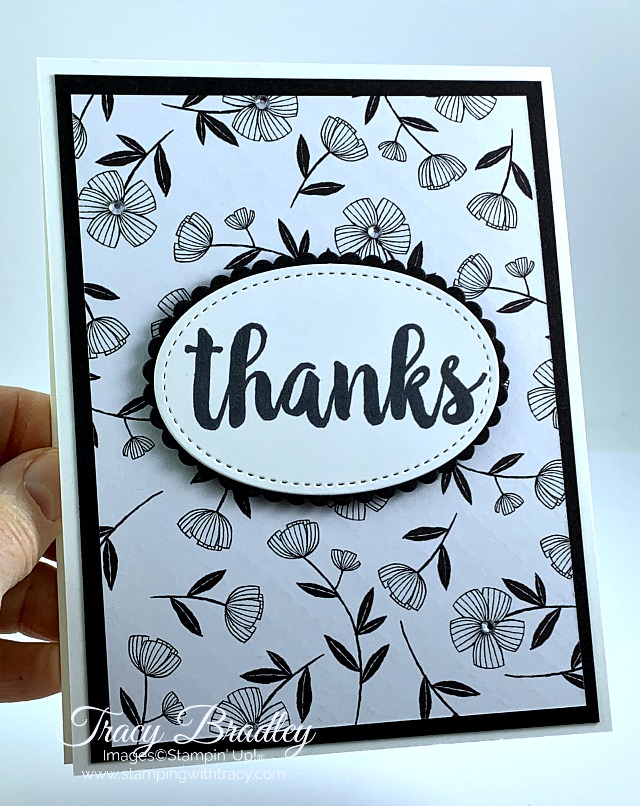
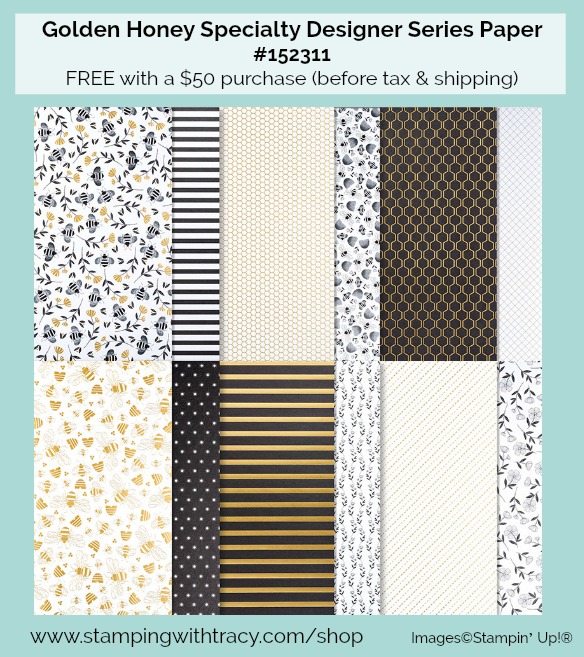
I used Stampin’ Up! Golden Honey Specialty Designer Series Paper to create today’s card. This paper is one of the FREE gifts you can choose during Sale-a-Bration when you place a $50 order (before tax and shipping). If you’d like to see all the gifts you can earn, this link will take you to the Sale-a-Bration PDF brochure.
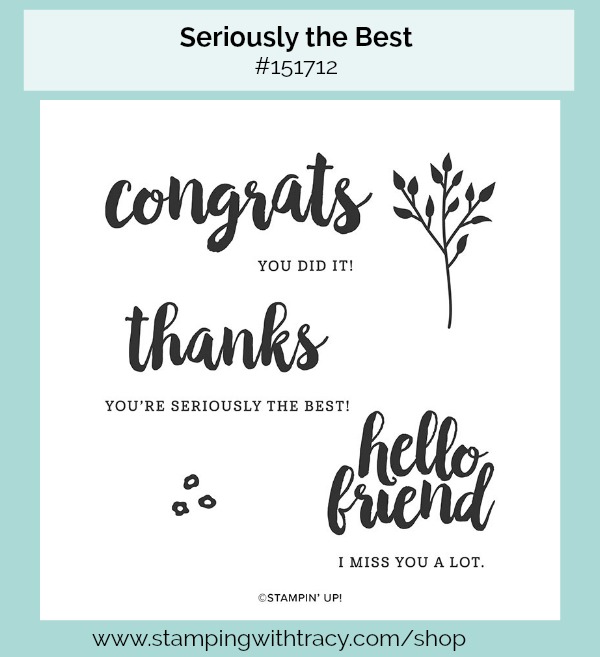
I started with a base of Thick Whisper White cardstock and added a layer of Basic Black. I then added another layer using Golden Honey Designer Series Paper. My sentiment was inked up with Memento Ink using the stamp set, Seriously the Best, which is a new stamp set in the Mini Catalog. It was cut out with the Stitched Shapes Dies using a die-cutting machine. I also cut out a Basic Black scalloped oval using the Layering Ovals Dies. It’s hard to see in my photo but to complete my card I added a rhinestone in the middle of five flowers.
If you’d like to create today’s quick and easy card, you’ll find the measurements below the supply list.
Supply List
If you need any stamping supplies, I’d love to be your demonstrator! You can place an order by clicking any of the images below to go to my Stampin’ Up! online store.If you have questions about products you’re considering purchasing or ones you’ve already purchased, I’m just an email away (click the Email Me button on the sidebar of my blog).
The best deal during Sale-a-Bration is purchasing the Starter Kit! It’s the ultimate bundle (and it ships FREE)! For more information about the Starter Kit, click here!
If you have any questions, don’t hesitate to contact me. Have a great day!
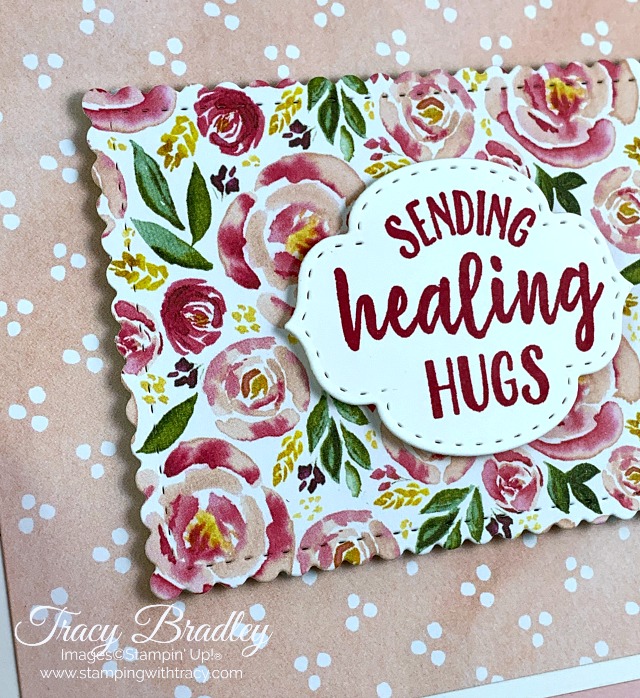
A great place to get inspiration is right from the pages of a Stampin’ Up! catalog! As I was looking through the new Mini Catalog, I saw a card (page 21) that started some ideas flowing and this is the card I created!
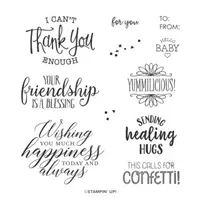
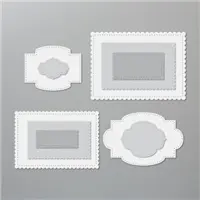
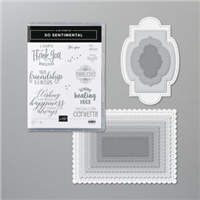
I used the stamp set, So Sentimental, along with the coordinating Stitched So Sweetly Dies. Purchase these two items using the special bundle item number (153828) and you’ll save 10%!
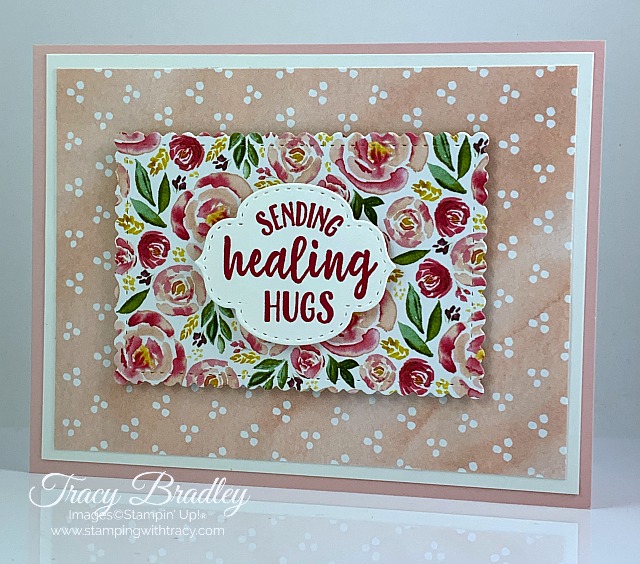
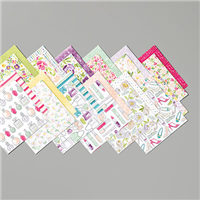
The base of the card is Petal Pink cardstock with a layer of Whisper White cardstock. The Designer Series Paper is Best Dressed which is 6″ x 6″ paper. Our Stitched So Sweetly Dies were used to cut out the sentiment as well as the stitched rectangle under it. Lovely Lipstick ink was used with the So Sentimental stamp set for the sentiment. I popped both the sentiment and the scalloped rectangle up with Stampin’ Dimensionals. If you’d like to make today’s card, you can find the measurements below.
Measurements
Petal Pink cardstock: 11″ x 4-1/4″
Whisper White cardstock: 5-1/4″ x 4″
Best Dressed 6″ x 6″ Designer Series Paper: 5″ x 3-3/4″
Best Dressed 6″ x 6″ Designer Series Paper: scrap for rectangle (approx. 3-3/4″ x 2-3/4″)
Whisper White cardstock: scrap for sentiment
Supply List
If you need any stamping supplies, I’d love to be your demonstrator! You can place an order by clicking any of the images below to go to my Stampin’ Up! online store.If you have questions about products you’re considering purchasing or ones you’ve already purchased, I’m just an email away (click the Email Me button on the sidebar of my blog).
Place a $50 order (before shipping/tax) and you can choose a FREE Sale-a-Bration gift! There’s no limit to how many free gifts you can earn. If your order total reaches $100, you can choose an item from the $100 category or (2) $50 gifts. You can find more information here!
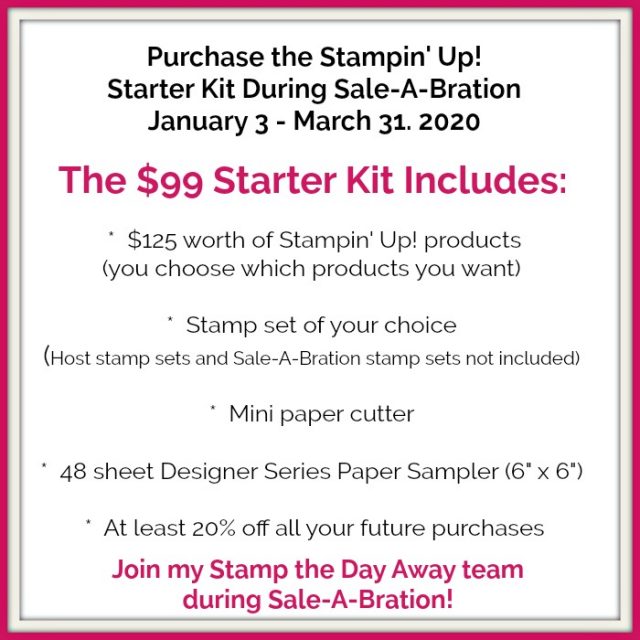
If you’re planning to place a $99 order, you might want to consider purchasing the Starter Kit! You’ll pick $125 worth of Stampin’ Up! product and because it’s Sale-A-Bration, you’ll also receive a mini paper cutter, a Designer Series Paper Sampler and a free stamp of your choice! You won’t pay shipping when you purchase the Starter Kit because it always ships FREE! You’ll also start receiving at least a 20% discount on all your future purchases. When you purchase the Starter Kit, you become a demonstrator and many people think they need to start having parties and selling to others but that’s only if you want to! You can choose to purchase just for yourself or start your own business. There’s absolutely no risk but there are plenty of perks! If you’d like more information, you can click here or feel free to contact me!
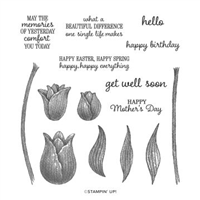
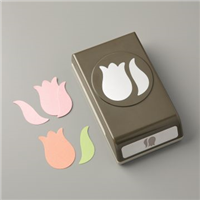
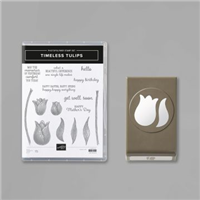
Happy Tuesday! Today’s card uses the Timeless Tulips stamp set and coordinating Tulip Builder Punch and I have a FREE PDF tutorial for this card. You’ll find all the directions and measurements for the card in the PDF which you can access below the supply list
Bundle Alert: Purchase the Timeless Tulips Bundle (#153739) which includes both the Timeless Tulips stamp set & Tulip Builder Punch and you’ll save 10%!
Supply List
If you need any stamping supplies, I’d love to be your demonstrator! You can place an order by clicking any of the images below to go to my Stampin’ Up! online store.If you have questions about products you’re considering purchasing or ones you’ve already purchased, I’m just an email away (click the Email Me button on the sidebar of my blog).
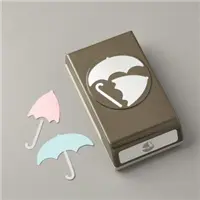
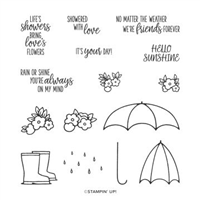
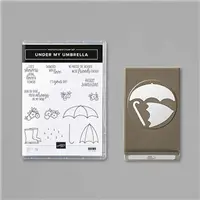
There are 20 different bundles in the new 2020 Mini Catalog. Bundles are two products Stampin’ Up! has “bundled” together and when you purchase the two items (with the special bundle item number), you’ll save 10%. All of the products can be purchased separately but if you know you love both products, why not get the discount! One of the new bundles is Under My Umbrella which includes the Under My Umbrella stamp setand the Umbrella Builder Punch.
The video below from Stampin’ Up! will show some cute tricks for creating the umbrella using the punch and stamp set.
If you need any stamping supplies, I’d love to be your demonstrator! You can place an order by clicking any of the images below to go to my Stampin’ Up! online store.If you have questions about products you’re considering purchasing or ones you’ve already purchased, I’m just an email away (click the Email Me button on the sidebar of my blog).
Tuesday Tutorials are back which means I have a free tutorial for you!
I shared this card last week and if you missed that post, you can see it here. The banners were made using Golden Honey Specialty Designer Series Paper which is one of the FREE Sale-a-Bration products you can earn with a $50 order (before shipping/tax). For more information about Sale-a-Bration and all the free products available, click here.
You can find the link for your free tutorial below the Supply List.
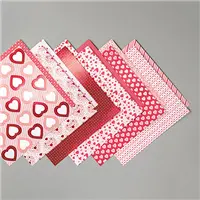
I started with a card base of Flirty Flamingo cardstock (all the measurements can be found below the supply list) and then added a layer of Whisper White cardstock. On another piece of Flirty Flamingo, I added three strips of From My Heart Specialty Designer Series Paper. Several of the designs in this package of paper, like the one I used on today’s card, have foil designs, so every way you turn it, it sparkles!
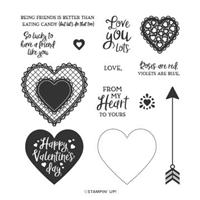
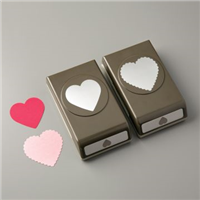
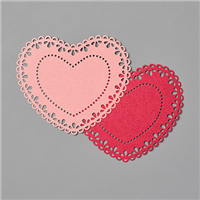
The sentiment was stamped in Real Red ink onto Whisper White cardstock using the stamp set, Heartfelt. It was cut out with one of two heart punches in the Heart Punch Pack and adhered onto a Heart Doily. These decorative hearts come in a pack of 40 in Flirty Flamingo and Real Red. The back of each one is white, so you have three different options!
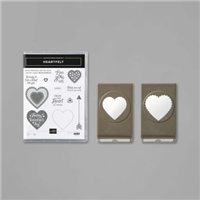
Bundle Alert: Purchase the Heartfelt stamp set and the Heart Punch Pack together, using the special bundle item number, and save 10%
Supply List
If you need any stamping supplies, I’d love to be your demonstrator! You can place an order by clicking any of the images below to go to the homepage of my Stampin’ Up! online store.If you have questions about products you’re considering purchasing or ones you’ve already purchased, I’m just an email away (click the Email Me button on the sidebar of my blog).
After seeing the sketch below over at Sunday Stamps, I decided to give it a try!
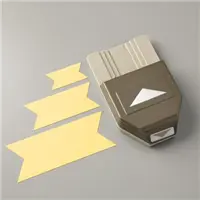
I started with a base of Basic Black cardstock and added a layer on top of Whisper White cardstock that was embossed using the Eyelet Lace Embossing Folder.Then I cut three strips of Golden Honey Specialty Designer Series Paper (this is a FREESale-a-Bration gift with a $50 purchase) and punched each end using the Banner Triple Punch. Before adhering the Whisper White panel down with Stampin’ Dimensionals ( I used a LOT), I wrapped our Solid Whisper White Baker’s Twine around the card three times and tied a bow.
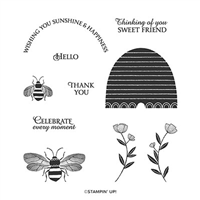
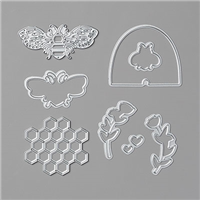
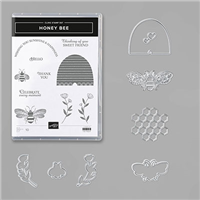
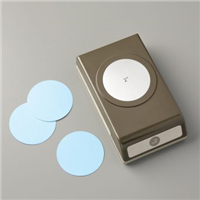
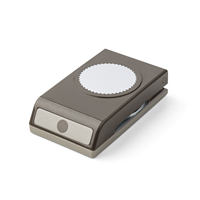
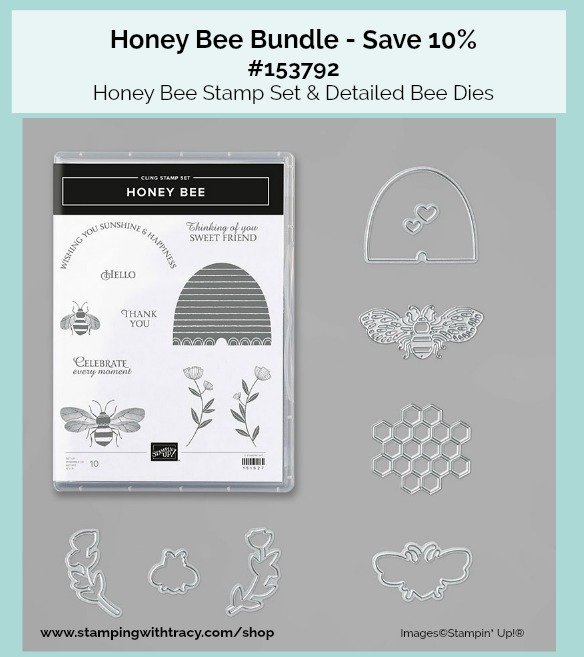
The sentiment is from the stamp set, Honey Bee, and was stamped in Memento Ink. It was cut out using a 2″ Circle Punch and then adhered to a piece of Daffodil Delight cardstock that was cut using the Starburst Punch. The cute little bee is also from the Golden Honey Designer Series Paper (FREE paper) and was cut out with the smaller bee in the Detailed Bee Dies. When you purchase the Honey Bee stamp set and the Detailed Bee Dies together, using the special bundle item number, you’ll save 10%!
To finish the card, I used a Dark Daffodil Delight Stampin’ Blend to color in the stripes of the bee.
If you’d like to create today’s card, you’ll find the measurements below.
Supply List
If you need any stamping supplies, I’d love to be your demonstrator! You can place an order by clicking any of the images below to go to the homepage of my Stampin’ Up! online store.If you have questions about products you’re considering purchasing or ones you’ve already purchased, I’m just an email away (click the Email Me button on the sidebar of my blog).
Today’s project is a Valentine’s Day version of a box I made last month. I was able to fit four Ghirardelli Minis (I’m guessing that there’s a Valentine’s Day version of these minis) in the Christmas version and six Dove chocolate hearts will also fit inside!
I don’t have a video for today’s box but the video from last month will show you how to make the box. You can visit that blog post here.
For the base of the box I used Flirty Flamingo cardstock and for the top of the box, From My Heart Designer Series Paper. I wrapped Whisper White Baker’s Twine around the box several times and made a bow. The sentiment was stamped in Real Red ink onto Whisper White cardstock using the stamp set, So Sentimental. I cut it out using the Classic Label Punch but it was a bit longer than I needed so I cut off a little bit on the left side before adding several glue dots on that end and then tucked it under the Baker’s Twine. I added a Red Rhinestone to the right side to finish the box. All the products I used can be found below in the Supply List.
If you make the box, I’d love to hear from you!
Supply List
If you need any stamping supplies, I’d love to be your demonstrator! You can place an order by clicking any of the images below to go to the homepage of my Stampin’ Up! online store.If you have questions about products you’re considering purchasing or ones you’ve already purchased, I’m just an email away (click the Email Me button on the sidebar of my blog).
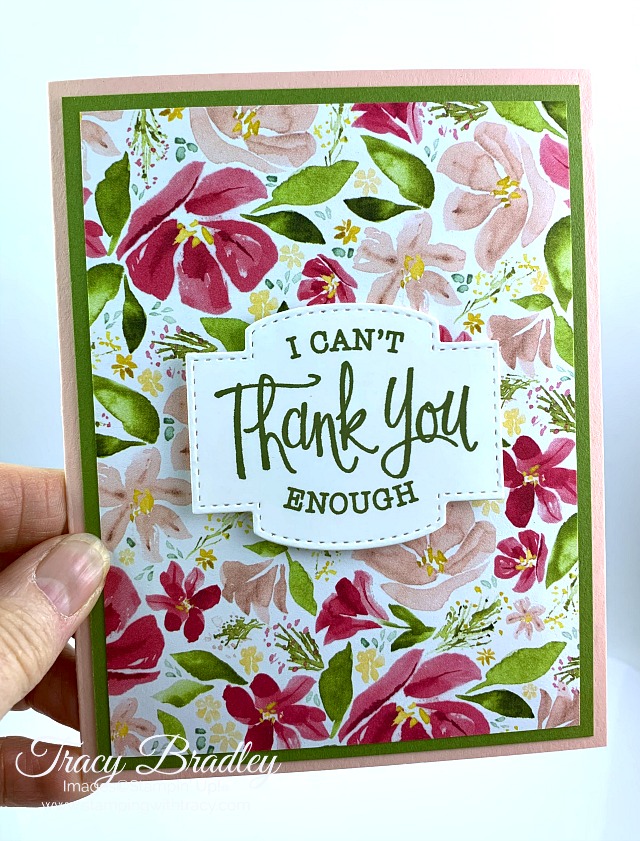
I can’t get enough of the floral side of our Best Dressed 6″ x 6″ Designer Series Paper. There are 48 sheets in each package with 4 each of 12 double-sided designs. On one side you’ll find soft florals and on the other, stylish images.
The base of the card is Petal Pink cardstock. This is not a color I normally gravitate to as I like bright colors but I have to admit, it coordinates beautifully with this Designer Series Paper. I also used Old Olive cardstock and Old Olive ink for the sentiment.
If you’d like to make today’s card, you can find the measurements below.
Supply List
If you need any stamping supplies, I’d love to be your demonstrator! You can place an order by clicking any of the images below to go to the homepage of my Stampin’ Up! online store.If you have questions about products you’re considering purchasing or ones you’ve already purchased, I’m just an email away (click the Email Me button on the sidebar of my blog).
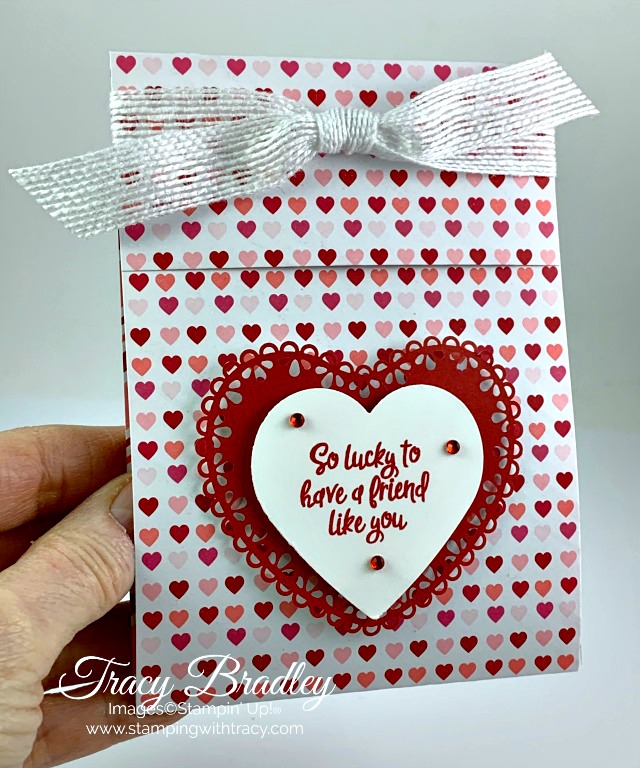
Today’s project is a non-food Valentine’s Day treat holder. It requires no adhesive and it’s another quick and easy project to make! I have a video for you farther down in the post!
I used our brand new From My Heart Designer Series Paper along with one of the hearts in the Heart Punch Pack and a Real Red Heart Doily. You can find all the supplies I used in the Supply List below.
Supply List
If you need any stamping supplies, I’d love to be your demonstrator! You can place an order by clicking any of the images below to go to the homepage of my Stampin’ Up! online store.If you have questions about products you’re considering purchasing or ones you’ve already purchased, I’m just an email away (click the Email Me button on the sidebar of my blog).
Today’s the last day to sign up for my January Card Sampler. Place a minimum $50 order at my Stampin’ Up! Online Store using the host code QFUXW4PF and you’ll receive 6 card kits with all the paper and embellishments you’ll need. For more information, click here.
I don’t usually post on Saturdays but I wanted to share my Valentine’s Day Matchbox video for the project I posted yesterday.
This matchbox is super easy to make. I used several new products from the Stampin’ Up! Mini Catalog and you can see these products in the video below. You’ll find the measurements right below the video as well as a supply list showing all the products I used to create my Valentine’s Day matchbox!
Have a great weekend!
Measurements for the Matchbox
Bottom of Box (Real Red cardstock): 5-1/4″ x 7″ Score at 1″ on all four sides
Top of Box (From My Heart Specialty Designer Series Paper): 5-1/8″ x 10″ Score at 2″, 3″, 6-1/4″, and 7-1/4″