I still can’t decide if I like one version more than the other. Do you have a favorite?
This is a great layout because with a simple change of paper and colors, it looks completely different. Several weeks ago I made this same card but used the Garden Impressions 6″ x 6″ Designer Series Paper. You can see that card here.(more…)
The Simply Shammy, a reusable cleaning mat, is a brand new product in the Stampin’ Up! catalog. Wow! I didn’t expect to love it as much as I do. It’s quite different from what I thought it would be and it’s now a staple in my craft room. It sits on my desk and when I need to clean a stamp, I pop open the stamp case I keep it in, brush the stamp across the surface of the shammy and then actually put my clean stamp away!
I made a short video all about the Simply Shammy and how to use it. Quick note: In the video I mention that I store mine in one of our standard stamp cases. After I made the video I realized that the price for the cases is incorrect in the catalog. The catalog incorrectly lists the Standard Stamp Cases as $7.00 but the correct price is $6.00. (Also, the Half Wide Stamp Cases are $5.00, not $6.00 as stated in the catalog). If you have any questions, don’t hesitate to contact me!
The Simply Shammy and Clear Mount Cases are listed below. For easy shopping, click either of the images and you’ll head over to my Stampin’ Up! store.
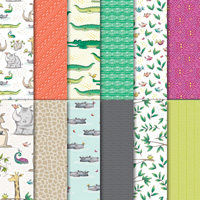
Today I’m sharing an Accordion card featuring the Springtime Impressions Thinlits Dies and Animal Expedition Designer Series Paper. If you missed my post yesterday, I shared another version of this card and a video that will show you how to create this type of card. You can see that post here.
Animal Expedition Designer Series Paper has animal prints on one side and a colorful design on the other. I love the birds that I used for the front of my card AND I also really like the design on the opposite side. (more…)
If you love flowers as much as I do, you are going to absolutely LOVE this paper! It’s from the Petal Promenade Designer Series Paper pack and it’s actual pictures of real flowers. Several weeks ago I shared a video from Stampin’ Up! showing the design process for this paper. I found it very interesting and if you’d like to take a look, click here.
I’m calling this an Accordion Fold card because you make an accordion fold to create two panels inside. I have a video today showing how easy it is to make!
Measurements
Petal Promenade Designer Series Paper: 5-1/2″ x 11-1/2″
Score at 4-1/4″, 5″, 5-3/4″, 6-1/2″, 7-1/4″
Whisper White: (2) 5″ x 3-3/4″
In the video, I share another sample, using the same paper, Petal Promenade. Instead of Whisper White, I used Very Vanilla cardstock along with Grapefruit Grove cardstock and Shaded Spruce ink. I’ve included these three products at the end of my supply list.(more…)
At the end of May, in accordance with new GDPR regulations, I sent an email out to my current newsletter subscribers. In order to continue receiving my newsletters, it was necessary to click the link I included. My newsletter is going out today, late morning (Pacific Daylight Time) so if you forgot to click the link or you want to become a new subscriber (I have two free written tutorials this week), click here!
One side of the paper features an animal, but the other side is a design, so if you aren’t into alligators, which I am not, you have a pretty design you can use instead.
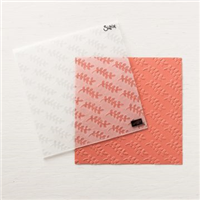
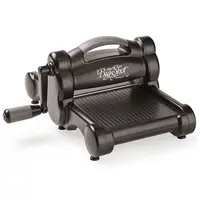
This is an easy card to replicate and comes together very quickly. I cut all four strips 1-1/4″ x 3-3/4″. Then I ran the two Whisper White strips through the Big Shot using the Climbing Vine embossing folder. Using Snail adhesive, I attached them to my base of Call Me Clover cardstock.
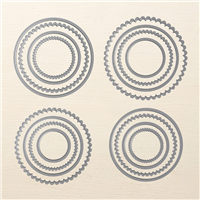
Using my Layering Circles Framelits, I cut a scalloped circle out of Lemon Lime Twist and Call Me Clover. The sentiment was stamped in Call Me Clover ink using the stamp set Treat Time. I added Stampin’ Dimensionals to the back and attached it to the front of the card. Easy!
Treat Time is also available as a bundle with the Petite Treat Framelits Dies. For more information, click here.
All of the supplies I used are listed below. Click on any of the images and you’ll be sent to my Stampin’ Up! online store. If you have any questions, please let me know!
Today’s card is very similar to one I shared several weeks ago and you can see it here. The card I’m sharing today features the Springtime Impressions Thinlits Dies and Share What You Love Designer Series Paper. The card has a unique fold and I’ve made a video showing how easy it is to put together. Be sure to check it out towards the bottom of the post!
Measurements
So Saffron: 6-1/4″ x 5-1/2″ Scored at 4-1/4″ (this will be the base)
Whisper White: 8″ x 5-1/4″ Scored at 4″ (this will go on the inside)
Basic Black: (2) 3″ x 3-1/2″
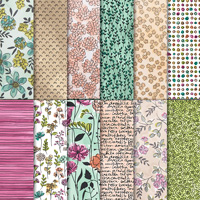
Share What You Love Designer Series Paper: (2) 2-3/4″ x 3-1/4″ and 4″ x 3/4″
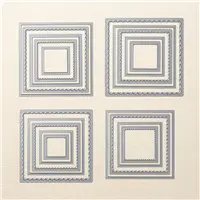
Supplies Used to Create Today’s Card: Click on any of images and you’ll head over to my Stampin’ Up! online store. (Please note: I did NOT use the Layering Squares Framelits Dies to create my card. It was mistakenly added to the supply list).
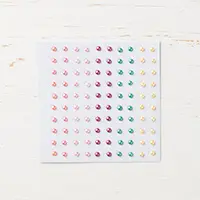
One of the things I love about Stampin’ Up! is how well their products coordinate. I don’t have to worry what colors coordinate with our beautiful papers because Stampin’ Up! does that for me! They have also put suites of products together that coordinate with one another, in fact there are 14 different suites in the annual catalog and one of my favorites is the Garden Impressions Suite. I know that if I purchase the Blossom Elements (the little flowers above), they will match the colors in the Garden Impressions Designer Series Paper. I love that!!
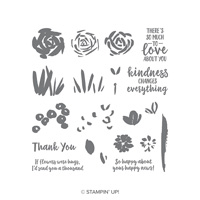
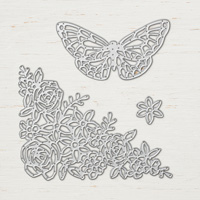
Two other products in the Garden Impressions Suite are the stamp set Abstract Impressions and the coordinating Springtime Impressions Thinlits Dies. You can purchase these two products separately but they are also available at a bundle price with a savings of 10% (there are actually 32 different bundlesin the Annual Catalog)!
I want to share with you a video by Stampin’ Up! showing the Abstract Impressions Bundle in action. You’ll also see more of the products from the Garden Impressions Suite. There’s a great tip at the end for using the floral thinlits and our Designer Series Paper, so don’t miss it! If you have questions about any of the products in the Garden Impressions Suite, please don’t hesitate to contact me!(more…)
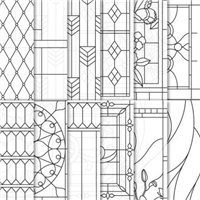
Today’s card uses the Graceful Glass 6″ x 6″ Designer Vellumand the new stamp set Abstract Impressions. The Graceful Glass Vellum is perfect for coloring with your favorite coloring tool and comes with 24 sheets (2 each of 12 single-sided designs), with each sheet measuring 6″ x 6″.
When I attended the Stampin’ Up! event On Stage, in April, I received a Light Lovely Lipstick Stampin’ Blend and a Dark Pineapple Punch. I used both of these pens to color the vellum on my card as well as a Light Bermuda Bay Stampin’ Blend. I colored the back side of the vellum and then attached a glue dot on the back in each corner to attach it to the front of my card.
There are 11 brand new colors of Stampin’ Blends in the catalog, included Lovely Lipstick and Pineapple Punch. They currently are not available but should be in stock very soon. As soon as I hear they have arrived in the warehouse, I’ll let you know! I plan to purchase them just as soon as I can.
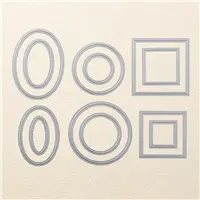
The three colors of cardstock I used areLovely Lipstick,Pineapple Punch and Whisper White. I ran the piece of Whisper White through the Big Shot using the Softly Falling Embossing Folder. The sentiment was stamped on Whisper White cardstock using Lovely Lipstick. and cut out with Big Shot using the Layering Ovals Framelits. These framelits were also used to cut out the scalloped Pineapple Punch oval. I added Stampin’ Dimensionals to the back and attached it to the front of the card.
All of the supplies I used to create today’s card, with the exception of the Pineapple Punch and Lovely Lipstick Stampin’ Blends, are listed below. For more information or to place an order, simply click any of the images and you’ll be directed to my Stampin’ Up! online store.
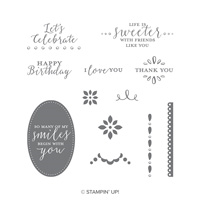
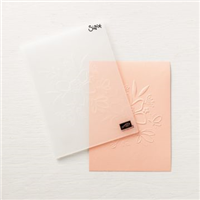
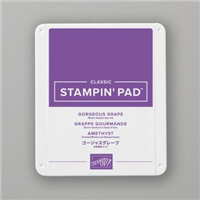
Today’s card features the embossing folder Lovely Floral and the stamp set Detailed with Love. I also used a brand new color, Gorgeous Grape! I was sad to hear that Elegant Eggplant was being retired but oh my goodness, I love Gorgeous Grape!
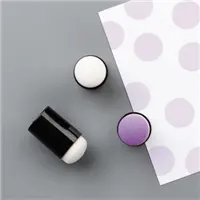
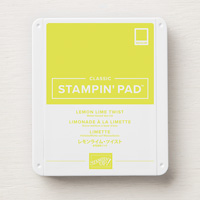
After embossing my Whisper White cardstock with the Lovely Floral folder, I grabbed my Sponge Daubers and my Gorgeous Grape and Lemon Lime Twist stamp pads. I brushed each dauber into the stamp pad and then tapped it on my Grid Paperso the ink wouldn’t be too dark. Then I went over each area of the raised image with both colors. It’s really easy to do! I will be very honest and admit that going off of the raised lines bothered me but I’m happy with the overall look.
I stamped my sentiment, using the stamp set Detailed with Love, with Gorgeous Grape, and cut it out with the Stitched Shapes Framelits. I ran Gorgeous Grape cardstock through the Big Shot using the Layering Ovals Framelits and then glued the sentiment to it. I added Stampin’ Dimensionals to the back of the Gorgeous Grape for even more dimension. Definitely a quick and easy card!
Measurements
Gorgeous Grape (base of card): 11″ x 4-1/4″
Whisper White (embossed piece): 5-1/4″ x 4″
Want to make this card? Click on any of the images of below and you’ll be directed to my Stampin’ Up! online store.
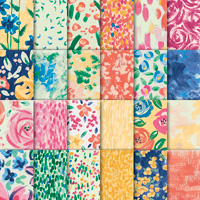
I’m always excited to see all the brand new Designer Series Papers when a new catalog is released and this year I couldn’t be happier with the selection! Did you know that most of our Designer Series Papers also have a matching cardstock pack? Each cardstock pack includes 24 sheets in three colors that coordinate with the paper. Add some Whisper White or Very Vanilla and you’ll have everything you need to start making quick and easy cards! At the end of today’s post, I’ve included a supply list of all the Designer Series Paper in the catalog as well as the cardstock packs that match.
Stampin’ Up! has created a video highlighting almost all of the paper offered in the catalog so I’m including it in today’s post. It’s a great way to see if any of the papers appeal to you. I’m also including a short video that goes behind the scenes of the making of our Petal Promenade Designer Series Paper. It’s really interesting!
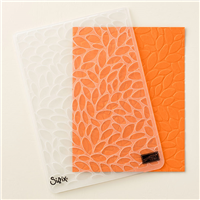
My Stampin’ Up! goodies from the new catalog arrived on Friday! I love embossing folders so I was really excited to try the one I used on today’s card called Climbing Vine. I can already tell that it’s one I’ll be grabbing for all the time!
The Garden Impressions Designer Series Paper is also a new product but as a Stampin’ Up! demonstrator, I was able to preorder it a month before the Annual Catalog was released. I love all the bright designs in this package of paper and I especially love the one I used on my card today. If I could, I’d buy an entire pack of this one design!
My sentiment is from the new stamp set, Kindness & Compassion and it was stamped with a Night of Navy Stampin’ Pad. This is a really nice set to have when you want to let someone know how much you care.
I cut the sentiment out using the Layering Ovals Framelits and layered it using So Saffron and Night of Navy scalloped ovals, which are also included in the Layering Ovals Framelits.
If you’d like to make this card, you’ll find the measurements below as well as a supply list. To purchase any of the products I used, simply click any image below and you’ll head over to my Stampin’ Up! online store. If you have questions, please contact me!
Measurements
Base of Card (Night of Navy): 11″ x 4-1/4″
First Layer (So Saffron): 5-1/4″ x 4″
Rectangles (Night of Navy cardstock): (2) 1-3/4″ x 2-7/16″
Rectangles (Garden Impression Designer Series Paper): (2) 1-1/2″ x 2-1/4″
Today’s card uses the Stampin’ Up! Stitched Labels Framelits, a brand new set of dies in the 2018-2019 Annual Catalog. When the Stitched Shapes Framelitscame out, several years ago, I fell in love with them and the Stitched Labels Framelits have that same gorgeous look of stitching around each die.
The framelits I’ve used today do have a matching stamp set calledStitched All Around and when purchased together in a bundle, you’ll save 10%. For today’s card though, I used a sentiment from another stamp set called Abstract Impressions. This set is also part of a bundle and to see a complete list of all thirty-two bundles in the catalog,click here.
I used the beautiful Share What You Love Designer Series Paper. This paper was available last month only in a bundle but now you can purchase it separately. The price is a little hefty but it comes with a whopping 24 sheets and each sheet is on heavyweight paper. Four of the designs, including the one I used today, have a pearlized finish to them.
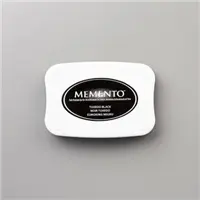
After creating my layers of So Saffron, Basic Black and Designer Series Paper, I stamped the sentiment onto Very Vanilla cardstock in Memento Black Ink and cut it out with the Big Shot. I attached Stampin’ Dimensionals to the back and placed it on the front of the card. I made a bow using Linen Thread and attached it right below the sentiment. Normally I use glue dots to attach my bows but for whatever reason, it just wouldn’t stay on the card so I used our Multipurpose glue and it worked great!
Measurements
So Saffron (base of the card): 11″ x 4-1/4″
Basic Black: 5-1/4″ x 4″
Share What You Love Designer Series Paper: 5″ x 3-3/4″
Want to make today’s card? All of the supplies I used are listed below. To place an order, click on any of the images and you’ll be directed to my Stampin’ Up! online store. Have questions? Contact me and I’d be happy to help!