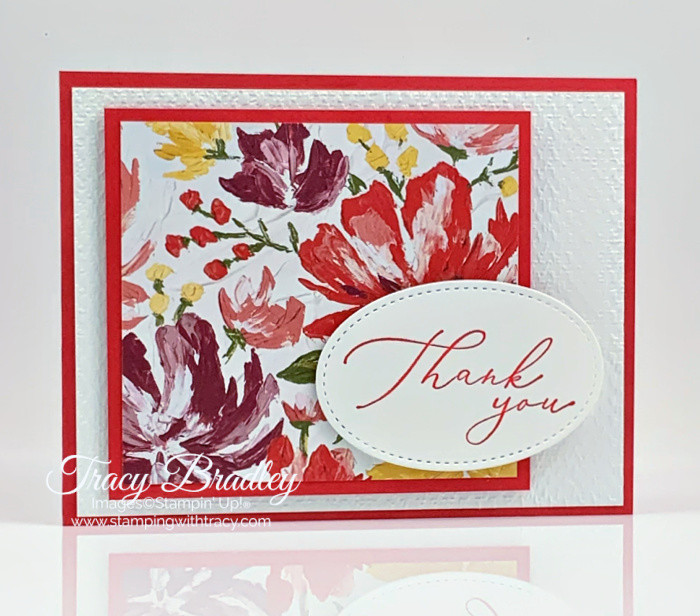
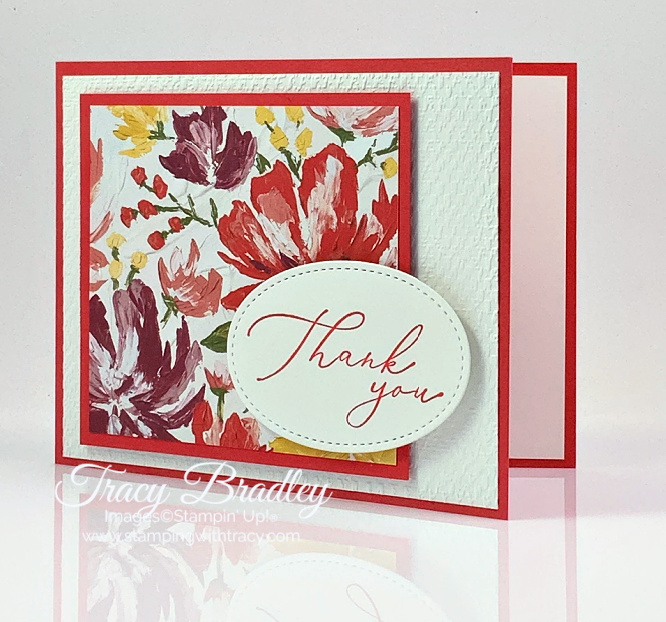
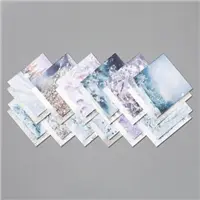
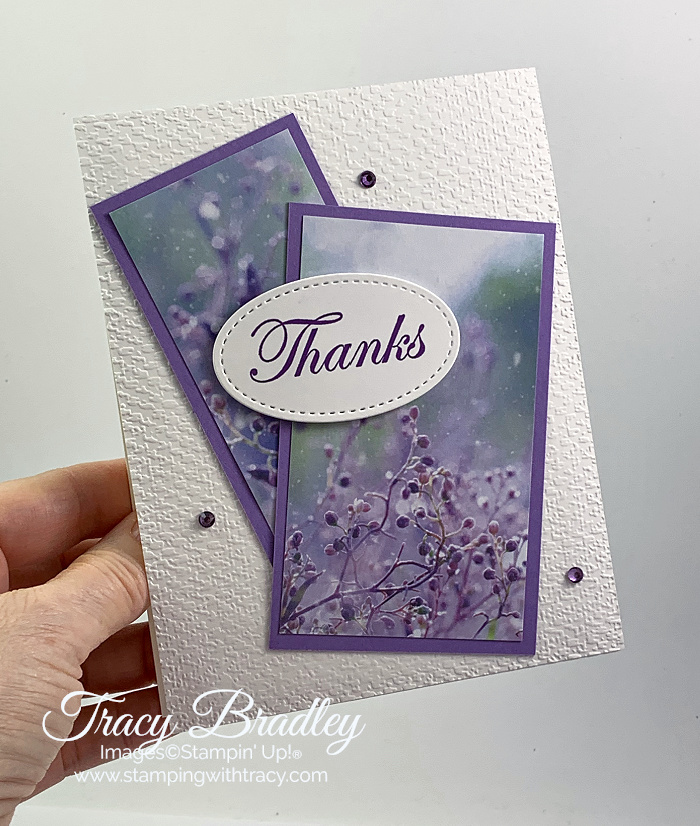
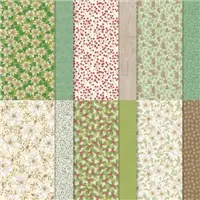
Today’s card is a sneak peek of a brand new product, Fine Art Floral Designer Series Paper, from the upcoming January-June 2021 Mini Catalog (the catalog goes live on January 5, 2021). So many fun new products to look forward to!!!
I started with a base of Poppy Parade cardstock and then added a piece of Whisper White cardstock that I ran through the Stampin’ Cut & Emboss Machine using the Tasteful Textile 3D Embossing Folder. I added another layer of Poppy Parade cardstock and adhered a panel of Fine Art Floral Designer Series Paper (154558). If you don’t want to wait to get your hands on all the new products in the upcoming catalog, you might want to consider joining my team and purchasing the Starter Kit. The Starter Kit is $99 and you’ll select $125 worth of product that ships FREE. You can choose from any Stampin’ Up! products, even the new Mini Stampin’ Cut & Emboss Machine. This new machine will be available on January 5, 2021, but if you purchase the Starter Kit, you can add it to your order! For more details about the Starter Kit, please click here. If you have questions, don’t hesitate to contact me.
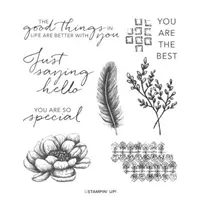
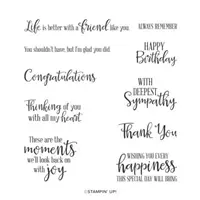
If you don’t recognize the sentiment I used it’s because it’s a brand new stamp set called Heal Your Heart and will be one of the FREE Saleabration gifts you can earn with a $50 order beginning January 5th! I stamped the sentiment in Poppy Parade ink and cut it out using the Stitched Shapes Dies. If you’d like to make this card, you can find the measurements below the Supply List.
Supply List
If you need any stamping supplies, I’d love to be your demonstrator! You can place an order by clicking any of the images below to go to my Stampin’ Up! online store.If you have questions about products you’re considering purchasing or ones you’ve already purchased, I’m just an email away (click the Email Me button on the sidebar of my blog).
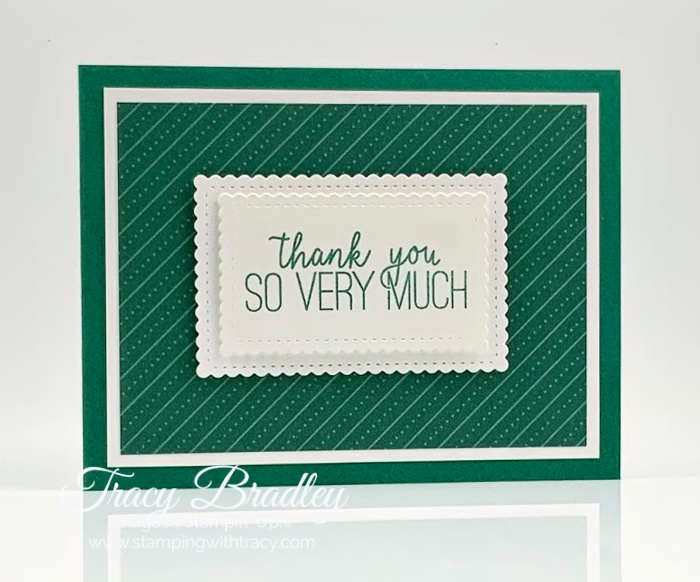
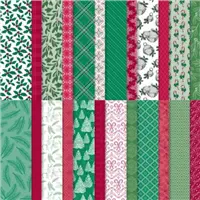
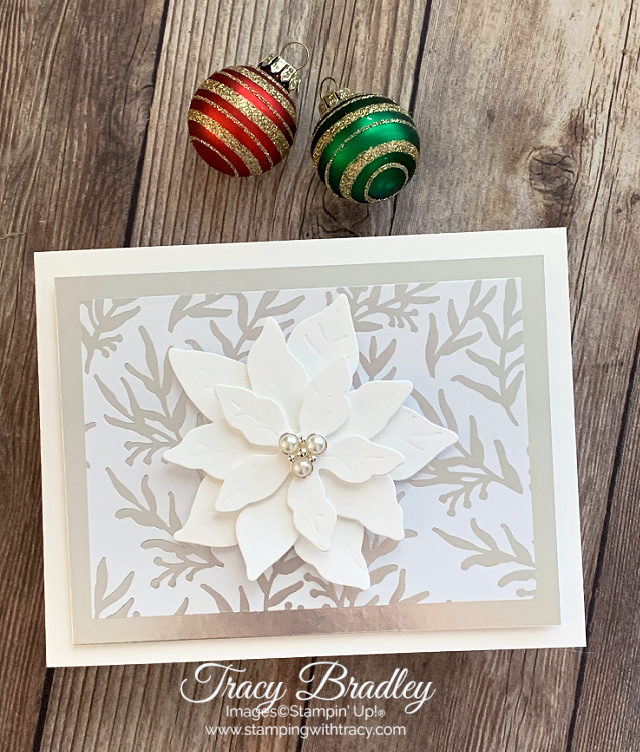
Today I have two thank you cards featuring ‘Tis the Season 6″ x 6″ Designer Series Paper. We all need thank you cards at this time of year, so I looked through this package of paper for designs that could be used in other ways besides holiday cards. This beautiful paper is retiring, on sale and available while supplies last!
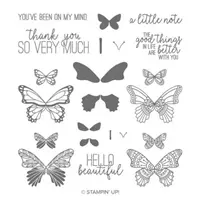
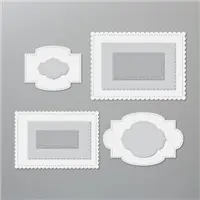
The first card has a base of Cherry Cobbler cardstock and the second one is made with Shaded Spruce cardstock. I used the stamp set, Butterfly Gala, for the sentiment and cut it out using the Stitched So Sweetly Dies. I really like the look of two Whisper White stitched rectangles layered together with Stampin’ Dimensionals. If you’d like to make today’s card, you can find the measurements below the Supply List.
Supply List
If you need any stamping supplies, I’d love to be your demonstrator! You can place an order by clicking any of the images below to go to my Stampin’ Up! online store.If you have questions about products you’re considering purchasing or ones you’ve already purchased, I’m just an email away (click the Email Me button on the sidebar of my blog).
Cherry Cobbler or Shaded Spruce cardstock: 11″ x 4-1/4″ scored at 5-1/2″
‘Tis the Season Designer Series Paper: 4-3/4″ x 3-1/2″
Whisper White cardstock: 5″ x 3-3/4″
Whisper White cardstock (inside): 5-1/4″ x 4″
Whisper White cardstock (large rectangle): 3-1/4″ x 2-1/4″
Whisper White cardstock (small rectangle): 3″ x 1-3/4″
Have you heard the news that Whisper White will be leaving the Stampin’ Up! lineup? Unfortunately the supplier’s mill producing our Whisper White cardstock has permanently closed due to impacts from the COVID-19 pandemic (my heart goes out to all the people who have lost their jobs to this closure). Stampin’ Up! has dedicated many hours to source and test alternative cardstock options from several suppliers to find the perfect fit that still maintains the Stampin’ Up! quality you know and trust. The new cardstock will be called, Basic White and you can watch the video below for more information! While Basic White is not yet available, if you’d like all the product information, you can access the Basic White flyer, here.
In case you missed my announcement, you can now find my free tutorials on Friday! Today’s tutorial features Feels Like Frost Designer Series Paper and the stamp set Tasteful Touches. You can find your free tutorial below the Supply List!
But first, please read the announcement from Stampin’ Up! below concerning Whisper White cardstock:
Whisper White has been a Stampin’ Up! staple for so long. We love it and we know you love it, too. We are sad to announce that the supplier’s mill producing our Whisper White cardstock has permanently closed due to impacts from the COVID-19 pandemic. Unfortunately, we weren’t given much notice on this closure. This means that the technology unique to this particular supplier is now unavailable to us and we can no longer offer our Whisper White cardstock and related products, such as Whisper White Note Cards & Envelopes. Please note that this won’t affect any of our other cardstocks, this only affects Whisper White.
We know Whisper White has a huge fan base; we’re big fans, too! And we are crushed that it’s going away. Even though this decision was out of our hands, rest assured that we jumped right into action to find the best replacement paper possible. We have dedicated many hours to source and test alternative cardstock options from several suppliers to find the perfect fit that still maintains the Stampin’ Up! quality you know and trust. We are happy to share that we have found a winner for our new cardstock, Basic White!
The quality of our new Basic White was thoroughly tested by our quality assurance and product teams. It also tested very well with demonstrators and concept artists who gave it a huge thumbs up. We believe in the quality of the new Basic White cardstock and we know it will become your new crafting staple!
What does this mean for you?
With Whisper White going out of production, this means a number of Whisper White products will be affected. Below is a list of all products that will be replaced with our new Basic White cardstock. These items are now available while supplies last with an order limit of 2 per item per order.
Our new Basic White products will become available to purchase as soon as we have them in stock. This means that some Whisper White and Basic White products may be available at the same time. Additionally, due to the nature of sourcing, some Basic White products may not be available before the Whisper White products sell out. Please know that we are working on getting these products available to you as fast as possible.
Friday Tutorial
As mentioned above, today’s tutorial features Feels Like Frost Designer Series Paper which is retiring and available only while supplies last! If you’d like to make today’s card, you can find your free tutorial below.
Supply List
If you need any stamping supplies, I’d love to be your demonstrator! You can place an order by clicking any of the images below to go to my Stampin’ Up! online store.If you have questions about products you’re considering purchasing or ones you’ve already purchased, I’m just an email away (click the Email Me button on the sidebar of my blog).
Place a minimum $50 order at my Stampin’ Up! online store using the host code QRACJWD7 and as a thank you, you’ll receive 6 card kits (2 each of three designs) with envelopes and a PDF Tutorial with instructions, pictures and a supply list. You’ll receive all the paper and embellishments needed to make the cards and all the paper will be cut, scored and die cut for you (you’ll need to supply your own adhesive, ink and stamp set). The last day this offer will be available is Sunday, December 13th. For all the details, please click here.
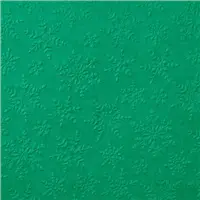
There are some products you find yourself using over and over again because you absolutely love them. Those products for me are Snowflake Splendor Designer Series Paper and the Winter Snow Embossing Folder. I’ve had fun using both of these products but now they are retiring and on sale!
This card is very quick and easy to make! I started with a base of Balmy Blue Blue cardstock. Then I added a layer of Whisper White cardstock that was embossed with the Winter Snow Embossing Folder. Using the Stitched So Sweetly Dies, I cut a piece of Snowflake Splendor Designer Series Paper. I love dimension on a card so I put Stampin’ Dimensionals on the back before placing it on the card. The sentiment was stamped in Balmy Blue ink and also cut out with the Stitched So Sweetly Dies. I added Stampin’ Dimensionals to the back before adhering it to the card.
This paper is so versatile! It can used as a thank you card but change out the sentiment and it’s a holiday card! If you’d like to make today’s card, you’ll find the measurements I used below the Supply List.
Supply List
If you need any stamping supplies, I’d love to be your demonstrator! You can place an order by clicking any of the images below to go to my Stampin’ Up! online store.If you have questions about products you’re considering purchasing or ones you’ve already purchased, I’m just an email away (click the Email Me button on the sidebar of my blog).
Whisper White cardstock: (2) 5-1/4″ x 4″ (Optional: one for inside the card)
Whisper White cardstock: scrap for sentiment
Snowflake Splendor Designer Series Paper: approx. 4-1/4″ x 3-1/4″
Thank You Cards Card Sampler
Place a minimum $50 order at my Stampin’ Up! online store using the host code QRACJWD7 and as a thank you, you’ll receive 6 card kits (2 each of three designs) with envelopes and a PDF Tutorial with instructions, pictures and a supply list. You’ll receive all the paper and embellishments needed to make the cards and all the paper will be cut, scored and die cut for you (you’ll need to supply your own adhesive, ink and stamp set). The last day this offer will be available is December 13th. For all the details, please click here.
Today is the last day to sign up for this month’s Paper Pumpkin Kit. Click here for more information.
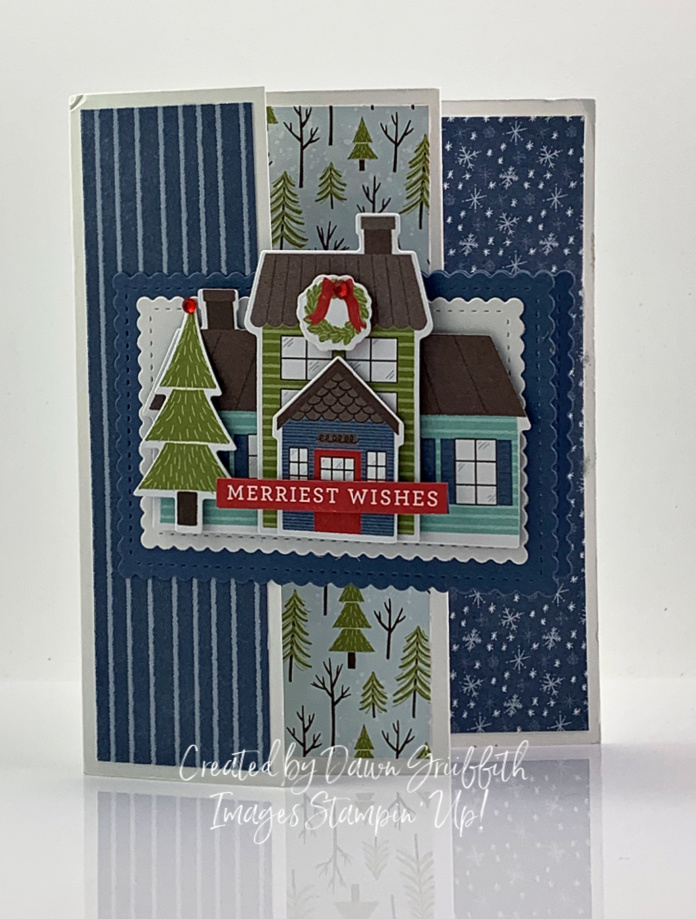
Today I’d like to share a beautiful card I received in the mail from my friend, Dawn.
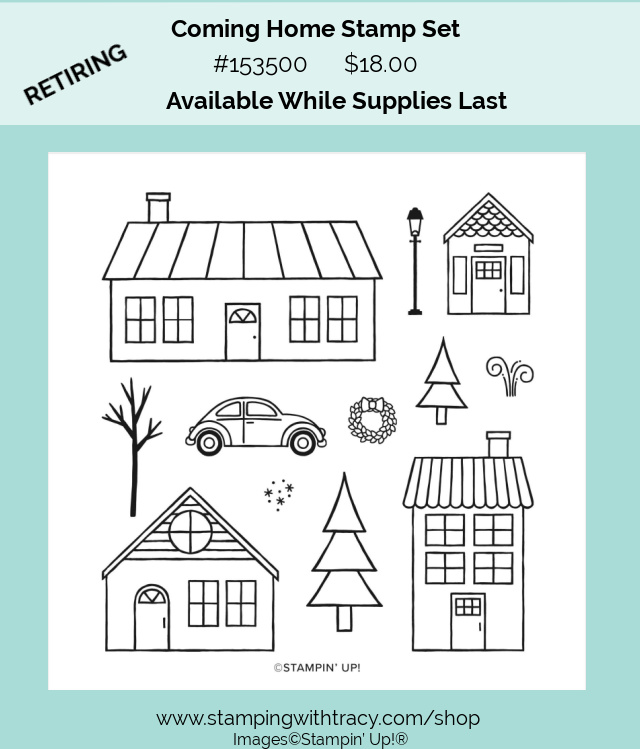
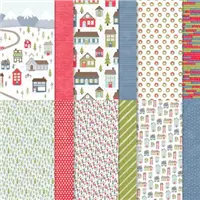
She calls this card a Three Panel Fun Fold card and it was created using Trimming the Tree Designer Series Paperfrom the August-December Mini Catalog. It’s one of many retiring products in the catalog and it’s on sale, but only while supplies last!! Yesterday many products were flying off the shelves so if you love this paper, get it while you can before it’s gone forever!
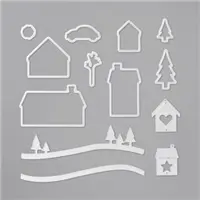
To create the base of the card, Dawn used our 12″ x 12″ Whisper White cardstock, scored it and folded the paper, accordion style (all the measurements can be found below the Supply List). She added the Designer Series Paper to the panels. One of the sheets in this package is filled with houses and trees so she cut them out. Another design in the pack has a full sheet of sentiments which she also cut out. She cut the pieces by hand, to minimize waste, but the coordinating Home Together Dies will also cut the pieces.
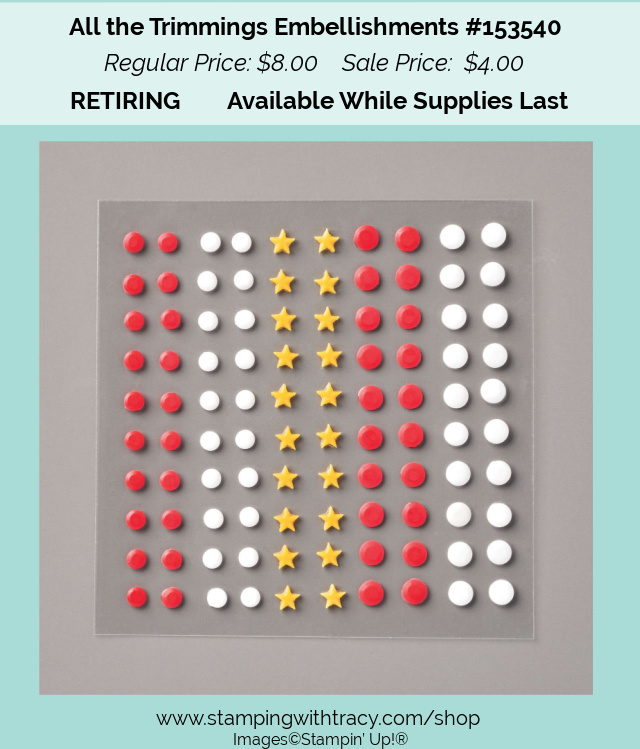
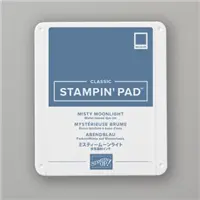
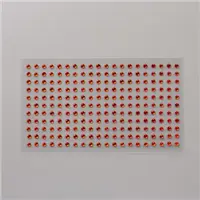
Using the Stitched So Sweetly Dies, two scalloped rectangles were cut out of Misty Moonlight cardstock and two smaller ones out of Whisper White cardstock. One set was adhered to the first panel of the card. Stampin’ Dimensionals were added to the houses, tree and sentiment and attached to the front panel. On the inside panel, the other two rectangles were adhered and the sentiment was stamped in Misty Moonlight ink using the stamp set, Snow Wonder**. Red rhinestones were added to the tree and wreath on the front and to the wreath on the inside.
** Snow Wonder is NOT retiring but the bundle price is. After January 4, 2021, the stamp set and coordinating dies will only be offered as separate purchases, not as a bundle. After this date, it will no longer be offered at the bundle price with a savings of 10%.
If you need any stamping supplies, I’d love to be your demonstrator! You can place an order by clicking any of the images below to go to my Stampin’ Up! online store.If you have questions about products you’re considering purchasing or ones you’ve already purchased, I’m just an email away (click the Email Me button on the sidebar of my blog).
Whisper White cardstock: 12″ x 5-1/2″ Score at 4-1/4″, 7-1/4″ and 10-1/4″
Whisper White cardstock: scraps for 2 rectangles – approx. 5″ x 3-1/2″
Misty Moonlight cardstock: scraps for 2 rectangles – approx. 5-1/4″ x 4″
Trimming the Town Designer Series Paper: 5-1/4″ x 4
Trimming the Town Designer Series Paper: 5-1/4″ x 2-3/4″
Trimming the Town Designer Series Paper: 5-1/4″ x 1-1/2″
Trimming the Town Designer Series Paper: cut the houses, tree and wreaths out of this paper
“Thank You Cards” Card Sampler
Place a minimum $50 order using the host code QRACJWD7 and receive six card kits, absolutely free! All the paper will be cut, scored, embossed and die cut for you! For all the details, please click here.
The Giant Year-End Closeout event has begun! Many products from the August-December 2020 Mini Catalog are retiring and many are discounted! Everything in the closeout is available while supplies last so shop early! Also, new items are being added to the Clearance Rack today!
I know it’s Tuesday and this is usually the day I have my free tutorial but starting this week, you’ll find a new, free tutorial each Friday!
Please note: If you placed an order very early this morning (or last night) and used my host code for a free card kit (and your order is at least $50) but would rather receive the Card Sampler, please email me and I’ll make that change for you.
My “Thank You Cards” Card Sampler is now available but only for a limited time!
Here’s how you can earn my FREE Thank You Cards Card Sampler:
Use my special Thank You Cards Card Sampler Host Code when placing your order: QRACJWD7
Place your order on or before Sunday, December 13, 2020.
If your order reaches $150 or more, please DO NOT use the host code so you can receive Stampin’ Rewards (free product directly from Stampin’ Up!). Once you place your order, simply drop me an email letting me know that you’d like the Thank You Cards Card Sampler (you only need to contact me if your order is over $150).
Here’s What You’ll Receive:
All the paper and embellishments needed to make six cards (two each of three different designs). The paper will be cut, scored, embossed and die cut for you! You’ll need to supply your own adhesive, ink and stamp set (per Stampin’ Up! I cannot send stamped images). Envelopes will also be provided.
A PDF Tutorial with instructions, pictures, cutting measurements and a complete supply list of all the products used.
Earn at least one Bradley Point (earn eight Bradley Points and redeem them for free product)
All the Other Important Stuff:
Your Thank You Cards Card Sampler will ship first-class mail on or before December 19, 2020 and will be mailed to the address used on your online order.
You’ll receive an email when I mail your Card Sampler. The PDF Tutorial will be included in that email.
When using the Thank You Cards Card Sampler Host Code to place your order, you will not qualify for my regular Customer Rewards Card Kits.
Per Stampin’ Up! policy, kits can only be mailed within the United States.
Limit 1 per person
The special Thank You Cards Card Sampler HOST CODE will close at the end of day on December 13th and after that date, the Card Sampler will no longer be available.
Expected ship date of the Card Sampler is December 19, 2020.
Supplies Needed To Create the Thank You Cards Card Sampler
Listed below are the supplies you’ll need to complete the cards exactly as shown(or you can use what you already own). Simply click any of the products and you’ll be taken to my Stampin’ Up! online store. When placing your order, don’t forget to use the special Thank You Cards Card Sampler Host Code(please do not use host code if your order is over $150 – see above).
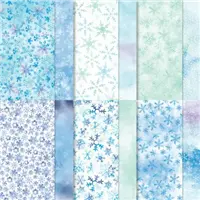
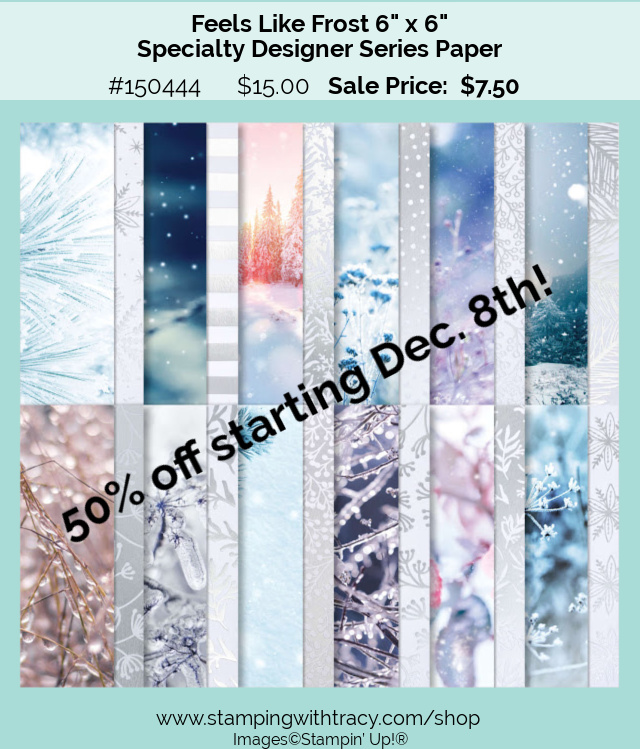
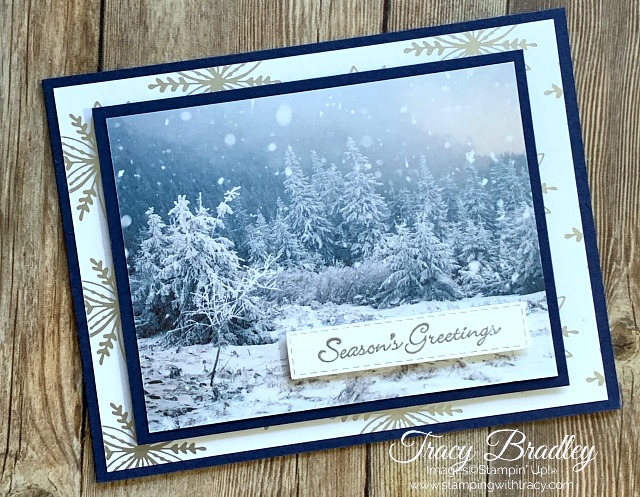
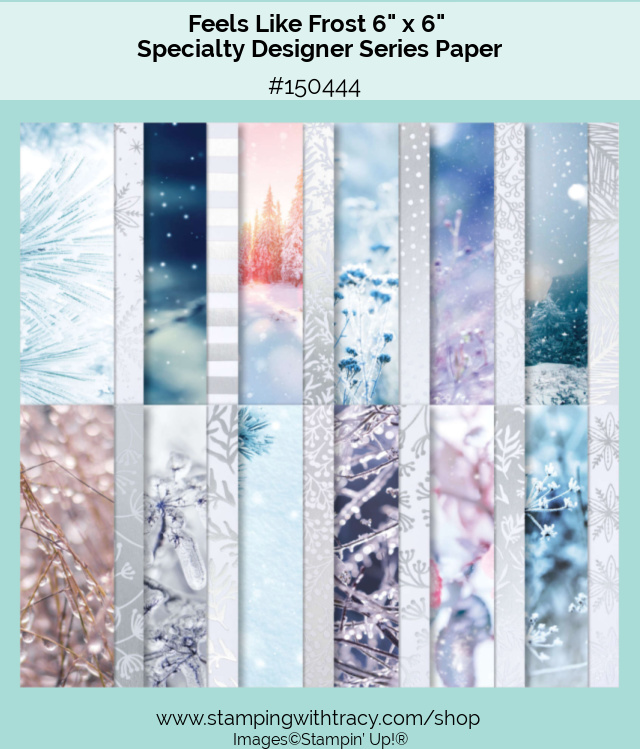
The Stampin’ Up! Giant Year-End Closeout begins tomorrow, December 8th! One of my favorite packages of Designer Series Paper, Feels Like Frost, is retiring and will be discounted 50%!!!! This paper premiered in last year’s Holiday Catalog and today I’ll be sharing cards I’ve made using this gorgeous paper. To go to the original blog post, just click on the card. Since the majority of these cards were made last year, they may have sentiments or other products that have since retired. These posts will also haveinformation about card kits that are no longer available.
To download a list of all retiring items, please click here.
Feels Like Frost Designer Series Paper is so pretty isn’t it? All products in the Year-End Closeout will be available while supplies last or January 4, 2021, whichever comes first so please shop early so you can pick up your favorites!
December Paper Pumpkin
This month’s Paper Pumpkin Kit is available for just a few more days. For more information, click here.
I don’t normally post on Saturday but I wanted to share the card I’d planned for Thursday. On Wednesday morning I finally got a flu shot and another one for shingles. I don’t normally experience any of the side effects but this time I sure did! I spent all of Thursday in bed and part of yesterday as well but today I’m back to normal! Whew!
Before sharing my card, I want to let you know that Stampin’ Up! will be having their Year-End Closeout on Tuesday, December 8th! Items from the August-December 2020 Mini Catalog will be included in the closeout with some products discounted up to 50%. Not all items from the Mini Catalog will be included as some will be carrying over into the Annual Catalog in 2021. I apologize for the very small print, but you can click HERE for a PDF of what will be on sale and what will be discounted. All products in the sale will be WHILE SUPPLIES LAST so be sure to shop early! Please note: due to increased shipping times and possible shipping delays during the month of December, delivery before Christmas cannot be guaranteed. If you have any questions, please contact me!
I started with a base of Shaded Spruce cardstock and then added a layer of Whisper White cardstock and Tis the Season 6″ x 6″ Designer Series Paper. Tis’ the SeasonWILL be included in the closeout and will be discounted 20% beginning on Tuesday, December 8th. I added a strip of Shaded Spruce cardstock and used the Banner Triple Punch to make a banner (you can find all the measurements I used below the supply list). Then I ran it through the Winter Snow Embossing Folder. I LOVE this embossing folder and sadly, it is one of the products being retired BUT it will be discounted 50% and you’ll be able to get it for $3.75!!! Be sure to shop early on Tuesday!
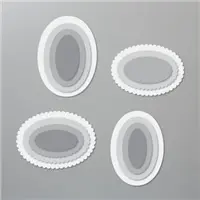
I stamped the sentiment onto Whisper White cardstock using Shaded Spruce ink and then cut it out using the Stitched Shapes Dies. I layered it onto a piece of Cherry Cobbler cardstock that was cut out using the Layering Ovals Dies and popped it up with Stampin’ Dimensionals. These two sets of dies coordinate beautifully! To complete my card, I added three Holiday Rhinestones in Shaded Spruce on the sentiment.
Supply List
If you need any stamping supplies, I’d love to be your demonstrator! You can place an order by clicking any of the images below to go to my Stampin’ Up! online store.If you have questions about products you’re considering purchasing or ones you’ve already purchased, I’m just an email away (click the Email Me button on the sidebar of my blog).
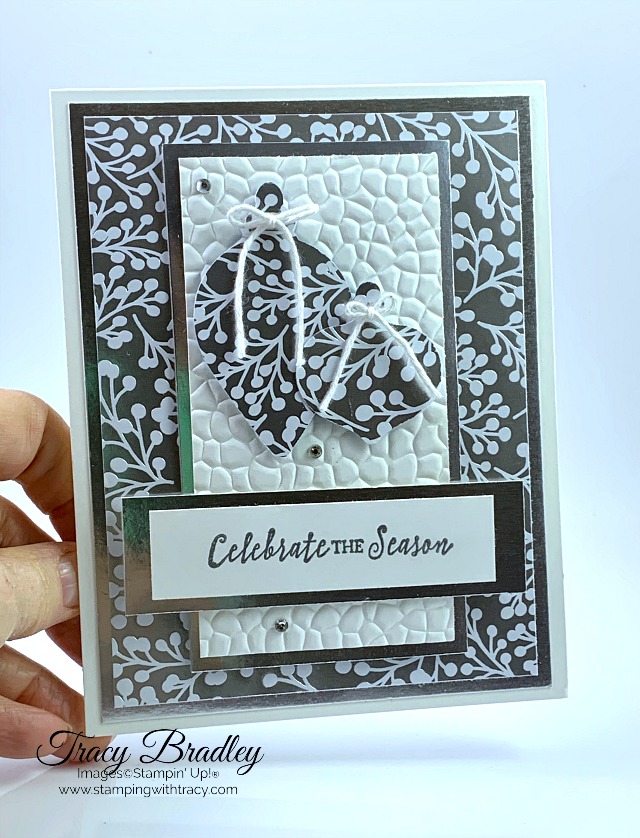
I started with a base of Thick Whisper White cardstock and then added a layer of Whisper White cardstock on top. Before adhering it to the card base, I placed it inside the Tasteful Textile Embossing Folder and ran it through my Stampin’ Cut & Emboss Machine. The Feels Like Frost Designer Series Paper was layered onto pieces of Highland Heather cardstock.
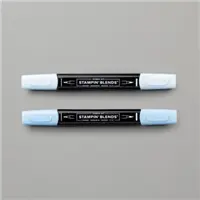
The sentiment was stamped onto Whisper White cardstock using the stamp set Good Morning Magnolia in Gorgeous Grape ink and cut out using the Stitched Shapes Dies. Before placing the sentiment onto the front of the card, I added some Stampin’ Dimensionals to the back. I used my Dark Highland Heather Stampin’ Blend to color our Basic Rhinestones. I love that my paper and rhinestones match!
If you’d like to make today’s card, you can find the measurements below the supply list.
Supply List
If you need any stamping supplies, I’d love to be your demonstrator! You can place an order by clicking any of the images below to go to my Stampin’ Up! online store.If you have questions about products you’re considering purchasing or ones you’ve already purchased, I’m just an email away (click the Email Me button on the sidebar of my blog).
Feels Like Frost Designer Series Paper: 3-3/4″ x 2-1/4″
Feels Like Frost Designer Series Paper: 3-1/2″ x 1-3/4″
I have a new host code! All orders receive one of my card kits (and a tutorial) but use my host code when placing your order and I’ll send you an extra card kit!
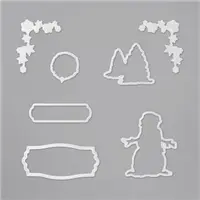
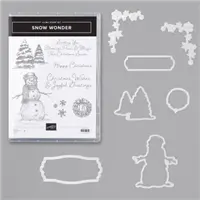
Today’s Tuesday Tutorial features the Snow Wonder Bundle which includes the Snow Wonder stamp setand the Snow Time Dies (bundles always save you 10%). If you’d like the free tutorial, you can access it below the Supply List.
Supply List
If you need any stamping supplies, I’d love to be your demonstrator! You can place an order by clicking any of the images below to go to my Stampin’ Up! online store.If you have questions about products you’re considering purchasing or ones you’ve already purchased, I’m just an email away (click the Email Me button on the sidebar of my blog).
Before sharing my projects with you today, I wanted to let you know that the new January-June 2021 Mini Catalog is coming soon and will be available on January 5th. If you’ve ordered from me in the last six months, I ordered a catalog for you (and the Sale-a-Bration brochure) from Stampin’ Up! yesterday. It will come directly from Stampin’ Up! and they will begin to mail them on December 9th. If you don’t want to wait until January to buy products from this jam-packed catalog, consider joining my team by purchasing the $99 Starter Kit. You’ll receive $125 in product for $99 and it will ship free. One of Starter Kit perks is that you can preorder products from the new catalog early! If you’d to purchase the Starter Kit, click here. Feel free to email me with any questions you might have!
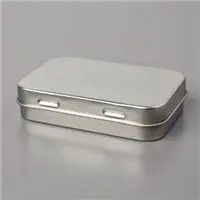
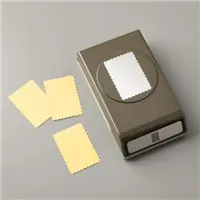
Our Rectangle Tins are a fun way to package a gift card (or any small gift). I wrapped a 8″ x 2-1/2″ piece of Poinsettia Place Designer Series Paper around the tin and then used our Gold 3/8″ Metallic-Edge Ribbon to “tie” it up. To open the tin, the recipient just needs to slip off the sleeve. The sentiment was stamped onto Very Vanilla cardstock using the stamp set, Wrapped in Christmas, and was cut out using the Rectangular Postage Stamp Punch. As you can see from the picture below, a gift card fits inside perfectly!
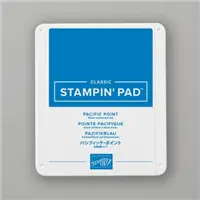
I wrapped this next tin with Snowflake Splendor Designer Series Paper and wrapped our Silver 3/8″ Metallic-Edge Ribbon around it. The sentiment was stamped onto Whisper White cardstock using Pacific Point ink. The ribbon will need to be removed first to open the tin.
Each package of tins come in a four pack and they are food safe! It’s such a quick and easy, but cute, way to wrap up a gift!
Supply List
If you need any stamping supplies, I’d love to be your demonstrator! You can place an order by clicking any of the images below to go to my Stampin’ Up! online store.If you have questions about products you’re considering purchasing or ones you’ve already purchased, I’m just an email away (click the Email Me button on the sidebar of my blog).
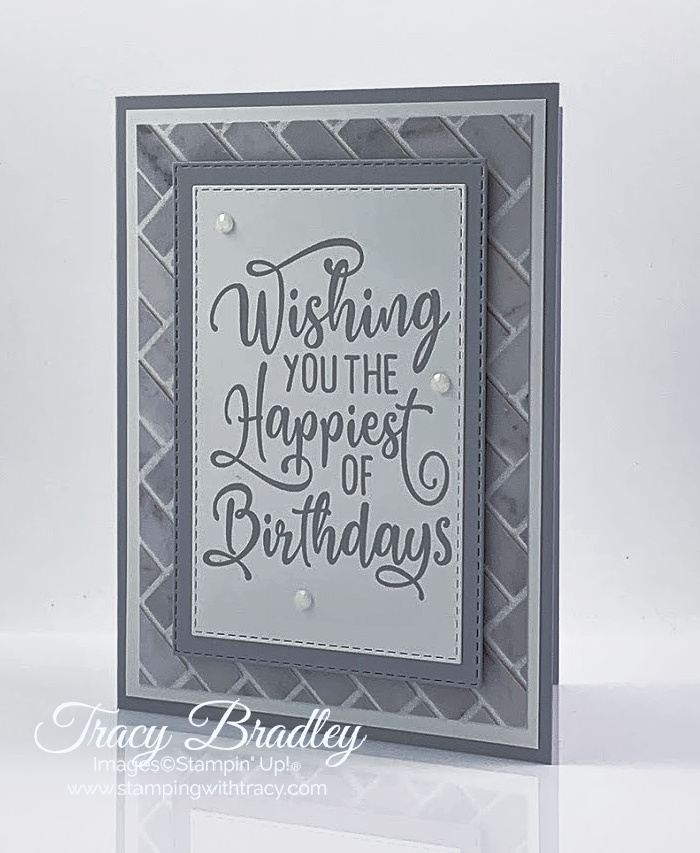
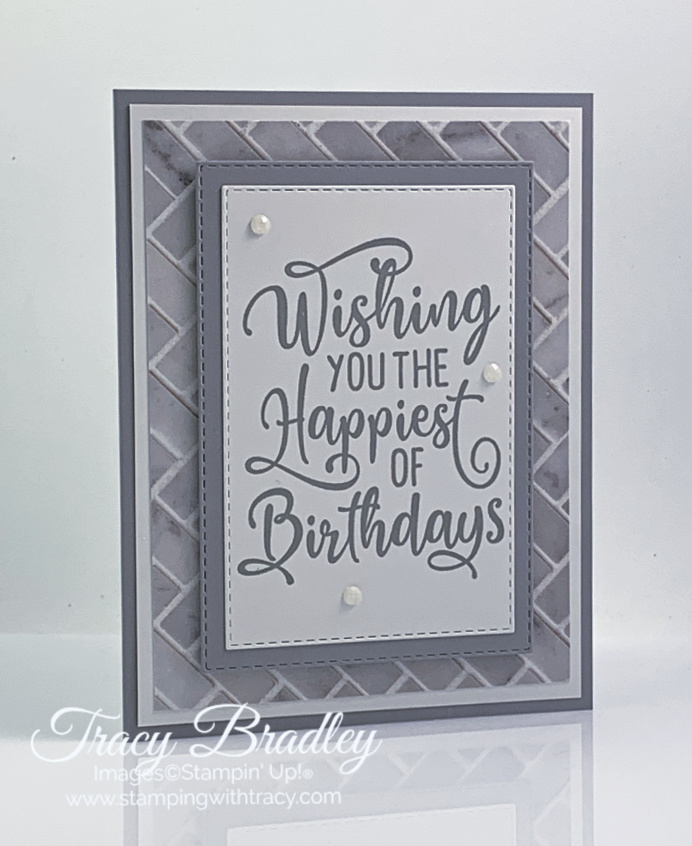
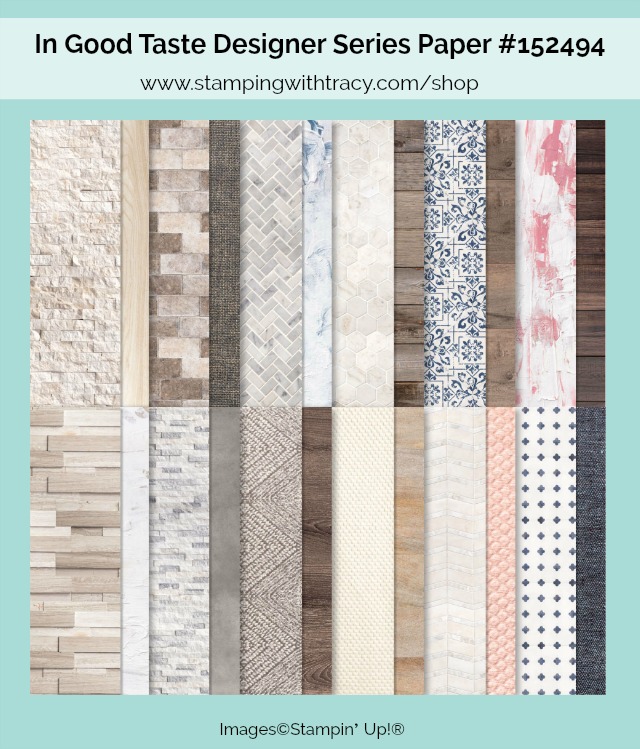
I started with a base of Smoky Slate cardstock and then added a layer of Whisper White cardstock and then a layer of In Good Taste Designer Series Paper. I struggle bit with masculine cards but this was the perfect paper to use!
I stamped the sentiment in Smoky Slate ink using the stamp set Happiest of Birthdays and then cut it out using the Stitched Rectangle Dies. I cut another larger rectangle out of Smoky Slate cardstock and layered the two pieces together. Stampin’ Dimensionals were added to back to give the card some dimension. I finished by adding three Elegant Faceted Gems to the front. If you’d like to make today’s card, you can find the measurements I used below the Supply List.
Supply List
If you need any stamping supplies, I’d love to be your demonstrator! You can place an order by clicking any of the images below to go to my Stampin’ Up! online store.If you have questions about products you’re considering purchasing or ones you’ve already purchased, I’m just an email away (click the Email Me button on the sidebar of my blog).