Before sharing today’s card, Stampin’ Up! issued a statement today about backorders. You can read it below:
As you may have heard reported in the news, unprecedented shipping and logistics issues have resulted in a global supply chain crisis. This is affecting businesses world-wide and Stampin’ Up! is no exception. Due to extreme difficulties caused by these issues, starting 1 December 2021, Stampin’ Up! will no longer take orders for products that are not in stock. In other words, Stampin’ Up! will no longer accept backorders. This change will help to reduce frustrations from unpredictable product availability and allow you to order products that will be delivered right away, rather than products that may not be delivered for months. All current orders that include backordered product will still be fulfilled as soon as inventory becomes available
If you want to know the status of a product, you can use the online store to check product availability. If you’re looking for a specific item, enter it into the search box (item code is generally the most effective way to search). If the item is not available for order, you will see the product, but it will say that it is currently unavailable and there will be no ADD TO CART button.
If you have any questions, please don’t hesitate to contact me.
Today’s Card
I love taking a card design I’ve used before and changing it up with different paper and cardstock. If today’s card looks familiar it’s because I used this same design last week but it wasn’t holiday themed. You can see last week’s card here.
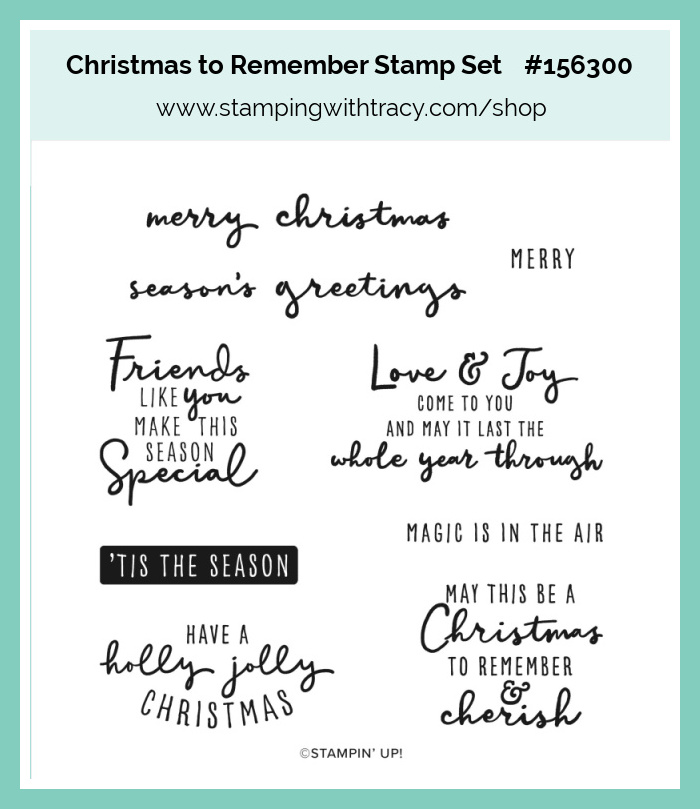
Today’s card features Whimsy & Wonder Designer Series Paper and the stamp set Christmas to Remember. I usually like making holiday cards with very traditional colors but I have to admit I’ve enjoyed using the colors in this Designer Series Paper!
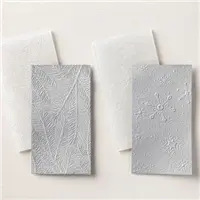
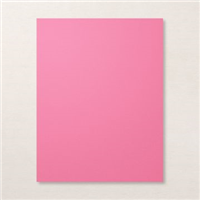
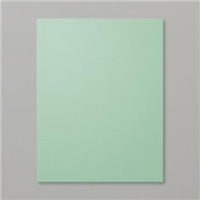
I started with a piece of Thick Basic White cardstock for the card base. Then I added a layer of Polished Pink and Mint Macaron cardstock (you can find all the measurements below). I embossed the Mint Macaron using one of the Wintry 3D Embossing Folders. The next layer is Polished Pink cardstock with Whimsy & Wonder Designer Series Paper.
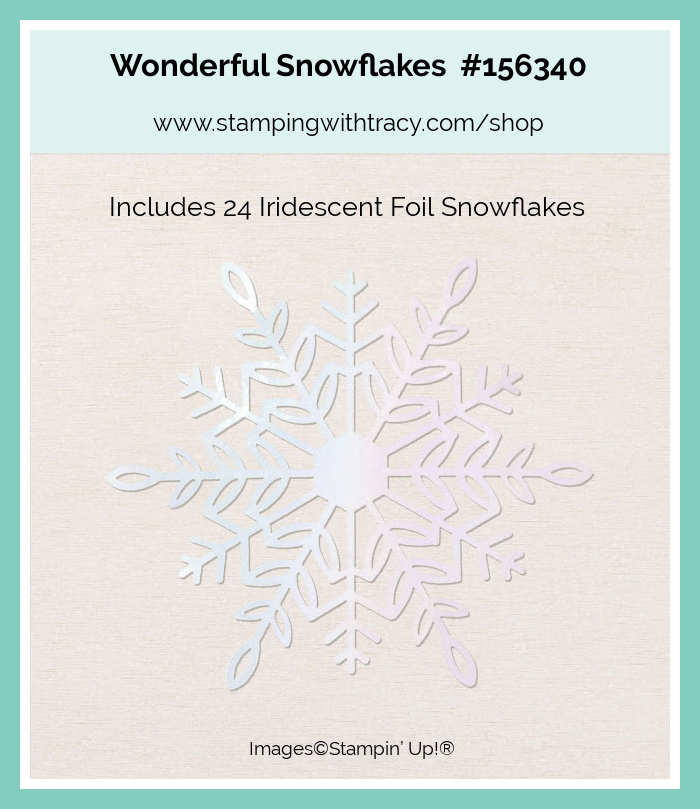
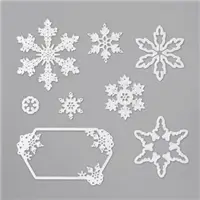
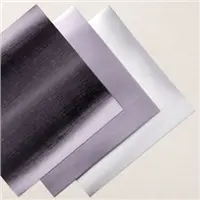
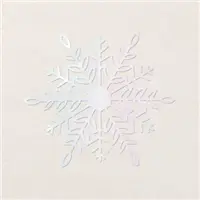
I heat embossed the sentiment onto Basic White cardstock using the stamp set Christmas to Remember (you can find the directions for heat embossing farther down in the post) and layered it onto another piece of Polished Pink cardstock. I added one Stampin’ Dimensional to the back of a Wonderful Snowflake and adhered it above the sentiment. The finishing touch was adding a silver snowflake to the center that was made using the So Many Snowflakes Dies and our Silver Foil.
How to Heat Emboss
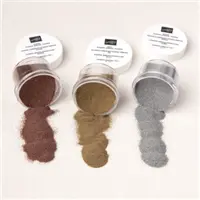
Prepare your cardstock by rubbing an anti-static pouch over the surface of the paper as it helps keep away stray particles of embossing powder (Stampin’ Up! no longer carries this product but it’s a must when embossing). Stamp your sentiment or image using a Versamark pad. This is very sticky ink and your embossing powder will stick right to it. Sprinkle embossing powder over the stamped image and then shake off any excess. Before applying heat to your paper, heat the Heat Tool first so the paper won’t warp (about 10 seconds). Direct the heat over your image and watch as your image is transformed!
Supply List
Below you’ll find all the Stampin’ Up! supplies I used for today’s card. If you need any stamping supplies, I’d love to be your demonstrator! You can place an order by clicking any of the images below to go to my Stampin’ Up! online store.
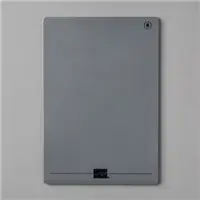
The Specialty Plate is used with 3D Embossing Folders.
Price: $15.00
Measurements
- Thick Basic White cardstock: 11″ x 4-1/4″ score at 5-1/2″ or 8-1/2″ x 5-1/2″ score at 4-1/4″ (the only difference is how the card opens)
- Polished Pink cardstock: 4-3/4″ x 2-1/4″
- Polished Pink cardstock: 3-1/2″ x 3-1/2″
- Polished Pink cardstock: 2-3/4″ x 1-3/4″
- Mint Macaron cardstock: 4-1/2″ x 2″
- Basic White cardstock: 2-1/2″ x 1-1/2″
- Whimsy & Wonder Designer Series Paper: 3-1/4″ x 3-1/4″
- Silver Foil: scrap for snowflake
PDF Store Coming Soon
I’ve been working on releasing my Card Sampler PDF Store and many of my past Card Sampler PDF Tutorials will be available for purchase (this is just the PDF Tutorial, not the precut cardstock). The price of each tutorial will be dependent on the number of pages so they will vary from $7.00-$10.00. To kick it off, each tutorial will be on sale for $5.95 from November 26 – 29. My PDF’s will be available to everyone, regardless of which country you reside in and I’ll be using PayPal for payment. Check back on November 26th for all the details!
Starter Kit Promotion Coming to an End
Stampin’ Up! has lowered the Starter Kit to $75 for the month of November (it’s normally $99 and there’s just a few days left! When you purchase the Starter Kit you’ll choose $125 worth of Stampin’ Up! product – that’s $50 in free Stampin’ Up! product!!! Then you’ll enjoy the perks of being a demonstrator with access to products early, a discount on all your purchases (think of it as a discount card to your favorite place to shop) and so much more. You never have to run a class or sell to others but you certainly have that option if you’d like to start your own business. If you have questions, please ask! For more information, click here. If you’re ready to purchase the Starter Kit, click here!
Enjoy your day!









Beautiful card, Tracy! Love the colors. I like the PDF Tutorial idea as well. 😉
Thank you, Nancy!!!!