by Tracy | Dec 19, 2024 | Sending Love
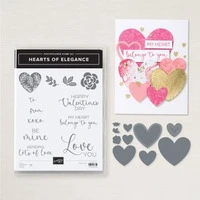
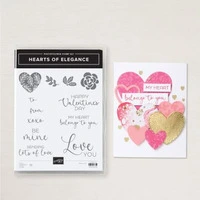
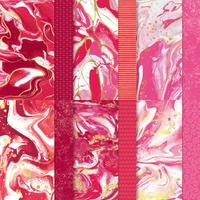
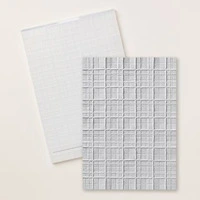
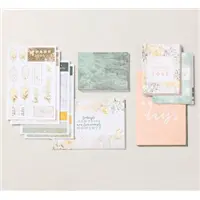
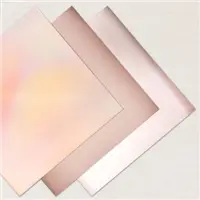
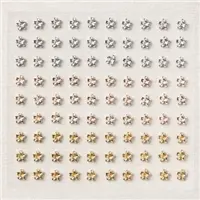
I created my card using the Hearts of Elegance Bundle, Marbled Elegance Specialty Designer Series Paper (DSP), the Stylish Shapes Dies, Forever Plaid 3D Embossing Folder, our Gold Foil Sheets and Adhesive-Backed Heart Sequins. The Hearts of Elegance Bundle and the Marbled Elegance Specialty DSP are both Online Exclusives which means you can’t find them in a catalog but only online.


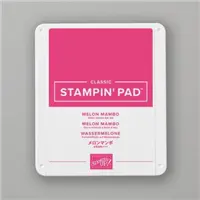
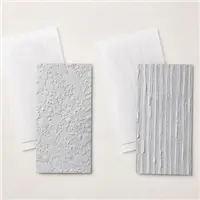
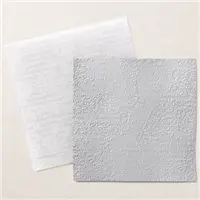
I started with a piece of Melon Mambo cardstock for the base of my card. Then, I cut a piece of Basic White cardstock and embossed it with the Forever Plaid 3D Embossing Folder and my Stampin’ Cut & Emboss Machine. Next, I adhered it to the front of the card.


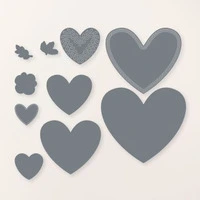
I cut three hearts using the Hearts of Elegance Dies in Gold Foil, Melon Mambo cardstock and Marbled Elegance Specialty DSP. I adhered the Marbled Elegance DSP heart and the Melon Mambo heart using Multipurpose Glue. I added Stampin’ Dimensionals to the gold foil heart and then adhered it to the front of the card.

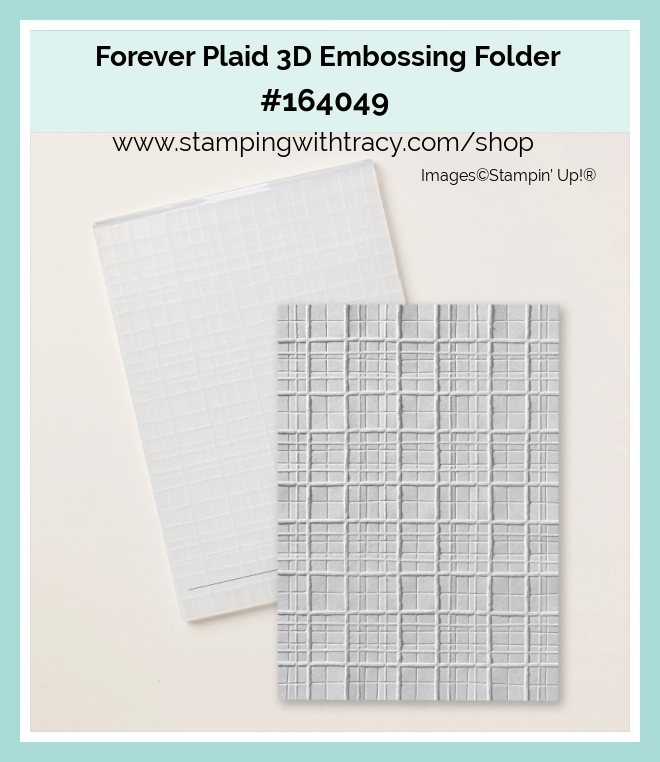
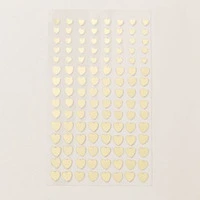
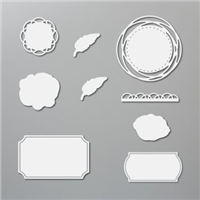
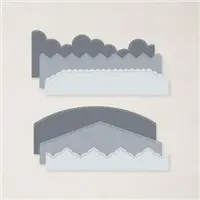
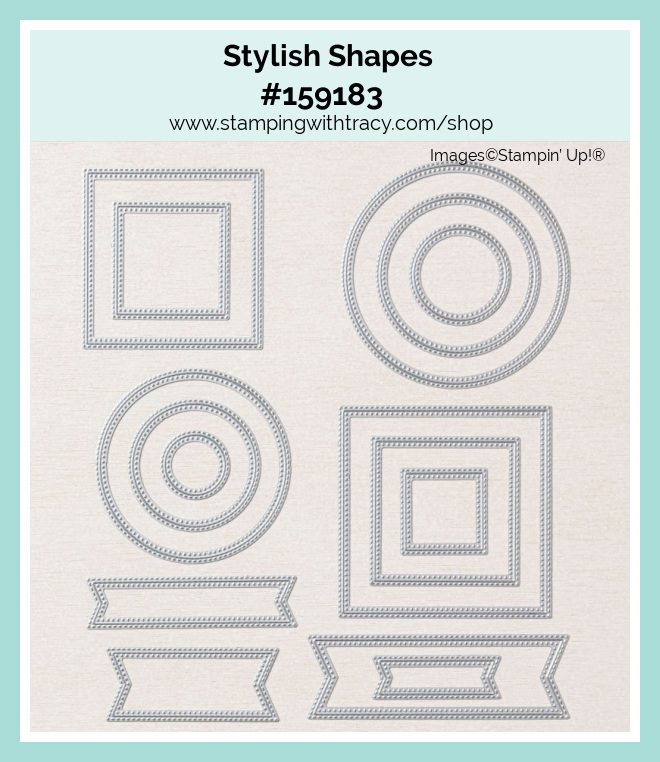
I stamped the sentiment onto Basic White cardstock using the Hearts of Elegance stamp set in Melon Mambo ink. Then, I cut it out using the Stylish Shapes Dies. I added Stampin’ Dimensionals to the back and adhered it to the front of the card, below the hearts. I added two small hearts on each end of the sentiment. To complete my card, I added a piece of Basic White cardstock to the inside.


Supply List
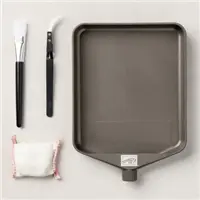
Below you’ll find all the Stampin’ Up! supplies I used for today’s card. If you need any stamping supplies, I’d love to be your demonstrator! You can place an order by clicking any of the images below to go to my Stampin’ Up! online store. The Specialty Plate is used with 3D Embossing Folders.
Measurements
- Melon Mambo cardstock: 11″ x 4-1/4″ score at 5-1/2″
- Melon Mambo cardstock (heart); scrap
- Basic White cardstock (embossed): 5-1/4″ x 4″
- Basic White cardstock (inside card): 5-1/4″ x 4″
- Basic White cardstock (sentiment): scrap
- Marbled Elegance Speciatly Designer Series Paper (heart): scrap
- Gold Foil Sheets (heart): scrap
Hearts of Elegance Card Sampler

My Hearts of Elegance Card Sampler is now available! When you use the host code CFY7M2BW and your order is a minimum of $45 or $60 (before shipping/tax). I’ll send you one each of three different cards if your order is $45 (up to $59.99) OR I’ll send you two each of three different cards when your order is $60 or more. To create this card sampler, I used the Hearts of Elegance Bundle and Marbled Elegance Specialty Designer Series Paper to create this card sampler.
Here’s What You’ll Receive:
- All the paper and embellishments needed to make three or six cards. Envelopes will also be provided. For this Sampler you only need to provide a stamp set, ink and adhesive (see below for what you’ll need).
- A PDF Tutorial with instructions, pictures, cutting measurements and a complete supply list of all the products used.
- Earn at least one Bradley Point (earn ten Bradley Points and redeem them for free product) when your order is $50 or more.
- If your order is over $150, please do not use the host code or you won’t receive your Stampin’ Rewards. After you place your order, simply email me and let me know that you’d like the Hearts of Elegance Card Sampler (you only need to do this if your order is over $150). You can send me an email on the sidebar.
All the Other Important Information:
- Your Hearts of Elegance Card Sampler Sampler will be shipped first-class mail approximately December 31, 2024 and will be mailed to the address used on your online order.
- You’ll receive an email when I mail your Card Sampler and the PDF Tutorial will be included in that email.
- When using the Hearts of Elegance Card Sampler host code to place your order, you will not qualify for other current host code rewards.
- Per Stampin’ Up! policy, card samplers can only be mailed within the United States.
You’ll receive all the materials to make three or six cards. You’ll quickly have beautiful cards ready to be mailed out to someone special. If you can’t make the cards once they arrive, no worries, each card is labeled in its own clear envelope which makes it easy to come back to later. Once you’ve made all the cards in the Sampler, you’ll be able to easily replicate each card by following the easy to follow directions in the PDF (pictures are included as well).
The special Hearts of Elegance Card Sampler HOST CODE will close at the end of the day on December 21, 2024 and after that date, the Card Sampler will no longer be available.
Approximate ship date of the Card Sampler is December 31, 2024.
For more information and the supplies you’ll need to complete the Hearts of Elegance Card Sampler, please click here.
Last Chance Products

Click here to go straight to the Last Chance Products page on the Stampin’ Up! site!
I always check my links to be sure they get you where you need to go but this link has been glitchy. I got a 404 error but when I clicked it again, it took me to the right place.
Host Code – You Choose Between Faceted Gems Trio Pack or Purple Fine Shimmer Gems
Very Important: If your order is over $150, please do not use this host code because you will forfeit your Stampin’ Rewards! I will ask you which package you would like when I send my thank you email.

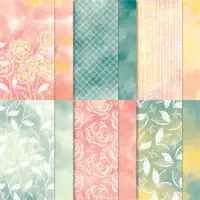
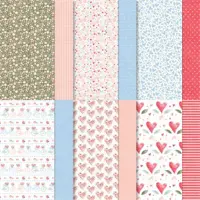
Special Release of Three Designer Series Papers
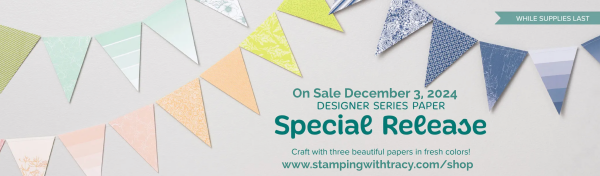
Click here to see the new papers in the Online Exclusives part of the Stampin’ Up! Online Store
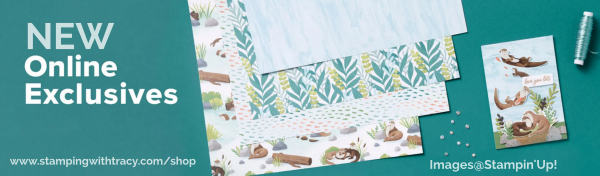
New Online Exclusives
New Online Exclusives went live November 5th. Click here to see what’s in our Online Exclusives part of the website!
Two New Stampin’ Up! Kits
Click each graphic for more information.


Paper Pumpkin Kit – Hearts For You

An additional coordinating add-on is available but only for Paper Pumpkin subscribers. Click the image below for more information.

Thanks for stopping by today!
by Tracy | Mar 29, 2023 | Embossing, Embossing Folders
Demonstrators will be able to take a peek at the new Annual Catalog today at noon, Mountain Time. This catalog will go live on May 2, 2023. Later today, I will post again and let you know which colors are retiring. If you have subscribed to my blog, you will NOT get a notice that I’ve written a post. Notifications go out at 8:00 am Pacific each morning so any post I write after eight in the morning, goes out the following day to my post notification subscribers. You’ll have to come back here later today to check my blog post.
I am currently at my mom’s as she’s having surgery this Friday. My blog posts may be sporadic for the next week or so. I’m trying to schedule my posts ahead of time but it may not happen. Thanks for your understanding.
UPDATE: All the Mystery Boxes are Gone! I will have more in the near future! Update on Mystery Boxes: I have one box left. PLEASE contact me if you’d like one before placing your order so you aren’t disappointed that I don’t have one for you. Please see THIS POST for the all the information about my Mystery Boxes, including the host code.
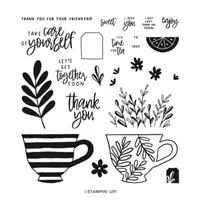
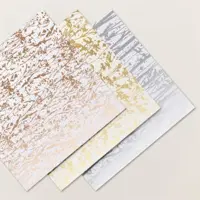
Today’s card was made using an Online Exclusive Specialty Designer Series Paper called Naturally Gilded. I also used the Painted Labels Dies, Stylish Shapes Dies, Cup of Tea stamp set and one of the Stripes & Splatters Embossing Folders.


I started with a piece of Thick Very Vanilla cardstock for the base of my card. Then I cut a piece of Gold Foil and adhered it to the base of the card. I took a piece of Very Vanilla cardstock and ran it through the Stampin’ Cut & Emboss Machine using one of the Stripes & Splatters Embossing Folders. Because this is a smaller embossing folder, I had to run it through the machine twice.


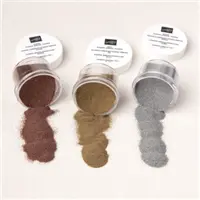
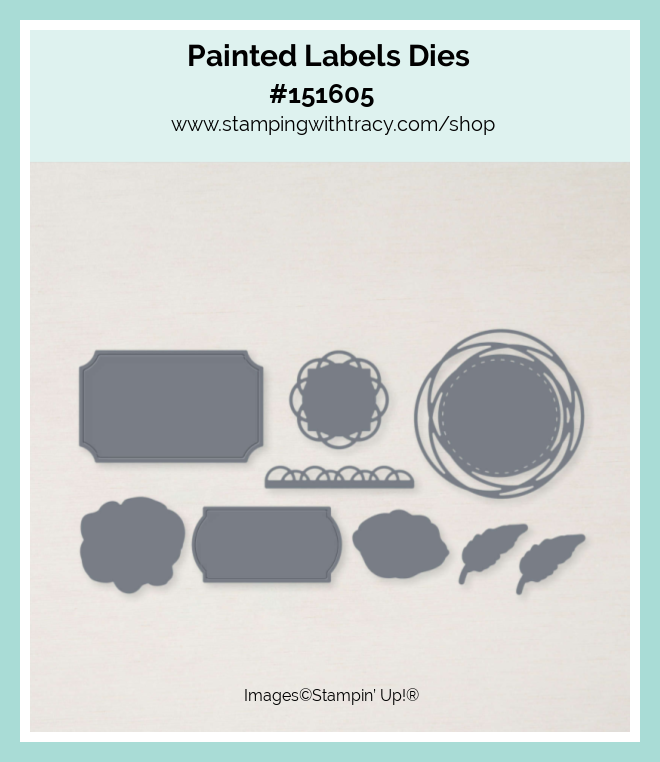
I cut a piece of Naturally Gilded Designer Series Paper and adhered it to the embossed Very Vanilla and then adhered that piece to the Gold Foil. I then embossed the sentiment using the stamp set, Cup of Tea, Versamark and Gold Embossing Powder (if you haven’t embossed before, I’ve included directions below). Embossing anything on a card always adds a bit of elegance to it, don’t you think? I used the Stylish Shapes Dies to cut the sentiment out. Next, I used the Painted Labels Dies to cut the decorative circle out of Gold Foil and then adhered the sentiment to it. I added Stampin’ Dimensionals to the back and adhered it to the front of the card.
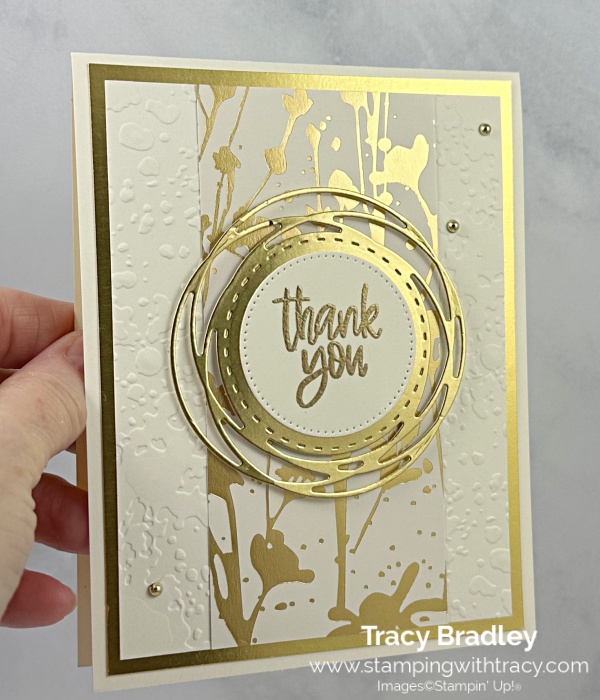
To complete my card, I added three gold Festive Pearls to the front of the card.
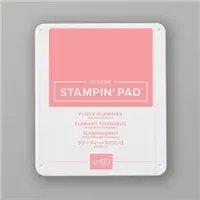
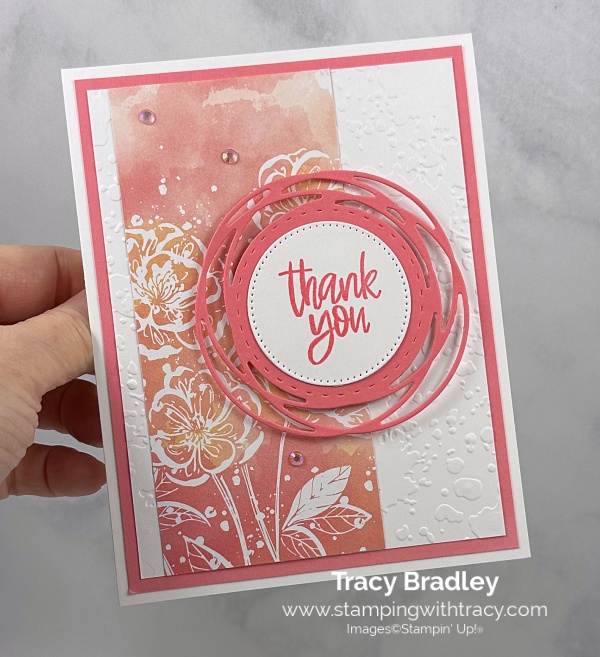
Here’s another version of the card using Hello, Irresistible Designer Series Paper. I didn’t want to cover up the design on the paper so I moved the panel of Designer Series Paper over to the left. I used Flirty Flamingo cardstock, Flirty Flamingo ink and Iridescent Rhinestone Basic Jewels.

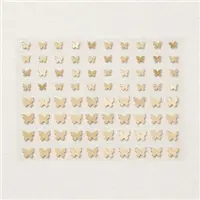
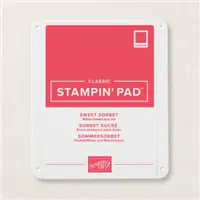
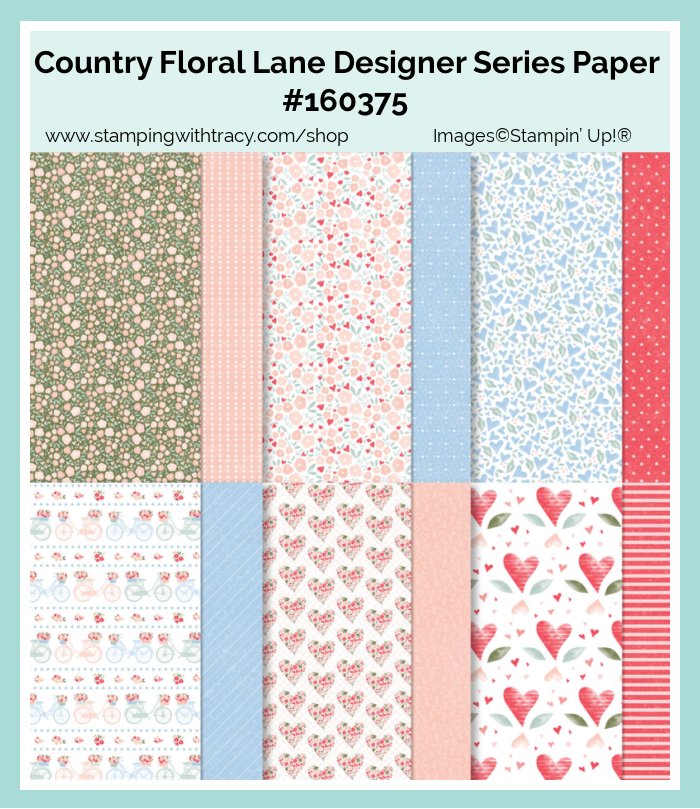
Here’s another version using Country Floral Lane Designer Series Paper, Petal Pink cardstock, Sweet Sorbet ink and Brushed Brass Butterflies.

How to Heat Emboss
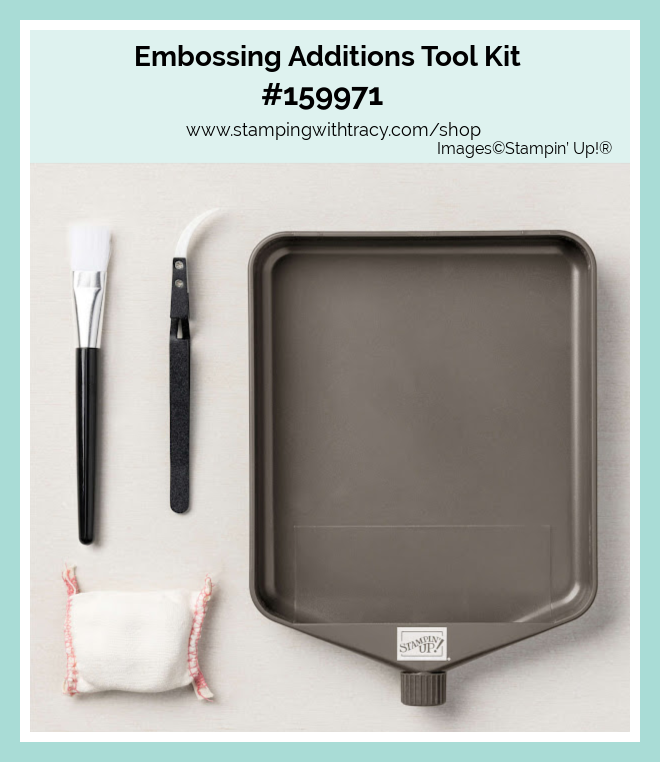
Prepare your cardstock by rubbing the Embossing Buddy (an anti-static pouch that can be found in the Embossing Additions Tool Kit) over the surface of the paper as it helps keep away stray particles of embossing powder. Stamp your sentiment or image using a Versamark pad. This is very sticky ink and your embossing powder will stick right to it. Sprinkle embossing powder over the stamped image and then shake off any excess. Before applying heat to your paper, heat the Heat Tool first so your paper won’t warp (about 10 seconds). Direct the heat over your image and watch as your image becomes shiny and beautiful!
Supply List
Measurements
These measurements and colors pertain to the first card. All the measurements are the same for all three cards.
- Thick Very Vanilla cardstock: 11″ x 4-1/4″
- Very Vanilla cardstock (embossed): 5″ x 3-3/4″
- Very Vanilla cardstock (sentiment): approx. 2-1/4″ x 2-1/4″
- Gold Foil Sheet: 5-1/4″ x 4″
- Gold Foil Sheet (decorative circle): approx. 3-1/4″ x 3-1/4″
- Naturally Gilded Designer Series Paper: 5″ x 2-1/4″
Request an Annual Catalog

If you aren’t a current customer of mine, place an order at my Stampin’ Up! online store and then fill out the 2023-2024 Annual Catalog Request Form here.
If you don’t want to place an order but would like a catalog, I can send you a PayPal invoice. Simply send me an email (click the “Email Me” button on the sidebar) with your name and address. The PayPal invoice will be sent in early April when I know the cost of the catalog and postage.
I’ve had a few forms filled out by people who are not current customers of mine. Unfortunately, I will not be able to honor those requests. Complimentary copies of the catalog are a perk for those that order from me. Thanks for your understanding!
Host Code

Not sure how to use a host code? Click here!
Stampin’ Up! Colorful Kaleidoscope Kit

All the Little Things Paper Pumpkin Kit

When you subscribe to this month’s kit, you’ll get a FREE box organizer! The organizer can be customized to different sizes of compartments, depending on what you want to store. It’s a great way to keep track of products from past kits. Subscribe today to get the April kit and the free box organizer!
This kit includes:
- 9 cards, 3 each of 3 designs, and 9 coordinating envelopes.
- 1 photopolymer stamp set with celebratory sentiments.
- 1 Shaded Spruce Stampin’ Spot.
- Precut cherry blossom paper pieces with iridescent foil.
- Unique embellishments and twine.
- Adhesives to complete the projects.
- Final card size: 5-1/2” x 4-1/4”
- Coordinating Stampin’ Up! colors: Balmy Blue, Basic Black, Calypso Coral, Granny Apple Green, Petal Pink, Poppy Parade, Shaded Spruce.
- FREE box organizer
Order must be placed by April, 10, 2023
You can cancel at any time or even skip a month
Click here to order this month’s Paper Pumpkin kit!
Online Exclusives

Click here for a flyer of all the New Online Exclusives
Click here to shop the Online Exclusives
Enjoy your day!
by Tracy | Mar 24, 2023 | Happy Birthday Card
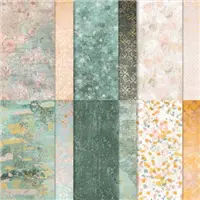
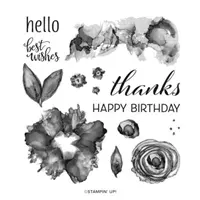
I needed a birthday card for my uncle so I made today’s card for him and mailed it off. I have a hard time making cards for males. I always ask my husband, is this card too girly and usually it is! I used Texture Chic Specialty Designer Series Paper and the stamp sets, Peaceful Moments and Artistically Inked. You can find all the measurements I used below the Supply List.

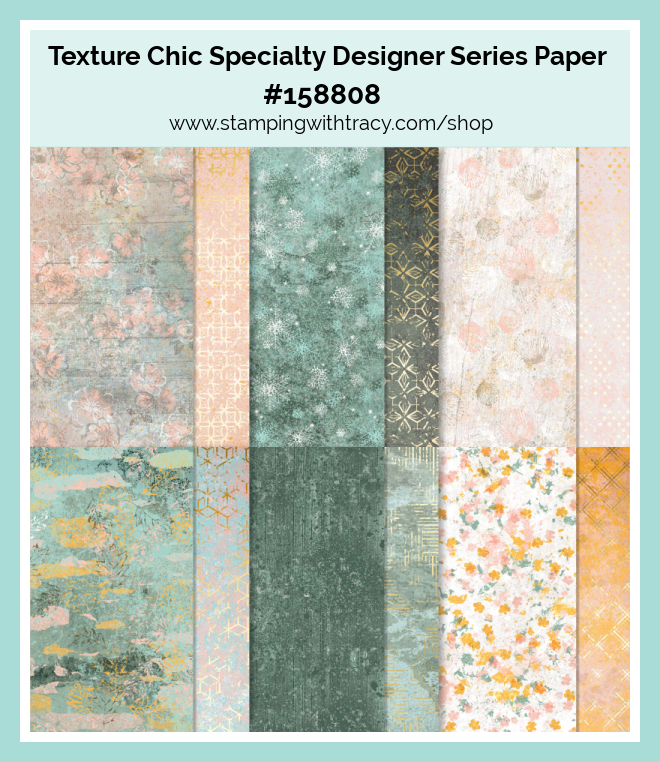
I started with a piece of Soft Succulent cardstock and scored it in two places and then folded on the score lines to create my card base. I cut two pieces of Texture Chic Designer Series Paper and adhered them to the front panels. I stamped the sentiment in Evening Evergreen ink (you could also use Soft Succulent ink) using the stamp set, Peaceful Moments, and cut it out using the Stylish Shapes Dies. I used these same dies to cut a larger circle out of Gold Foil, and adhered the sentiment to it. On the back, I added Stampin’ Dimensionals, just at the top and adhered it to the top panel.


I cut a piece of Basic White cardstock for the inside of the card. I added a strip of Texture Chic Designer Series Paper to the top and bottom and stamped the sentiment using Soft Succulent ink and the stamp set, Artistically Inked. Then I adhered it to the inside of the card.


Supply List
Below you’ll find all the Stampin’ Up! supplies I used for today’s card. If you need any stamping supplies, I’d love to be your demonstrator! You can place an order by clicking any of the images below to go to my Stampin’ Up! online store.
Measurements
- Soft Succulent cardstock: 11″ x 4-1/4″ score at 2-3/4″ and 8-1/4″
- Texture Chic Designer Series Paper: (2) 4″ x 2-1/2″
- Texture Chic Designer Series Paper (inside): 4″ x 1″
- Basic White cardstock: 5-1/4″ x 4″
- Basic White cardstock (sentiment): approx. 2-1/4″ x 2-1/4″
- Gold Foil Sheet: approx. 2-1/2″ x 2-1/2″
Low Inventory List
Several packages of Designer Series Paper are on the Low Inventory List. I’m just guessing but once stock is depleted, I’m pretty sure they won’t be reordered. These are the papers are on the Low Inventory List:

Color Refresh

Stampin’ Up! is doing a color refresh for the new Annual Catalog that debuts on May 2nd. Some basic colors will be retiring and new ones will be added. No one knows which colors are going and which are staying but if you have a favorite color, be sure to pick up ink pads, ink refills, cardstock, Stampin’ Blends and more, NOW! Several ink pads are on the Low Inventory List!
Request an Annual Catalog
If you aren’t a current customer of mine, place an order at my Stampin’ Up! online store and then fill out the 2023-2024 Annual Catalog Request Form here.
If you don’t want to place an order but would like a catalog, I can send you a PayPal invoice. Simply send me an email (click the “Email Me” button on the sidebar) with your name and address. The PayPal invoice will be sent in early April when I know the cost of the catalog and postage.
I’ve had a few forms filled out by people who are not current customers of mine. Unfortunately, I will not be able to honor those requests. Complimentary copies of the catalog are a perk for those that order from me. Thanks for your understanding!
Host Code
Not sure how to use a host code? Click here!
Stampin’ Up! Colorful Kaleidoscope Kit
All the Little Things Paper Pumpkin Kit
When you subscribe to this month’s kit, you’ll get a FREE box organizer! The organizer can be customized to different sizes of compartments, depending on what you want to store. It’s a great way to keep track of products from past kits. Subscribe today to get the April kit and the free box organizer!
This kit includes:
- 9 cards, 3 each of 3 designs, and 9 coordinating envelopes.
- 1 photopolymer stamp set with celebratory sentiments.
- 1 Shaded Spruce Stampin’ Spot.
- Precut cherry blossom paper pieces with iridescent foil.
- Unique embellishments and twine.
- Adhesives to complete the projects.
- Final card size: 5-1/2” x 4-1/4”
- Coordinating Stampin’ Up! colors: Balmy Blue, Basic Black, Calypso Coral, Granny Apple Green, Petal Pink, Poppy Parade, Shaded Spruce.
- FREE box organizer
Order must be placed by April, 10, 2023
You can cancel at any time or even skip a month
Click here to order this month’s Paper Pumpkin kit!
Online Exclusives
Click here for a flyer of all the New Online Exclusives
Click here to shop the Online Exclusives
Thanks for stopping by! Have a wonderful weekend!
by Tracy | Sep 9, 2022 | Uncategorized
Last week I featured the Basic Borders Dies and I couldn’t help but play with them again using Texture Chic Designer Series Paper. I have two cards to share with you.


I started with a piece of Thick Basic White cardstock for the base of my card. Before adhering it to the front of the card, I placed a piece of Petal Pink cardstock (you can find the measurements I used below the Supply List) inside the Timeworn Type 3D Embossing Folder and ran it through the Stampin’ Cut & Emboss Machine. I like using bright colors and Petal Pink isn’t one of my favorites but I have to say I love it with this paper!

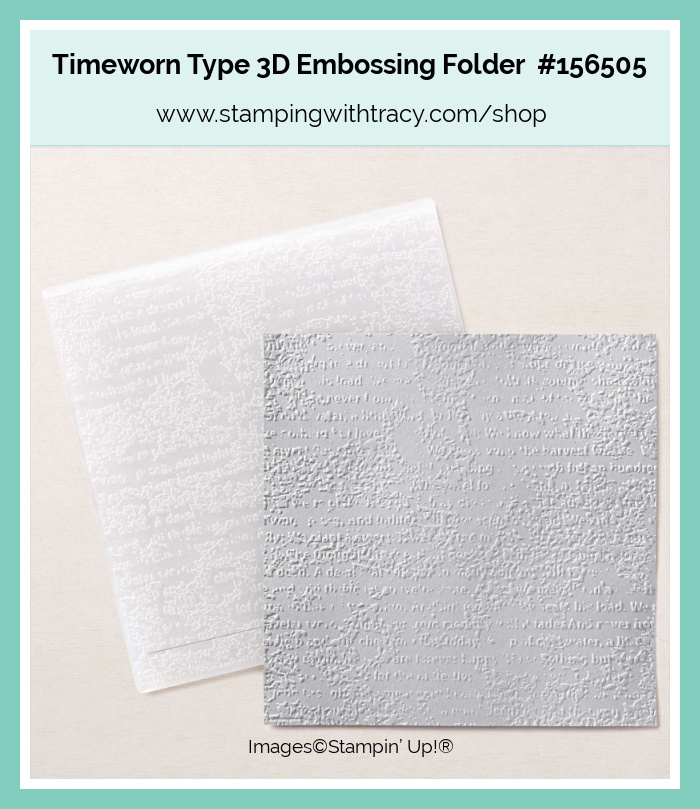
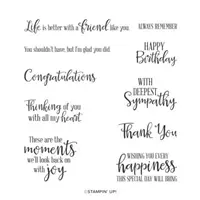
I used the Basic Borders Dies to cut a piece of Texture Chic Designer Series Paper and then adhered it to the front of the card. Next, I heat embossed the sentiment onto Basic White cardstock using gold embossing powder (found in a set called Metallics Embossing Powders), Versamark ink and the stamp set, Cup of Tea. If you’ve never heat embossed before (you’ll love it and it’s easy), you can find the directions below. I cut the sentiment out using the Stylish Shapes Dies and then cut another larger stitched circle out of Gold Foil. I adhered the sentiment to the foil circle, added Stampin’ Dimensionals to the back and adhered it to the card.

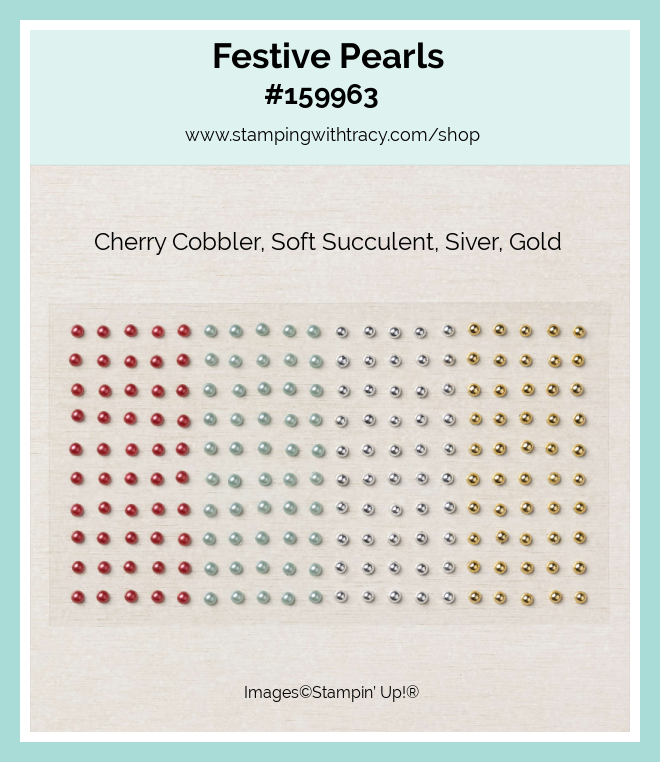
To complete my card, I added three Festive Pearls to the front of the card. These pearls have been on backorder but are now back in stock!
Here’s one more card I made and although you might think it’s the same card, the design of the paper is different.

How to Heat Emboss
Prepare your cardstock by rubbing the Embossing Buddy (an anti-static pouch that can be found in the Embossing Additions Tool Kit) over the surface of the paper as it helps keep away stray particles of embossing powder. Stamp your sentiment or image using a Versamark pad. This is very sticky ink and your embossing powder will stick right to it. Sprinkle embossing powder over the stamped image and then shake off any excess. Before applying heat to your paper, heat the Heat Tool first so your paper won’t warp (about 10 seconds). Direct the heat over your image and watch as your image is transformed (it will be shiny)!
Supply List
Below you’ll find all the Stampin’ Up! supplies I used for today’s card. If you need any stamping supplies, I’d love to be your demonstrator! You can place an order by clicking any of the images below to go to my Stampin’ Up! online store.
The Specialty Plate is used with 3D Embossing Folders.
Measurements
- Thick Basic White cardstock: 11″ x 4-1/4″
- Petal Pink cardstock: 5-1/4″ x 4″
- Texture Chic Designer Series Paper: 4″ x 3-3/4″ place the die in the right hand corner (on the shorter side) and the opposite left bottom corner
- Basic White cardstock (sentiment): approx. 2-1/4″ x 2-1/4″
- Gold Foil (circle): approx. 2-1/2″ x 2-1/2″
Last Chance for Abigail Rose Card Sampler

By the end of today, place a minimum $50 order (before tax/shipping) at my Stampin’ Up! Online Store using my special host code TWSWHDFM and I’ll send you my Abigail Rose Card Sampler.
You’ll receive six card kits (two cards each of three different designs) and everything will be cut, scored, and die cut for you! You’ll quickly have six cards ready to mail or give to someone special. For more details, please click HERE.
Don’t forget to use the host code when placing your order so I’ll know you want this sampler. When you use the host code, it allows me to continue to offer my Samplers for the low cost of free! EXCEPTION: if your order is $150 or more do not use the host code so you can receive Stampin’ Rewards directly from Stampin’ Up!. Contact me after you’ve placed the order to let me know that you’d like the Sampler – you only need to contact me if your order is $150 or more.
Orders must be placed by the end of today, September 9, 2022 and the Card Samplers will be mailed approximately September 19, 2022.


Here are the Weekly Deals for September 8th -14th.
If a product become unavailable, it will no longer be on sale.
Sale: $8.00
Price: $10.00
Sale: $9.60
Price: $12.00
Sale: $8.00
Price: $10.00
Sale: $9.00
Price: $10.00

Click here for the Perfect Partners flyer.
Click here to see these products at my Stampin’ Up! online store.
Thanks for stopping by today! Enjoy your weekend!