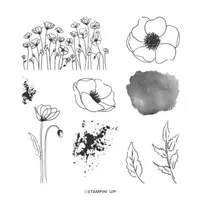
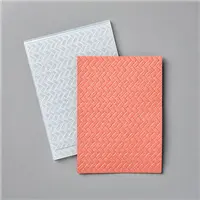
Today’s card is a fun fold that features the Painted Poppies stamp set and the Coastal Weave 3D Embossing Folder. If you’d like to give it a try, I have a video showing how to make it!
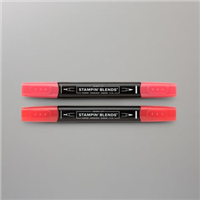
I used Poppy Parade and Granny Apple Green Stampin’ Blends to color the poppies and the flower inside the card but first I stamped the images using Memento Ink. When using alcohol based pens such as Stampin’ Blends, the type of ink you use is important. Because Memento Ink is a water-based dye ink, it’s perfect for use with Stampin’ Blends.
All the supplies I used can be found below in the supply list.
Supply List
If you need any stamping supplies, I’d love to be your demonstrator! You can place an order by clicking any of the images below to go to my Stampin’ Up! online store.If you have questions about products you’re considering purchasing or ones you’ve already purchased, I’m just an email away (click the Email Me button on the sidebar of my blog).
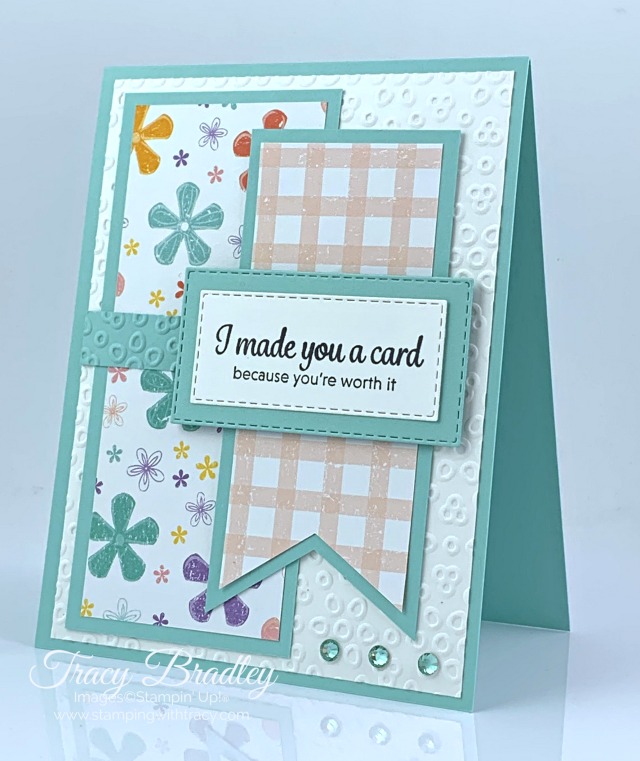
The base of my card is Pool Party cardstock with a layer of Whisper White cardstock that was embossed using the Eyelet Lace embossing folder. The two banners were created using our Banner Triple Punch which will cut three different widths of paper: 2″, 1-1/2″ and 1″.
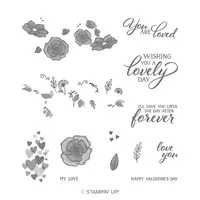
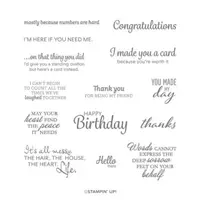
The sentiment is from the stamp set, Here’s a Card, and was stamped onto Whisper White cardstock using Memento Ink. It was cut out using the Stitched Rectangle Dies. To complete the card, I added three rhinestones using our Holiday Rhinestones.
If you’d like to recreate today’s card, all the measurements I used can be found below the Supply List.
Supply List
If you need any stamping supplies, I’d love to be your demonstrator! You can place an order by clicking any of the images below to go to my Stampin’ Up! online store.If you have questions about products you’re considering purchasing or ones you’ve already purchased, I’m just an email away (click the Email Me button on the sidebar of my blog).
Pool Party cardstock: 1-1/2″ x 1/2″ (small embossed piece)
Pool Party cardstock: 5″ x 2-1/4″ (large rectangle)
Pool Party cardstock: scrap for stitched rectangle
Whisper White cardstock: (2) 5-1/4″ x 4″ (embossed piece and inside of card)
Whisper White cardstock: scrap for sentiment
Pleased as Punch Designer Series Paper: 4-3/4″ x 2″ (rectangle)
Pleased as Punch Designer Series Paper: 4-1/4″ x 1-3/4″ (banner)
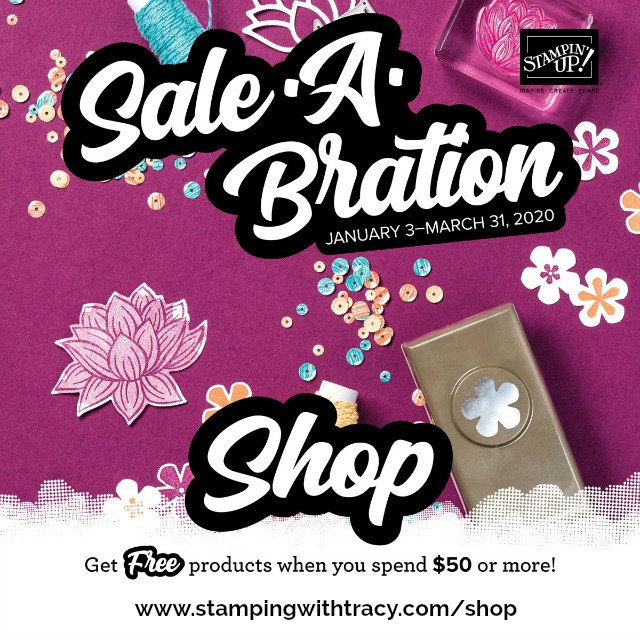
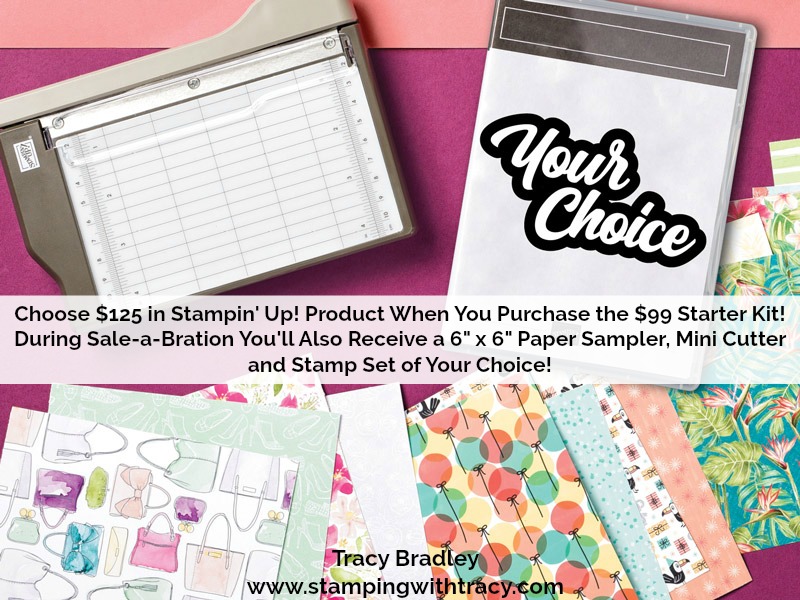
Sale-a-Bration is winding down and ten more products were added, all from the Annual Catalog. When adding these products as FREE gifts, be sure to use the special Sale-a-Bration item numbers (the item numbers in the catalog won’t register your choice as free). Click here to see everything still available!
Note from Tracy: Creating cards is a wonderful way to relieve stress and we’re all under so much of that right now. I’m spending time in my craft room creating cards to share with you and it’s my hope that you’ll be inspired to start creating. Brighten someone’s day by sending them your beautiful card! Take Care, my friends.
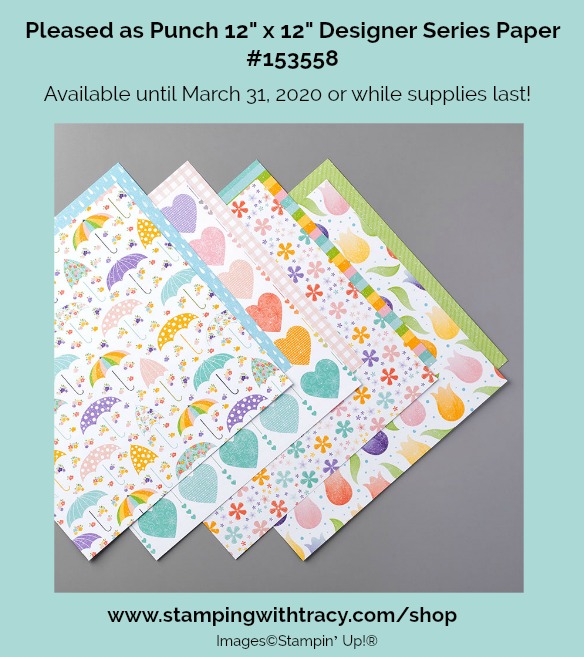
The card I’m sharing with you today was made using Pleased as Punch Designer Series Paper. This paper was released in early February to coordinate with Sale-a-Bration and Mini catalog products but will only be available until March 31, 2020 or while supplies last. These are the products it coordinates with:
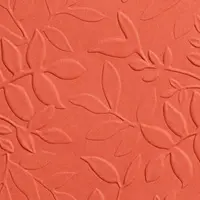
The base of my card is Blushing Bride, not a color I use very often and I’m wondering why. It’s really pretty! I added an embossed layer of Blushing Bride using the Layered Leaves Embossing Folder. The banner was cut using using the Banner Triple Punch. You can make banners with this punch in three widths – 1″, 1-1/2″, and 2″ but here’s a little trick: when choosing the 2″ width, trim your paper about a sixteenth of an inch so it will slide into the punch easily.
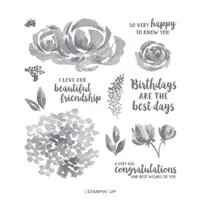
Using the Leaf Punch, I punched out two leaves in Vellum cardstock. The sentiment was stamped in Memento Ink onto Whisper White paper using the stamp set Beautiful Friendship and cut out with the Stitched Shapes Dies. I added Stampin’ Dimensionals to the back and also secured the leaves with the dimensionals. I completed the card by adding three Glitter Enamel Dots, in Granny Apple Green. You can find the measurements I used below the Supply List. Stay safe and healthy!
Supply List
If you need any stamping supplies, I’d love to be your demonstrator! You can place an order by clicking any of the images below to go to my Stampin’ Up! online store.If you have questions about products you’re considering purchasing or ones you’ve already purchased, I’m just an email away (click the Email Me button on the sidebar of my blog).
Note from Tracy: Creating cards is a wonderful way to relieve stress and we’re all under so much of that right now. I’m spending time in my craft room creating cards to share with you and it’s my hope that you’ll be inspired to start creating. Brighten someone’s day by sending them your beautiful card! Take Care, my friends
Before sharing my FREE tutorial with you, I want to let you know that new Sale-a-Bration gifts just became available! It’s important to note that the item numbers for the Sale-a-Bration Third Release products must be used in order for the products to be redeemed as Sale-a-Bration items. If you use the item numbers from the catalog they will not be recognized as a Sale-A-Bration free gift. Click here to see the flyer below. Click hereto place an order!
Today’s FREE PDF Tutorial is for the card I shared yesterday. To access the tutorial, simply click below the supply list.
Stay safe and healthy today!
Supply List
If you need any stamping supplies, I’d love to be your demonstrator! You can place an order by clicking any of the images below to go to my Stampin’ Up! online store.If you have questions about products you’re considering purchasing or ones you’ve already purchased, I’m just an email away (click the Email Me button on the sidebar of my blog).
Before sharing my card with you today, I want to let you know that starting tomorrow, March 24th, a selection of current catalog items will be available to earn through Sale-a-Bration. Those are the only details I have but be sure to check back tomorrow to see what’s being offered!
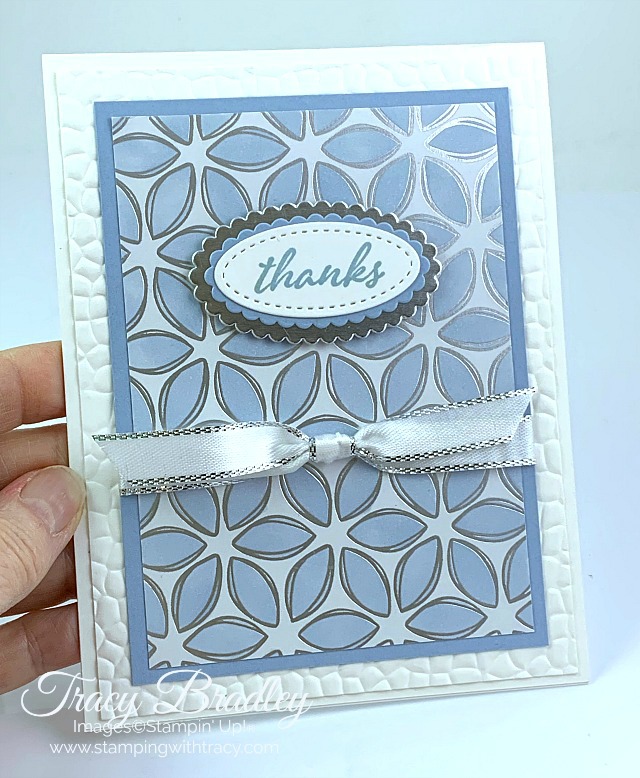
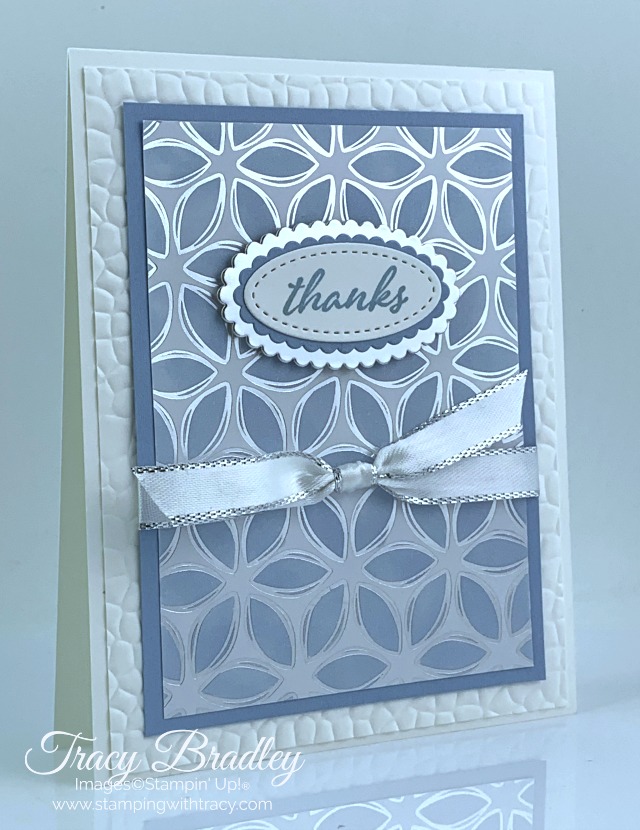
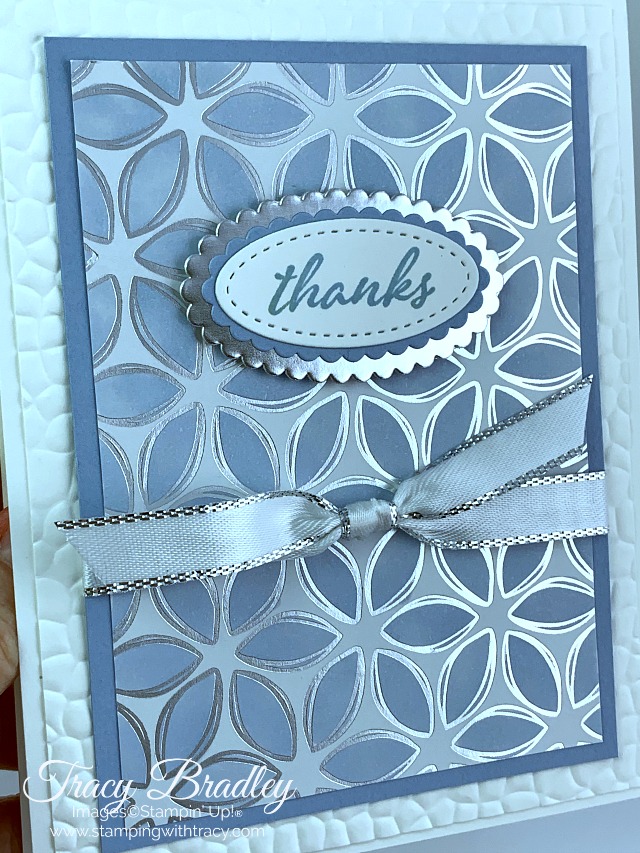
Today’s card was created using one of the designs in Flowering Foils Specialty Designer Series Paper. All of the designs in the package can stand alone but changing up the look is really fun! I used a Light Seaside Spray Stampin’ Blend to color in all the flower petals. Imagine all the possibilities! The very best part? This paper is free with a $50 order during Sale-a-Bration, while supplies last!
The base of the card is Thick Whisper White with a layer of regular Whisper White on top that was embossed using the Hammered Metal 3D embossing folder and a die-cutting machine. After coloring the Flowering Foils paper, I adhered it to a piece of Seaside Spray and wrapped a piece of Silver-Metallic Edge Ribbon around the entire piece. Then I adhered it to the base of the card using Multipurpose Glue.
The sentiment was stamped onto Whisper White cardstock using Seaside Spray ink and then cut out with the Stitched Shapes Dies. Using the Layering Ovals Dies, I cut a scalloped oval in Seaside Spray and then a larger one in Silver Foil. I layered all the pieces together using Snail adhesive and then added Stampin’ Diensionals to the back and attached it to the front of the card.
Tomorrow I’ll have a free PDF Tutorial for today’s card but if you want to give it a try today, I’ve included the measurements below the Supply List.
Take good care of yourself!
Supply List
If you need any stamping supplies, I’d love to be your demonstrator! You can place an order by clicking any of the images below to go to my Stampin’ Up! online store.If you have questions about products you’re considering purchasing or ones you’ve already purchased, I’m just an email away (click the Email Me button on the sidebar of my blog).