It’s Tuesday and normally you’d find a free tutorial here but last Friday as I was trying to work ahead and prepare today’s post, I accidentally hit publish instead of save. You should have seen me talking (yelling) at my computer – nooooooo! Once you send a post off, no amount of yelling will make it come back! Ha, ha!! As I’m writing this, I have a big post-it-note on my computer screen so I won’t accidentally click publish! Never a dull moment!
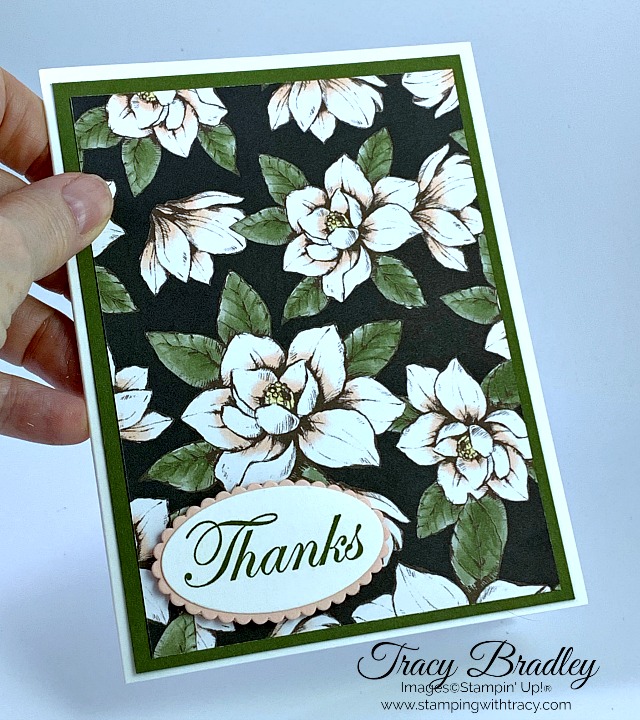
If you missed the tutorial I posted on Friday, you can access it here! The tutorial is for the card pictured below.
Today I have a great video for you from Stampin’ Up! As you know, the Big Shot has retired and Stampin’ Up! is now using a new supplier for their dies and embossing folders. Unfortunately some of the embossing folders in the catalog are not yet available because we’re waiting for them to arrive in the Stampin’ Up! warehouse. I’ll post when all of our embossing folders are available for purchase. Thank you for your patience!!!
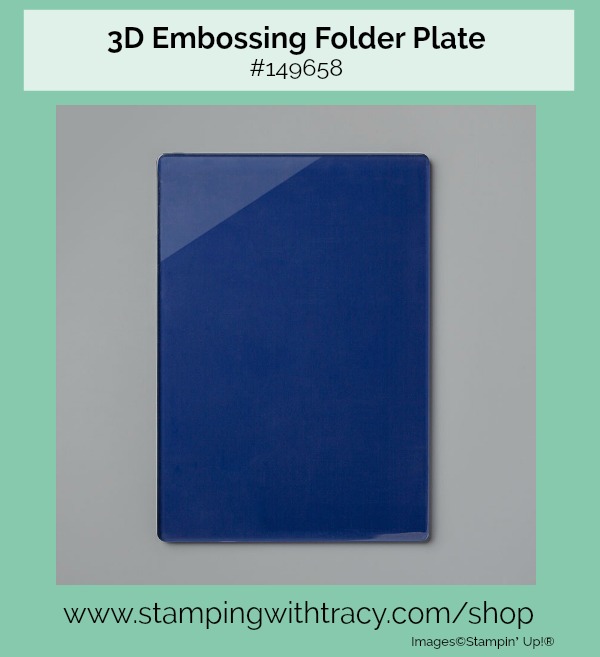
Our new dies and embossing folders are made differently and need to be used a little differently than we’re used to. In fact, a brand new product called the 3D Embossing Folder Plate was just released last week to help with using our 3D embossing folders. You can’t find this product in our new catalog but if you click here, you can see it at my Stampin’ Up! online store.
The video below will explain how our dies are different than our previous dies and how to use the embossing folders. I highly recommend you watch it so you’ll achieve the best results from your dies and embossing folders! George will also show you how to use the 3D Embossing Folder Plate.
If you have any questions, please feel free to contact me!
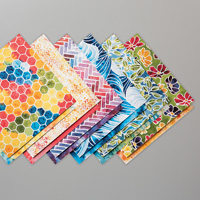
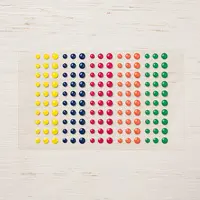
If you love bold, vibrant colors, you’re going to love the brand new See a Silhouette Designer Series Paper! This paper coordinates with so many beautiful colors:
Cut a piece of Night of Navy cardstock that measures 5-1/2″ x 7-1/2″. Score at 4-1/4″. Fold on the score line. This will be your card base.
Cut a piece of See a Silhouette Designer Series Paper that measures 3″ x 5-1/4″. Glue to the front of the card.
Cut a piece of Whisper White cardstock that measures 4″ x 5-1/4″. Glue to the inside of the card.
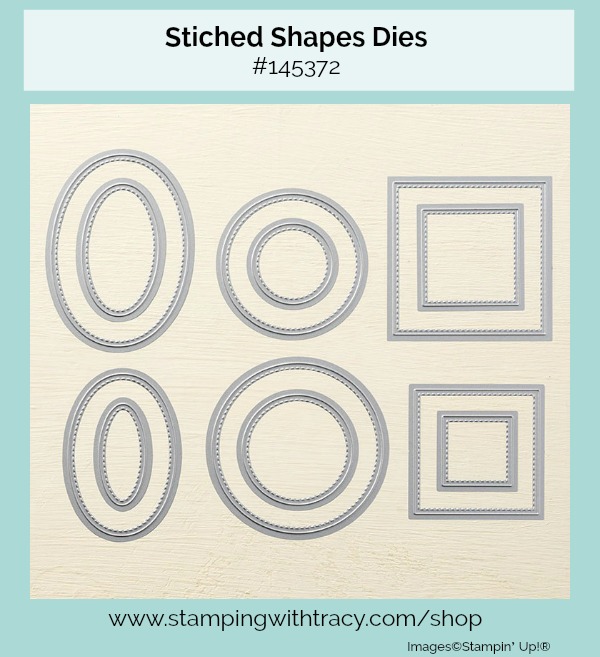
Using the stamp set Daisy Lane, stamp the sentiment onto Whisper White cardstock using Night of Navy ink. Using a die-cutting machine, cut it out with the Layering Ovals Dies. Cut a larger oval in Night of Navy cardstock using the Stitched Shapes Dies. Glue the sentiment onto the Night of Navy oval using Snail. Turn it over to the backside and add Stampin’ Dimensionals only to the right side and down the middle (if you add them to the other side, your card won’t open). Attach to the front of the card.
To complete the card, add three Night of Navy enamel dots below the word “Friend”.
Supply List
If you need any stamping supplies, I’d love to be your demonstrator! You can place an order by clicking any of the images below to go to the homepage of my Stampin’ Up! online store.If you have questions about products you’re considering purchasing or ones you’ve already purchased, I’m just an email away (click the Email Me button on the sidebar of my blog).
There are many new packages of Designer Series Paper in the new Stampin’ Up! Annual Catalog and the one on my card today is Magnolia Lane. When you have beautiful paper as your focal point on a card, you really only need a sentiment and coordinating cardstock! (more…)
It’s Tuesday, so that means I have a FREE PDF tutorial for you! Today’s free tutorial is for yesterday’s card. You can click the link below to download the tutorial and then save and/or print it. You can see the original post for the card, here.