by Tracy | Oct 27, 2021 | Designer Series Paper, Die-Cutting, Embossing Folders
Today’s card is the same card I shared last week but I changed up the paper and stamp set. This card was mailed to a friend who is back home from a stay in the hospital. I hope it cheers her up! If you’d like to see the card I shared the other day, you can see it here.

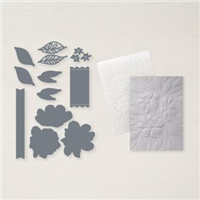
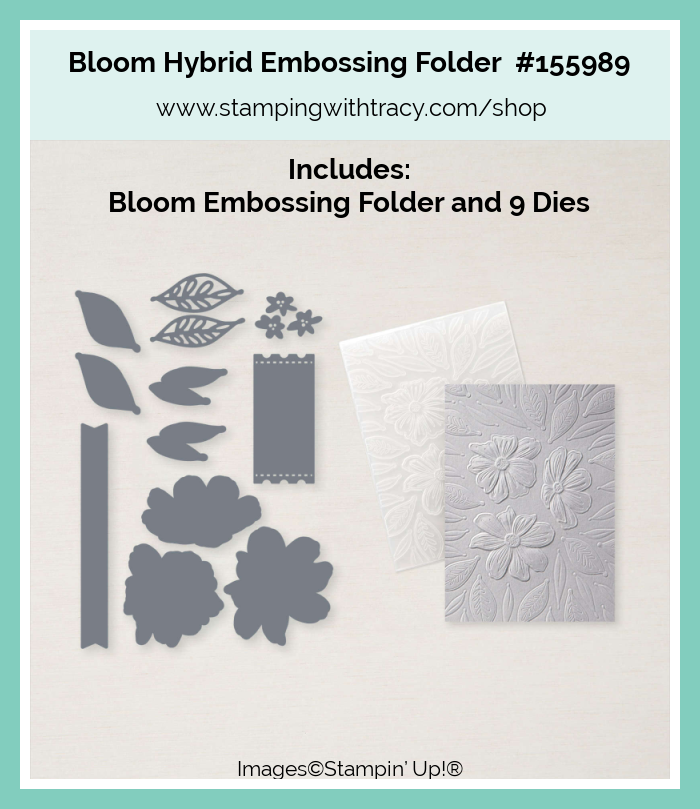
I started with a base of Pool Party cardstock and then adhered a piece of Basic White cardstock that I embossed using the Bloom Hybrid Embossing Folder. This embossing folder cannot be purchased individually but when you purchase it, you’ll also receive 9 dies.
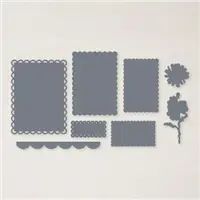
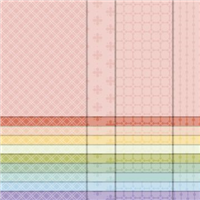
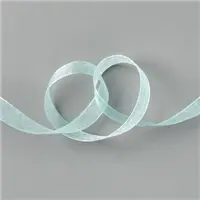
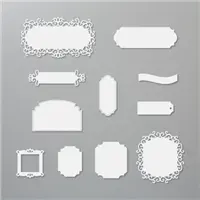
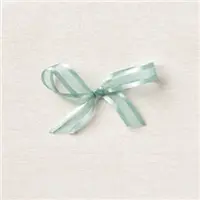
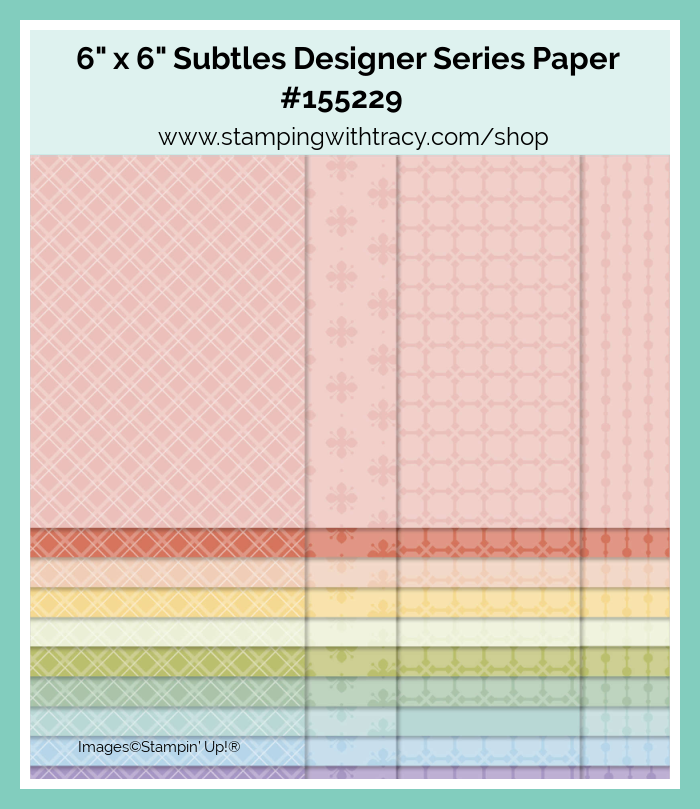
I used the Scalloped Contours Dies to cut a rectangle out of Basic White cardstock and then cut a piece of Pool Party Designer Series Paper (found in the Subtles 6″ x 6″ Collection) and adhered it to the rectangle. I wrapped a piece of Pool Party 3/8″ Sheer Ribbon (this ribbon is so pretty!!!) around the rectangle and tied a knot. Then I added Stampin’ Dimensionals to the back and adhered it to the front of the card.

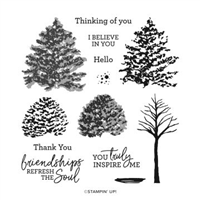
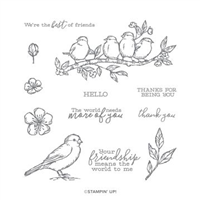
I used another die from the Scalloped Contours Dies to cut the small scalloped rectangle out of Basic White. I stamped the sentiment in Pool Party ink using the stamp set, Beauty of Friendship and then added Stampin’ Dimensionals to the back before placing it on the front of the card. To complete the card, I added another piece of Basic White cardstock to the inside.


You can find all the measurements I used below the Supply List.
Supply List
Below you’ll find all the Stampin’ Up! supplies I used for today’s card. If you need any stamping supplies, I’d love to be your demonstrator! You can place an order by clicking any of the images below to go to my Stampin’ Up! online store.
The Specialty Plate is used with 3D Embossing Folders.
Measurements
- Pool Party cardstock: 11″ x 4-1/4″ score at 5-1/2″
- Basic White cardstock: (2) 5-1/4″ x 4″
- Basic White cardstock: approx. 4-5/8″ x 3-3/8″
- Basic White cardstock: approx. 2-3/4″ x 1-3/8″
- 6″ x 6″ Subtles Designer Series Paper: 3-3/4″ x 2-1/2″
Eden’s Garden Collection Debuting on November 2, 2021

Click here for the two page flyer and see everything in the collection (I mention that it’s two pages because I completely missed that there was a second page when I first looked at it!).


November Paper Pumpkin

Gifts Galore Paper Pumpkin Kit
- Kit contains enough supplies to create nine treat packages—three each of three designs—and nine food-safe bags.
- This all-inclusive kit includes printed die cuts, die-cut boxes, cellophane treat bags, adhesive, and more!
- Includes an exclusive stamp set and a Classic Stampin’ Spot
- Coordinating colors: Evening Evergreen, Flirty Flamingo, Old Olive, Pool Party, Poppy Parade
- Subscribe by November 10, 2021
Click here to order Paper Pumpkin
You can cancel at any time or even skip a month
Enjoy your day!
by Tracy | Oct 25, 2021 | Card Sampler, Designer Series Paper, Die-Cutting, Fun Fold Card, Heat Embossing, Layering Circles Dies
I always love when a card opens in a different way and my book binding card today is super easy to make!


I started with a piece of Thick Basic White cardstock (you can find the measurements I used below the Supply List) and scored it in two places. Then I folded the card in half and then folded the other piece back (see the picture below).

I put Tear & Tape on the small section (I like using Tear & Tape but any strong adhesive will work). I then folded the piece over towards the right and this creates the book biding look.


I added Whimsy & Wonder Designer Series Paper to the large front panel and the panel on the left. I used our 1-1/2″ Metallic Mesh Ribbon and tied it around the left side. Since I used a heavy duty adhesive, the ribbon is purely decorative. This mesh ribbon is gorgeous with all the silver running through it .You could even use this to wrap presents!

I used the Layering Circles Dies to cut a piece of Basic White cardstock and a larger, scalloped circle out of Silver Foil. On the Basic White cardstock, I embossed the sentiment using the Holly Jolly Wishes stamp set, Versamark ink, Silver Embossing Powder and a Heat Tool. Embossing is so easy to do and I really think it makes a card look so elegant. If you’ve never embossed before, I have directions below. I adhered the sentiment to the Silver Foil and then added Stampin’ Dimensionals to the back of the Silver Foil circle and adhered it to the front of the card.

How to Heat Emboss
Prepare your cardstock by rubbing an anti-static pouch over the surface of the paper as it helps keep away stray particles of embossing powder (Stampin’ Up! no longer carries this product but it’s a must when embossing). Stamp your sentiment or image using a Versamark pad. This is very sticky ink and your embossing powder will stick right to it. Sprinkle embossing powder over the stamped image and then shake off any excess. Before applying heat to your paper, heat the Heat Tool first so the paper won’t warp (about 10 seconds). Direct the heat over your image and watch as your image is transformed!
Supply List
Below you’ll find all the Stampin’ Up! supplies I used for today’s card. If you need any stamping supplies, I’d love to be your demonstrator! You can place an order by clicking any of the images below to go to my Stampin’ Up! online store.
Measurements
- Thick Basic White cardstock: 11″ x 4-1/4″ score at 4″ and 5-1/2″
- Whimsy & Wonder Designer Series Paper: 4″ x 3-3/4″
- Whimsy & Wonder Designer Series Paper: 4″ x 1-1/4″
- Silver Foil: approx. 3″ x 3″
- Basic White cardstock: approx 2-5/8″ x 2-5/8″
Words of Cheer Card Sampler

Place a minimum $50 order at my Stampin’ Up! Online Store using the host code WDQ6WW6N and I’ll send you my Words of Cheer Card Sampler. Orders must be placed by tomorrow, October 26, 2021 and the Card Samplers will be mailed on November 4, 2021. For all the details, please click HERE.


Enjoy your day!
by Tracy | Oct 22, 2021 | Card Sampler, Designer Series Paper, Die-Cutting, Embossing Folders, Free Tutorial

Can you believe it’s Friday already??? Today’s FREE tutorial features Ever Eden 12″ x 12″ Designer Series Paper . This paper will be available beginning November 2, 2021 and is part of an early release collection. This collection will be in the January – June Mini Catalog but Stampin’ Up! is releasing it early! This early release collection includes the Eden’s Garden Cling stamp set, Eden Dies, Ever Eden 12″ x 12″ Specialty Designer Series Paper, Ever Eden 12″ x 12″ Cotton Paper, and Garden Gems.
The following products will only be available while supplies last once they’re released on November 2nd:
-
- Ever Eden Specialty Designer Series Paper
- Ever Eden Cotton Paper
- Garden Gems
Click here for the flyer of the Eden’s Garden collection!

Here’s another version of the card using another design in the Ever Eden Designer Series Paper pack.

One of the products I used on both cards is the Bloom Hybrid Embossing Folder. You cannot purchase this embossing folder separately. I was a bit confused when I saw it in the catalog (and online) so I want to clear up any confusion. When you purchase the Bloom Dies (page 157 in the Annual Catalog), you will receive 9 dies and the Bloom Hybrid Embossing Folder. That being said, when you search for Bloom Dies on the website, Bloom Dies does not come up in your search but instead you’ll be directed to Bloom Hybrid Embossing Folder. So confusing but the bottom line is that you can’t order it separately. Here’s how you can get this embossing folder:
Bloom Dies #155989 – includes dies and embossing folder On the Stampin’ Up! website, it will be listed as Bloom Hybrid Embossing Folder but this price includes the folder and dies
Art in Bloom Bundle #158368 – includes photopolymer Art in Bloom stamp set, Bloom Hybrid Embossing Folder and 9 Dies.
You can access your free tutorial below the supply list.
Supply List
Below you’ll find all the Stampin’ Up! supplies I used for today’s card. If you need any stamping supplies, I’d love to be your demonstrator! You can place an order by clicking any of the images below to go to my Stampin’ Up! online store.
The Specialty Plate is used with 3D Embossing Folders.
Ever Eden 12″ x 12″ Specialty Designer Series Paper (#159996) will be available on November 2, 2021 and will only be available while supplies last.
Words of Cheer Card Sampler

Place a minimum $50 order at my Stampin’ Up! Online Store using the host code WDQ6WW6N and I’ll send you my Words of Cheer Card Sampler. Orders must be placed by October 26, 2021 and the Card Samplers will be mailed on November 4, 2021. For all the details, please click HERE.


November Paper Pumpkin

Gifts Galore Paper Pumpkin Kit
- Kit contains enough supplies to create nine treat packages—three each of three designs—and nine food-safe bags.
- This all-inclusive kit includes printed die cuts, die-cut boxes, cellophane treat bags, adhesive, and more!
- Includes an exclusive stamp set and a Classic Stampin’ Spot
- Coordinating colors: Evening Evergreen, Flirty Flamingo, Old Olive, Pool Party, Poppy Parade
- Subscribe by November 10, 2021
Click here to order Paper Pumpkin
You can cancel at any time or even skip a month
Have a great weekend!
by Tracy | Oct 21, 2021 | Card Sampler, Designer Series Paper, Die-Cutting, Embossing Folders
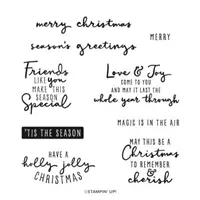
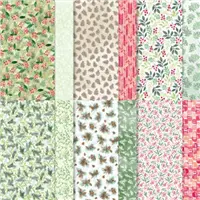
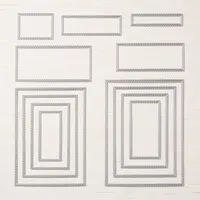
Today I’m sharing a card that was recently in my Christmas to Remember Card Sampler. It features Stampin’ Up! Painted Christmas Designer Series Paper, Wonderful Snowflakes, Stitched Rectangle Dies and the stamp set, Christmas to Remember.

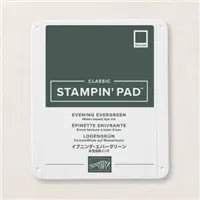
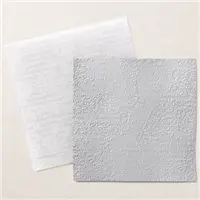
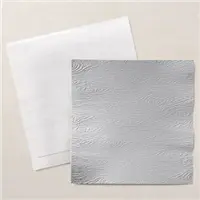
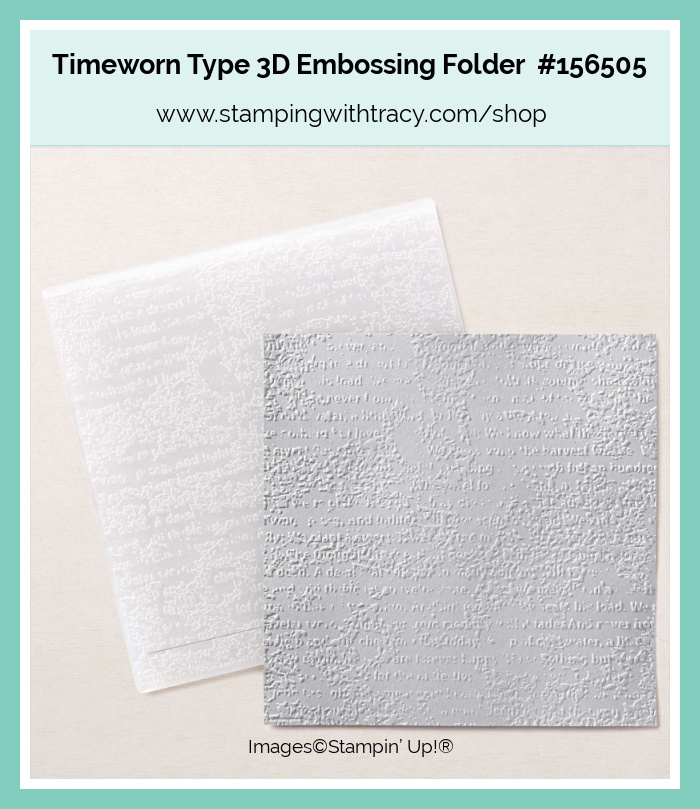
I started with a piece of Early Espresso cardstock and added a layer of Basic White cardstock. Then I embossed a piece of Evening Evergreen cardstock using the Timeworn Type 3D Embossing Folder and adhered it to the front of the card. Using the Stitched Rectangles Dies, I cut three pieces of Painted Christmas Designer Series Paper and adhered them to the front of the card.


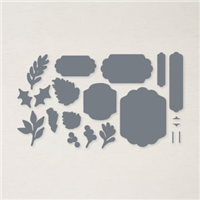
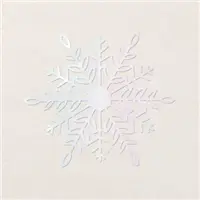
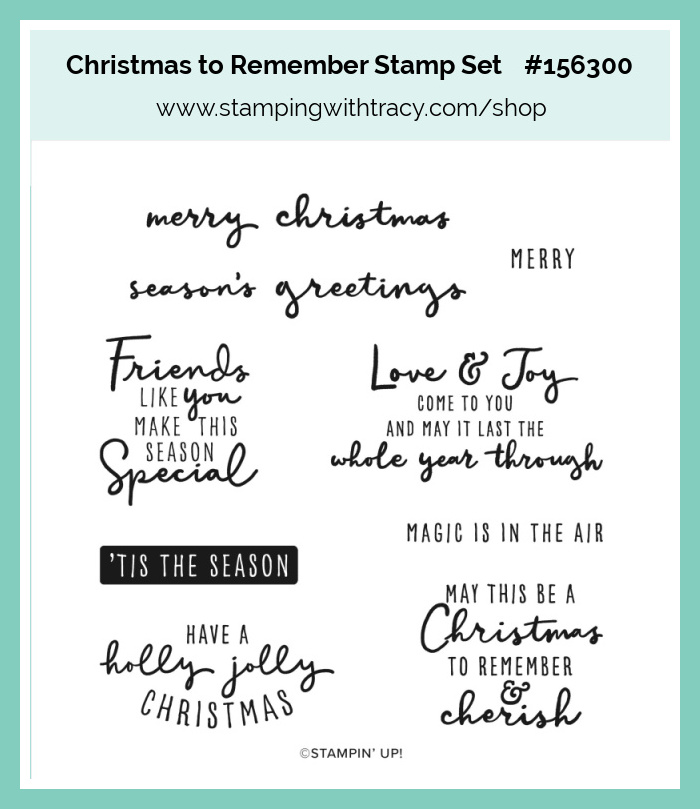
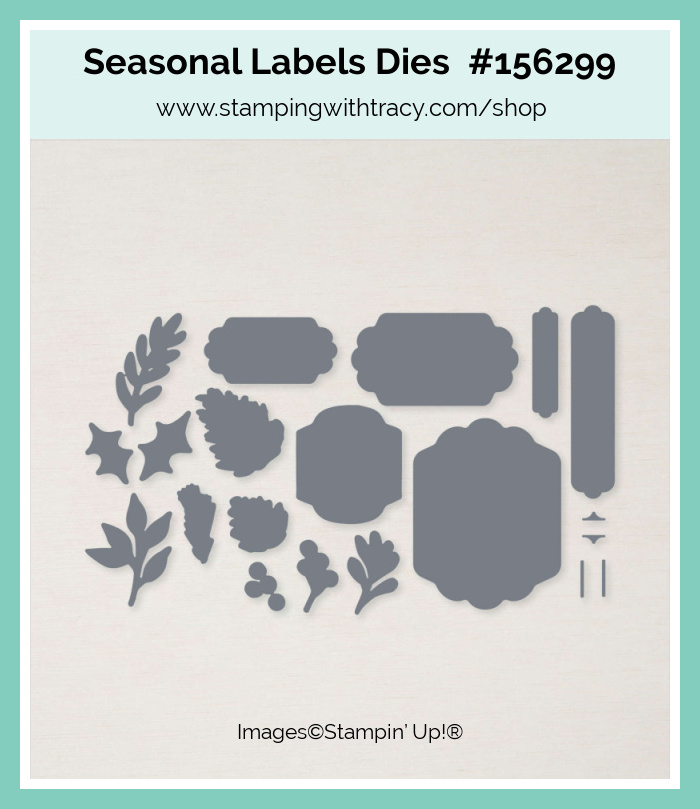
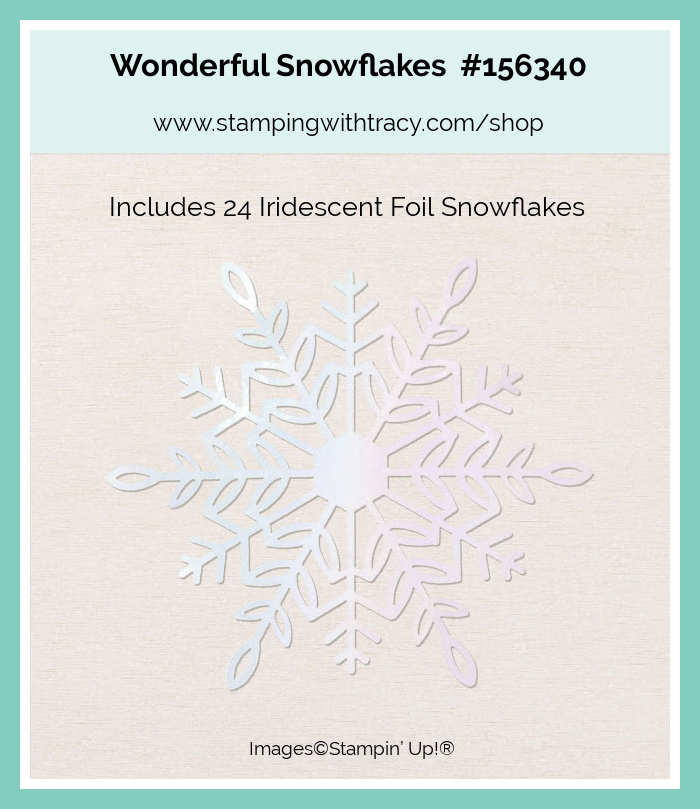
I used two snowflakes and placed a Stampin’ Dimensional on the back of each one and then placed them on top of the rectangles. Using the Seasonal Labels Dies, I cut a piece of Basic White cardstock and then stamped the sentiment using Evening Evergreen ink and the stamp set Christmas to Remember. I added Stampin’ Dimensionals to the back of the sentiment and adhered it to the front of the card.

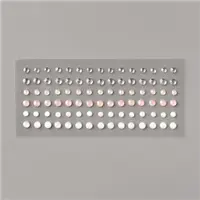
To complete the card, I added three Elegant Faceted Gems to the front and added a piece of Basic White cardstock to the inside.
Bundle Alerts – Save 10% with Bundles
The Christmas Season Bundle (#156801) includes the Seasonal Labels Dies and the stamp set Christmas Season.
The Christmas to Remember Bundle (#156806) includes the stamp set, Christmas to Remember and the Christmas Pinecone Dies.
Supply List
Below you’ll find all the Stampin’ Up! supplies I used for today’s card. If you need any stamping supplies, I’d love to be your demonstrator! You can place an order by clicking any of the images below to go to my Stampin’ Up! online store.
The Specialty Plate is used with 3D Embossing Folders.
Measurements
- Early Espresso cardstock: 11” x 4-1/4” score at 5-1/2”
- Basic White cardstock: (2) 5-1/4″ x 4″
- Basic White cardstock (sentiment): approx. 4-1/8″ x 1-1/8
- Evening Evergreen cardstock: 5″ x 3-3/4″
- Painted Christmas Designer Series Paper: (3) approx. 3-1/2″ x 1-3/8″
Words of Cheer Card Sampler


Place a minimum $50 order at my Stampin’ Up! Online Store using the host code WDQ6WW6N and I’ll send you my Words of Cheer Card Sampler. Orders must be placed by October 26, 2021 and the Card Samplers will be mailed on November 4, 2021. For all the details, please click HERE.

November Paper Pumpkin

Gifts Galore Paper Pumpkin Kit
- Kit contains enough supplies to create nine treat packages—three each of three designs—and nine food-safe bags.
- This all-inclusive kit includes printed die cuts, die-cut boxes, cellophane treat bags, adhesive, and more!
- Includes an exclusive stamp set and a Classic Stampin’ Spot
- Coordinating colors: Evening Evergreen, Flirty Flamingo, Old Olive, Pool Party, Poppy Parade
- Subscribe by November 10, 2021
Click here to order Paper Pumpkin
You can cancel at any time or even skip a month
Have a wonderful day!
by Tracy | Oct 19, 2021 | Designer Series Paper, Die-Cutting, Embossing Folders, Fun Fold Card
I have a card to share with you today but first I want to let you know about a sale that’s coming on Wednesday! For 24 hours ONLY, Stampin’ Up! will have a select group of cling stamp sets 15% off!

This is the biggest stamp sale of the year and it begins tomorrow, October 20th at 12:00 am (Mountain Time) and will end on Wednesday at 11:50 pm (Mountain Time). I have a flyer listing every single CLING stamp set on sale which you can access HERE (or click below). Start those lists!! (This sale does not apply to photopolymer stamp sets).
Click here for the list of all the stamp sets that will be on sale on Wednesday, October 10, 2021!
On the day of the sale, Stampin’ Up! will have a “Stamp Sale” category in the online store listing every stamp set on sale to make shopping easier. The list of stamp sets on sale given to demonstrators is not in alphabetical order (and I wish it was!!!). If you need help knowing if your favorites are on sale, just email me and I’d be happy to help you out (look for “Email Me” on the sidebar.
My Words of Cheer Card Sampler will be debuting tomorrow too!
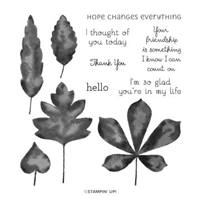
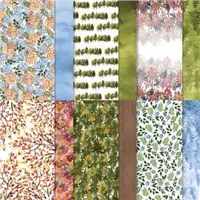
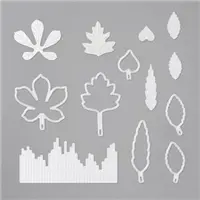
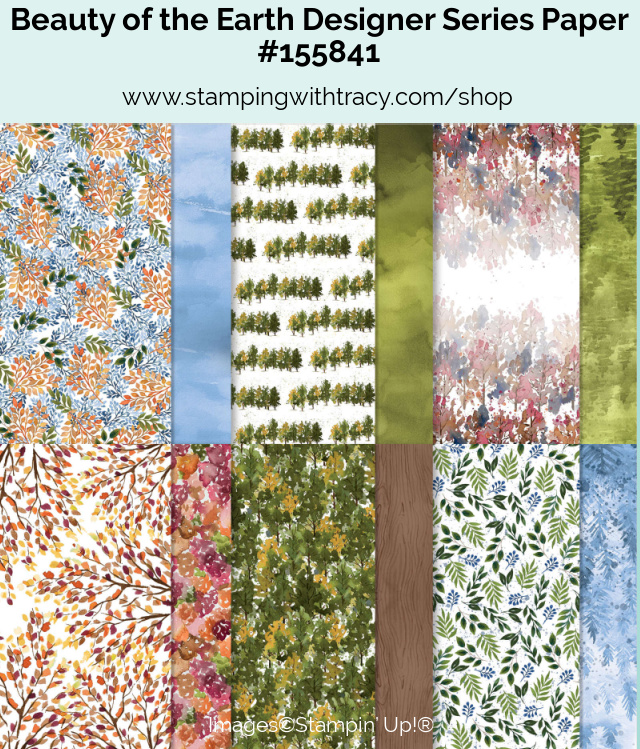
Today’s card is a fun fold and it features the Stitched Leaves Dies, Love of Leaves stamp set,Timber 3D Embossing Folder and Beauty of the Earth Designer Series Paper. This card was one of the cards featured in my recent Love of Leaves Card Sampler.

I started with a piece of Mossy Meadow cardstock and scored it in two places to create the fun fold (you’ll find the measurements below the Supply List). I then adhered a piece of Basic White cardstock to the inside of the card. Next, I layered a piece of Cajun Craze cardstock and Beauty of the Earth Designer Series Paper together and adhered them to the panel on the left front.

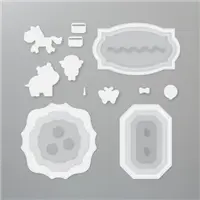
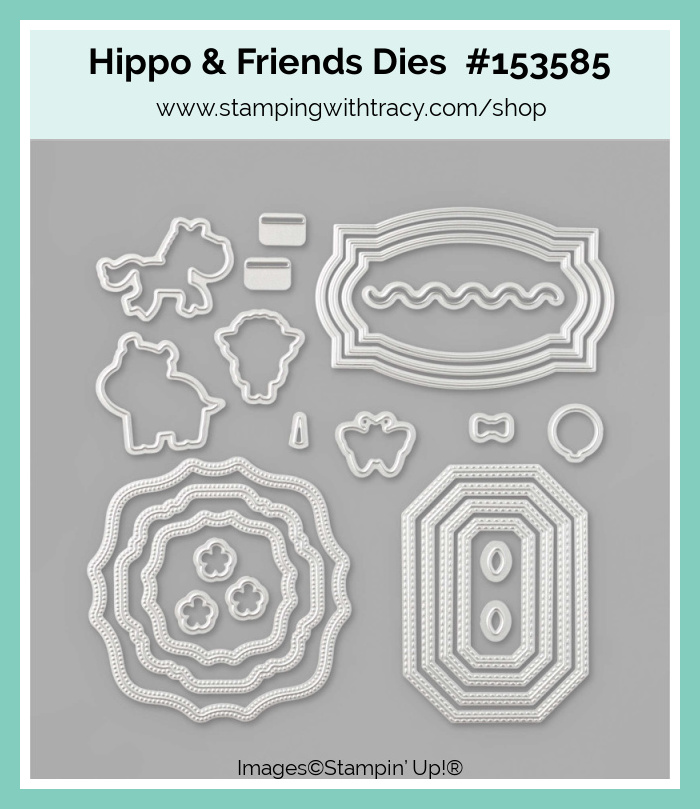
Next, I embossed a piece of Basic White cardstock using the Timber 3D Embossing Folder and adhered it to the front/middle section of the card. I used the Hippo & Friends Dies to cut a shape out of a piece of Basic White cardstock and a larger one out of Cajun Craze cardstock. I stamped the sentiment in Cajun Craze ink over to the right of the Basic White shape and then adhered it to the Cajun Craze cardstock. On the back, I added Stampin’ Dimensionals to the left side only and adhered it to the front of the card. This creates a flap and the left side of the card will tuck under it.

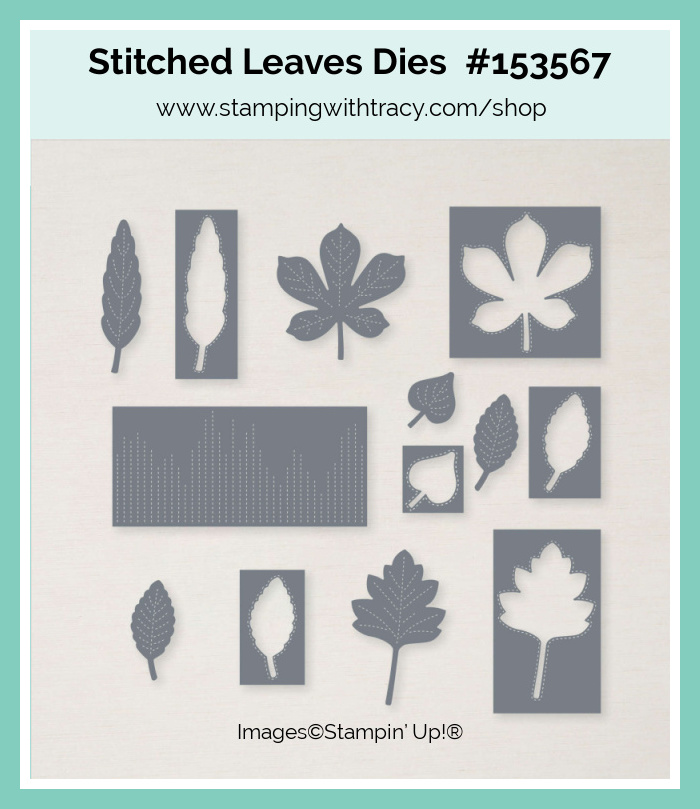
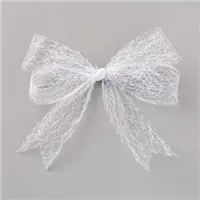
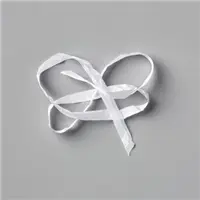
Using the Stitched Leaves Dies, I cut a leaf out of Mossy Meadow cardstock and another out of Cajun Craze cardstock. I adhered the Cajun Craze leaf to the sentiment piece using Multipurpose Glue and then added a Stampin’ Dimensional to the back of the Mossy Meadow leaf and placed it beside the other leaf. I made a bow using the Crinkled Seam Binding Ribbon and attached it between the two leaves using a Mini Glue Dot (or you could use a tiny amount of Multipurpose Glue).
Supply List
Below you’ll find all the Stampin’ Up! supplies I used for today’s card. If you need any stamping supplies, I’d love to be your demonstrator! You can place an order by clicking any of the images below to go to my Stampin’ Up! online store.
The Specialty Plate is used with 3D Embossing Folders.
Measurements
- Mossy Meadow cardstock: 11″ x 5-1/2″ score on the 11″ side at 2-3/4″ & 7″
- Mossy Meadow cardstock: scrap for leaf
- Cajun Craze cardstock (front left panel): 5-1/4″ x 2-1/2″
- Cajun Craze cardstock (die cut piece under sentiment): approx 3-1/2″ x 2-1/2″
- Cajun Craze cardstock: scrap for leaf
- Basic White cardstock (inside card): 5-1/4″ x 4″
- Basic White cardstock (front/middle panel): 5-1/4″ X 3-3/4″
- Basic White cardstock (sentiment): approx. 3″ x 2″
- Beauty of the Earth Designer Series Paper: 5″ x 2-1/4″
- Crinkled Seam Binding: approx. 8″


November Paper Pumpkin

Gifts Galore Paper Pumpkin Kit
- Kit contains enough supplies to create nine treat packages—three each of three designs—and nine food-safe bags.
- This all-inclusive kit includes printed die cuts, die-cut boxes, cellophane treat bags, adhesive, and more!
- Includes an exclusive stamp set and a Classic Stampin’ Spot
- Coordinating colors: Evening Evergreen, Flirty Flamingo, Old Olive, Pool Party, Poppy Parade
- Subscribe by November 10, 2021
Click here to order Paper Pumpkin
You can cancel at any time or even skip a month
Have a wonderful day!
by Tracy | Oct 15, 2021 | Designer Series Paper, Die-Cutting, Free Tutorial

Can you believe it’s already Friday? It’s time for weekend plans!
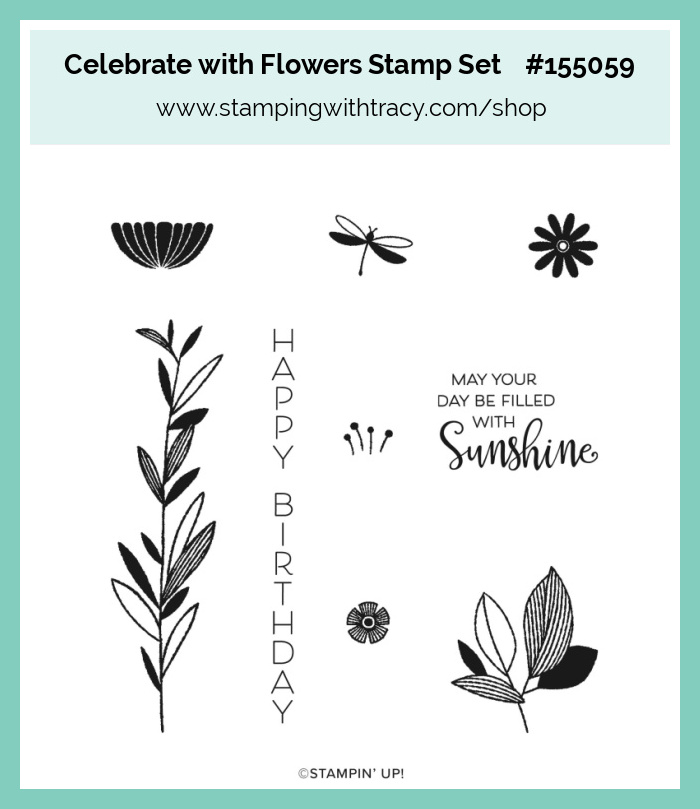
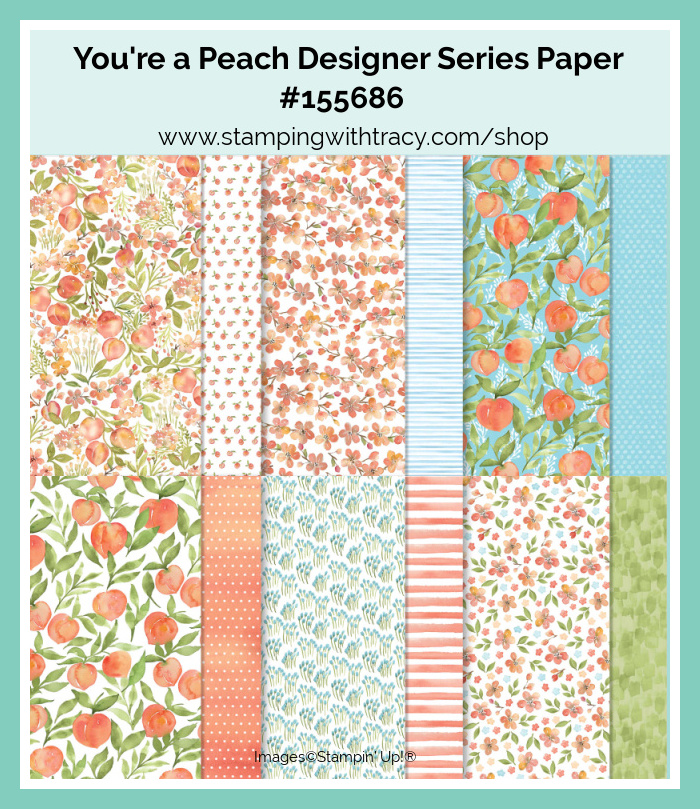
Today’s Friday tutorial features Stampin’ Up! You’re a Peach Designer Series Paper (you’ll use your scraps), the stamp set, Celebrate with Flowers, and the Hippo & Friends Dies. If this card looks like it’s difficult to make, it really isn’t and it’s a great way to use up all those scraps we all have lying around! You can find your free tutorial below the Supply List.


Supply List
Below you’ll find all the Stampin’ Up! supplies I used for today’s card. If you need any stamping supplies, I’d love to be your demonstrator! You can place an order by clicking any of the images below to go to my Stampin’ Up! online store.
Please note: In the tutorial, I mention that you’ll need a strong adhesive so I’ve included three different options in the Supply List.

Paper Pumpkin

Gifts Galore Paper Pumpkin Kit
- Kit contains enough supplies to create nine treat packages—three each of three designs—and nine food-safe bags.
- This all-inclusive kit includes printed die cuts, die-cut boxes, cellophane treat bags, adhesive, and more!
- Includes an exclusive stamp set and a Classic Stampin’ Spot
- Coordinating colors: Evening Evergreen, Flirty Flamingo, Old Olive, Pool Party, Poppy Parade
- Subscribe by November 10, 2021
Click here to order Paper Pumpkin
You can cancel at any time or even skip a month


Have a wonderful weekend!


