by Tracy | Sep 9, 2021 | Designer Series Paper, Die-Cutting, Embossing Folders
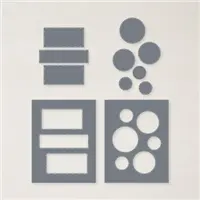
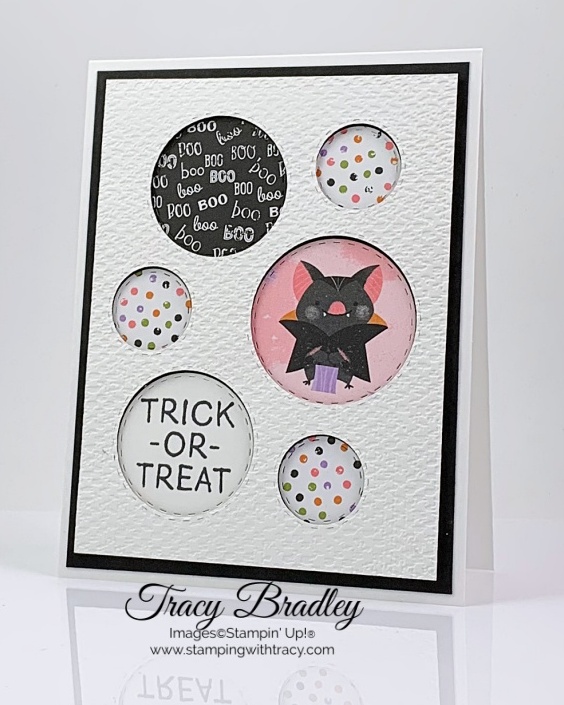
Today’s card features Stampin’ Up! Picture This Dies, the Little Delights stamp set and Cute Halloween 6″ x 6″ Designer Series Paper.
 ‘
‘
I started with a base of Thick Basic White cardstock and then added a layer of Basic Black cardstock. Then I used one of the Picture This Dies to cut a piece of Basic White cardstock using the Cut & Emboss Machine. Not only do you have the circles cut out of your paper but you also have six stitched circles to use or save for another time (I saved one of them for the sentiment). I then placed this same piece inside the Tasteful Textile 3D Embossing Folder and ran it through the Cut & Emboss Machine.

I used the Picture This Die to then cut my various circles out of Cute Halloween Designer Series Paper. I used one of the precut stitched circles to stamp the sentiment using Memento Ink and the stamp set, Little Delights. I placed the embossed piece on top of the card front to use as a template and just kept it in place with one hand. I added adhesive to each circle and then pushed them through the holes so the placement would be exactly where I wanted.


I carefully lifted the template off, added quite a few Stampin’ Dimensonals to the back and then placed it on the front of the card. Imagine the possibilities with this die!
Supply List
Below you’ll find all the Stampin’ Up! supplies I used for today’s card. If you need any stamping supplies, I’d love to be your demonstrator! You can place an order by clicking any of the images below to go to my Stampin’ Up! online store.
The Specialty Plate is used with 3D Embossing Folders.
Measurements
- Thick Basic White cardstock: 11″ x 4-1/4″ OR 8-1/2″ x 5-1/2″
- Basic Black cardstock: 5-1/4″ x 4″
- Basic White cardstock: 5″ x 3-3/4″
- Cute Halloween 6″ x 6″ Designer Series Paper: various circle sizes


Thanks for stopping by!
by Tracy | Sep 8, 2021 | Die-Cutting, Scalloped Contours Dies, Stampin' Blends
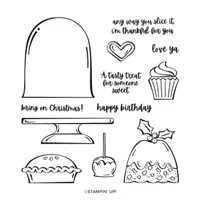
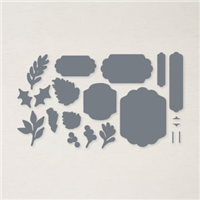
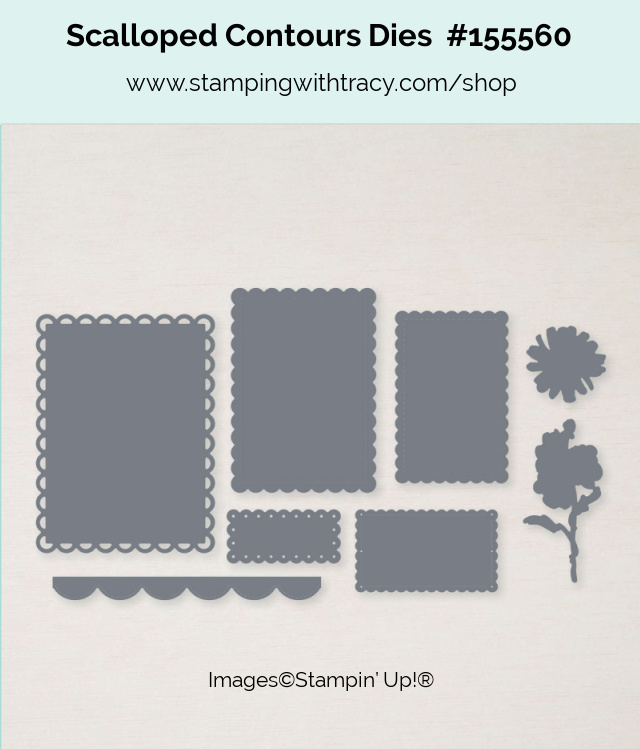
Today’s card features the Sweets & Treats stamp set and the Scalloped Contours Dies. These dies have been on backorder for several months but are available again as well as the Color & Contour Bundle which includes the Color & Contour stamp set and the Scalloped Contours Dies.
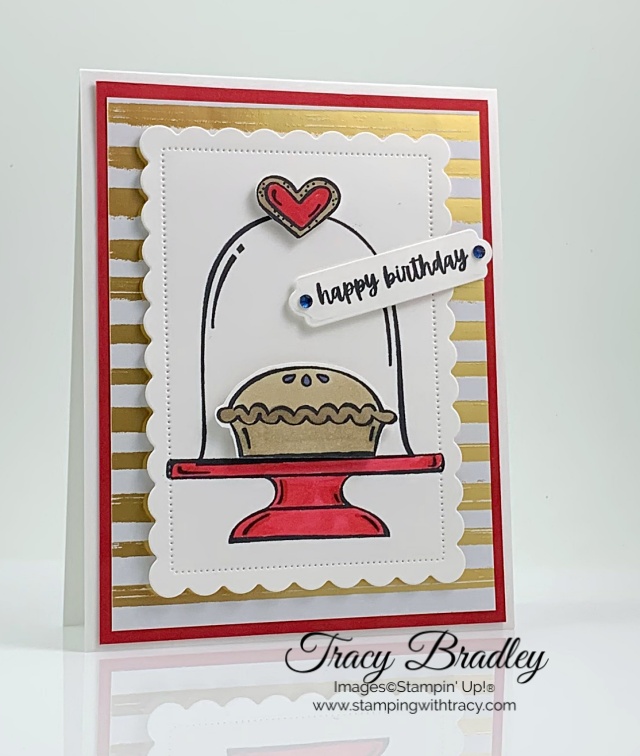
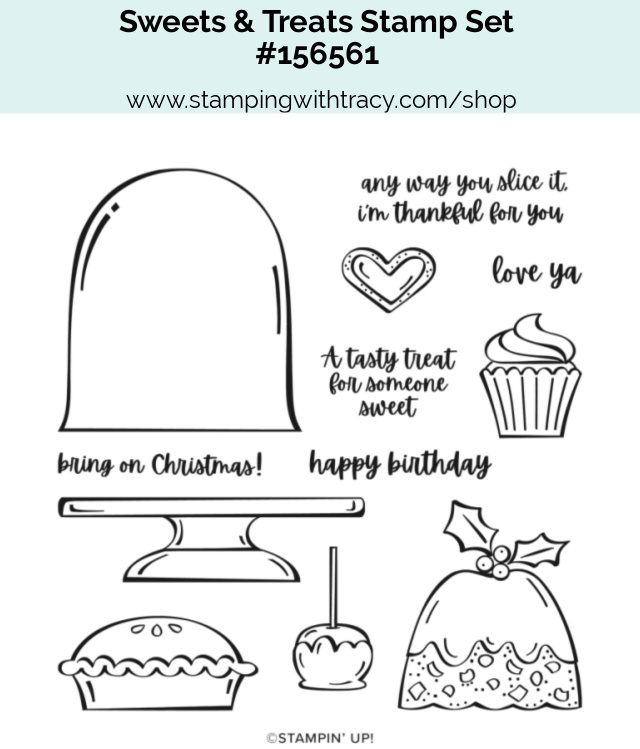
I started with a base of Thick Basic White cardstock and then added a layer of Real Red cardstock along with a piece of Expressions in Ink Designer Series Paper. Then I used the Scalloped Contours Dies to cut a piece of Basic White cardstock. Onto the rectangle, I used Memento ink to stamp the pie stand using the stamp set, Sweets & Treats. Then I stamped the pie cover. I colored the pie stand using Real Red Stampin’ Blends.

On another piece of Basic White cardstock, I stamped the pie and heart. I colored the pie using Crumb Cake & Misty Moonlight Stampin’ Blends (my husband loves blueberry pie so I made my pie, blueberry). I used Crumb Cake & Real Red Stampin’ Blends to color the heart. I fussy cut each one out and then adhered them to the card using Stampin’ Dimensionals. If I make the card again, I won’t use Stampin’ Dimensionals on the back of the pie but use regular adhesive instead.

I stamped the sentiment onto Basic White cardstock in Memento Ink using the stamp set, Sweets & Treats. It was cut out using the Seasonal Labels Dies (a new set of dies in the Mini Catalog). I added Stampin’ Dimensionals to the back and adhered it to the card front. To complete the card, I added two Night of Navy Holiday Rhinestones, to each end of the sentiment.

Supply List
Below you’ll find all the Stampin’ Up! supplies I used for today’s card. If you need any stamping supplies, I’d love to be your demonstrator! You can place an order by clicking any of the images below to go to my Stampin’ Up! online store.
Measurements
- Thick Basic White cardstock: 11″ x 4-1/4″ or 8-1/2″ x 5-1/2″
- Real Red cardstock: 5-1/4″ x 4″
- Expressions in Ink Designer Series Paper: 5″ x 3-3/4″
- Basic White cardstock (scalloped rectangle): approx. 4-3/4″ x 3-3/8″
- Basic White cardstock: scrap for sentiment
- Basic White cardstock: scrap for pie
- Basic White cardstock: scrap for heart
September Paper Pumpkin
The last day to sign up for the September Paper Pumpkin is this Friday, September 10th.
Haunts & Harvest Paper Pumpkin Kit
- Kit contains enough supplies to create 12 treat packages—4 each of 3 designs. The all-inclusive kit includes printed die-cut boxes, die-cut sheets, adhesive, and more!
- Finished treat box size: 2-1/2″ x 2″
- Includes an exclusive stamp set and a Classic Stampin’ Spot
- Coordinating colors: Basic Black, Pale Papaya, Poppy Parade, Pumpkin Pie, Soft Succulent
Click here to subscribe today
You can cancel at any time or even skip a month

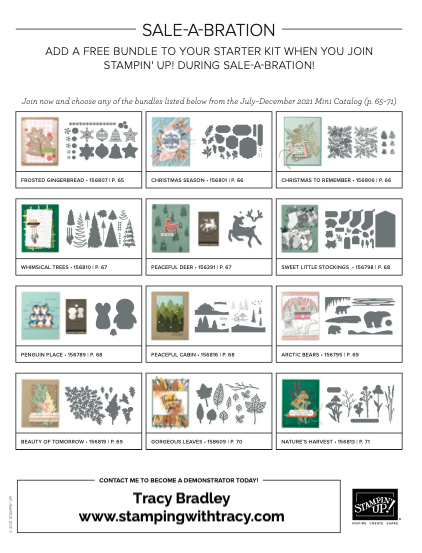
Sale-a-Bration Special – Good Until September 30th
During Sale-a-Bration, choose one of twelve bundles to add to your Starter Kit, absolutely FREE! If you’re planning to make a $99 Stampin’ Up! purchase, you may want to consider the Starter Kit. When you purchase the $99 Starter Kit you can then choose $125 worth of Stampin’ Up! product from any current catalog PLUS, during Sale-a-Bration you can choose a FREE bundle from those listed above. The Starter Kit always ships FREE and once you purchase it you will start receiving a 20% discount on your future Stampin’ Up! purchases. You can purchase just for yourself or start your own business, it’s totally up to you. Purchasing the Starter Kit is absolutely risk free! If you’d like more information, please click here. If you’re ready right now to purchase the Starter Kit, click here! As always, if you have questions, don’t hesitate to contact me! Click the image below to download the flyer with all the bundle choices.

Have a wonderful day!
by Tracy | Sep 7, 2021 | Designer Series Paper, Die-Cutting, Embossing Folders, Stampin' Cut & Emboss Machine
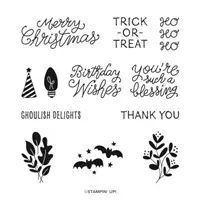
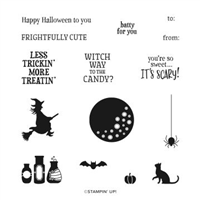
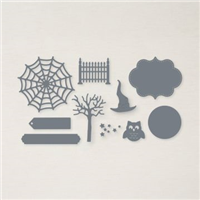
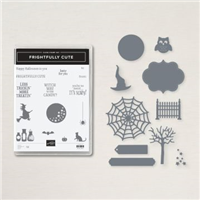
Today’s card features Stampin’ Up! Cute Halloween 6″ x 6″ Designer Series Paper and this paper is just as the name implies, CUTE! I also used the Frightfully Cute Bundle which includes the Frightfully Cute Stamp Set and the Frightful Tags Dies.


I started with a base of Basic Black cardstock and then added a layer of Basic White cardstock that I ran through the Tasteful Textile 3D Embossing Folder (you can find all the measurements I used below the Supply List). Next I made a banner using the Cute Halloween Designer Series Paper and adhered it to the card front (to make a banner, at the bottom of your paper, in the middle, make a small cut up the center; then cut from each corner to the middle).


Then I layered a piece of the Cute Halloween Designer Series Paper onto a piece of Basic Black cardstock. I added Stampin’ Dimensionals to the back before adhering it to the front of the card. The sentiment was stamped in Memento ink using the stamp set, Frightfully Cute onto a piece of Basic White cardstock that was cut out using the Frightful Tags Dies. I added Stampin’ Dimensionals to the upper half of the sentiment. I had planned to place the sentiment a bit higher on the Designer Series Paper but I didn’t want to cover up any of the cute bats so I placed it where you could still see the upside down bat.
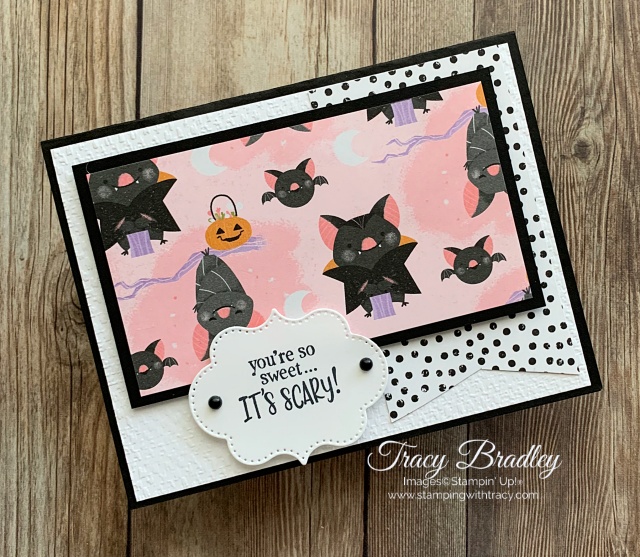
To complete the card, I added two Matte Black Dots on either side of the sentiment.
Supply List
Below you’ll find all the Stampin’ Up! supplies I used for today’s card. If you need any stamping supplies, I’d love to be your demonstrator! You can place an order by clicking any of the images below to go to my Stampin’ Up! online store.
The Specialty Plate is used with 3D Embossing Folders.
Measurements
- Basic Black cardstock: 8-1/2″ x 5-1/2″
- Basic Black cardstock: 4-3/4″ x 2-3/4″
- Cute Halloween 6″ x 6″ Designer Series Paper (bats): 4-1/2″ x 2-1/2″
- Cute Halloween 6″ x 6″ Designer Series Paper (dots): 3-7/8″ x 2-1/4″
- Basic White cardstock: (2) 5-1/4″ x 4″ (one is for the inside of the card)
- Basic White cardstock: scrap for sentiment

Enjoy your day!
by Tracy | Sep 3, 2021 | Bundle, Designer Series Paper, Die-Cutting

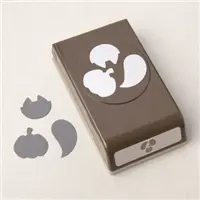
Today’s card features Stampin’ Up! Cute Halloween 6″ x 6″ Designer Series Paper and the Cutest Halloween Bundle which includes the Cutest Halloween Stamp Set and the Halloween Punch. Unfortunately, overnight, the bundle and punch went into backorder** status (the stamp set is not on backorder) but for this project, it’s very easy to fussy cut the pumpkins and cat (these shapes were cut directly out of the Cute Halloween Designer Series Paper). I don’t love fussy cutting but these shapes are easy to cut out. You can access my free tutorial for this card below the Supply List!
** When an item is in backorder status, you can still add it to your cart. The rest of your order will ship as usual and when the backordered item is back in stock, Stampin’ Up! will ship it separately to you. The Cutest Halloween Bundle is estimated to be back in stock the week of November 1st.


Supply List
Below you’ll find all the Stampin’ Up! supplies I used for today’s card. If you need any stamping supplies, I’d love to be your demonstrator! You can place an order by clicking any of the images below to go to my Stampin’ Up! online store.


Enjoy your weekend!
by Tracy | Aug 31, 2021 | Designer Series Paper, Die-Cutting, Embossing Folders
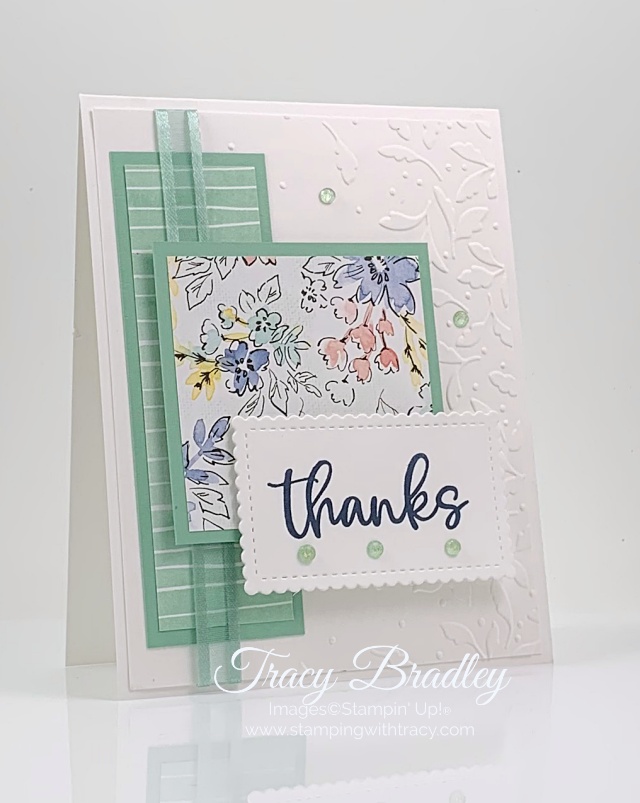
I think at one time or another we’ve all been stuck and don’t know what to create. The best place to look is the Stampin’ Up! catalog as it’s filled with so many ideas! The inspiration for today’s card came directly from the catalog (page 25 in the Annual Catalog)!

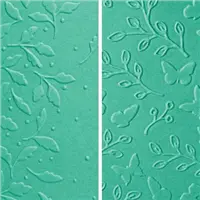
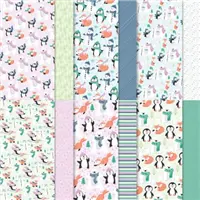
I started with a base of Fresh Freesia cardstock and then added a layer of Pansy Petals Designer Series Paper. Next, I added a layer of Vellum cardstock but before adding it to the card, I placed it inside one of the Meadow Moments Embossing Folders and ran it through the Stampin’ Cut & Emboss Machine. To adhere it to the front of the card, I placed Mini Glue Dots in the middle where I knew they would be covered up.

I used the Painted Labels Dies to cut the shape I used in the center of the card out of Pansy Petals Designer Series Paper. I added Stampin’ Dimensionals to the back and adhered it to the front of the card.


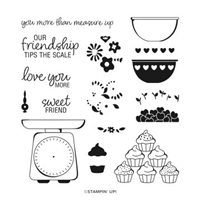
The sentiment piece was cut out of Basic White cardstock using the Tasteful Labels Dies. I used the stamp set Measure of Love to stamp the sentiment in Evening Evergreen ink. I added Stampin’ Dimensionals to the back and placed it on the Painted Labels shape.


Supply List
Measurements
- Fresh Freesia cardstock: 11″ x 4-1/4″ or 8-1/2″ x 5-1/2″
- Pansy Petals Designer Series Paper: 5″ x 3-3/4″
- Pansy Petals Designer Series Paper: approx. 3″ x 3″
- Vellum Cardstock: 4-1/2″ x 3-1/4″
- Basic White cardstock: scrap for sentiment
- Basic White cardstock (inside card): 5-1/4″ x 4″
Earn one of the items below with every $50 purchase
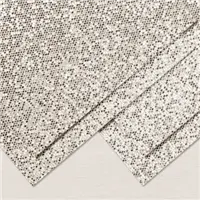
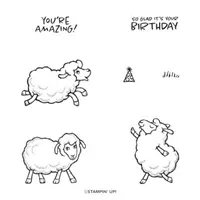
During this round of Sale-a-Bration, some products are only available while supplies last. In the $50 category the products are: Be Dazzling 6″ x 6″ Specialty Paper and the Sheep Dies.
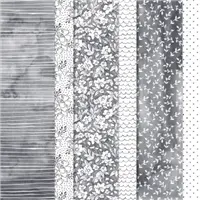
Peaceful Prints Specialty Designer Series Paper is currently on backorder but as of right now, you can still add it to your cart. The rest of your items will ship without the paper but once it’s in stock, Stampin’ Up! will ship it to you separately. It’s estimated to be back in stock next week.
Earn one of the items below with every $100 Purchase
During this round of Sale-a-Bration, some products are only available while supplies last. In the $100 category the product is: Summer Shadows Dies.
Haunts & Harvest Paper Pumpkin Kit
- Kit contains enough supplies to create 12 treat packages—4 each of 3 designs. The all-inclusive kit includes printed die-cut boxes, die-cut sheets, adhesive, and more!
- Finished treat box size: 2-1/2″ x 2″
- Includes an exclusive stamp set and a Classic Stampin’ Spot
- Coordinating colors: Basic Black, Pale Papaya, Poppy Parade, Pumpkin Pie, Soft Succulent
Click here to subscribe today
You can cancel at any time or even skip a month
Thanks for stopping by today!
by Tracy | Aug 27, 2021 | Designer Series Paper, Die-Cutting, Embossing Folders, Free Tutorial
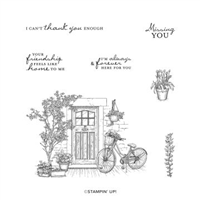
Today’s card features Hand-Penned Designer Series Paper (currently on the Low Inventory list and could go into backorder status), one of the Meadow Moments Embossing Folders and our Stitched So Sweetly Dies. I made this card as part of a challenge and it went a little bit out of my comfort zone because of the different layers. When I completed the card, I was happy with it and made it my FREE PDF Tutorial. You can access the tutorial below the Supply List.

Supply List
Below you’ll find all the Stampin’ Up! supplies I used for today’s card. If you need any stamping supplies, I’d love to be your demonstrator! You can place an order by clicking any of the images below to go to my Stampin’ Up! online store.
Fun Folds Card Sampler

My Card Samplers give you the chance to “sample” different products. You are able to see our Designer Series Paper, cardstock, embossed paper, die cuts and embellishments “in person” as you assemble the cards.
Place a minimum $50 order (before shipping/tax) at my Stampin’ Up! online store using the host code 6QQTDKMY and as a thank you, you’ll receive my Fun Folds Card Sampler which includes 6 card kits (2 each of three different designs) with envelopes and a PDF Tutorial with instructions, pictures and a supply list. You’ll receive all the paper and embellishments needed to make the cards and all the paper will be cut, scored and die cut for you (you’ll need to supply your own adhesive, ink and stamp set). If your order is $150 or more, please do not use the host code so you can earn Stampin’ Rewards (free product) directly from Stampin’ Up! After placing your order, please contact me to let me know you’d like the Fun Folds Card Sampler (you only need to contact me if your order is $150 or more). If I don’t hear from you, I’ll assume you’d like my regular card kits. The last day this offer will be available is Monday, August 30, 2021. For all the details, please click here.
You’ll also earn at least one Sale-a-Bration gift from Stampin’ Up!

Click here to place an order
If my Card Sampler doesn’t appeal to you, use the host code below to receive an extra card kit. All orders, $18.00 or more receive at least two of my card kits along with a PDF Tutorial. Click here for more information (please note: this is completely separate from my Card Sampler).

Enjoy your weekend!