by Tracy | Nov 23, 2021 | Designer Series Paper, Die-Cutting, Embossing Folders, Heat Embossing
Before sharing today’s card, Stampin’ Up! issued a statement today about backorders. You can read it below:
As you may have heard reported in the news, unprecedented shipping and logistics issues have resulted in a global supply chain crisis. This is affecting businesses world-wide and Stampin’ Up! is no exception. Due to extreme difficulties caused by these issues, starting 1 December 2021, Stampin’ Up! will no longer take orders for products that are not in stock. In other words, Stampin’ Up! will no longer accept backorders. This change will help to reduce frustrations from unpredictable product availability and allow you to order products that will be delivered right away, rather than products that may not be delivered for months. All current orders that include backordered product will still be fulfilled as soon as inventory becomes available
If you want to know the status of a product, you can use the online store to check product availability. If you’re looking for a specific item, enter it into the search box (item code is generally the most effective way to search). If the item is not available for order, you will see the product, but it will say that it is currently unavailable and there will be no ADD TO CART button.
If you have any questions, please don’t hesitate to contact me.
Today’s Card
I love taking a card design I’ve used before and changing it up with different paper and cardstock. If today’s card looks familiar it’s because I used this same design last week but it wasn’t holiday themed. You can see last week’s card here.

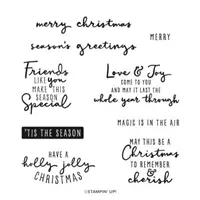
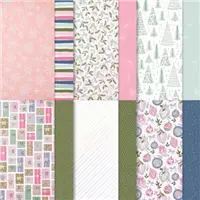
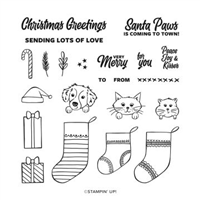
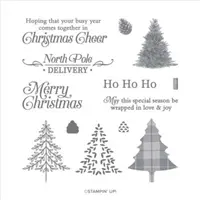
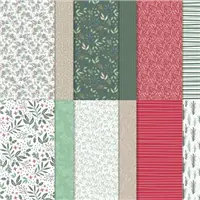
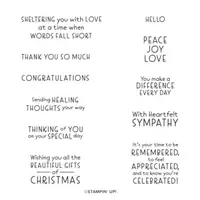
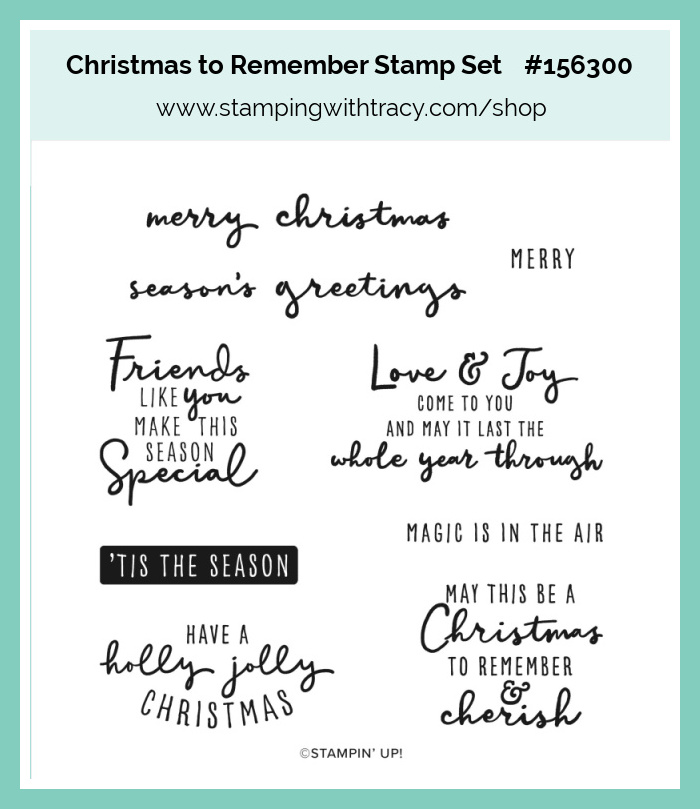
Today’s card features Whimsy & Wonder Designer Series Paper and the stamp set Christmas to Remember. I usually like making holiday cards with very traditional colors but I have to admit I’ve enjoyed using the colors in this Designer Series Paper!
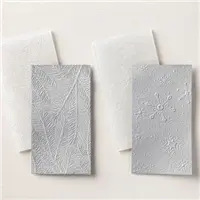
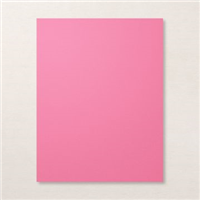
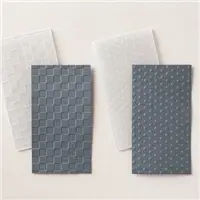
I started with a piece of Thick Basic White cardstock for the card base. Then I added a layer of Polished Pink and Mint Macaron cardstock (you can find all the measurements below). I embossed the Mint Macaron using one of the Wintry 3D Embossing Folders. The next layer is Polished Pink cardstock with Whimsy & Wonder Designer Series Paper.

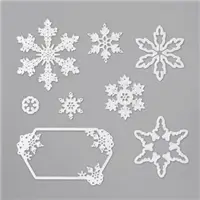
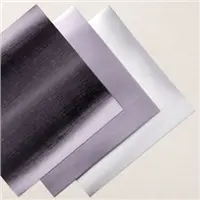
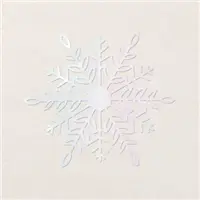
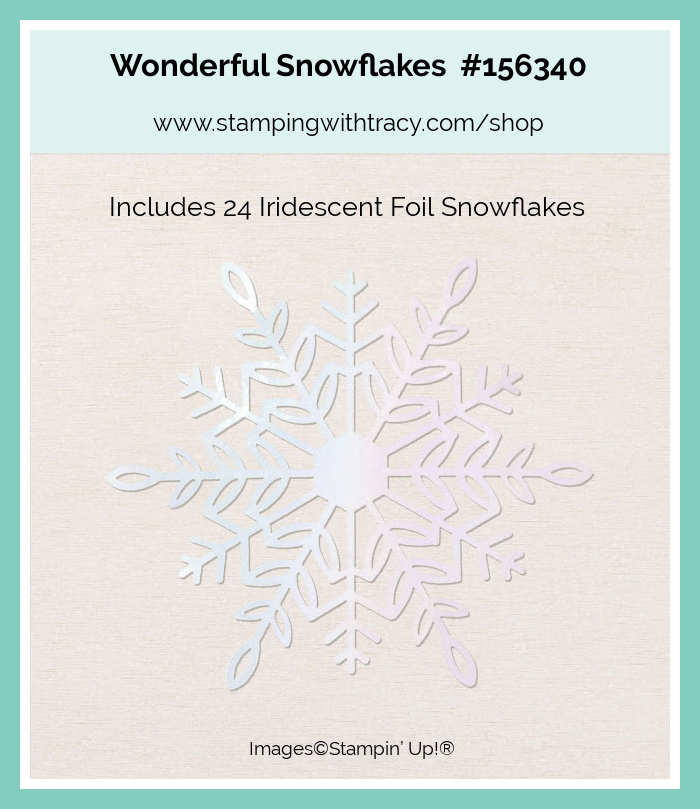
I heat embossed the sentiment onto Basic White cardstock using the stamp set Christmas to Remember (you can find the directions for heat embossing farther down in the post) and layered it onto another piece of Polished Pink cardstock. I added one Stampin’ Dimensional to the back of a Wonderful Snowflake and adhered it above the sentiment. The finishing touch was adding a silver snowflake to the center that was made using the So Many Snowflakes Dies and our Silver Foil.

How to Heat Emboss
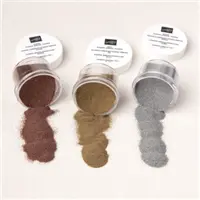
Prepare your cardstock by rubbing an anti-static pouch over the surface of the paper as it helps keep away stray particles of embossing powder (Stampin’ Up! no longer carries this product but it’s a must when embossing). Stamp your sentiment or image using a Versamark pad. This is very sticky ink and your embossing powder will stick right to it. Sprinkle embossing powder over the stamped image and then shake off any excess. Before applying heat to your paper, heat the Heat Tool first so the paper won’t warp (about 10 seconds). Direct the heat over your image and watch as your image is transformed!
Supply List
Below you’ll find all the Stampin’ Up! supplies I used for today’s card. If you need any stamping supplies, I’d love to be your demonstrator! You can place an order by clicking any of the images below to go to my Stampin’ Up! online store.
The Specialty Plate is used with 3D Embossing Folders.
Measurements
- Thick Basic White cardstock: 11″ x 4-1/4″ score at 5-1/2″ or 8-1/2″ x 5-1/2″ score at 4-1/4″ (the only difference is how the card opens)
- Polished Pink cardstock: 4-3/4″ x 2-1/4″
- Polished Pink cardstock: 3-1/2″ x 3-1/2″
- Polished Pink cardstock: 2-3/4″ x 1-3/4″
- Mint Macaron cardstock: 4-1/2″ x 2″
- Basic White cardstock: 2-1/2″ x 1-1/2″
- Whimsy & Wonder Designer Series Paper: 3-1/4″ x 3-1/4″
- Silver Foil: scrap for snowflake
PDF Store Coming Soon
I’ve been working on releasing my Card Sampler PDF Store and many of my past Card Sampler PDF Tutorials will be available for purchase (this is just the PDF Tutorial, not the precut cardstock). The price of each tutorial will be dependent on the number of pages so they will vary from $7.00-$10.00. To kick it off, each tutorial will be on sale for $5.95 from November 26 – 29. My PDF’s will be available to everyone, regardless of which country you reside in and I’ll be using PayPal for payment. Check back on November 26th for all the details!

Starter Kit Promotion Coming to an End
Stampin’ Up! has lowered the Starter Kit to $75 for the month of November (it’s normally $99 and there’s just a few days left! When you purchase the Starter Kit you’ll choose $125 worth of Stampin’ Up! product – that’s $50 in free Stampin’ Up! product!!! Then you’ll enjoy the perks of being a demonstrator with access to products early, a discount on all your purchases (think of it as a discount card to your favorite place to shop) and so much more. You never have to run a class or sell to others but you certainly have that option if you’d like to start your own business. If you have questions, please ask! For more information, click here. If you’re ready to purchase the Starter Kit, click here!

Enjoy your day!
by Tracy | Nov 22, 2021 | Card Sampler, Designer Series Paper, Die-Cutting, Embossing Folders, Heat Embossing
I’ve extended my Ever Eden Card Sampler one more day!
Place a minimum $50 order (before tax/shipping) at my Stampin’ Up! Online Store using my special host code XC6U7GD4 and I’ll send you my Ever Eden Card Sampler. Orders must be placed by the end of today, November 22, 2021 and the Card Samplers will be mailed on December 1, 2021. Please click HERE for all the details.

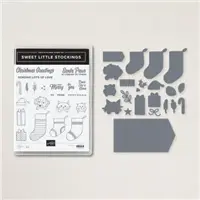
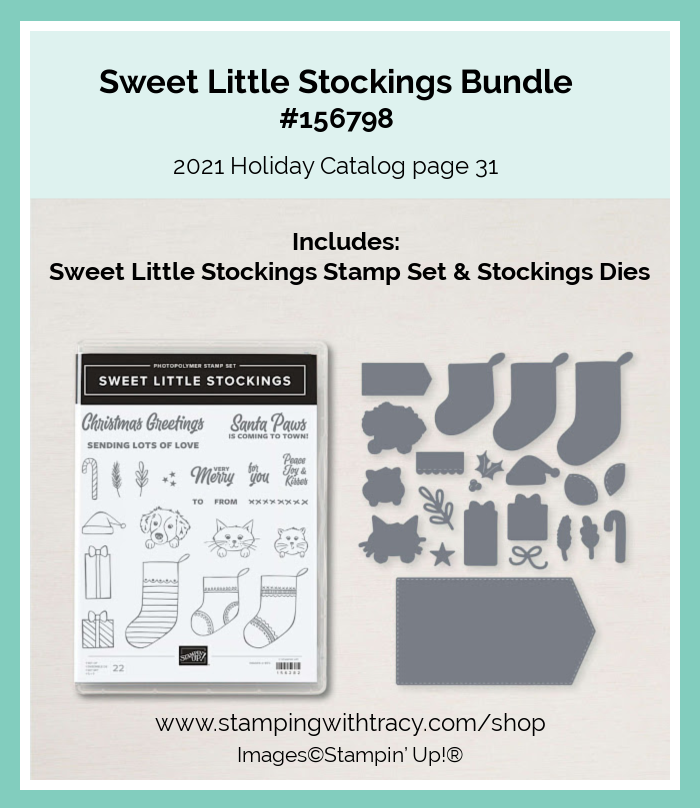
Today’s card features the super cute Sweet Little Stockings Bundle (when you purchase a bundle, you save 10%) which includes the Sweet Little Stockings stamp set and the Stockings Dies.

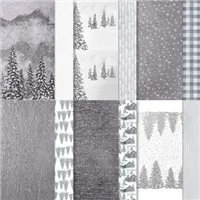
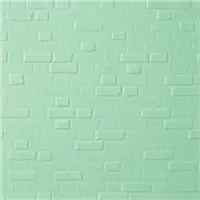
I started with a piece of Thick Basic White cardstock for the card base. Then I added a piece of Basic Gray cardstock layered with a piece of Peaceful Place Designer Series Paper. I added another layer of Basic Gray cardstock with a piece of Basic White cardstock that I embossed with the Brick & Mortar 3D Embossing Folder.


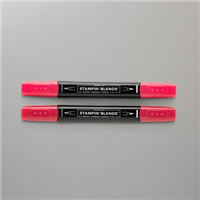
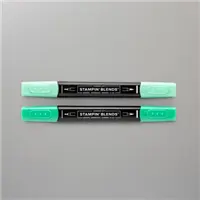
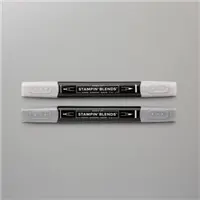
I used the Stockings Dies to cut two stockings out of Peaceful Place Designer Series Paper and used Basic White cardstock for the top of the stockings. I stamped the kitty, presents and candy cane in Memento Ink and then colored them using these Stampin’ Blends: Smoky Slate, Real Red and Shaded Spruce. I then cut them out using the Stockings Dies.

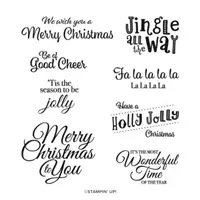
I glued the bottom half of the kitty to one stocking and then added glue to the front of the presents and candy cane and placed them so they look like they are tucked into the stocking. I added glue to each stocking and adhered them to the front of the card. When I was making the card, I went back and forth as to whether to adhere them using Stampin’ Dimensionals and I think next time, I will. I heat embossed (see the directions below for heat embossing) the sentiment onto Basic White cardstock using Versamark ink and the stamp set Holly Jolly Wishes and then cut it out using the Tasteful Labels Dies. I added Stampin’ Dimensionals to the back and placed it on the card. You can find the measurements I used below the Supply List.
How to Heat Emboss
Prepare your cardstock by rubbing an anti-static pouch over the surface of the paper as it helps keep away stray particles of embossing powder (Stampin’ Up! no longer carries this product but it’s a must when embossing). Stamp your sentiment or image using a Versamark pad. This is very sticky ink and your embossing powder will stick right to it. Sprinkle embossing powder over the stamped image and then shake off any excess. Before applying heat to your paper, heat the Heat Tool first so the paper won’t warp (about 10 seconds). Direct the heat over your image and watch as your image is transformed!
Supply List
Below you’ll find all the Stampin’ Up! supplies I used for today’s card. If you need any stamping supplies, I’d love to be your demonstrator! You can place an order by clicking any of the images below to go to my Stampin’ Up! online store.
The Specialty Plate is used with 3D Embossing Folders.
Measurements
- Thick Basic White cardstock: 11″ x 4 -1/4″
- Basic White cardstock: 3-3/4″ x 3″
- Basic White cardstock: scrap for sentiment
- Basic White cardstock: scraps for kitty, present, candy cane and tops of stockings
- Basic Gray cardstock: 5-1/4″ x 4″
- Basic Gray cardstock: 4″ x 3-1/4″
- Peaceful Place Designer Series Paper: 5″ x 3-3/4″
- Peaceful Place Designer Series Paper: scraps for stockings
Card Sampler PDF Tutorial Sale
I’ve been working on releasing my Card Sampler PDF Store and many of my past Card Sampler PDF Tutorials will be available for purchase. The price of each tutorial will be dependent on the number of pages so they will vary from $7.00-$10.00. To kick it off, each tutorial will be on sale for $5.95 from November 26 – 29. My PDF’s will be available to everyone, regardless of which country you reside in and I’ll be using PayPal for payment. Check back on November 26th for all the details!

Have a great day!
by Tracy | Nov 19, 2021 | Card Sampler, Designer Series Paper, Die-Cutting, Embossing Folders, Free Tutorial, Uncategorized

Today’s Free Friday Tutorial features Tidings of Christmas Designer Series Paper, the stamp set, Perfectly Plaid, and the Pine Tree Punch. Tidings of Christmas 6″ x 6″ Designer Series Paper is currently on the Low Inventory List so if you think you’d like a pack, I recommend grabbing a package now (Peaceful Place 12″ x 12″ Designer Series Paper is also on the Low Inventory List)! You can access your free tutorial below the Supply List.


Supply List
Below you’ll find all the Stampin’ Up! supplies I used for today’s card. If you need any stamping supplies, I’d love to be your demonstrator! You can place an order by clicking any of the images below to go to my Stampin’ Up! online store.

Ever Eden Card Sampler

Place a minimum $50 order (before tax/shipping) at my Stampin’ Up! Online Store using my special host code XC6U7GD4 and I’ll send you my Ever Eden Card Sampler. Orders must be placed by Sunday, November 21, 2021 and the Card Samplers will be mailed on December 1, 2021. Please click HERE for all the details.

Starter Kit Promotion

Stampin’ Up! has lowered the Starter Kit to $75 for the month of November (it’s normally $99)! When you purchase the Starter Kit you’ll choose $125 worth of Stampin’ Up! product – that’s $50 in free Stampin’ Up! product!!! Then you’ll enjoy the perks of being a demonstrator with access to products early, a discount on all your purchases (think of it as a discount card to your favorite place to shop) and so much more. You never have to run a class or sell to others but you certainly have that option if you’d like to start your own business. If you have questions, please ask! For more information, click here. If you’re ready to purchase the Starter Kit, click here!
Thanks for stopping by today! Enjoy your weekend!
by Tracy | Nov 17, 2021 | Card Sampler, Designer Series Paper, Die-Cutting, Embossing Folders
It’s Day 2 of the Stampin’ Up! Seasonal Sale. Many of you have taken advantage of the sale prices and several items have gone on backorder so be sure to shop early.

The Stampin’ Up! Seasonal Sale started yesterday and will end tomorrow, November 18th. The following products will be on sale from the Annual Catalog (products in the Mini Catalog are not included):
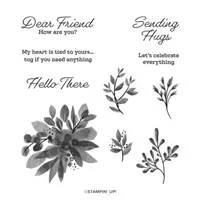
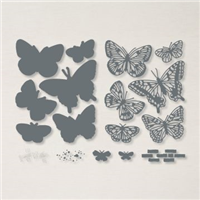
I have a new card to share with you today using the Brilliant Wings Dies (they are 20% off). In the Supply List below you’ll be able to see the other sale products I used to create my card.


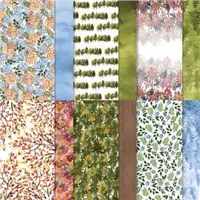
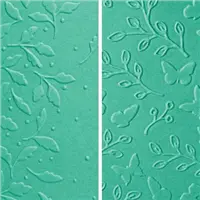
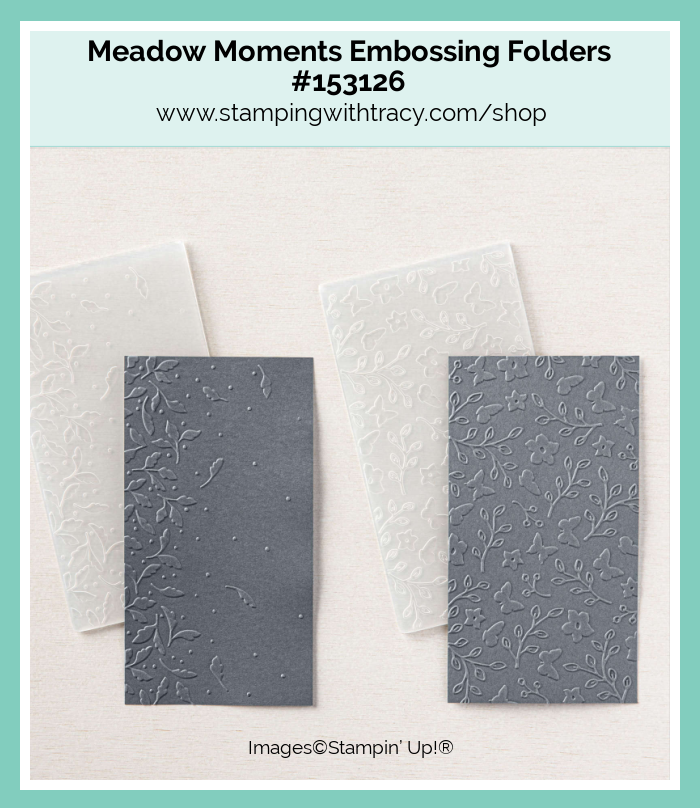
I started with a piece of Thick Basic White cardstock (you can find all the measurements I used below the Supply List). I ran a piece of Basic White cardstock through the Stampin’ Cut & Emboss Machine using one of the Meadow Moments Embossing Folders and then adhered it to a piece of Misty Moonlight cardstock. I also adhered a piece of Beauty of the Earth Designer Series Paper to a piece of Misty Moonlight cardstock and placed both on the front of the card.

I stamped the sentiment in Garden Green ink onto a piece of Basic White cardstock using the stamp set, Eden’s Garden and adhered it to another piece of Misty Moonlight cardstock. I cut a butterfly out of Misty Moonlight cardstock using the Brilliant Wings Dies. To adhere it to the front of the card, I cut one Mini Stampin’ Dimensional in half and placed each piece down the center of the butterfly. To complete the card, I added an Elegant Faceted Gem to the butterfly.

Supply List
The sale prices listed below are only good today and tomorrow, November 17 – 18, 2021.
Below you’ll find all the Stampin’ Up! supplies I used for today’s card. If you need any stamping supplies, I’d love to be your demonstrator! You can place an order by clicking any of the images below to go to my Stampin’ Up! online store.
Sale: $35.20
Price: $44.00
Measurements
- Thick Basic White cardstock: 11″ x 4-1/4″ score at 5-1/2″
- Misty Moonlight cardstock: 4-3/4″ x 2-1/4″
- Misty Moonlight cardstock: 3-1/2″ x 3-1/2″
- Misty Moonlight cardstock: 2-3/4″ x 1-3/4″
- Misty Moonlight cardstock: scrap for butterly
- Basic White cardstock: 4-1/2″ x 2″
- Basic White cardstock: 2-1/2″ x 1-1/2″
- Beauty of the Earth Designer Series Paper: 3-1/4″ x 3-1/4″
Ever Eden Card Sampler

Place a minimum $50 order (before tax/shipping) at my Stampin’ Up! Online Store using the host code XC6U7GD4 and I’ll send you my Ever Eden Card Sampler. Orders must be placed by Sunday, November 21, 2021 and the Card Samplers will be mailed on December 1, 2021. Please click HERE for all the details.


Stampin’ Up! Starter Kit

Normally the Starter Kit is $99 but Stampin’ Up! has lowered it to $75 for the rest of November! When you purchase the Starter Kit you’ll choose $125 worth of Stampin’ Up! product – that’s $50 in free Stampin’ Up! product!!! Then you’ll enjoy the perks of being a demonstrator with access to products early, a discount on all your purchases (think of it as a discount card to your favorite place to shop) and so much more. You never have to run a class or sell to others but you certainly have that option if you’d like to start your own business. If you have questions, please ask! For more information, click here. If you’re ready to purchase the Starter Kit, click here!
Enjoy your day!
by Tracy | Nov 10, 2021 | Die-Cutting, Embossing Folders, Stampin' Blends
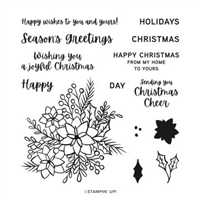
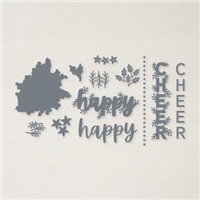
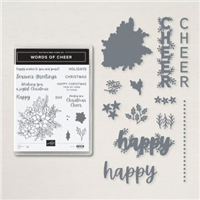
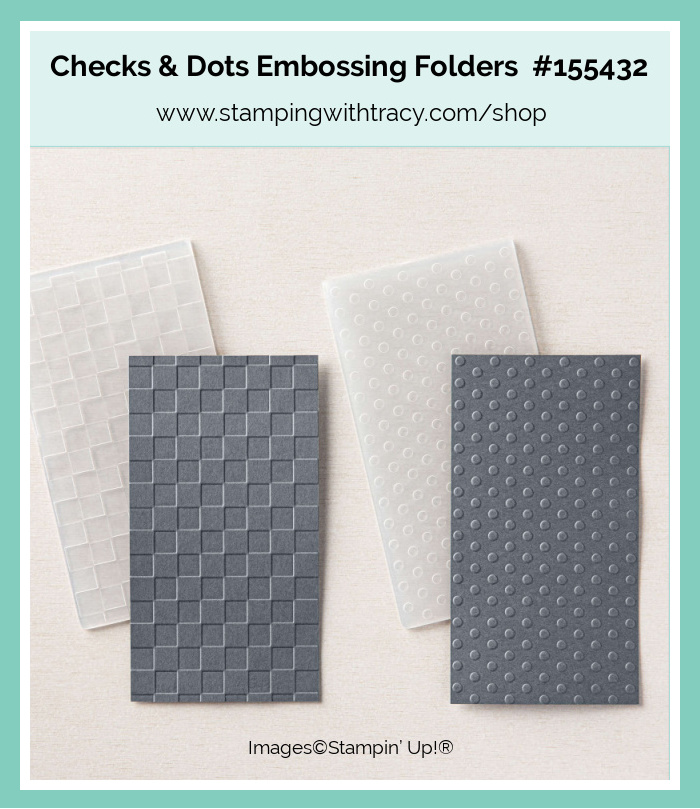
Today’s card features the Words of Cheer Bundle which includes the Words of Cheer stamp set and the Christmas Cheer Dies. You can purchase the dies and stamp set separately but with the bundle, you’ll save 10%. I also used one of the Checks & Dots Embossing Folders.


I started with a base of Real Red cardstock and then added a layer of Old Olive cardstock. On a piece of Basic White cardstock, I stamped the sentiment in Old Olive ink at the bottom. Then I placed it inside one of the Checks & Dots Embossing Folders (I used the dots) and ran it through the Stampin’ Cut & Emboss Machine. The entire piece of paper will not fit inside the folder but that’s okay because you don’t want the sentiment to be embossed, so some of your paper will be sticking out of the embossing folder. I adhered this piece to the front of the card.
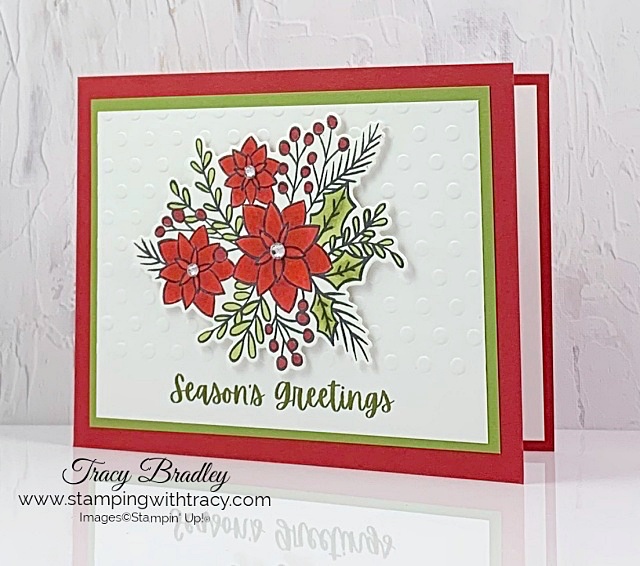
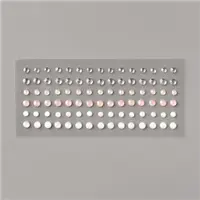
I stamped the flowers using Memento Ink onto Basic White cardstock and then colored it using both the Light & Dark Poppy Parade Stampin’ Blends and the Dark Cherry Cobbler Stampin’ Blend. I used both the Light and Dark Old Olive Stampin’ Blends to color the leaves. Once I finished coloring, I used the Christmas Cheer Dies to cut it out. I added quite a few Stampin’ Dimensionals to the back and then placed it on the front of the card. To complete the card, I added a rhinestone to the center of each flower and adhered a piece of Basic White cardstock to the inside.

Supply List
Below you’ll find all the Stampin’ Up! supplies I used for today’s card. If you need any stamping supplies, I’d love to be your demonstrator! You can place an order by clicking any of the images below to go to my Stampin’ Up! online store.
Measurements
- Real Red cardstock: 11″ x 4-1/4″ score at 5-1/2″
- Old Olive cardstock: 5″ x 3-3/4″
- Basic White cardstock: 4-3/4″ x 3-1/2″
- Basic White cardstock: a piece big enough to stamp the flowers
- Basic White cardstock: 5-1/4″ x 4″ (inside the card)
Seasonal Sale – Coming Soon!

Details
- The sale will run for three days only – November 16th – 18th
- The discount includes 10% off cardstock, 15% off ink pads (excluding ink pad bundles and third-party pads), and 20% off dies.
- The discount applies to products featured in the 2021–2022 Annual Catalog only. Products from the July–December 2021 Mini Catalog are not included.
Click here for the Seasonal Sale flyer!
Last Day for Gifts Galore Paper Pumpkin Kit

Gifts Galore Paper Pumpkin Kit
- Kit contains enough supplies to create nine treat packages—three each of three designs—and nine food-safe bags.
- This all-inclusive kit includes printed die cuts, die-cut boxes, cellophane treat bags, adhesive, and more!
- Includes an exclusive stamp set and a Classic Stampin’ Spot
- Coordinating colors: Evening Evergreen, Flirty Flamingo, Old Olive, Pool Party, Poppy Parade
- Subscribe by the end of today, November 10, 2021
Click here to order Paper Pumpkin
You can cancel at any time or even skip a month
Starter Kit Special

Click here for more information about the No Risk Starter Kit!
Thanks for stopping by today!
by Tracy | Nov 1, 2021 | Die-Cutting, Embossing Folders, Sympathy Card
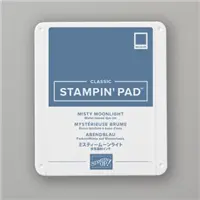
I wanted to send my condolences to a friend and made this card for her.

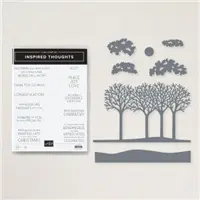
I started with a base of Misty Moonlight cardstock and then added a piece of Basic White cardstock that I embossed using the Tasteful Textile 3D Embossing Folder. I used the Inspiring Canopy Dies to make the trees. To make it easier to adhere the trees to the card front, I added one of our Adhesive Sheets to the back before running it through the Stampin’ Cut & Emboss Machine. It was a breeze to place the trees on the card with the adhesive already on the back!
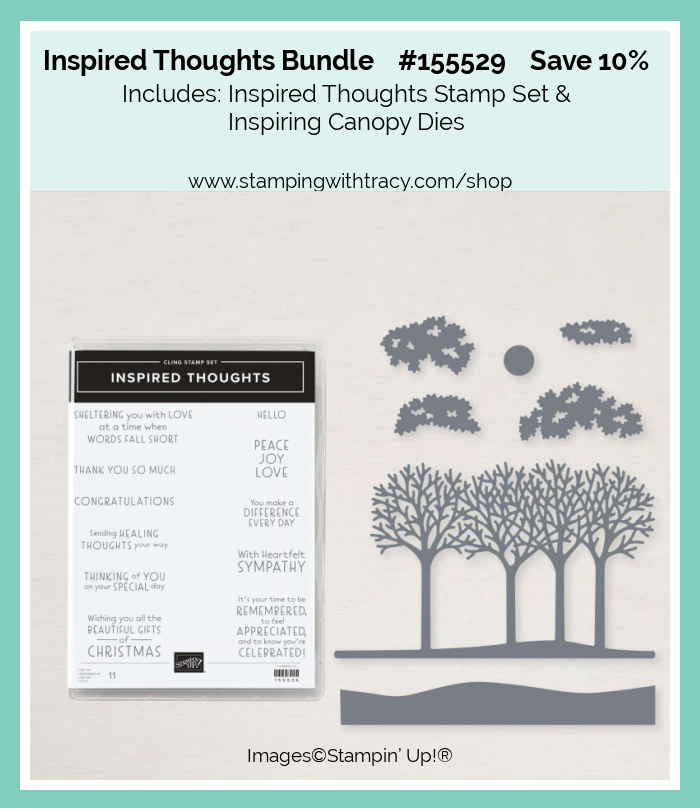
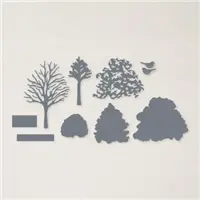
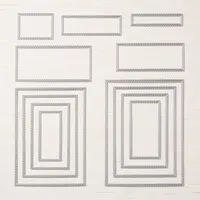
The sentiment was stamped in Misty Moonlight ink onto Basic White cardstock using the Inspired Thoughts stamp set and then cut out with the Stitched Rectangle Dies. I added Stampin’ Dimensionals to the back and placed it on the card. The little bird was cut out of Misty Moonlight cardstock using the Beautiful Trees Dies (another set of tree dies in the Annual Catalog). I added a small amount of Multipurpose Glue to the back and placed him in the branches. To complete the card, I added a piece of Basic White cardstock to the inside.

Supply List
Below you’ll find all the Stampin’ Up! supplies I used for today’s card. If you need any stamping supplies, I’d love to be your demonstrator! You can place an order by clicking any of the images below to go to my Stampin’ Up! online store.
The Specialty Plate is used with 3D Embossing Folders.
Measurements
- Misty Moonlight cardstock: 11″ x 4-1/4″
- Misty Moonlight cardstock: scrap for bird
- Basic White cardstock: (2) 5-1/4″ x 4″
- Basic White cardstock: approx. 6-1/2″ x 4″
- Basic White cardstock: approx. 1-3/8″ x 2-5/8″
Early Release of Eden’s Garden Collection – Available Tomorrow

Tomorrow Stampin’ Up! is releasing a brand new collection. Some of the products (stamp set, dies and bundle) will also be available in the January – June 2022 Catalog but the Designer Series Paper, Cotton Paper and Gems are only available while supplies last!
Click here to see the Eden’s Garden Collection and be sure to scroll to the second page.
The collection includes:
- Eden’s Garden Stamp Set #157823
- Eden Dies #157831
- Eden’s Garden Bundle (includes Eden’s Garden stamp set & Eden Dies) #157832
- Ever Eden 12″ x 12″ Designer Series Paper #159996 – available while supplies last
- Ever Eden 12″ x 12″ Cotton Paper #159997- available while supplies last
- Garden Gems #159277 – available while supplies last
- Eden’ Garden Collection #160849 (includes all the bundle, gems, cotton paper and Designer Series Paper – available while supplies last)

Click here for information on the card above that was made using Ever Eden Designer Series Paper.
November Host Code
I have a new host code for the month of December. Use this code when placing your online order and I’ll send you an extra card kit. Due to high postal rates, I’m only able to send card kits with orders over $18.00.


Gifts Galore Paper Pumpkin Kit

- Kit contains enough supplies to create nine treat packages—three each of three designs—and nine food-safe bags.
- This all-inclusive kit includes printed die cuts, die-cut boxes, cellophane treat bags, adhesive, and more!
- Includes an exclusive stamp set and a Classic Stampin’ Spot
- Coordinating colors: Evening Evergreen, Flirty Flamingo, Old Olive, Pool Party, Poppy Parade
- Subscribe by November 10, 2021
Click here to order Paper Pumpkin
You can cancel at any time or even skip a month
Enjoy your day!


