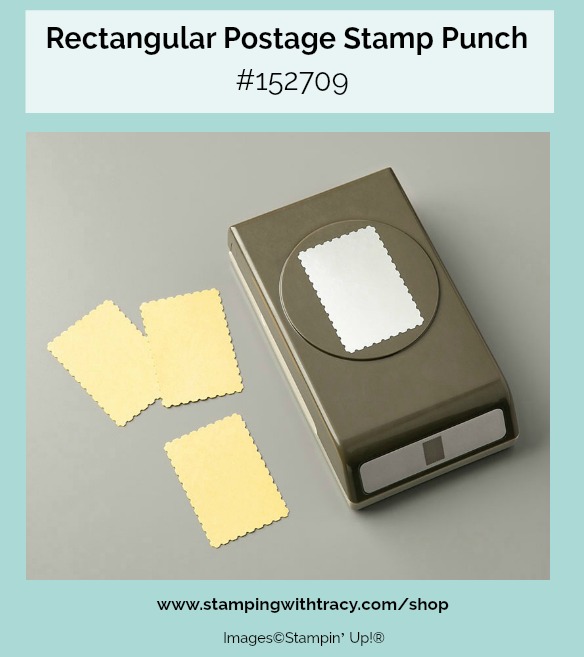
Today’s quick and easy card features the Rectangular Postage Stamp Punch, a brand new product in the 2020-2021 Annual Catalog!
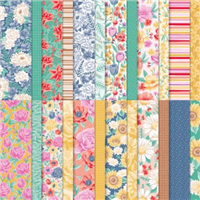
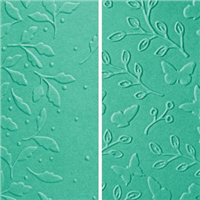
I started with a base of Just Jade cardstock and then added a layer of Misty Moonlight, two of our new In Colors. The next layer is Whisper White cardstock that was embossed using the Subtle Embossing Folder. The remaining pieces on the card were cut out using the Rectangular Postage Stamp Punch: two using Just Jade cardstock and the other two using one of the designs in the Flowers for Every Season 6″ x 6″ Designer Series Paper. The Just Jade pieces were punched and then embossed with one of the Meadow Moments embossing folders (these folders are packaged together and they’re much smaller than our regular sized folders).
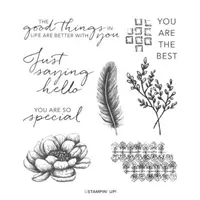
The sentiment was stamped onto Whisper White cardstock with Misty Moonlight ink using the stamp set, Tasteful Touches. It was also cut out using the Rectangular Postage Stamp punch. All of the postage stamp rectangles were popped up with Stampin’ Dimensionals. Definitely a quick and easy card!
Supply List
If you need any stamping supplies, I’d love to be your demonstrator! You can place an order by clicking any of the images below to go to my Stampin’ Up! online store.If you have questions about products you’re considering purchasing or ones you’ve already purchased, I’m just an email away (click the Email Me button on the sidebar of my blog).
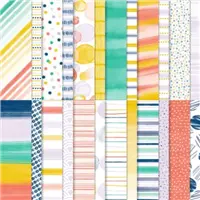
I love the start of a new catalog because I get to play with all the brand new Designer Series Paper. To be perfectly honest, I was on the fenceabout this paper and at the last minute added it to my order and I’m so glad I did because I love it! Just as it’s name suggests, there are many different patterns and I love the colors!
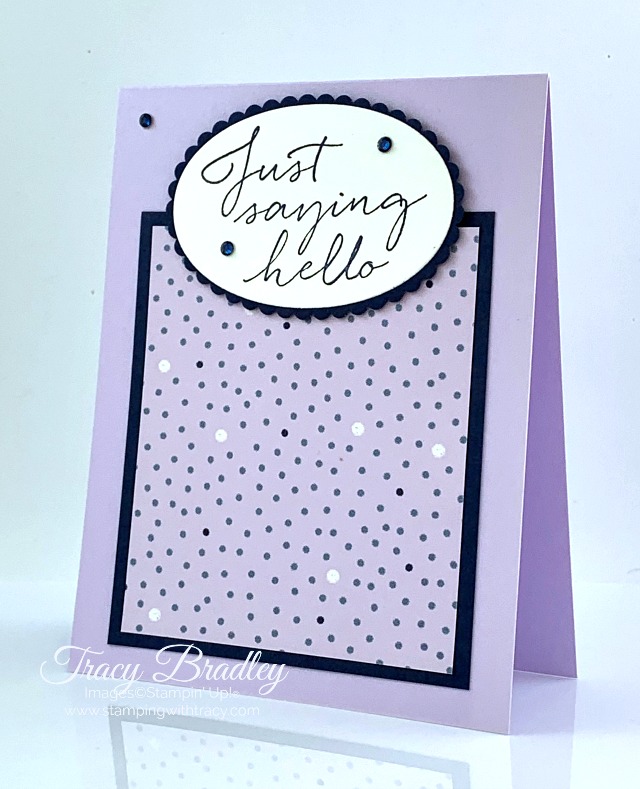
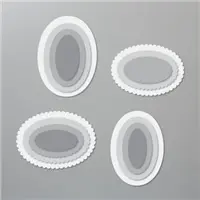
I used Purple Posy cardstock for the base of my card and combined it with Night of Navy cardstock. The sentiment was stamped with the Tasteful Touches stamp set in Night of Navy ink. This stamp set can also be purchased as a bundle (I didn’t use the dies for today’s card) and you can find more information by clicking the image below.
If you’d like to make today’s card, you can find all the measurements I used below the Supply List.
Supply List
If you need any stamping supplies, I’d love to be your demonstrator! You can place an order by clicking any of the images below to go to my Stampin’ Up! online store.If you have questions about products you’re considering purchasing or ones you’ve already purchased, I’m just an email away (click the Email Me button on the sidebar of my blog).
It’s Tuesday and I have a FREE PDF Tutorial for you! I shared this card last week and if you missed the original post, you can see it here.
It’s always fun to create using new stamps, dies, embellishments and colors! Here are the new products I used for today’s card (click on any of these products in the supply list for more information):
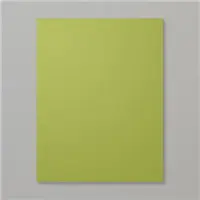
Just Jade cardstock
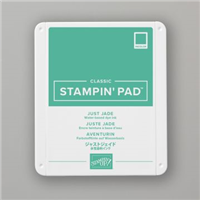
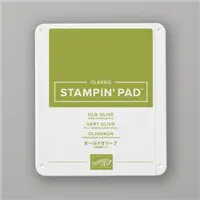
Just Jade Stampin’ Pad
Bumblebee cardstock
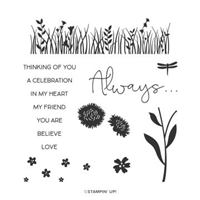
So Much Love stamp set
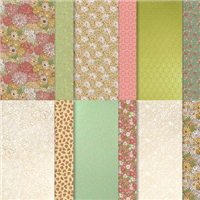
Flowers for Every Season 6″ x 6″ Designer Series Paper
Forever Flourishing Dies
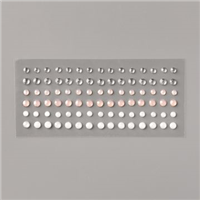
Elegant Faceted Gems
You can find your free PDF tutorial below the Supply List!
Supply List
If you need any stamping supplies, I’d love to be your demonstrator! You can place an order by clicking any of the images below to go to my Stampin’ Up! online store.If you have questions about products you’re considering purchasing or ones you’ve already purchased, I’m just an email away (click the Email Me button on the sidebar of my blog).
Today I’m sharing the Gorgeous Posies Project Kit but first I want to let you know that today is the last day my June Card Sampler will be available. Place a minimum $50 order using the host code F6VJWUP9 at my Stampin’ Up! online store and receive 6 card kits with envelopes (2 each of three designs) and a PDF Tutorial that includes pictures, measurements and a supply list. Check HERE for all the details.
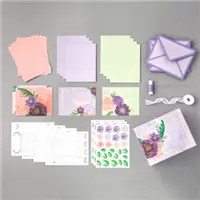
Have you ever seen a product in the catalog that you just HAVE to have? I had to have the Gorgeous Posies Project Kit and I wasn’t disappointed when it arrived in my first order from the new catalog! Oh my gosh, I love it! The funny thing is, I didn’t realize it came with a box! So if you’re looking at the kit in the catalog, know that it also includes a nice-sized, beautiful box. It was a very nice surprise!
Edited to add: The box comes fully assembled with all the pieces to create the cards inside the box.
The kit comes with all the materials (you can see everything in the picture above) to make 16 cards – card bases, card fronts, color coordinated envelopes, and embellishments too. The Gorgeous Posies Stamp Setcoordinates with the kit and can be purchased separately. The sentiments in the stamp set fit perfectly on the sentiment pieces in the card kit
The colors that coordinate with the kit are: Blackberry Bliss (the color ink I used), Blushing Bride, Gorgeous Grape, and Highland Heather. The kit also includes ribbon with gold accents and purple Baker’s Twine but I chose not to use them on my card.
I added two flowers and leaves that I placed around the sentiment. One was popped up with Stampin’ Dimensionals and the other one was adhered with Multipurpose Glue. As you can see in the photo below, the kit comes with lots of flowers and leaves. I’m looking forward to making more of these cards! Did I mention I love the box? 🙂
Supply List
If you need any stamping supplies, I’d love to be your demonstrator! You can place an order by clicking any of the images below to go to my Stampin’ Up! online store.If you have questions about products you’re considering purchasing or ones you’ve already purchased, I’m just an email away (click the Email Me button on the sidebar of my blog).
I used two new In Colors on my card – Just Jade and Bumblebee (the base of the card is Just Jade and the “panels” are Bumblebee). To create the greenery, I used Just Jade cardstock and Vellum cardstock and popped them behind the sentiment. To adhere both of these pieces, I added a layer of Multipurpose Glue on half of the sentiment piece. Normally I would used Dimensionals to secure pieces like this but I wanted to be sure that they weren’t going to fall off the card and the glue worked perfectly.
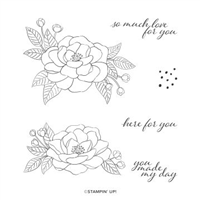
The sentiment was stamped in Just Jade ink onto Whisper White cardstock using the stamp set, So Much Love. When choosing stamp sets to purchase, I not only look at the images but the sentiments too. In fact, at times I’ve purchased a set JUST for the sentiments but this set wowed me with the flowers and the sentiments.
I cut the sentiment using the Stitched Rectangle Dies and then cut a piece of Bumblebee cardstock to place under it. To add some sparkle I used three of our new Elegant Faceted Gems. You can find all the measurements I used below the Supply List.
Supply List
If you need any stamping supplies, I’d love to be your demonstrator! You can place an order by clicking any of the images below to go to my Stampin’ Up! online store.If you have questions about products you’re considering purchasing or ones you’ve already purchased, I’m just an email away (click the Email Me button on the sidebar of my blog).
Whisper White cardstock: (2) 5-1/4″ x 4″ (one for the front and one inside)
Whisper White cardstock: scrap for sentiment
Flowers For All Seasons Designer Series Paper: 3-5/8″ x 2″
Flowers For All Seasons Designer Series Paper: 3-3/8″ x 1-3/8″
Bundle Alert
June Card Sampler
My June Card Sampler is available until Monday, June 15th. Place a minimum $50 order at my Stampin’ Up! Online Store using the special host code F6VJWUP9 and receive 6 card kits (2 each of three designs), envelopes, and a PDF Tutorial which includes pictures, measurements and a supply list. For more information, please click here.
I began with a piece of Old Olive cardstock and scored it on both ends (I scored it on end, flipped it over to the other side and scored again) which created the gatefold (you can find all the measurements below the Supply List).
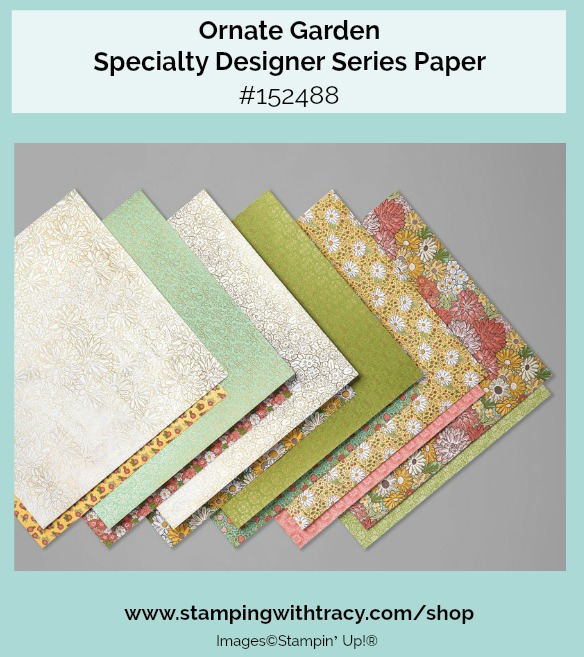
I added panels of Ornate Garden Specialty Designer Series paper to both sides of the card base and added a panel of Whisper White cardstock to the inside.
It isn’t necessary to add a belly band (mine was made with one of our New In Colors – Bumblebee) but it does help to keep the card closed. The width of the belly band can be any size and mine is 3/4″. I tried a 1″ width but preferred the smaller size for this card. I scored it in two places and wrapped it around the card, securing the two ends with a small amount of Multipurpose Glue. I added two Stampin’ Dimensionals to the the belly band and then placed the sentiment piece on top of it.
The sentiment was stamped onto Whisper White cardstock with Old Olive ink using the stamp set Tasteful Touches. It was cut out using Stitched Shapes Dies and a die-cutting machine. The Bumblebee and Old Olive scalloped ovals were cut out using the Layering Ovals dies which coordinate beautifully with the Stitched Shapes Dies.
Supply List
If you need any stamping supplies, I’d love to be your demonstrator! You can place an order by clicking any of the images below to go to my Stampin’ Up! online store.If you have questions about products you’re considering purchasing or ones you’ve already purchased, I’m just an email away (click the Email Me button on the sidebar of my blog).
Old Olive cardstock: 8-1/2″ x 5-1/2″ score at 2-1/8″ on both ends
Old Olive cardstock: scrap for scalloped oval
Bumblebee cardstock: 9-1/2″ x 3/4″ score @ 2-3/4″ and 7-1/8″ (belly band)
Bumblebee cardstock: scrap for scalloped oval
Whisper White cardstock: 5-1/4″ x 4″ (inside card)
Whisper White cardstock: scrap for sentiment
Ornate Garden Specialty Designer Series Paper: (2) 5-1/4″ x 1-7/8″
Bundle Alert
June Card Sampler
My June Card Sampler is available until Monday, June 15th. Place a minimum $50 order at my Stampin’ Up! Online Store using the special host code F6VJWUP9 and receive 6 card kits (2 each of three designs), envelopes, and a PDF Tutorial which includes pictures, measurements and a supply list. For more information, please click here.
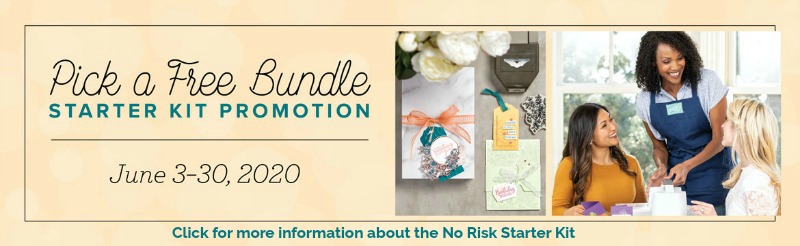
If your Stampin’ Up! shopping list has at least $99 worth of products on it, you might want to consider purchasing the Starter Kit. There’s absolutely NO RISK in purchasing it, seriously! Read all about this great deal, which also includes a FREE BUNDLE of your choice, here!
My June Card Sampler is now available but only for a limited time.
Here’s how you can earn my FREE June Card Sampler:
Place a minimum $50 order (before tax/shipping) at my Stampin’ Up! online store.
Use my special June Card Sampler Host Code when placing your order: F6VJWUP9
Place your order on or before Monday, June 15, 2020.
If your order reaches $150 or more, please DO NOT use the host code so you can receive Stampin’ Rewards (free product directly from Stampin’ Up!). Once you place your order, simply drop me an email letting me know that you’d like the Card Sampler (you only need to contact me if your order is over $150).
Here’s What You’ll Receive:
All the paper needed to make 6 cards. The paper will be cut, scored, embossed and die cut for you! You’ll need to supply your own adhesive, ink and stamp set (per Stampin’ Up! I cannot send stamped images). Envelopes will also be provided for each card.
A PDF Tutorial with instructions, pictures, cutting measurements and a complete supply list of all the products used.
All the Other Important Stuff
Your kits will ship first-class mail no later than Monday, June 22, 2020 and will be mailed to the address used on your online order.
Your PDF Tutorial will be emailed to you within 24 hours.
When using the June Card Sampler Host Code to place your order, you will not qualify for my regular Customer Rewards Card Kits.
Per Stampin’ Up! policy, kits can only be mailed within the United States.
Limit 1 kit per person
The special June Card Sampler HOST CODE will close at the end of the day on Monday, June 15, 2020 and after that date, the card sampler will no longer be available.
Expected ship date of the kits is Monday, June 22, 2020.
Listed below are the supplies, not included in your kit, that you’ll need to complete the cards exactly as shown (or you can use what you already own). Simply click any of the products and you’ll be taken to my Stampin’ Up! online store. When placing your order, don’t forget to use the special June Card Sampler host code (please do not use host code if your order is over $150 – see above).
It’s Tuesday which means I have a free tutorial for you! The tutorial for today’s card features Flowers For Every Season 6″ x 6″ Designer Series Paper and the Tasteful Textile 3D Embossing Folder. You can download the tutorial below the Supply List.
Supply List
If you need any stamping supplies, I’d love to be your demonstrator! You can place an order by clicking any of the images below to go to my Stampin’ Up! online store.If you have questions about products you’re considering purchasing or ones you’ve already purchased, I’m just an email away (click the Email Me button on the sidebar of my blog).
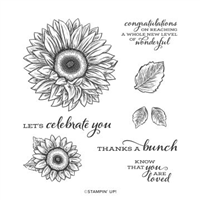
I used several brand new products to create both of my cards today: Celebrate Sunflowers stamp set, Tasteful Textile 3D Embossing Folder and the Lovely Labels Pick a Punch. The Ornate Garden Designer Series Paper (DSP) is also a new product but was released a few months ago.
The base of my first card is Mint Macaron with another layer that’s been embossed with the Tasteful Textile 3D Embossing Folder. I layered a piece of Ornate Garden DSP onto a piece of Terracotta Tile cardstock.
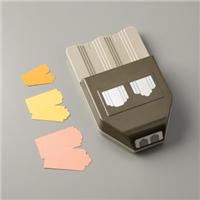
To create the sentiment piece, first, I cut a piece of Whisper White cardstock that measured 3/4″ wide and placed one end into the Lovely Labels Pick a Punch. Then I stamped the sentiment using Mint Macaron ink using the stamp set, Celebrate Sunflowers. Next, I cut a piece of Terracotta Tile cardstock, 1″ wide and punched one end using the same punch. I layered the two pieces together and then used my paper trimmer to cut off the one end. I adhered the sentiment to the layered DSP piece (not the punched end) and then added Stampin’ Dimensionals to the back and put one Stampin’ Dimensional at the end of the punched piece. For a little bling, I added three rhinestones from the Holiday Rhinestones.
I knew I wanted to use Terracotta Tile and Mint Macaron with this Designer Series Paper but because I couldn’t decide which color I wanted for the base, I made it both ways. Which one do you prefer?
Supply List
If you need any stamping supplies, I’d love to be your demonstrator! You can place an order by clicking any of the images below to go to my Stampin’ Up! online store.If you have questions about products you’re considering purchasing or ones you’ve already purchased, I’m just an email away (click the Email Me button on the sidebar of my blog).
Today’s card is another version of the card I shared on Tuesday using the beautiful Forever Greenery Designer Series Paper. You can see Tuesday’s card here and be sure to download the free tutorial too!
Whenever my card base is Whisper White, as today’s is, I always use our Thick Whisper White cardstock as it gives the card some extra stability.
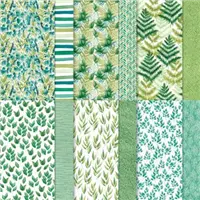
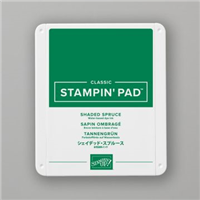
Forever Greenery Designer Series Paper coordinates with so many pretty shades of green and I chose Shaded Spruce for today’s card. Stampin’ Up! makes it so easy to know which colors coordinate with their papers. You can find the coordinating colors in the catalog and on the back of the package. I have a difficult time knowing which colors to use and I love that Stampin’ Up! provides this information.
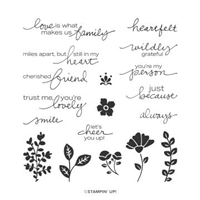
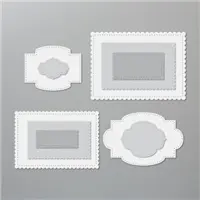
I also used Shaded Spruce ink for the sentiment from Lovely You and cut it out with the Stitched So Sweetly Dies. To add some bling to my card, I used three Shaded Spruce rhinestones from our Holiday Rhinestones.
You can find all the measurements I used in my free tutorial from Tuesday. I hope you’ll give this layout a try!
Supply List
If you need any stamping supplies, I’d love to be your demonstrator! You can place an order by clicking any of the images below to go to my Stampin’ Up! online store.If you have questions about products you’re considering purchasing or ones you’ve already purchased, I’m just an email away (click the Email Me button on the sidebar of my blog).
Have you had a chance to look through our new Annual Catalog? Grab your favorite beverage and then click the image of the catalog below! I send complimentary copies of our catalogs to all my customers so if you place an order over at my Stampin’ Up! online store, I’ll send you a copy!
Today’s the day! The 2020-2021 Annual Catalog goes live today at NOON (Mountain Time)! If you don’t have a copy of the catalog yet, click the image below to start your list now!
Click hereto head over to my Stampin’ Up! online store at noon, Mountain Time! Don’t forget to add my current host code to your order of $150 or less to receive at least one of my card kits. Please do not use the host code for orders over $150 so that you’ll automatically receive Stampin’ Rewards directly from Stampin’ Up!
I’d like to point out a few things about the new catalog:
Stampin’ Cut & Emboss Machines
On pages 170-172 you’ll see our brand new Stampin’ Cut & Emboss Machines, Yes, there are two!Unfortunately they won’t be available for purchase today but we’ll be able to get our hands on them very soon!
Stampin’ Blends
Stampin’ Blends are now packaged as a Combo Pack and no longer available individually.You can find the Blends on pages 142-143. At the bottom of each color collection, you’ll find the Blends on the last line.There are five new colors to choose from: Melon Mambo, Cinnamon Cider, Just Jade, Magenta Madness and Misty Moonlight.
Bundles
Bundles always save you money! Each bundle contains two products that when purchased together save you 10%.They are sprinkled throughout the catalog but be sure to check out these bundles pages:
Punch Bundles: pages 168-169
Die Bundles: pages 173-179
In the month of June, anyone who places a $250+ order or hosts a party with 250+ in sales, will receive an extra $25 in Stampin’ Rewards.
Starter Kit orders do not qualify for this promotion.
Paper Pumpkin prepaid subscriptions count toward a qualifying purchase. Month-to-month subscriptions do not qualify for this promotion.
Additional Stampin’ Rewards for this promotion will only be awarded once per order.
Want to see some new products in action while we wait to order?
As an extra bonus, anyone who purchases the Starter Kit in the month of June can pick a FREE bundle from the catalog, your choice!
Choose $125 in Stampin’ Up! product – choose only those items YOU want
Choose a FREE Bundle from the catalog
The Starter Kit ships FREE
Receive at least a 20% discount on your future purchases
Before sharing my free PDF tutorial, I want to remind you that today’s the last day to purchase retiring products from the 2019-2020 Annual Catalog and the January-June Mini 2020 Catalog. To check everything still available, click HERE.
Today’s tutorial features the stamp set Lovely You and Forever Greenery Designer Series Paper. Both of these new products will be available starting tomorrow when the 2020-2021 Annual Catalog goes live! You can download your free PDF Tutorial below the Supply List.
Starting tomorrow, a new Starter Kit Promotion begins! When you purchase the Starter Kit, in addition to choosing $125 in product, you’ll also receive an added bonus: Choose ANY bundle from the new catalog!
How Much Is the Starter Kit?
The Starter Kit is $99 and it ships free!
What Comes In the Starter Kit?
YOU decide! You’ll choose $125 worth of product – anything you want! Plus you’ll be able to add on ANY bundle from the new Annual Catalog! There are 34 different bundles to choose from ranging from $31.50 – $60.25
Do I Have to Sell Stampin’ Up! Products Once I Purchase the Starter Kit?
Only if you want to!
What Are the Benefits of Purchasing the Starter Kit?
You’ll receive $125 in Stampin’ Up! product for $99
You’ll receive an extra bonus of any bundle in the Annual Catalog
You’ll receive at least a 20% discount on all your future purchases
You’ll be able to preorder new products approximately a month before a new catalog goes live
You’ll receive a free Paper Pumpkin Kit
Joining is risk free! If you reach $300 in sales (this includes your own personal purchases) by the end of the first full Stampin’ Up! quarter, you’ll continue to receive discounts and benefits for another quarter. If you don’t reach $300 in sales, you’ll be “dropped” with no questions asked. There’s truly no downside to purchasing the Starter Kit.
How Do I Purchase the Starter Kit?
Wait until tomorrow so you’ll also receive a free bundle. Choose $125 in product and then click here!
If you have questions, don’t hesitate to contact me!