by Tracy | Jul 7, 2020 | Designer Series Paper, Die-Cutting, Embossing Folders, Free Tutorial

It’s Tuesday and I have a free PDF Tutorial for you. I shared this card last week and if you missed that blog post, you can see it here.

To download today’s tutorial please check below the Supply List. Have a great day!
Supply List
If you need any stamping supplies, I’d love to be your demonstrator! You can place an order by clicking any of the images below to go to my Stampin’ Up! online store. If you have questions about products you’re considering purchasing or ones you’ve already purchased, I’m just an email away (click the Email Me button on the sidebar of my blog).



Tracy’s Quick Links
Place an Order
My Customer Rewards
Bradley Points
$99 Starter Kit
Clearance Rack
2020-2021 Annual Catalog
Paper Pumpkin
by Tracy | Jul 6, 2020 | Designer Series Paper, Die-Cutting, Embossing Folders
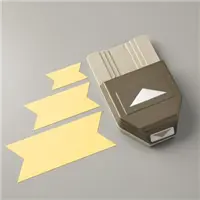
Today’s card features the Dainty Diamonds 3D Embossing Folder and the Banner Triple Punch.

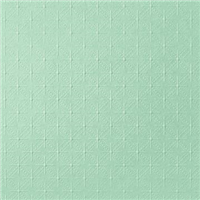
I used Just Jade cardstock for the base of my card. The next layer is a piece of Whisper White cardstock that was embossed using the Dainty Diamonds 3D Embossing Folder. I love the look a piece of embossed paper gives a card!

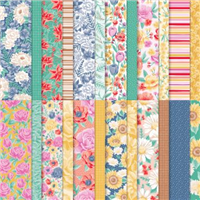
The banners were made using Flowers For Every Season 6″ x 6″ Designer Series Paper and the Banner Triple Punch (you can find all the measurements I used below the Supply List). This punch allows you to make banners in three widths–1″, 1-1/2″, and 2″ in any length! There are three grooves that allow your paper to slide in. One of my banners is 1-3/4″ wide so I didn’t use a groove but simply centered the paper so my notch would be in the correct spot.

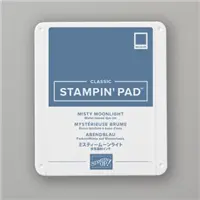
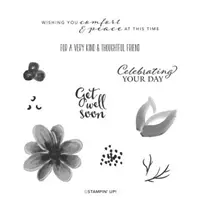
The sentiment is from the stamp set, Gorgeous Posies and was stamped onto Whisper White cardstock using Misty Moonlight ink. The Layering Circles Dies were used to cut it out and to make the scalloped Misty Moonlight scallop circle it’s layered with. Stampin’ Dimensionals were added to the back before it was adhered to the card. To complete the card, I added three Holiday Rhinestones.

This is a quick and easy card to make! I hope you’ll give it a try!
Supply List
If you need any stamping supplies, I’d love to be your demonstrator! You can place an order by clicking any of the images below to go to my Stampin’ Up! online store. If you have questions about products you’re considering purchasing or ones you’ve already purchased, I’m just an email away (click the Email Me button on the sidebar of my blog).
Measurements
- Just Jade cardstock: 11″ x 4-1/4″
- Whisper White cardstock: 5-1/4″ x 4″
- Whisper White cardstock: scrap for sentiment
- Misty Moonlight cardstock; scrap for scalloped circle
- Flowers For Every Season Designer Series Paper: 5″ x 2″ and 4″ x 1-3/4″
Tracy’s Quick Links
Place an Order
My Customer Rewards
Bradley Points
$99 Starter Kit
Clearance Rack
2020-2021 Annual Catalog
Paper Pumpkin
by Tracy | Jul 3, 2020 | Designer Series Paper, Quick & Easy Card
Yesterday I shared two cards using Flowers For Every Season 6″ x 6″ Designer Series Paper and the stamp set, Gorgeous Posies. Today I have four more cards using the same layout and supplies. If you missed yesterday’s post, you can see it here.
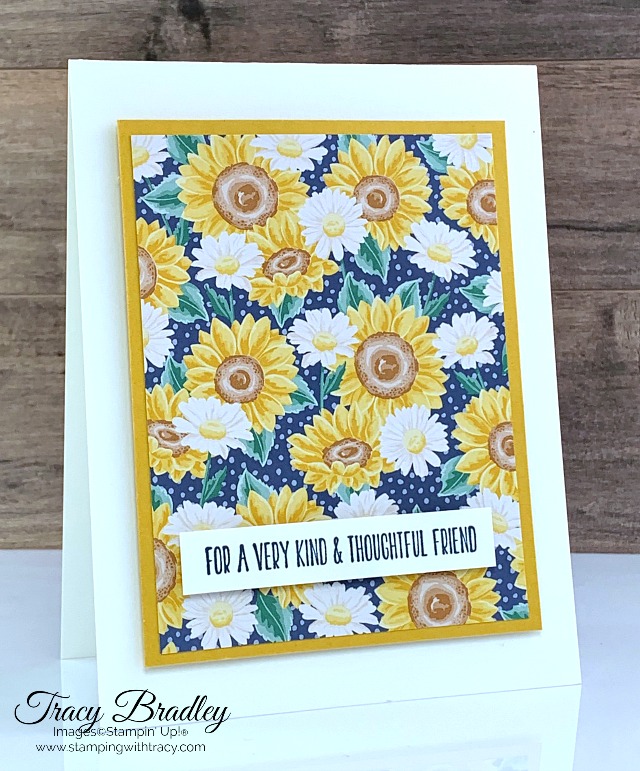
All four cards have a Thick Whisper White card base. This first card has a Bumblebee cardstock layer for the Flowers For Every Season Designer Series Paper. The sentiment is stamped in Night of Navy ink. Both the Designer Series Paper layer and the sentiment have Stampin’ Dimensionals on the back.
This next card has a Magenta Madness cardstock layer and the sentiment is stamped in Just Jade ink.

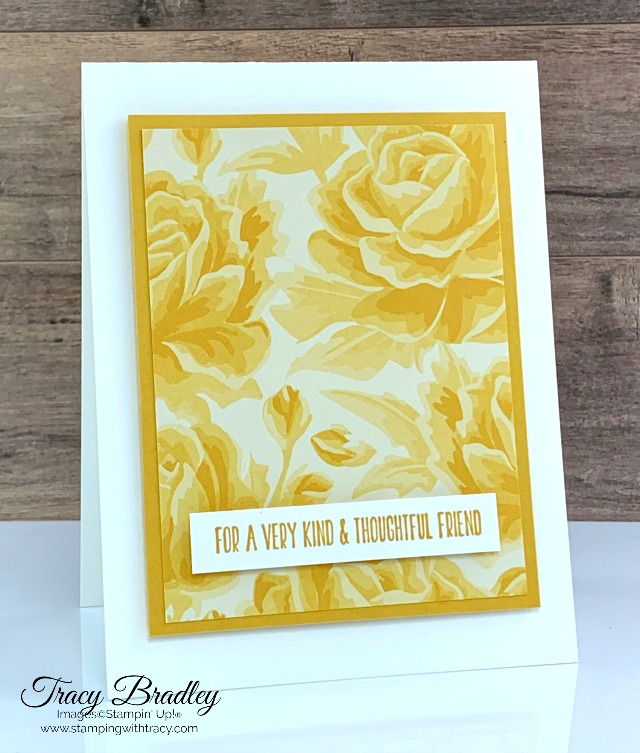
This third card has a Bumblebee cardstock layer and the sentiment is stamped in Bumblebee ink.
This last card has a Magenta Madness cardstock layer and the sentiment is stamped in Just Jade ink.
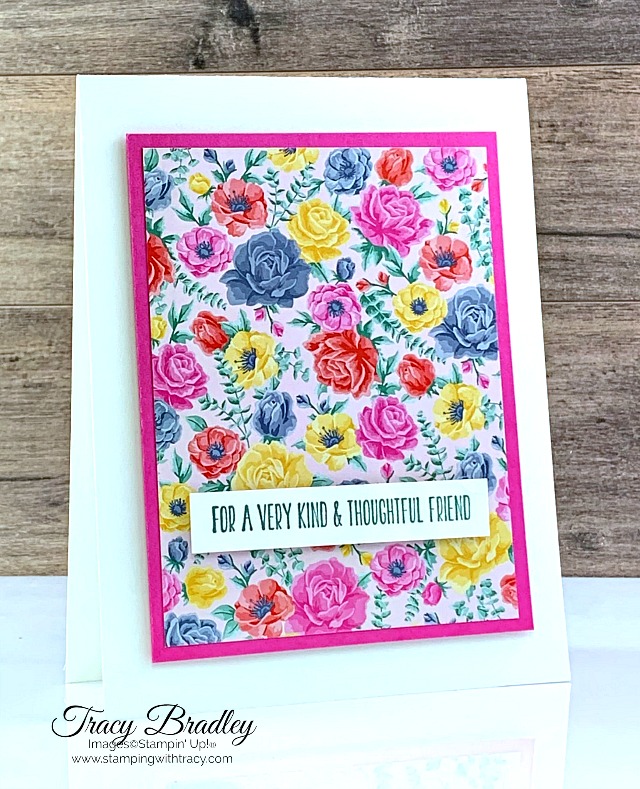
All four cards can very easily be mass produced in no time. Make a stack so when you need a card, you can just grab one! You’ll find all the measurements I used below the Supply List.
Enjoy your weekend!
Supply List
If you need any stamping supplies, I’d love to be your demonstrator! You can place an order by clicking any of the images below to go to my Stampin’ Up! online store. If you have questions about products you’re considering purchasing or ones you’ve already purchased, I’m just an email away (click the Email Me button on the sidebar of my blog).
Measurements
- Thick Whisper White cardstock: 11″ x 4-1/4″
- Whisper White cardstock: 2-3/4″ x 1/2″
- Poppy Parade or Magenta Madness cardstock: 4-1/2″ x 3-1/2″
- Flowers For Every Season Designer Series Paper: 4-1/4″ x 3-1/4″
Tracy’s Quick Links
Place an Order
My Customer Rewards
Bradley Points
$99 Starter Kit
Clearance Rack
2020-2021 Annual Catalog
Paper Pumpkin
by Tracy | Jul 2, 2020 | Designer Series Paper, Quick & Easy Card
Today’s cards were made using Flowers For Every Season Designer Series Paper and the stamp set, Gorgeous Posies. Both cards are very quick and easy to create!
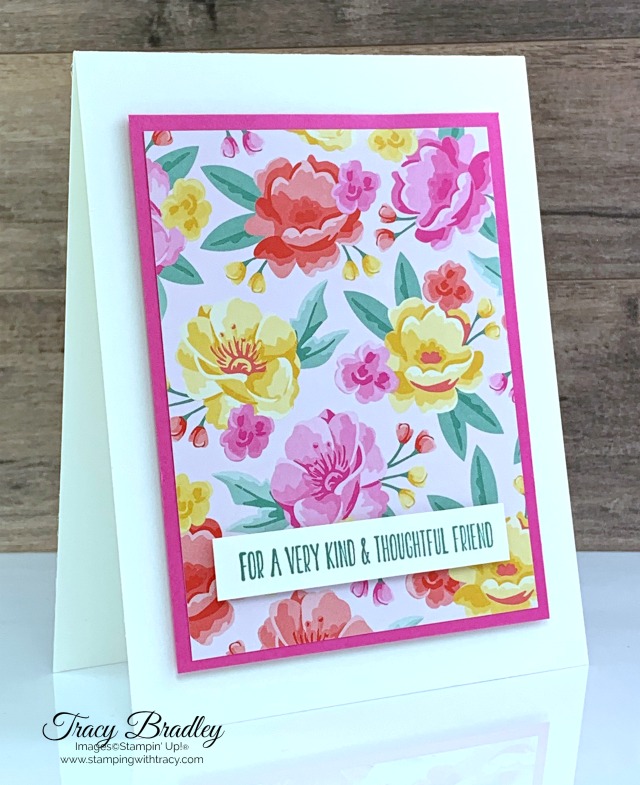
Both cards have a Thick Whisper White card base and this first card has a layer of Magenta Madness cardstock (you can find all the measurements below the Supply List). Next is the Flowers For Every Season Designer Series Paper. This is 6″ x 6″ paper and includes 4 each of 12 double-sided designs! So many choices!
Using the stamp set, Gorgeous Posies, the sentiment was stamped onto Whisper White cardstock using a Just Jade stamp pad.

This next card also has a Thick Whisper White card base with a layer of Poppy Parade cardstock and the sentiment was stamped in Poppy Parade ink. Both the Designer Series Paper/cardstock layer and the sentiment have Stampin’ Dimensionals on the back. Stampin’ Dimensionals are a staple in my craft room!

As I mentioned, I used the stamp set, Gorgeous Posies, and this set coordinates with the Gorgeous Posies Project Kit. I shared this beautiful kit several weeks ago (it comes with a gorgeous box). If you missed that post, you can see it here (the Card Sampler I mention at the beginning of the post is no longer available).
Tomorrow I’ll share several more cards using this same layout and more of the patterns in Flowers For Every Season Designer Series Paper.
Enjoy your day!
Supply List
If you need any stamping supplies, I’d love to be your demonstrator! You can place an order by clicking any of the images below to go to my Stampin’ Up! online store. If you have questions about products you’re considering purchasing or ones you’ve already purchased, I’m just an email away (click the Email Me button on the sidebar of my blog).
Measurements
- Thick Whisper White cardstock: 11″ x 4-1/4″
- Whisper White cardstock: 2-3/4″ x 1/2″
- Poppy Parade or Magenta Madness cardstock: 4-1/2″ x 3-1/2″
- Flowers For Every Season Designer Series Paper: 4-1/4″ x 3-1/4″
Click here to place an order!
Tracy’s Quick Links
Place an Order
My Customer Rewards
Bradley Points
$99 Starter Kit
Clearance Rack
2020-2021 Annual Catalog
Paper Pumpkin
by Tracy | Jul 1, 2020 | Designer Series Paper, Die-Cutting, Embossing Folders
It’s the start of a new month and Bonus Days are here! For every $50 purchase (before shipping and tax) between July 1 – August 3rd, you’ll receive a $5.00 Bonus Days Coupon Code from Stampin’ Up! Right after you place your online order, you’ll receive an email from Stampin’ Up! with your coupon code(s). Keep that email in a safe place and don’t lose it because beginning on August 4th, you’ll be able to place an order and use your codes. The last day to redeem the codes will be August 31st. There’s no limit to how many codes you can earn!
Click here to place an order!
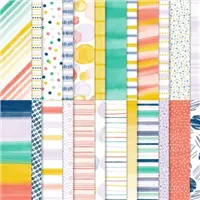
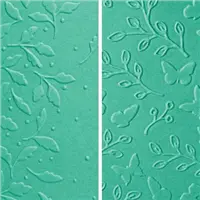
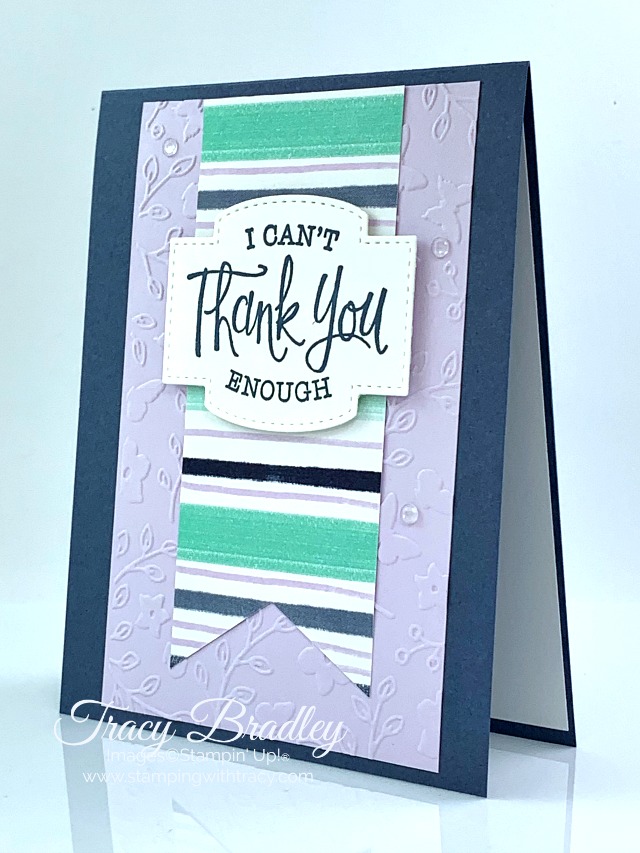
Today’s card features Meadow Moments Embossing Folders, the Banner Triple Punch and Playing with Patterns Designer Series Paper. The base of my card is Misty Moonlight, one of our new In Colors. The Purple Posy cardstock was embossed using one of the Meadow Moments Embossing Folders (two smaller sized embossing folders are included in this set).

The banner was made using Playing with Patterns Designer Series Paper and the ends were cut using the Banner Triple Punch. With this punch you can make a banner in three different widths: 1″, 1-1/2″, and 2″.

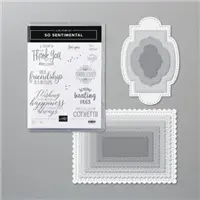
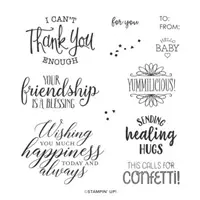
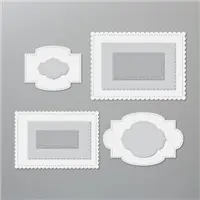
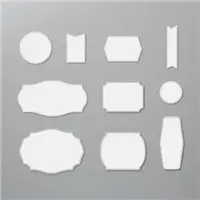
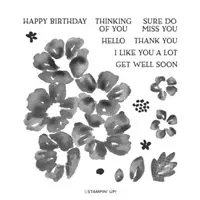
The sentiment was stamped using Misty Moonlight ink onto Whisper White paper using the stamp set, So Sentimental and was cut out using the Stitched So Sweetly Dies. I added Stampin’ Dimensionals to the back for a little bit of dimension.

To complete the card, I added three of our Elegant Faceted Gems. I think these are my favorite embellishments in the catalog.

If you’d like to make today’s card, you can find the measurements below the Supply List.
Supply List
If you need any stamping supplies, I’d love to be your demonstrator! You can place an order by clicking any of the images below to go to my Stampin’ Up! online store. If you have questions about products you’re considering purchasing or ones you’ve already purchased, I’m just an email away (click the Email Me button on the sidebar of my blog).
Measurements
- Misty Moonlight cardstock: 11″ x 4-1/4″
- Purple Posy cardstock: 5-1/4″ x 3-1/4″
- Whisper White cardstock; 5-1/4″ x 4 (for inside the card)
- Whisper White cardstock: scrap for sentiment
- Playing with Patterns Designer Series Paper: 5″ x 2″
Tracy’s Quick Links
Place an Order
My Customer Rewards
Bradley Points
$99 Starter Kit
Clearance Rack
2020-2021 Annual Catalog
Paper Pumpkin
by Tracy | Jun 30, 2020 | Free Tutorial
I have a free PDF Tutorial for you today but first I want to remind you that today is the very last day to receive a BUNDLE of your choice, absolutely FREE, when you purchase the Starter Kit.
The Starter Kit is a great choice if:
You love Stampin’ Up! products and you’d love to get a discount
or
You’d love to start a business
You do not have to sell Stampin’ Up! products to purchase the Starter Kit! When I purchased it 11 years ago, I did it only for the discount because I LOVED (and still do) everything in the catalog!
The kit is $99 but you’ll choose $125 worth of Stampin’ Up! product YOU want, and you’ll choose ANY bundle in the catalog (the bundle perk ends today!) plus it will all ship FREE. You can find all the bundles in the catalog on pages 168-169 & pages 173-179 and they range in price between $31.50 – $60.25 (they are all listed below). It’s truly a great deal but hurry before the free bundle option is over! For more information, click here or feel free to email me with any questions you might have!
Click here to purchase the Starter Kit
Pick a Free Bundle Starter Kit Promotion: You’ll be able to choose one of these bundles to add to your Starter Kit (you can click the images below for more information about each bundle)! Offer ends today, June 30, 2020.
It’s Tuesday which means I have a FREE PDF Tutorial for you! I shared this card last week and if you missed it, you can read it here. You’ll find the link to download the tutorial below the supply list.

Supply List
If you need any stamping supplies, I’d love to be your demonstrator! You can place an order by clicking any of the images below to go to my Stampin’ Up! online store. If you have questions about products you’re considering purchasing or ones you’ve already purchased, I’m just an email away (click the Email Me button on the sidebar of my blog).
Non-Stampin’ Up!: Blue Painter’s Tape

Tracy’s Quick Links
Place an Order
My Customer Rewards
Bradley Points
$99 Starter Kit
Clearance Rack
2020-2021 Annual Catalog
Paper Pumpkin
by Tracy | Jun 29, 2020 | Card Sampler, Designer Series Paper, Die-Cutting, Embossing Folders
Today’s the last day to grab my Mini Card Sampler! Place a minimum $35 order at my Stampin’ Up! Online Store using the host code ECXAHDJY and I’ll send you three card kits with envelopes along with a PDF Tutorial. All the paper will cut, scored, die-cut, punched and embossed for you! You’ll just need to supply your own ink, stamp set and adhesive.

I call it a sampler because I use a variety of products for you to play with. Each card is packaged and labeled so you can complete them when you have time. Simply refer to the PDF that you’ll receive within 24 hours of your order. For all the details, click here.

Click here to place an order!
There are only two days left to take advantage of the Starter Kit Special! The Starter Kit is always a great deal because for $99 you’ll choose $125 worth of Stampin’ Up! product and it will all ship FREE! But, there’s more! You’ll also be able to choose any bundle in the catalog!
Who’s the Starter Kit for? Anyone and everyone!! Seriously!
- The Starter Kit is for someone who loves stamping.
- The Starter Kit is for someone who’d like to save money on all their favorite Stampin’ Up! products.
- The Starter Kit is for someone who’d like to make extra money doing something they love.
You do not have to sell Stampin’ Up! products to purchase the Starter Kit! When I purchased it 11 years ago, I did it only for the discount because I LOVED (and still do) everything in the catalog!
In addition to choosing $125 worth of Stampin’ Up! product YOU want, during the Starter Kit Special, you can also choose ANY bundle in the catalog plus it will all ship FREE. You can find all the bundles in the catalog on pages 168-169 & pages 173-179. They range in price between $31.50 – $60.25. It’s truly a great deal but it ends tomorrow! For more information, click here or feel free to email me with any questions you might have!
Click here to purchase the Starter Kit!
by Tracy | Jun 26, 2020 | Masking
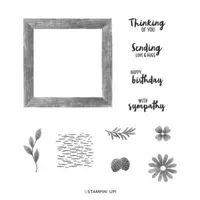
To create today’s card, I used a technique called masking and it features the stamp set, Framed For You.
The base of my card is Thick Whisper White cardstock with a layer of Magenta Madness cardstock.The top layer is our regular Whisper White cardstock. I took a piece of Blue Painter’s Tape (you can find this at the grocery store, Target or probably even a drug store) and made it a little bit longer than my Whisper White cardstock, so about 6-1/2″. Before taping it to my cardstock, I taped it to my arm (sounds silly, I know). I did this several times to get some of the stickiness off the tape. If you’re wearing long pants. that will work too. You’ll want to do this step because if the tape is too sticky, it will rip your paper when you remove it. After doing that process several times, I placed the tape in the middle of my cardstock because that’s where I wanted the sentiment to be.

Next, I stamped the flowers and leaves in Magenta Madness, Daffodil Delight and Old Olive ink using the stamp set, Framed For You. Because I wanted the flowers and leaves to look as though they were behind the sentiment, I stamped so that some of each image was on the Whisper White cardstock and some on the blue tape. Once I finished, I carefully pulled the blue tape off the paper. Voila! A masterpiece! Just a word of warning, the ink will be sitting right on top of the tape, so be careful where you put it once you remove it (ask me how I know).

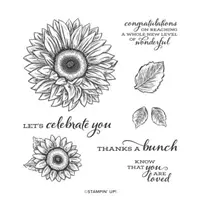
Next, I stamped the sentiment in Memento Ink using the stamp set, Celebrate Sunflowers. If you wanted, you could always stamp your sentiment first and then place the blue tape over it.

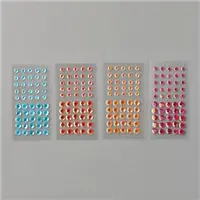
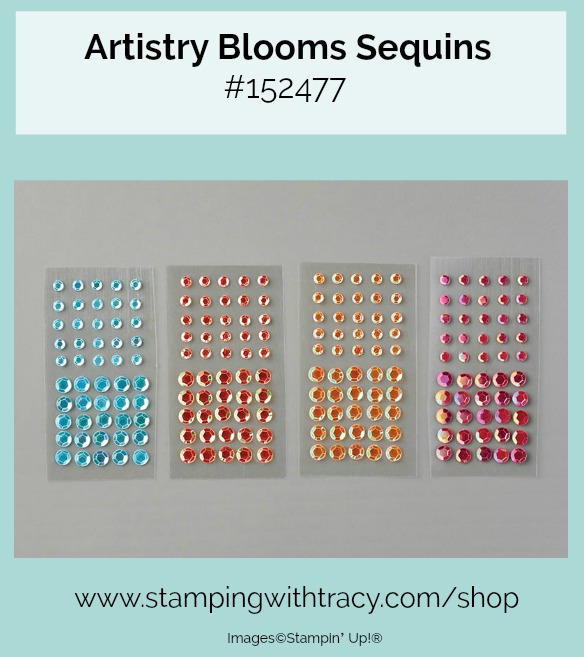
To complete the card, I added three Artistry Blooms Sequins. These are so easy to use because they have adhesive on the back!
I hope you’ll give this technique a try! I had to practice several times because I didn’t like where I placed the flowers and leaves. You might want to practice on a piece of computer paper cut to the size of the cardstock you’ll be using. I did that and once I was happy with my results, I just looked at my practice piece and replicated it. Have fun!!
Supply List
If you need any stamping supplies, I’d love to be your demonstrator! You can place an order by clicking any of the images below to go to my Stampin’ Up! online store. If you have questions about products you’re considering purchasing or ones you’ve already purchased, I’m just an email away (click the Email Me button on the sidebar of my blog).
Non-Stampin’ Up!: Blue Painters Tape
Measurements
- Thick Whisper White cardstock: 11″ x 4-1/4″
- Magenta Madness cardstock: 5-1/4″ x 4″
- Whisper White cardstock: 5″ x 3-3/4″
June Mini Card Sampler
Receive my FREE Mini Card Sampler when you place a minimum $35 order at my Stampin’ Up! online store using the host code ECXAHDJY and I’ll send you three card kits along with a PDF Tutorial. Click here for all the information. Offer valid until Monday, June 29, 2020.
There are only a few days left to take advantage of the Starter Kit Promotion. Purchase the Starter Kit before June 30, 2020 and you’ll be able to add ANY bundle in the catalog, this is in addition to choosing $125 worth of products AND the Starter Kit ships FREE. The Starter Kit is absolutely risk free and such a great deal! If you’d like more information, click here!
People purchase the Starter Kit for all kinds of reasons whether it’s to start a business or just purchase for themselves and get a discount. Mary, who recently purchased the Starter kit had this to say: ” I had no idea that I could do the starter kit without selling to others”

Tracy’s Quick Links
Place an Order
My Customer Rewards
Bradley Points
$99 Starter Kit
Clearance Rack
2020-2021 Annual Catalog
Paper Pumpkin
by Tracy | Jun 25, 2020 | Card Sampler, Designer Series Paper, Die-Cutting, Embossing Folders, Stitched Shapes Dies
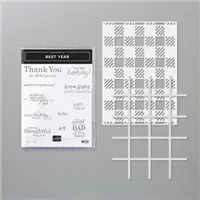
Today’s card features Peony Garden Designer Series Paper and the Best Year stamp set.

I used Thick Whisper White cardstock for the base of my card and then layered it with Pool Party and Basic Black cardstock. Some texture was added to the Pool Party by using the Tasteful Textile 3D Embossing Folder. Then there’s another layer of Basic Black with Peony Garden Designer Series Paper. This layer was popped up with Stampin’ Dimensionals.
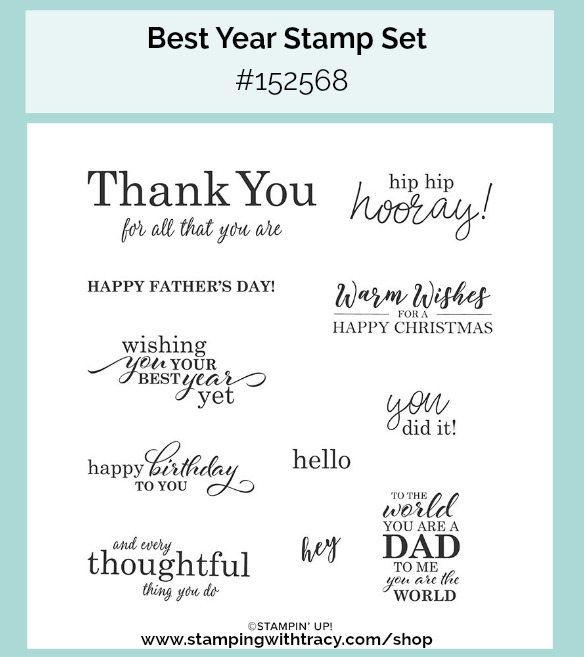

The sentiment was stamped in Memento ink onto Whisper White cardstock, cut out using the Stitched Shapes Dies and popped up with Stampin’ Dimensionals. Three Holiday Rhinestones in Coastal Cabana were added to complete the card. If you’d like to make today’s card, you can find the measurements I used below the Supply List.


Supply List
If you need any stamping supplies, I’d love to be your demonstrator! You can place an order by clicking any of the images below to go to my Stampin’ Up! online store. If you have questions about products you’re considering purchasing or ones you’ve already purchased, I’m just an email away (click the Email Me button on the sidebar of my blog).
Measurements
- Thick Whisper White cardstock: 11″ x 4-1/4″
- Basic Black cardstock: 5-1/4″ x 4″
- Basic Black cardstock: 4-1/8″ x 2-7/8″
- Pool Party cardstock: 5″ x 3-3/4″
- Whisper White cardstock: scrap for sentiment
- Peony Garden Designer Series Paper: 3-7/8″ x 2-5/8″
June Mini Card Sampler
Receive my FREE Mini Card Sampler when you place a minimum $35 order at my Stampin’ Up! online store using the host code ECXAHDJY and I’ll send you three card kits along with a PDF Tutorial. Click here for all the information. Offer valid until Monday, June 29, 2020.
There are only a few days left to take advantage of the Starter Kit Promotion. Purchase the Starter Kit before June 30, 2020 and you’ll be able to add ANY bundle in the catalog, this is in addition to choosing $125 worth of products.The Starter Kit is risk free and such a great deal! If you’d like more information, click here!
Tracy’s Quick Links
Place an Order
My Customer Rewards
Bradley Points
$99 Starter Kit
Clearance Rack
2020-2021 Annual Catalog
Paper Pumpkin
by Tracy | Jun 23, 2020 | Card Sampler, Designer Series Paper, Die-Cutting, Embossing Folders
My June Mini Card Sampler is now available but only for a limited time.
Here’s how you can earn my FREE Mini June Card Sampler:
- Place a minimum $35 order (before tax/shipping) at my Stampin’ Up! online store.
- Use my special June Mini Card Sampler Host Code when placing your order: ECXAHDJY
- Place your order on or before Monday, June 29, 2020.
- If your order reaches $150 or more, please DO NOT use the host code so you can receive Stampin’ Rewards (free product directly from Stampin’ Up!). Once you place your order, simply drop me an email letting me know that you’d like the Card Sampler (you only need to contact me if your order is over $150).
Here’s What You’ll Receive:
- All the paper and embellishments needed to make 3 cards. The paper will be cut, scored, embossed and die cut for you! You’ll need to supply your own adhesive, ink and stamp set (per Stampin’ Up! I cannot send stamped images). Envelopes will also be provided for each card.
- A PDF Tutorial with instructions, pictures, cutting measurements and a complete supply list of all the products used.
All the Other Important Stuff
- Your kits will ship first-class mail no later than Monday, July 6, 2020 and will be mailed to the address used on your online order.
- Your PDF Tutorial will be emailed to you within 24 hours.
- When using the June Mini Card Sampler Host Code to place your order, you will not qualify for my regular Customer Rewards Card Kits.
- Per Stampin’ Up! policy, kits can only be mailed within the United States.
- Limit 1 kit per person
The special June Mini Card Sampler HOST CODE will close at the end of the day on Monday, June 29, 2020 and after that date, the card sampler will no longer be available.
Expected ship date of the kits is Monday, July 6, 2020.
Click here to place an order!
Supplies Needed to Complete the June Mini Card Sampler
Listed below are the supplies, not included in your kit, that you’ll need to complete the cards exactly as shown (or you can use what you already own). Simply click any of the products and you’ll be taken to my Stampin’ Up! online store. When placing your order, don’t forget to use the special June Mini Card Sampler host code (please do not use host code if your order is over $150 – see above).
If you aren’t sure how to use a host code, click here!
If you have questions, please don’t hesitate to contact me!
by Tracy | Jun 23, 2020 | Designer Series Paper, Die-Cutting, Embossing Folders, Free Tutorial
It’s Tuesday and I have another free tutorial for you! This week the tutorial is for a card I shared several weeks ago. You can download the tutorial below the Supply List. Enjoy!


Supply List
If you need any stamping supplies, I’d love to be your demonstrator! You can place an order by clicking any of the images below to go to my Stampin’ Up! online store. If you have questions about products you’re considering purchasing or ones you’ve already purchased, I’m just an email away (click the Email Me button on the sidebar of my blog).
Starter Kit
There are only a few days left to take advantage of the Starter Kit Promotion. Purchase the Starter Kit before June 30, 2020 and you’ll be able to add ANY bundle in the catalog, this is in addition to choosing $125 worth of products.The Starter Kit is risk free and such a great deal! If you’d like more information, click here!
Tracy’s Quick Links
Place an Order
My Customer Rewards
Bradley Points
$99 Starter Kit
Clearance Rack
2020-2021 Annual Catalog
Paper Pumpkin
by Tracy | Jun 22, 2020 | Designer Series Paper, Die-Cutting, Embossing Folders
Today’s card features Playing with Patterns 6″ x 6″ Designer Series Paper and Meadow Moments Embossing Folders.
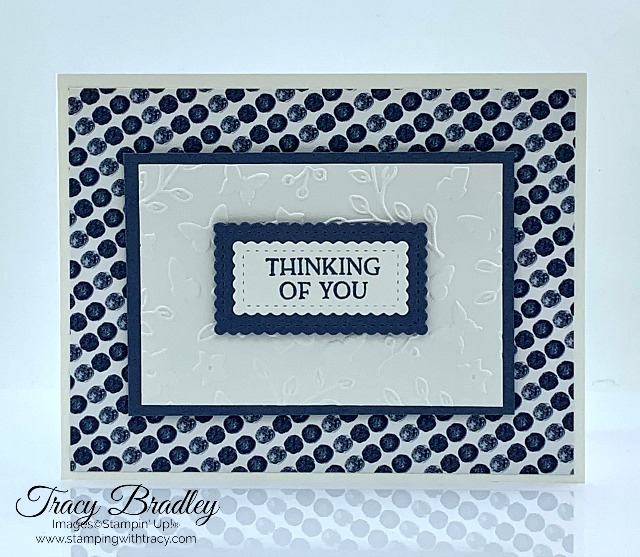

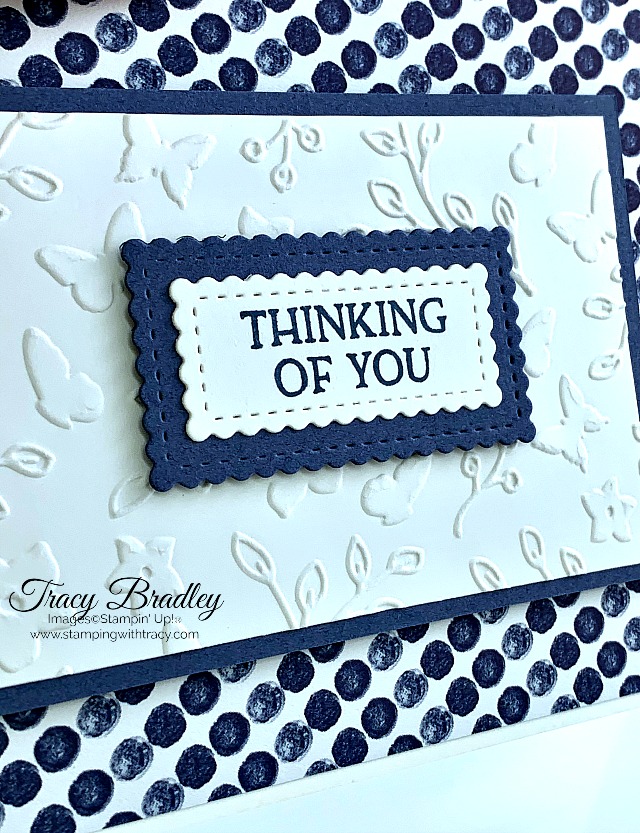
I used Thick Whisper White for the base of my card and then added a piece of Playing with Patterns Designer Series Paper (all the measurements I used can be found below the Supply List). Next came a layer of Misty Moonlight cardstock with an embossed piece of Whisper White cardstock. I used the Meadow Moments Embossing Folders which is a set of embossing folders, half the size of our regular embossing folders. I added Stampin’ Dimensionals to this layer to give it some pop.

The sentiment was stamped onto Whisper White cardstock and cut out using a die-cutting machine and the Stitched So Sweetly Dies. It was layered with another larger rectangle in the set using Misty Moonlight cardstock. I also added Stampin’ Dimensionals to the back of this piece, too.
Bundle Alert
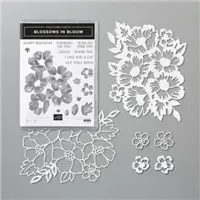
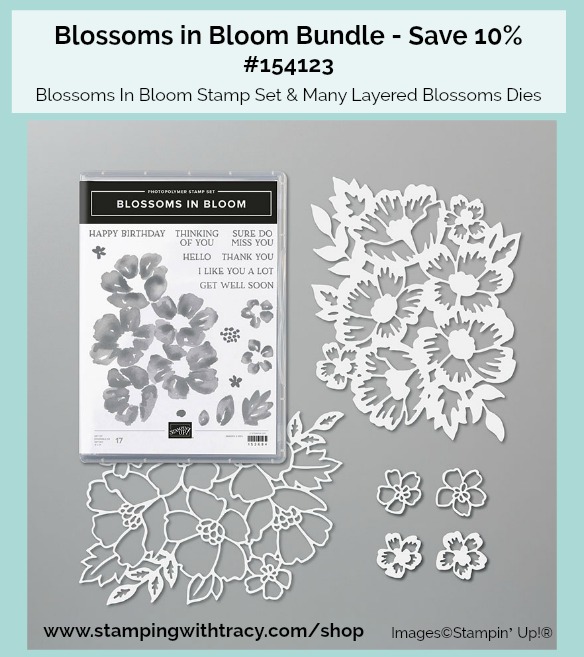
I used the Blossoms in Bloom stamp set on my card today. You can purchase the stamp set along with the coordinating dies as a bundle and save 10%.
Supply List
If you need any stamping supplies, I’d love to be your demonstrator! You can place an order by clicking any of the images below to go to my Stampin’ Up! online store. If you have questions about products you’re considering purchasing or ones you’ve already purchased, I’m just an email away (click the Email Me button on the sidebar of my blog)
Measurements
- Thick Whisper White cardstock: 11″ x 4-1/4″
- Whisper White cardstock: 3-3/4″ x 2-1/2″
- Whisper White cardstock: scrap for sentiment
- Playing with Patterns Designer Series Paper: 5-1/4″ x 4″
- Misty Moonlight cardstock: 4″ x 2-3/4″
- Misty Moonlight cardstock: scrap for stitched rectangle

Click here to place an order

There are only a few days left to take advantage of the Starter Kit Promotion. Purchase the Starter Kit before June 30, 2020 and you’ll be able to add any bundle in the catalog, this is in addition to choosing $125 worth of products.The Starter Kit is risk free and such a great deal! If you’d like more information, click here!
Tracy’s Quick Links
Place an Order
My Customer Rewards
Bradley Points
$99 Starter Kit
Clearance Rack
2020-2021 Annual Catalog
Paper Pumpkin