by Tracy | Feb 25, 2026 | Thank You Card
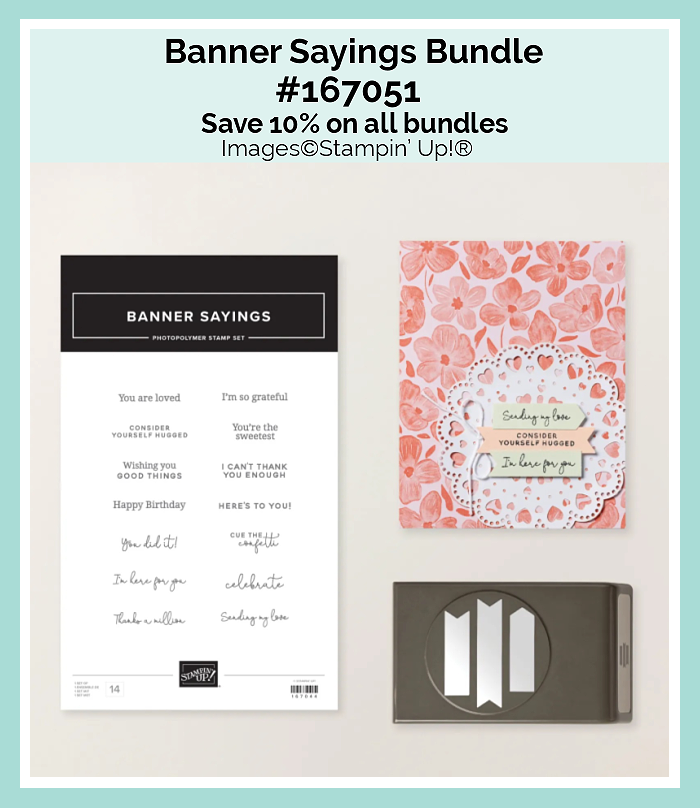
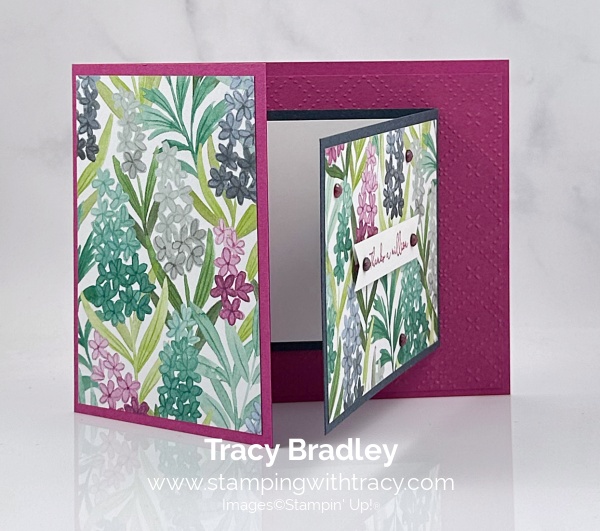
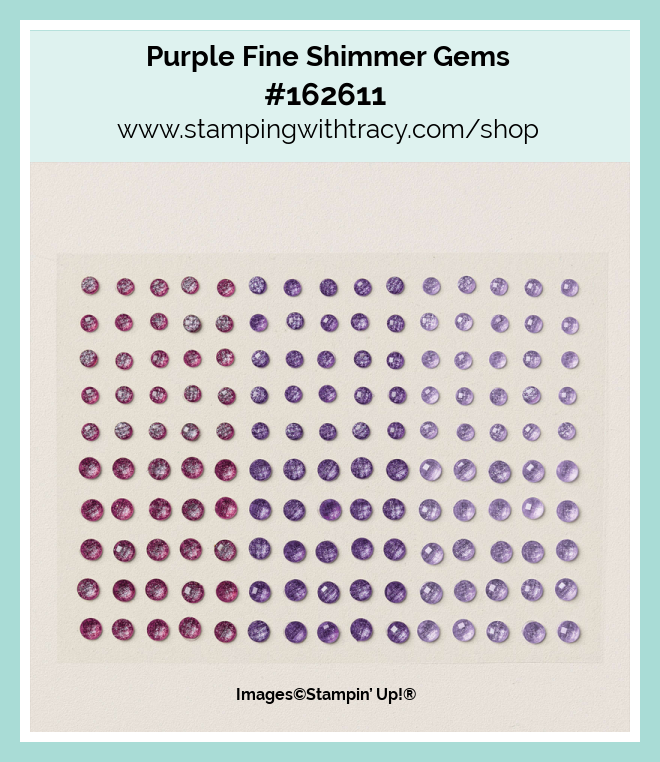
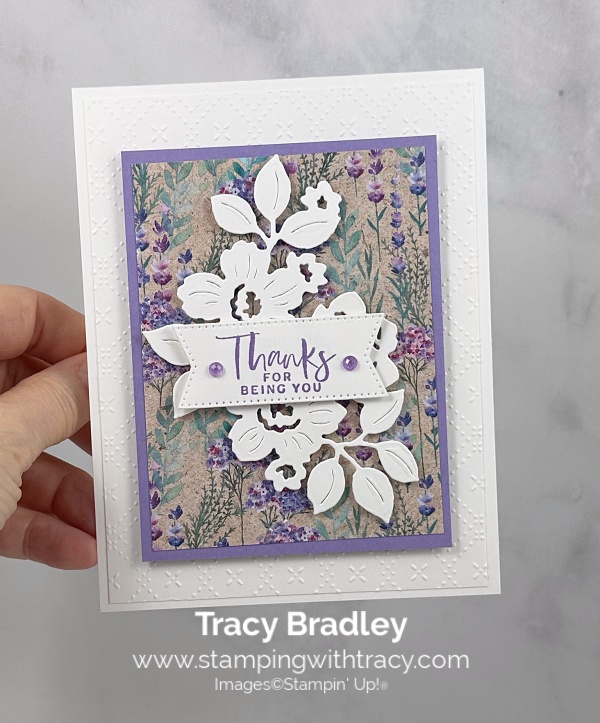
To make my thank you card, I used Florals in Bloom Designer Series Paper, the Banner Sayings Bundle (an Online Exclusive, Beautiful Pattern 3D Embossing Folder (an Online Exclusive) and Purple Fine Shimmer Gems. You can see another variation, here.
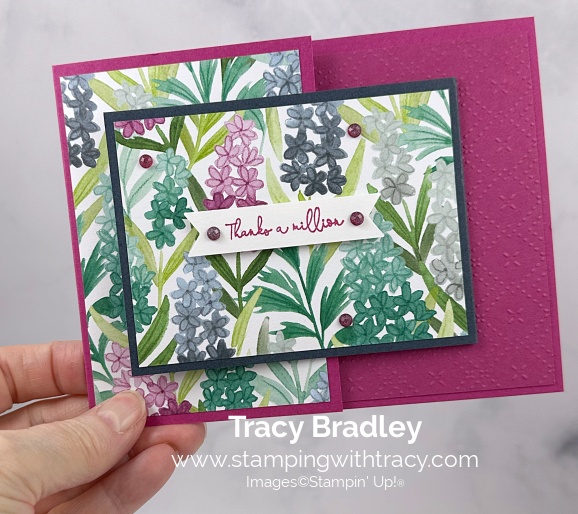

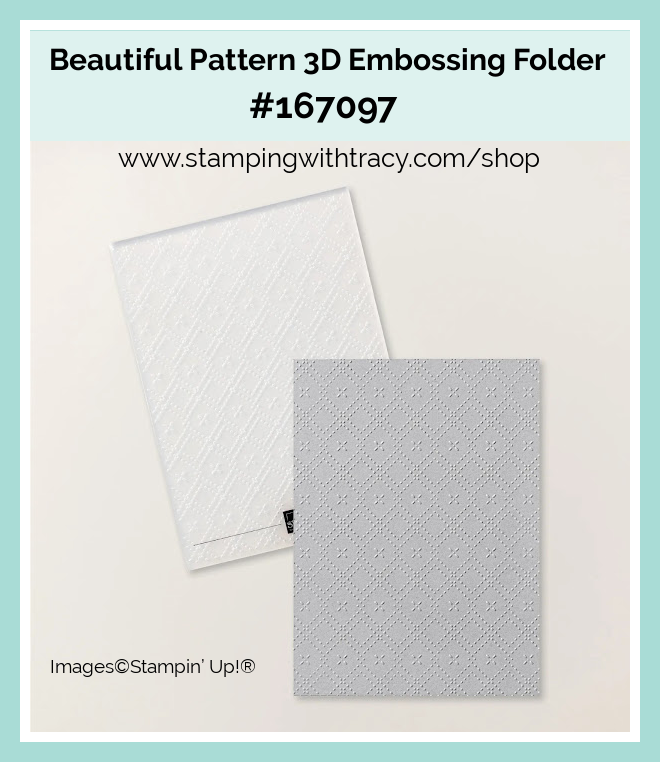
I started off with Berry Burst cardstock base (you can find the measurements I used below the Supply List). I cut another piece of Berry Burst cardstock and embossed it, using the Beautiful Pattern 3D Embossing Folder and my Stampin’ Cut & Emboss Machine. I adhered it to the back panel.
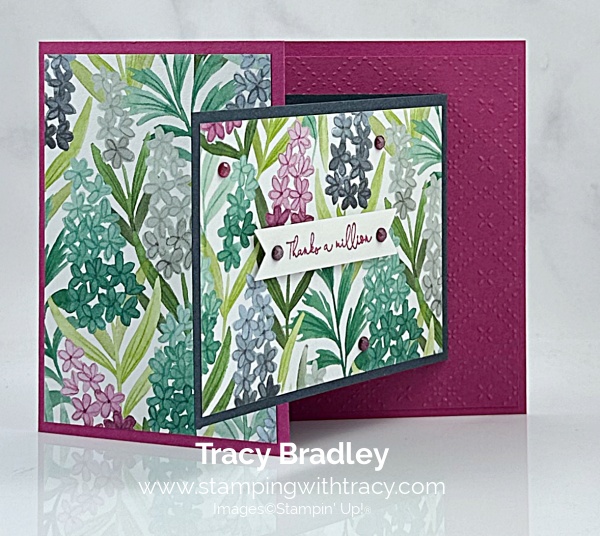
I cut a piece of Secret Sea cardstock and scored it in the middle (you can find the exact measurement, I used below the Supply List). I cut two pieces of Florals in Bloom Designer Series Paper and adhered one to the outside panel and another one to the front of Secret Sea cardstock. I then adhered the Secret Sea cardstock to the inside of the card making sure the flap is on the outside of the card.
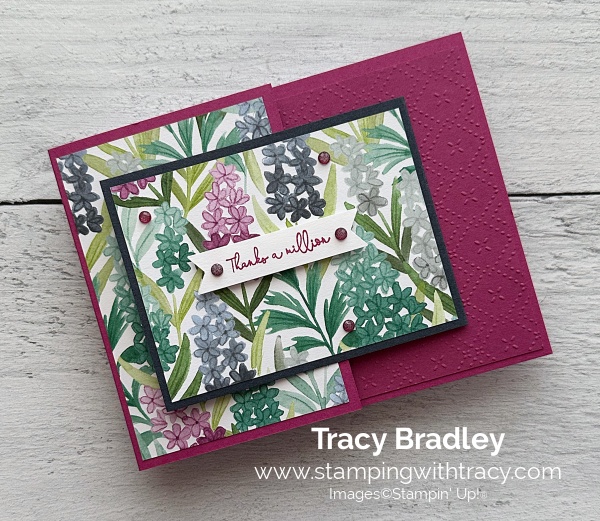
I stamped the sentiment onto Basic White cardstock using Banner Sayings Stamp Set in Berry Burst ink. When I use the Three Banner Punch, I like to cut out all the banners and I keep them in a bowl beside my craft table, so I stamped directly on the banner. I adhered the sentiment to the Florals in Bloom Designer Series, added Stampin’ Dimensionals to the back and adhered it to the Florals in Bloom Designer Series Paper.
To complete my card, I added a piece of Basic White cardstock to the inside of the card and added two Purple Fine Shimmer Gems in Berry Burst to each end of the sentiment and three more to the Florals in Bloom Designer Series Paper.
Supply List
Below you’ll find all the Stampin’ Up! supplies I used for today’s card. If you need any stamping supplies, I’d love to be your demonstrator! You can place an order by clicking any of the images below to go to my Stampin’ Up! online store. The Specialty Plate is used with 3D Embossing Folders and Hybrid Embossing Folders.
Measurements
- Berry Burst cardstock: 8-1/2″ x 4-1/4″ scored at 3″
- Berry Burst cardstock (embossed): 4″ x 5-1/4″
- Secret Sea cardstock (insert): 8″ x 3″ scored at 4″ I inadvertently left the Secret Sea cardstock off
- Florals in Bloom Designer Series Paper (left panel): 2-3/4″ x 4″
- Florals in Bloom Designer Series Paper (front of Secret Sea panel): 3-3/4″ x 2-3/4″
- Basic White cardstock (inside card): 3-3/4″ x 2-3/4″
- Basic White cardstock (sentiment): cut out the banner and directly stamp on it
Retiring In Colors 2024-2026
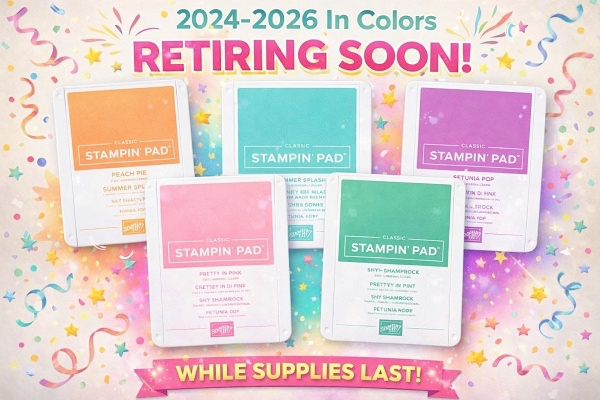
Some stamp pads and cardstock are in low inventory! Click here to see what’s still around. The link is only for the first page.
Join Offer – February 3rd – March 2nd
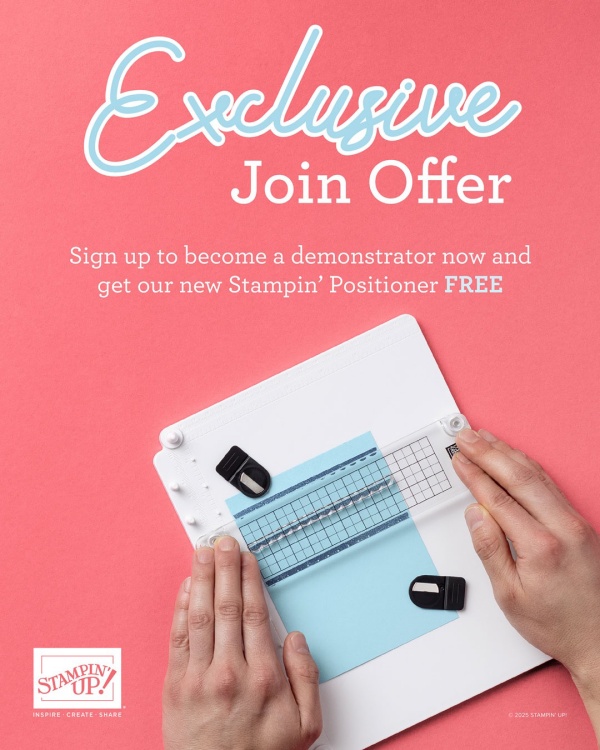
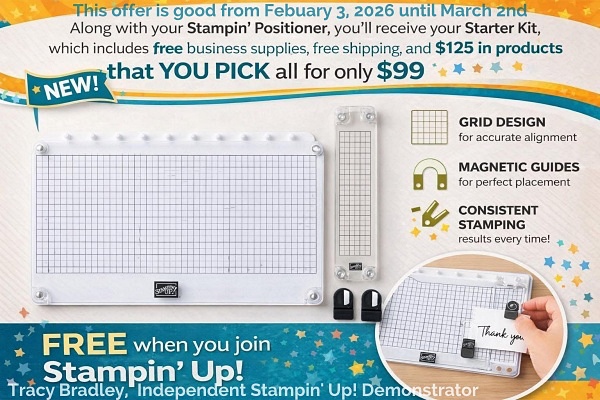
When you sign up to be a demonstrator beginning February 3, 2026, you will get a FREE Stampin’ Positioner!
What’s the Stampin’ Positioner?
It’s our new stamping alignment tool that makes stamping easier and more accurate. It allows you to stamp precisely aligned images, create repeating patterns and Two-Step Stampin’ images easily, and make multiple projects in minutes.
Stampin’ Positioner Grid Paper will also be available for but it isn’t available in the Starter Kit!
****If you’d like to see a flyer on this offer, click here.****
Join Offer Details
- New team members who purchase their Starter Kit February 3–March 2 will also receive our new Stampin’ Positioner.
- New demonstrators who submit their Independent Demonstrator Agreement (IDA) before February 3 or after March 2 will not be eligible for this offer.
- The Stampin’ Positioner is a $49 value!
When I purchased the Starter Kit in 2009, it was solely for the discount. I loved the products and would go through the catalog numerous times from cover to cover every chance I got! The Starter Kit is completely customizable and you can choose what you want. When I joined, the kit was preselected by Stampin’ Up! so I love that you can pick what you want now. I love being a Stampin’ Up! demonstrator!
The Stampin’ Up! Starter Kit is for someone who loves purchasing Stampin’ Up! products and also loves getting a 20%+ discount! But, it’s also for the person who would like to start their own business and share their love of paper crafting. You never have to sell or have a party (unless you want to). See below for frequently asked questions about the Starter Kit.
Commonly Asked Questions
- If I purchase the Starter Kit, do I have to sell Stampin’ Up! products to my family and friends? No, you are under NO obligation to sell. You can be your only customer. Of course once your friends see the cute cards you’re making, they’ll want to buy their stamping supplies from you.
- Will I receive a discount on any products I buy? Yes!! This is the best part! You’ll receive at least a 20% discount on all your purchases.
- Do I have to buy/sell a certain amount of product? The quarterly minimum is $300 in product (which is only $240 after your discount!) that can be from personal orders, online orders or ones from family and friends. The quarters are January – March, April – June, July – September, October – December. Once you join, your quarterly minimum begins during your first FULL quarter.
- What if I can’t make the quarterly minimum? You’ll simply be dropped. No one will hassle you. No one will bother you. It truly is risk free to purchase the Starter Kit!
Are there other perks to purchasing the Starter Kit? Yes! Here are just a few:
- The Starter Kit ships FREE!
- Approximately a month before new products are released, you’ll be able to participate in a preorder and purchase brand new products ahead of the public
- Attend Stampin’ Up! events like OnStage
- Personal purchases of $20 are eligible to receive Stampin’ Rewards. Yes, demonstrators can also receive Stampin’ Rewards!
- Complimentary copy of each current catalog from Stampin’ Up! Once the preorder begins, a complimentary copy will be included in your order. If no preorder is made, the catalog will be included in the first order placed during the catalog sales period.
- Free access to the tutorials I give to my customers!
- You wouldn’t have to have your quarterly minimum until July 2026!
If you have more questions, please reach out to me sending an email to me (you can send me an email on the sidebar of my blog).
Bonus Days Redemption – Ends on February 28th!

If you don’t see my picture, click again, please
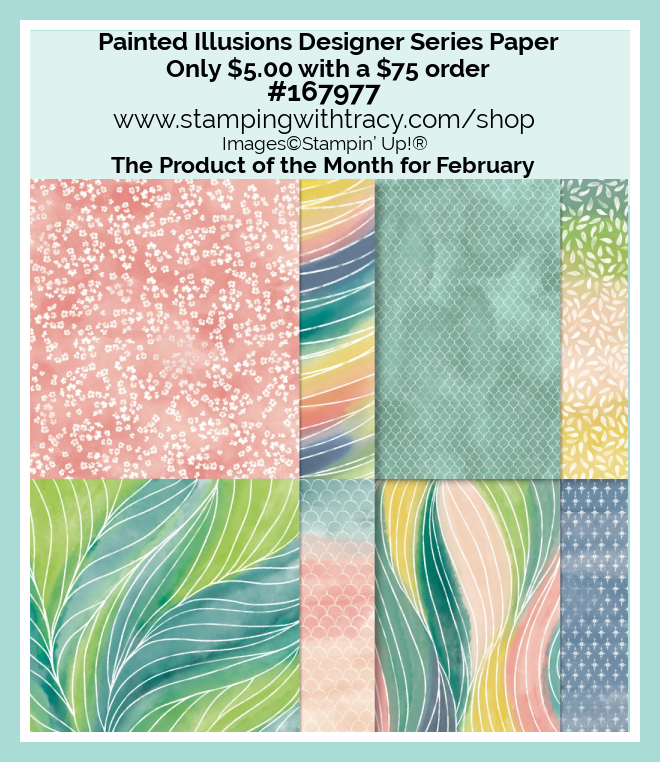
February Product of the Month

Each month, a single product of the month will be released. These items won’t be in any catalog or on the Online Exclusives page on the Stampin’ Up! website. Stock is limited, so once a Product of the Month sells out, it’s gone for good. Make sure if you like the Product of the Month, to snag your Product of the Month early!
Product of the Month Details
- You must have a Stampin’ Up online account to participate.
- Add the Product of the Month after your cart reaches $75. You can purchase the Product of the Month for just $5! The cart must be $75 (after Stampin’ Rewards).
- Limit 1 per Stampin’ Up! account.
- You must add the The Product of the Month to your cart after you reach $75
The Product of the Month for February
For more information about the Product of the Month, click here, or the graphic below.
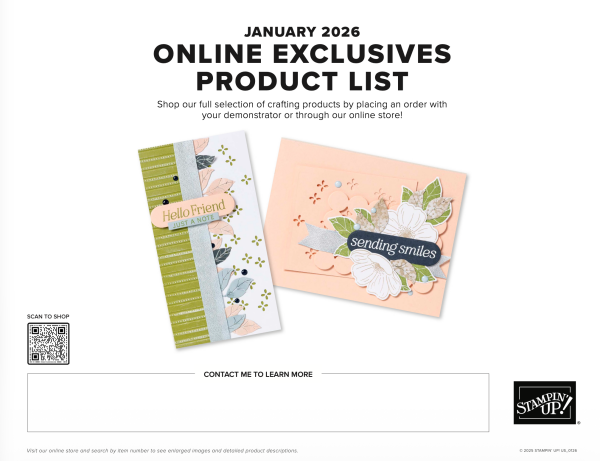
Online Exclusives – January 2026
Click the graphic below to access the January Online Exclusives Product List! Stampin’ Up! has made a printable flyer and they’ve made it much easier to shop the new products! You won’t find Online Exclusives in any catalog, they’ll be listed in the Online Store. Click here to shop Online Exclusives. Click here to download the January 2026 Online Exclusive Product List.
Last Chance Products
Click here to go straight to the Last Chance Products page on the Stampin’ Up! site! Some products are discounted! More products were added on February 3, 2026!
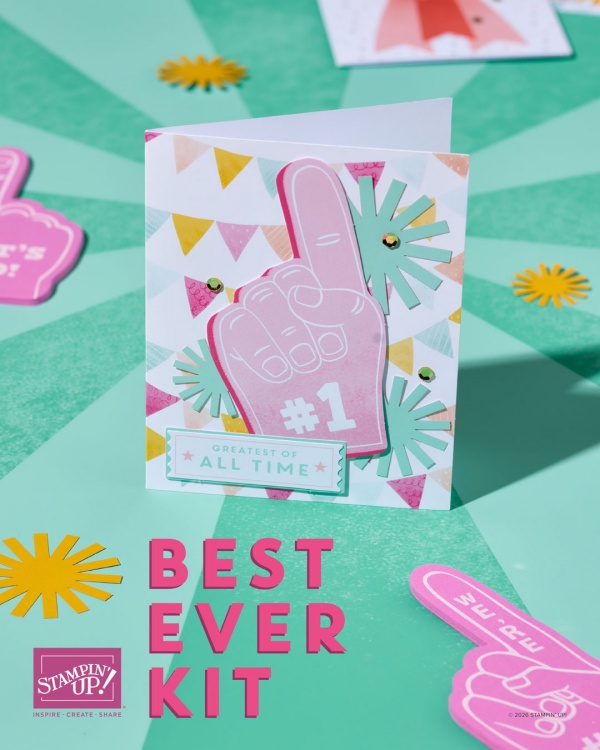
Stampin’ Up! Kits – We Have Two New Kits
Click the images below for more information about the kits.

Paper Pumpkin for March – Subscribe by March 10th!
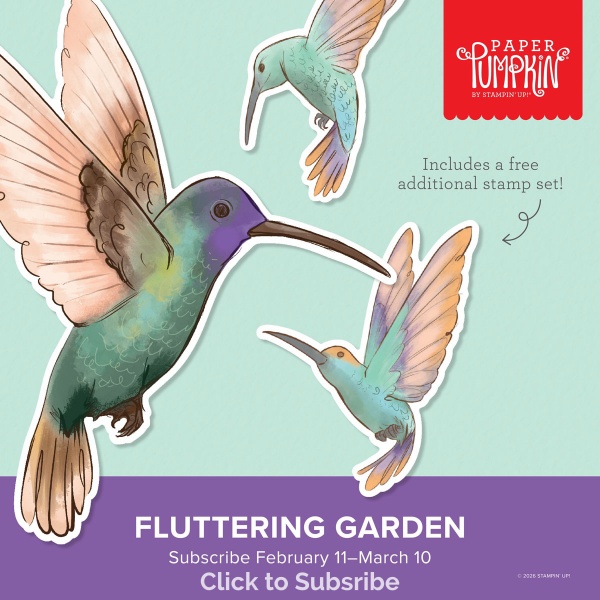
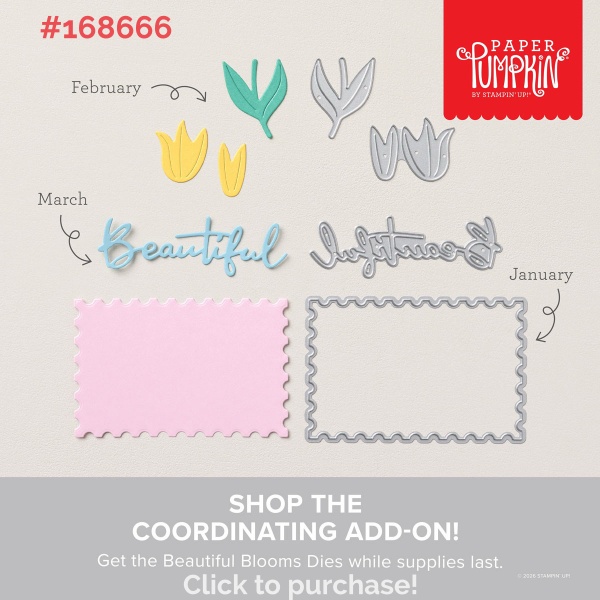
An additional coordinating add-on is available but only for Paper Pumpkin subscribers. Click the image below for more information. The dies below coordinates with the upcoming February and March Paper Pumpkin Kits!
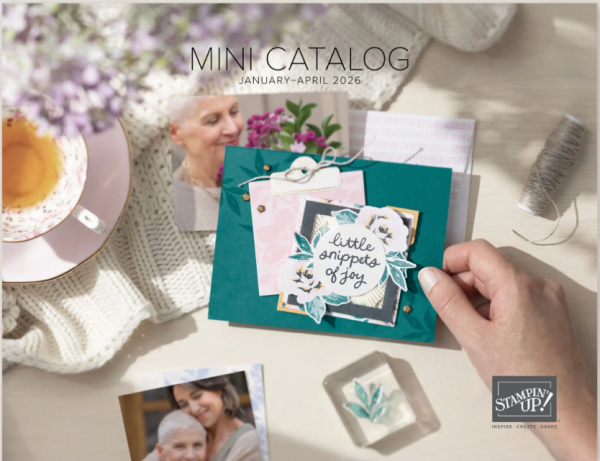
Mini Catalog January – April 2026
You can download the new Mini Catalog January – April 2026, here, or the graphic below
Thanks for stopping by today! Enjoy your day!
by Tracy | Oct 13, 2025 | Thank You Card
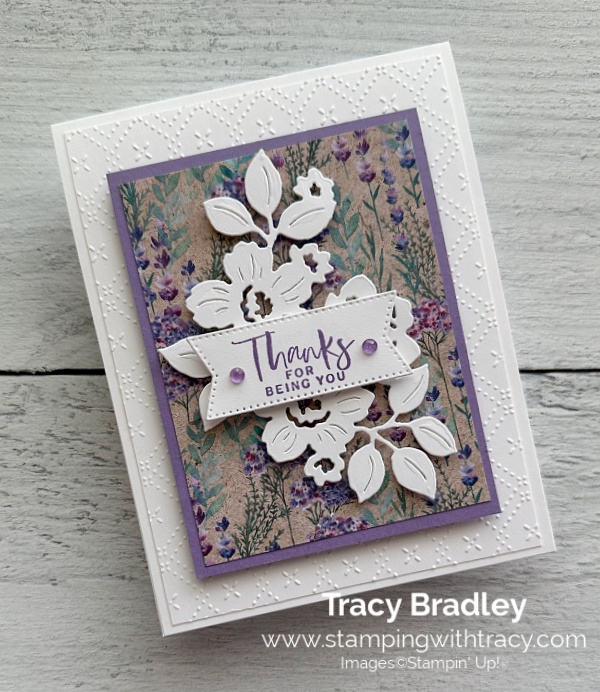
I’m sharing a card with you today that uses the Charming Day Bundle (an Online Exclusive), Perennial Lavender Designer Series Paper, Stylish Shapes Dies, Beautiful Pattern Embossing Folder (this is a sneak peek of this embossing folder. It will be an Online Exclusive #167097, available on November 4, 2025) and Purple Fine Shimmer Gems.

I started off with a piece of Basic White Thick cardstock for the base of my card. Then I embossed a piece of Basic White cardstock using the Beautiful Pattern Embossing Folder (it will be available to order on November 4, 2025). Next, I adhered the embossed cardstock to the front of the card.
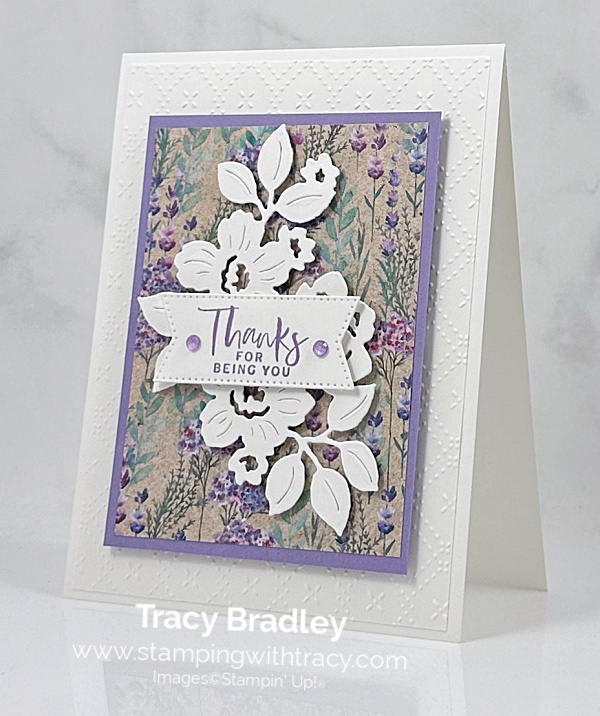

I layered a piece of Perennial Lavender Designer Series Paper to a piece of Highland Heather cardstock. Then, I added Stampin’ Dimensionals to the back and adhered it to the front of the card.
Next, I cut the flowers and leaves out of Basic White cardstock using the Charming Day Dies. I added Mini Stampin’ Dimensionals to the back and adhered it to the front of the card.
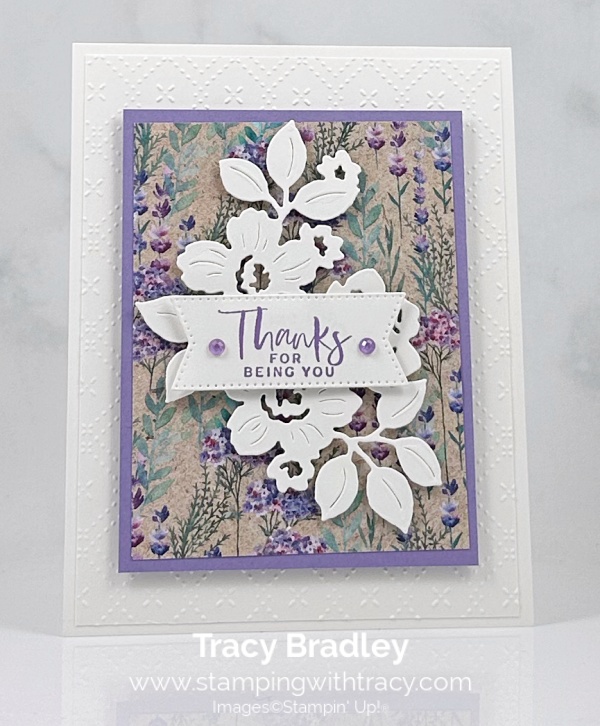

I stamped the sentiment on Basic White cardstock using the Charming Day Stamp Set in Highland Heather ink. I cut it out using the Stylish Shapes Dies. To complete my card, I added two Purple Fine Shimmer Gems at each end of the sentiment.
Supply List
Below you’ll find all the Stampin’ Up! supplies I used for today’s card. If you need any stamping supplies, I’d love to be your demonstrator! You can place an order by clicking any of the images below to go to my Stampin’ Up! online store.
I also used the Beautiful Pattern Embossing Folder #167097 (an Online Exclusive, it will be available on November 4, 2025)!
Measurements
- Thick Basic White cardstock: 4-1/4” x 11” scored at 5-1/2” OR 5-1/2” x 8-1/2” scored at 4-1/4” the only difference is how the card opens
- Basic White cardstock (embossed): 4″ x 5-1/4″
- Basic White cardstock (flowers & leaves): approximately 3″ x 4-1/4″
- Basic White cardstock (sentiment): approximately 2-3/4″ x 1-1/2″
- Highland Heather cardstock: 3-1/4″ x 4-1/4″
- Perennial Lavender Designer Series Paper: 3″ x 4″
Online Exclusives – September 2025
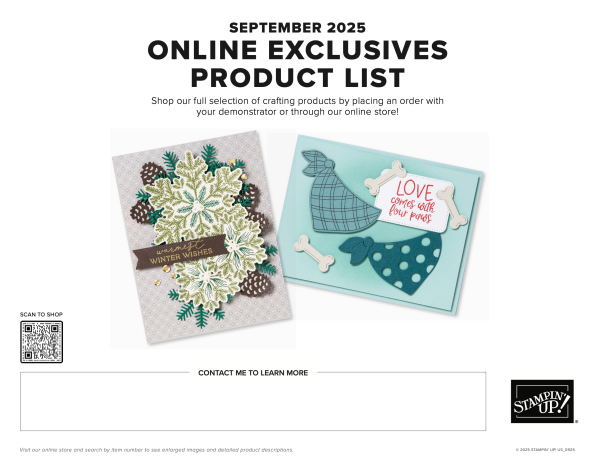
Stampin’ Up! has made a printable flyer and they’ve made it much easier to shop the new products! You can get to the flyer by clicking here or the above graphic.
You won’t find Online Exclusives in any catalog, they’ll be listed in the Online Store. Click here to shop Online Exclusives.
Best Starter Kit Offers Ever
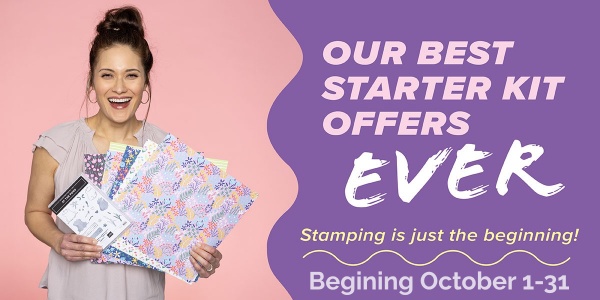
These are phenomenal offers, the best ever since I’ve been a demonstrator! If you love Stampin’ Up! products, you should consider getting the Starter Kit!
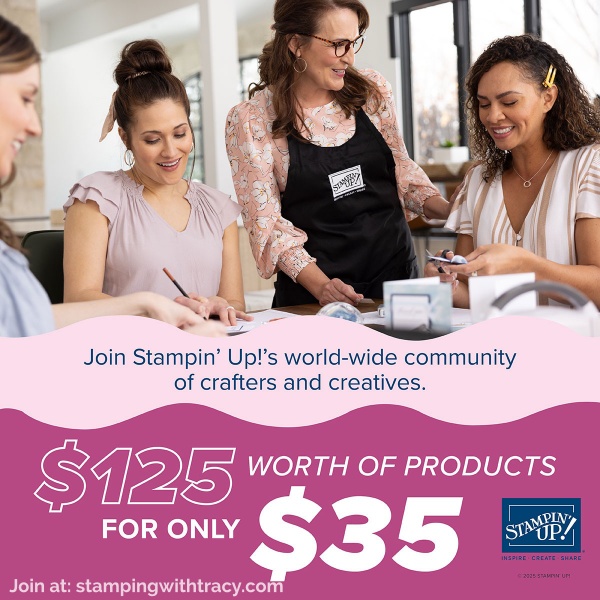
Stampin’ Up! is doing a join offer October 1st and running through the end of the month! You will be able to choose from two offers! $125 worth of products for just $35 or $189 worth of products for just $99!
OR

Promotion Details
- Promotion Dates: October 1-31
- New team members who purchase their starter kit from October 1 to 31 will be able to choose between these two offers $125 for just $35 or $189 for just $99.
- New demonstrators who submit their Independent Demonstrator Agreement (IDA) before October 1 or after October 31 will not be eligible for these offers.
- Deadline to join October 31, 2025 at 11:59 p.m (Mountain Time).
- The Starter Kit SHIPS FREE!
If you’d like to sign up to purchase the Starter Kit, you can do it here!
If you’d like more information about the Starter Kit, please click here!
Traditions of Christmas Craft Class
To sign up for the Traditions of Christmas Craft Class, click here or the graphic below!
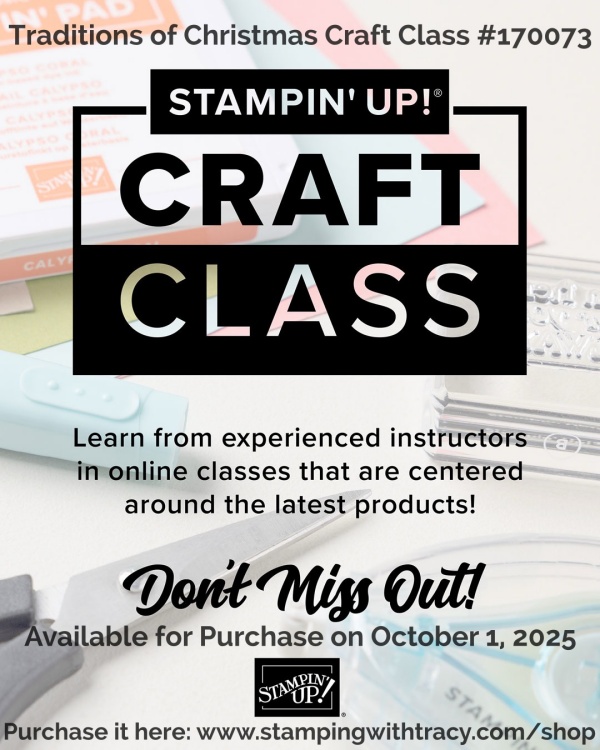
Traditions of Christmas Craft Class Details:
- Available for Purchase: October 1, 2025
- Price: $30 (Suite not included)
- Live Stream: October 23 at 2:00 p.m. (MT)
- Where: An exclusive Facebook page
- Class: Traditions of Christmas Craft Class (170073)
- Product: Traditions of Christmas Suite Collection (165877)
- Language: The class will be presented in English.
- Video on Demand: We will record this live class, which will be available as a video on demand right after the live stream. Videos with English, French, German, and Dutch captioning will be available through the Facebook page one week after the live stream.
Click here for the Additional Supplies You’ll Need!
Last Chance Products

Click here to go straight to the Last Chance Products page on the Stampin’ Up! site! Some products are discounted! More products were added on October 1, 2025!
12 Days of Crafting Advent Calendar
To learn more about the 12 Days of Crafting Advent Calendar, just click the graphic below.

Introducing the 12 Days of Crafting Advent Calendar, a brand-new calendar full of products that you can craft with all year long! Every day of this calendar contains never-before-seen dies, paper, embellishments, and even more items you won’t find in any of our catalogs or in our online store. Once these calendars are sold out, they’ll be gone for good, so make sure you buy one before they’ve disappeared.
Advent Calendar Details
- Item: 12 Days of Crafting Advent Calendar (167335)
- Price: $99
- Includes: Exclusive dies, paper, embellishments, and more
- Ordering Begins: September 23, 2025
- Available only while supplies last.
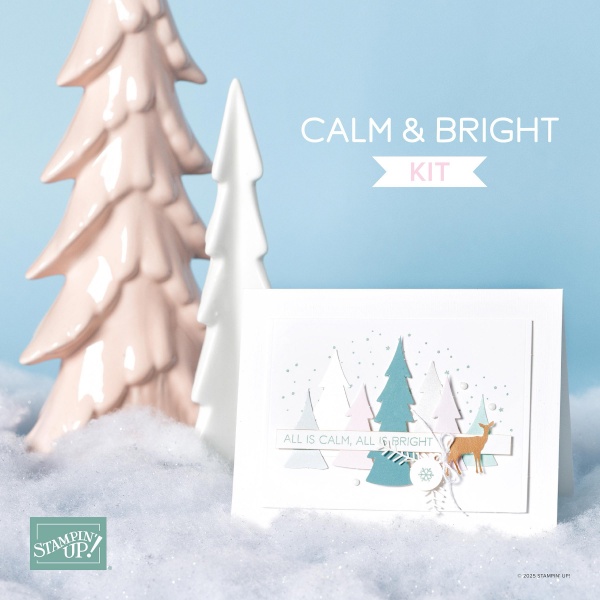
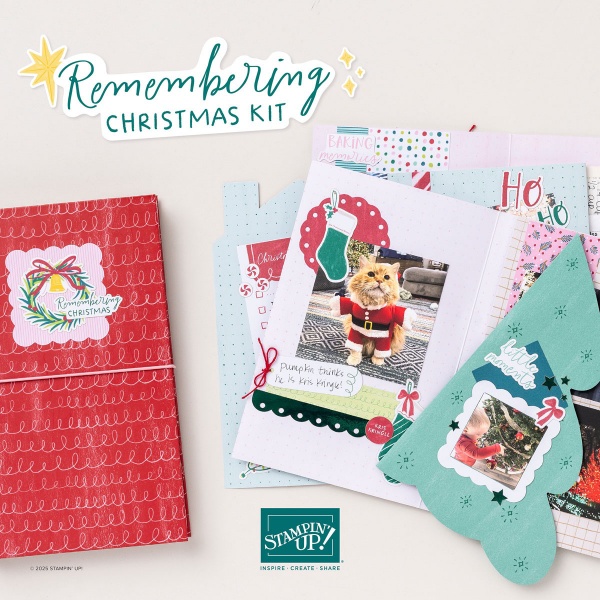
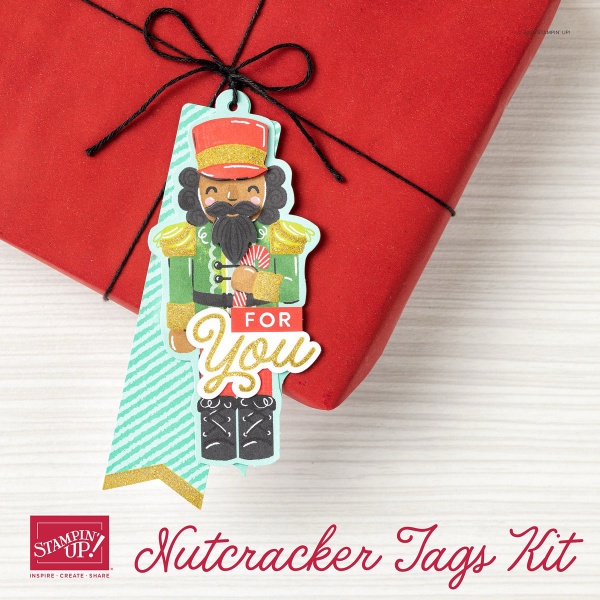
Stampin’ Up! Kits
Click the graphics for more information about the kits.
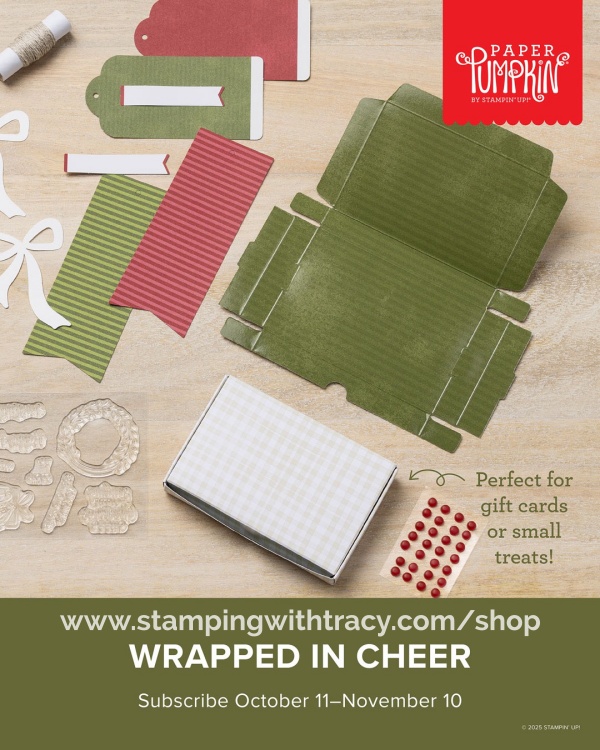
November Paper Pumpkin – Wrapped in Cheer
If you’d like to subscribe, please click the graphic below, of the kit.
This is what comes in the Wrapped in Cheer Paper Pumpkin Kit:
- Craft festive goody boxes perfect for holding gift cards or small treats!
- Makes 8 projects: 4 each of 2 tag designs with 8 identical coordinating boxes
- Foldable box bases and precut paper pieces
- Linen thread and red dot embellishments
- Coordinating colors: Basic Beige, Cherry Cobbler, Mossy Meadow
- (Classic Stampin’ Spot), Old Olive
- Delicate greenery pieces with double-sided printing add a sophisticated touch.
An additional coordinating add-on is available but only for Paper Pumpkin subscribers. Click the image below for more information.

Thanks for stopping by today! Enjoy your day!
by Tracy | Mar 14, 2025 | Hello Card
The card I’m sharing with you today was made using Mixed Florals Bundle, Beautiful Butterflies stamp set, Perennial Postage Dies, Plaster Painting 3D Embossing Folder and Purple Fine Shimmer Gems.


I started with a piece of Thick Basic White cardstock for the base of my card. Then, I embossed a piece of Highland Heather cardstock using the Plaster Painting 3D Embossing Folder and my Stampin’ Cut & Emboss Machine. Next, I adhered the embossed cardstock to the front of the card.


I die cut a piece of Basic White cardstock using the Perennial Postage Dies using the largest die in the set. I then adhered it to the front of the card. I stamped the flowers using the Mixed Florals Stamp Set in Memento Ink and then cut them out using the Mixed Florals Dies.
Next, I colored the flowers (using Highland Heather Stampin’ Blends), the leaves (using Granny Apple Green Stampin’ Blends) and the smaller flowers (using Boho Blue Stampin’ Blends). I added Stampin’ Dimensionals to the the back and adhered it to the front of the card.


I stamped the sentiment on Basic White cardstock using the Beautiful Butterflies Stamp Set and Highland Heather ink. I cut it out using the second smallest die in the Perennial Postage Dies. I added Stampin’ Dimensionals to just the top of the sentiment and adhered it to the flowers.
To complete my card, I added three large Purple Fine Shimmer Gems to the front of the card.


Supply List
Below you’ll find all the Stampin’ Up! supplies I used for today’s card. If you need any stamping supplies, I’d love to be your demonstrator! You can place an order by clicking any of the images below to go to my Stampin’ Up! online store. The Specialty Plate is used with 3D Embossing Folders and Hybrid Embossing Folders.
Measurements
- Thick Basic White cardstock: 4-1/4″ x 11 score at 5-1/2″
- Highland Heather cardstock: 4″ x 5-1/4″
- Basic White cardstock (tulips): approx. 3-3/4″ x 5-1/4″
- Basic White cardstock (Perennial Postage die cut): approx. 4-1/4″ x 5-1/2″
- Basic White cardstock (sentiment): approx. 1-1/4″ x 2-1/4″
Last Chance Products
Click here to go straight to the Last Chance Products page on the Stampin’ Up! site!
Two New Stampin’ Up! Kits
Click each graphic below for more information about the kit.


Inked Occasions Paper Pumpkin Kit
Did you know that Paper Pumpkin has moved to the Stampin’ Up! website? You can now order subscriptions and manage your subscription on the Stampin’ Up! website! If you’d like to subscribe, please click the graphic below.
If you have a current subscription to Paper Pumpkin, you will need to claim your subscription. You can follow written directions, here or you can watch a video, here.

An additional coordinating add-on is available but only for Paper Pumpkin subscribers. Click the image below for more information.

Thanks for stopping by today!
by Tracy | Mar 10, 2025 | Stampin' Blends, You Are Awesome!
Before sharing my card with you today, I wanted to let you know that the Paper Pumpkin site will shut down today and tomorrow it will back up on the Stampin’ Up! website where you can access your subscription!
The card I’m sharing with you today was created using the Everyday Arches Dies, Memorable Blooms Bundle, the Soft Waves 3D Embossing Folder and Purple Fine Shimmer Gems.


I started with a piece of Granny Apple Green cardstock for the base of my card. Then, I embossed a piece of Basic White cardstock using the Soft Waves 3D Embossing Folder and my Stampin’ Cut & Emboss Machine. Next, I adhered it to the front of the card.


I cut out an arch using the Everyday Arches Dies out of Basic White cardstock and then adhered it to the front of the card. I stamped the flowers onto a piece of Basic White cardstock using Tuxedo Memento ink and the Memorable Blooms stamp set. I then cut it out using the Memorable Blooms Dies ( I usually cut it out last but I hate when I’ve colored the flowers and I mess up the cutting). I colored the flowers using Highland Heather and Granny Apple Green Stampin’ Blends. I added Stampin’ Dimensionals to the back and adhered it to the arch.


I stamped the sentiment onto Basic White cardstock using Highland Heather ink and the stamp set, Memorable Blooms. I then cut it out using the smallest die in the Everyday Arches Dies. I added Stampin’ Dimensionals to the back and adhered it down near the stem.
To complete my card, I added a piece of Basic White cardstock to the inside and added three larger Purple Fine Shimmer Gems to the arch.

Supply List
Below you’ll find all the Stampin’ Up! supplies I used for today’s card. If you need any stamping supplies, I’d love to be your demonstrator! You can place an order by clicking any of the images below to go to my Stampin’ Up! online store. The Specialty Plate is used with 3D Embossing Folders and Hybrid Embossing Folders.
Measurements
- Granny Apple Green cardstock: 11” x 4-1/4” scored at 5-1/2” OR 8-1/2” x 5-1/2” scored at 4-1/4” the only difference is how the card opens
- Basic White cardstock (embossed & inside): (2) 5-1/4″ x 4″
- Basic White cardstock (flowers): approximately 4″ x 3″
- Basic White cardstock (large arch): approximately 5-1/4″ x 3-1/2″
- Basic White cardstock (sentiment): approximately 2-3/4″ x 1-1/2″
Lovely Garden Card Sampler – the Last Day is Tomorrow!

My Lovely Garden Card Sampler is now available! When you use the special host code GUCCBTSX and your order is a minimum of $60 (before shipping/tax), I’ll send you two each of three cards. To create this card sampler, I used Lovely Garden Designer Series Paper and the stamp set, Pattern of Friendship.
Here’s What You’ll Receive:
- All the paper and embellishments needed to make six cards. Envelopes will also be provided. For this sampler you only need to provide a stamp set, ink and adhesive (see below for what you’ll need).
- A PDF Tutorial with instructions, pictures, cutting measurements and a complete supply list of all the products used.
- Earn at least one Bradley Point (earn ten Bradley Points and redeem them for free product) when your order is $50 or more.
- If your order is over $150, please do not use the host code or you won’t receive your Stampin’ Rewards. After you place your order, simply email me and let me know that you’d like the Lovely Garden Card Sampler (you only need to do this if your order is over $150). You can send me an email on the sidebar.
All the Other Important Information:
- Your Lovely Garden Card Sampler will be shipped first-class mail approximately March 21, 2025 and will be mailed to the address used on your online order.
- You’ll receive an email when I mail your Card Sampler and the PDF Tutorial will be included in that email.
- When using the Lovely Garden Card Sampler host code to place your order, you will not qualify for other current host code rewards.
- Per Stampin’ Up! policy, card samplers can only be mailed within the United States.
You’ll receive all the materials to make six cards. You’ll quickly have beautiful cards ready to be mailed out to someone special. If you can’t make the cards once they arrive, no worries, each card is labeled in its own clear envelope which makes it easy to come back to later. Once you’ve made all the cards in the Sampler, you’ll be able to easily replicate each card by following the easy to follow directions in the PDF (pictures are included as well).
The special Lovely Garden Card Sampler HOST CODE will close at the end of the day on March 11, 2025 and after that date, the Card Sampler will no longer be available.
Approximate ship date of the Card Sampler is March 21, 2025.

Click here to place an order
Supplies Needed To Create the Card Sampler
Listed below are the supplies you’ll need to complete the cards exactly as shown (or you can use what you already own). Simply click any of the products and you’ll be taken to my Stampin’ Up! online store. When placing your order, don’t forget to use the special Card Sampler Host Code (please do not use host code if your order is over $150 – see above).

Last Chance Products
Click here to go straight to the Last Chance Products page on the Stampin’ Up! site!
Two New Stampin’ Up! Kits
Click each graphic below for more information about the kit.
Paper Pumpkin Kit – Daisy Daydream
Today is the last day this kit will be available!

An additional coordinating add-on is available but only for Paper Pumpkin subscribers. Click the image below for more information.

Thanks for stopping by today!
by Tracy | Feb 3, 2025 | Fun Fold Card, Happy for You
The card I’m sharing with you today was made using the Linked Together Bundle (which incudes the Linked Together stamp set, Linked Together dies and Linked Together Decorative Masks – I didn’t use the masks on my card). I also used Perennial Lavender Designer Series Paper (DSP) and Purple Fine Shimmer Gems.


I started with a piece of Highland Heather cardstock for the base of my card and then scored it in two places (you can the measurements I used below the Supply List). I burnished the score lines with my bone folder.

I cut two pieces of Perennial Lavender DSP and adhered them to the front flaps. Then I stamped the sentiment onto Basic White cardstock using Gorgeous Grape ink and the stamp set, Linked Together. I cut the sentiment out using the Linked Together Dies, added Stampin’ Dimensionals to the top of the sentiment and adhered it to the top flap.

Using the Linked Together Dies I cut two flowers out of Highland Heather cardstock and two more flowers out of Gorgeous Grape cardstock. I adhered them together with Multipurpose Glue (on the bottom flower) and then adhered them to the sentiment. I added a Purple Fine Shimmer Gem to the middle of each flower.
To complete my card, I added a piece of Basic White cardstock to the inside.

Supply List
Below you’ll find all the Stampin’ Up! supplies I used for today’s card. If you need any stamping supplies, I’d love to be your demonstrator! You can place an order by clicking any of the images below to go to my Stampin’ Up! online store.
Measurements
- Highland Heather cardstock: 8-1/2″ x 5-1/2″ score at 2-1/8″ & 6-3/8″
- Highland Heather cardstock (flowers): scraps
- Gorgeous Grape cardstock (flowers): scraps
- Basic White cardstock (sentiment): scrap
- Basic White cardstock (inside): 5-1/4″ x 4″
- Perennial Lavender Designer Series Paper: (2) 5-1/4″ x 1-7/8″
Sale-a-Bration
Click the graphic below to see what free products you can earn, then scroll down and click the different categories. Sale-a-Bration ends on February 28th.

Become a Demonstrator and Purchase the Starter Kit

Stampin’ Up! always has a really good join offer during Sale-a-Bration and this year is no different! You have two options this year:
Option #1:
- $125 worth of products for $99
- Two Free Marker Sets
- A Free Stamp Set – Handmade Designs Cling Stamp Set
- Free Shipping
- That’s a $216 value for $99
Option #2
- $125 worth of products for $99
- Plus and additional $30 to spend on Stampin’ Up! products
- Free Shipping
- That’s a $155 value for $99
You can join the Stampin’ Up! family of demonstrators! There’s no pressure at all to sell or hold workshops! You can join for the incredible value and for the fun! You’ll get an ongoing discount on all products and early access to all product launches! If you have more questions, you can look here, and if I don’t address your questions, just shoot me an email (look on the sidebar). If you’re ready to join the Stampin’ Up! family, you can click here.
Last Chance Products
Click here to go straight to the Last Chance Products page on the Stampin’ Up! site!
Three New Stampin’ Up! Kits
Click each graphic below for more information about the kit.


Paper Pumpkin Kit – Hello Spring

An additional coordinating add-on is available but only for Paper Pumpkin subscribers. Click the image below for more information.
Thanks for stopping by today!