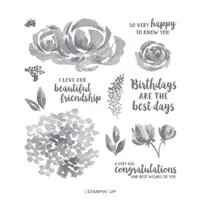
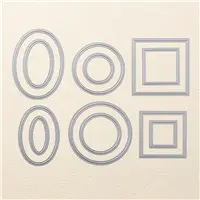
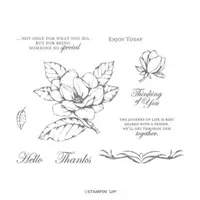
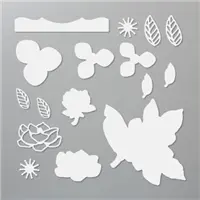
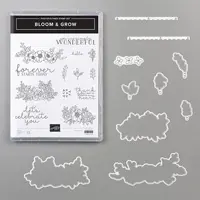
First up is the stamp set, Bloom & Grow. If you love flowers, you’re going to love this set (plus it includes some great sentiments)! All of the images are perfect for coloring and then you can cut them out using the coordinating Budding Bloom Dies. These two products are also bundled together so if you want to purchase both, be sure to use the bundle item number so you’ll save 10%!
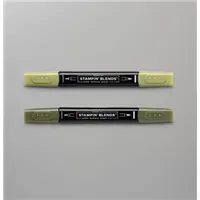
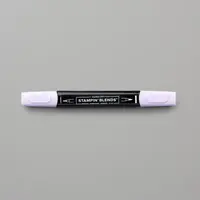
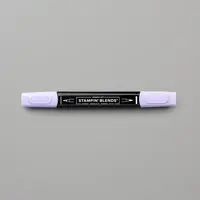
To color the flowers, I stamped the flower image onto Whisper White cardstock using Memento Ink. Then I used both the Light & Dark Purple Posy AND Light & Dark Granny Apple Green Stampin’ Blends to color the flowers and leaves. You always want to use Memento Ink when using our Stampin’ Blends or you’ll find the ink will bleed.
Once I cut the image out with the Budding Blooms Dies, I added Stampin’ Dimensionals to the back and attached it to the front of the card.
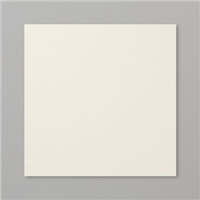
Each year Stampin’ Up! introduces five new colors that are available for two years. I used one of these new colors, Purple Posy on my card today! Sometimes when photographing my cards, some of the colors appear darker than they actually are. The color swatch below of Purple Posy is a better indication of the true color.
Cut a piece of Thick Whisper White cardstock that measures 8-1/2″ x 5-1/2″. Score at 4-1/4″ and fold in half. This will be your card base.
Cut a piece of Purple Posy cardstock that measures 5-1/4″ x 4″ and attach to the base of the card.
Cut a piece of Whisper White cardstock that measures 5″ x 3-3/4″. Run it through a die-cutting machine using the Eyelet Lace Embossing Folder. Attach to the front of the card.
Stamp the flowers from the stamp set, Bloom & Grow, onto Whisper White cardstock using Memento Ink. Color it using Purple Posy & Granny Apple Green Stampin’ Blends. Cut it out using the Budding Blooms Dies. Add Stampin’ Dimensionals to the back and attach to the front of the card.
Cut a piece of Whisper White cardstock that measures 3-1/2″ x 7/8″. Stamp the sentiment using Memento Ink.
Cut a piece of Purple Posy cardstock that measures 1-1/8″ x 3-3/4″. Attach the sentiment to the front using Snail adhesive. Add Stampin’ Dimensionals to the back and attach to the front of the card.
Supply List
If you need any stamping supplies, I’d love to be your demonstrator! You can place an order by clicking any of the images below to go to the homepage of my Stampin’ Up! online store.If you have questions about products you’re considering purchasing or ones you’ve already purchased, I’m just an email away (click the Email Me button on the sidebar of my blog).
Before I share my cards and video, I want to let you know that for the first time EVER, stamp sets are on the Clearance Rack and only available while supplies last! Click here to go to the Clearance Rack!
Also, tomorrow at 10:00 am (Mountain Time), Stampin’ Trimmer Blades will be available again but only while supplies last!
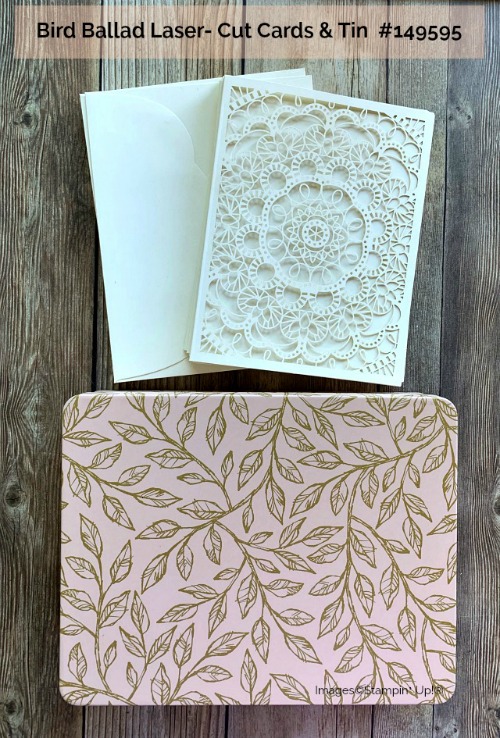
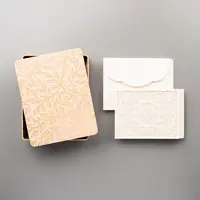
Today’s post is all about a brand new product in the Annual Catalog: Bird Ballad Laser-Cut Cards & Tin. Inside the beautiful tin are 12 Very Vanilla Laser-Cut cards and 12 envelopes. Be sure to check out the video below!
My cards today were made using the laser-cut cards and See a Silhouette Designer Series Paper. When the card is opened, the other side of the paper brightens up the inside of the card! You can dress up the front as I did in the card below or not! The laser-cut front is beautiful with the paper showing through!
Supply List
If you need any stamping supplies, I’d love to be your demonstrator! You can place an order by clicking any of the images below to go to the homepage of my Stampin’ Up! online store.If you have questions about products you’re considering purchasing or ones you’ve already purchased, I’m just an email away (click the Email Me button on the sidebar of my blog).
It’s Tuesday so that means I have another FREE tutorial for you using Stampin’ Up! products! Today’s tutorial is for the fun fold card pictured below. If you missed the original post, you can see it here.
If you love purchasing Stampin’ Up! products and usually spend at least $99 in a single purchase, you might want to consider getting the Starter Kit. You’ll receive $125 in Stampin’ Up! products for $99 and you can choose exactly which products you’d like in your kit. After you purchase the Starter Kit, you’ll start getting a 20% discount on all your future purchases!
If I purchase the Starter Kit, do I have to sell Stampin’ Up! products to my family and friends? No, you are under NO obligation to sell. You can be your only customer. Of course once your friends see the cute cards you’re making, they’ll want to buy their stamping supplies from you.
Will I receive a discount on any products I buy? Yes!! This is the best part! You’ll receive at least a 20% discount on all your purchases.
Do I have to buy/sell a certain amount of product? The quarterly minimum is $300 in product (which is only $240 after your discount!) that can be from your own orders, online orders or ones from family and friends. The quarters are January – March, April – June, July – September, October – December. Once you join, your quarterly minimum begins during your first FULL quarter so if you were to join today (end of June), you’d have until the end of September before your quarterly minimum is due.
What if I can’t make the quarterly minimum? You’ll simply be dropped. No one will hassle you. No one will bother you. It truly is risk free to purchase the Starter Kit!
Are there other perks to purchasing the Starter Kit?Yes! Here are just a few:
Approximately a month before new products are released, you’ll be able to participate in a preorder and purchase brand new products ahead of the public
Attend Stampin’ Up! events like OnStage and Center Stage
Earn Flex Points which can be used for FREE product and logo merchandise.
Receive Stampin’ Success, a quarterly magazine from Stampin’ Up! filled with stamping ideas
Personal purchases of $150 are eligible to receive Stampin’ Rewards
Support and training through Stampin’ University
Succeed Weekly emails with support and training
Complimentary copy of each current catalog
If you have more questions, please reach out to me. Simply click the EMAIL button on my sidebar. I’m happy to answer any questions you may have and I’d love for you to join my team! If you’re ready to purchase the Starter Kit now, click here!
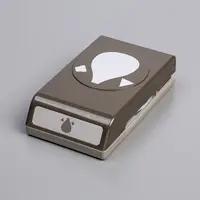
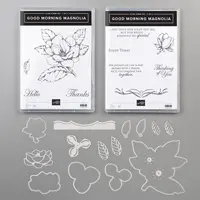
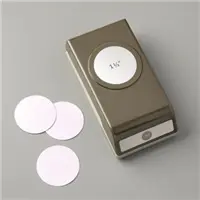
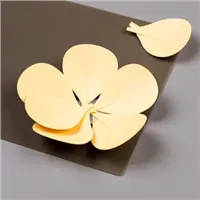
Today I want to share a video from Stampin’ Up! showing how to make beautiful paper flowers using the brand new Hot Air Balloon Punch and the Good Morning Magnolia Bundlewhich includes the Good Morning Magnolia stamp set and Magnolia Memories Dies. Before watching the video, when looking at the hot air ballon punch all I saw was a hot air balloon but now I see petals! Don’t you love it when you can use a product in a way you hadn’t thought of?
Below the video you’ll find a list of the supplies used. Enjoy!
Supply List
If you need any stamping supplies, I’d love to be your demonstrator! You can place an order by clicking any of the images below to go to the homepage of my Stampin’ Up! online store.If you have questions about products you’re considering purchasing or ones you’ve already purchased, I’m just an email away (click the Email Me button on the sidebar of my blog).
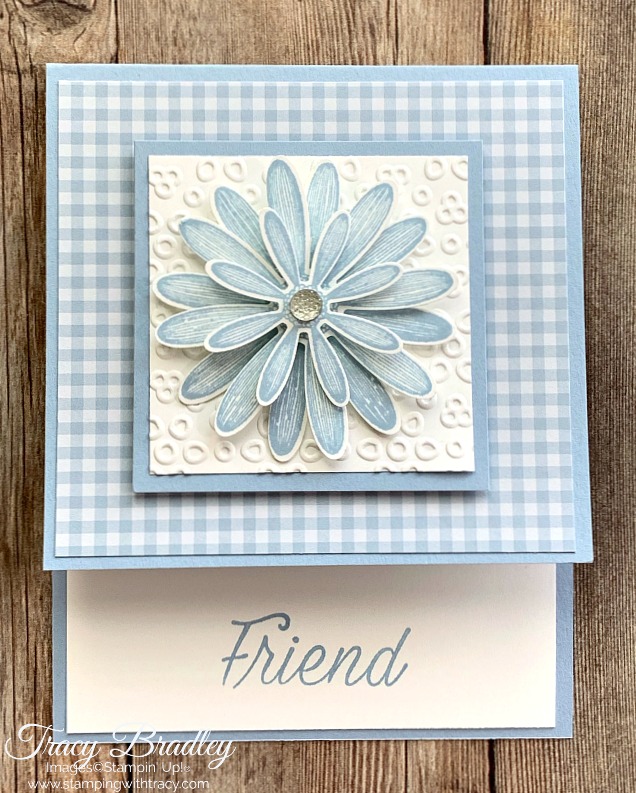
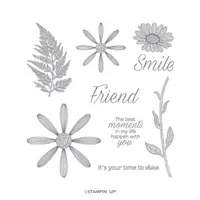
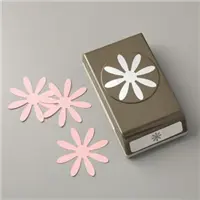
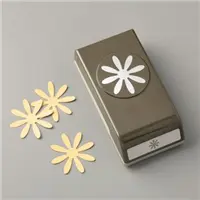
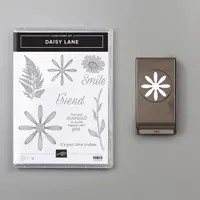
Today’s fun fold card features a brand new punch, a new stamp set and a coordinating punch that carried over into the new Annual Catalog. We now have two daisy punches! The brand new one is the Medium Daisy Punch and the Daisy Punch carried over from last year.
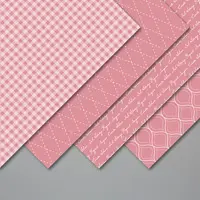
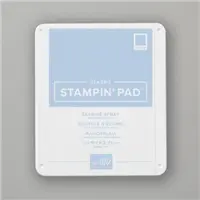
For the base of the card I used a brand new In Color, Seaside Spray, a new embossing folder called Eyelet Lace, new 6″ x 6″ In Color 2019-2012 Designer Series Paper and the new stamp set, Daisy Lane It’s so fun playing with new products!
Directions to Make Today’s Card
Cut a piece of Seaside Spray cardstock that measures 4-1/4″ x 9-1/2″ and score at 5-1/2″.
Cut a piece of In Color 2019-2021 6″ x 6″ Designer Series Paper that measures 4″ x 3-3/4″. Adhere it to the top part of the card base.
Cut a piece of Seaside Spray cardstock that measures 2-3/4″ x 2-3/4″. Cut a piece of Whisper White cardstock that measures 2-1/2″ x 2-1/2″. Run it through a die-cutting machine using the Eyelet Lace Embossing Folder. Attach it to the piece of Seaside Spray. Add Stampin’ Dimensionals to the back and attach to the front of the card.
Using the Daisy punch and the stamp set, Daisy Lane, stamp two daisies on Whisper White cardstock using Seaside Spray ink. Stamp another smaller daisy, also from Daisy Lane and punch it out using the new Medium Daisy punch. Layer all three daisies using Stampin’ Dimensionals (I used Mini Dimensionals for the small daisy). Add a Stampin’ Dimensional to the back and attach to the front of the card.
Cut a piece of Whisper White cardstock that measures 5-1/4″ x 4″. Glue it to the inside of the card. Using the Daisy Lane stamp set, stamp “Friend” in Seaside Spray ink.
Add a Clear Faceted Gem to the center of the daisy.
Bundle Alert
Supply List
If you need any stamping supplies, I’d love to be your demonstrator! You can place an order by clicking any of the images below to go to the homepage of my Stampin’ Up! online store.If you have questions about products you’re considering purchasing or ones you’ve already purchased, I’m just an email away (click the Email Me button on the sidebar of my blog).


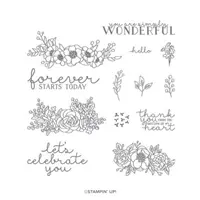
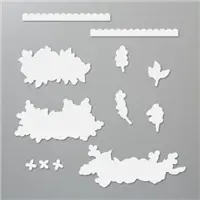





 Click here to go to the Clearance Rack!