by Tracy | Oct 20, 2020 | Designer Series Paper, Die-Cutting, Embossing Folders, Free Tutorial

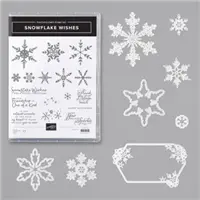
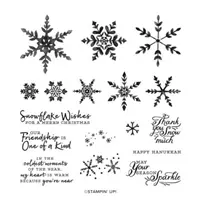
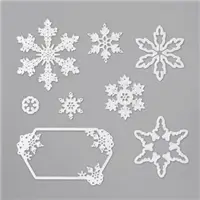
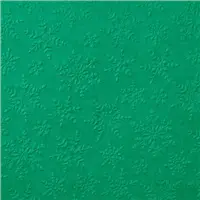
Today’s Tuesday Tutorial is for a card I shared last week and was created using the Snowflake Wishes Bundle which includes the Snowflake Wishes stamp set and the So Many Snowflakes Dies. You can see the original post here. The Designer Series Paper I used, Snowflake Splendor, is one of fifteen papers on sale this month! You can see all the papers on sale HERE. Three Designer Series Papers are currently on the Low Inventory List which means they could go into Backorder status before the end of the promotion so grab them while you can: Peony Garden, Playful Pets and Forever Greenery.
You can access your free PDF Tutorial below the Supply List.

Supply List
If you need any stamping supplies, I’d love to be your demonstrator! You can place an order by clicking any of the images below to go to my Stampin’ Up! online store. If you have questions about products you’re considering purchasing or ones you’ve already purchased, I’m just an email away (click the Email Me button on the sidebar of my blog).


Tracy’s Quick Links
Place an Order
Clearance Rack
$99 Starter Kit
Paper Pumpkin
Tracy’s Customer Rewards
Bradley Points
by Tracy | Oct 19, 2020 | Die-Cutting, Embossing Folders, Punches, Rectangle Stitched Dies
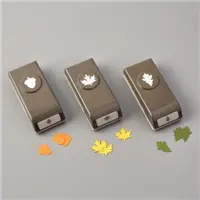
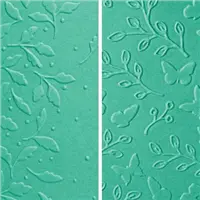
The card I’m sharing today features the Autumn Punch Pack and one of two folders included in the Meadow Moments Embossing Folders. These punches have been so popular and are currently on the Low Inventory List which means they could go into backorder status soon. If you’ve had your eye on these punches, I’d recommend purchasing them as soon as you can. The Beautiful Autumn Bundle which includes the Beautiful Autumn stamp set & the Autumn Punch Pack will save you 10%.


I started with a base of Crushed Curry cardstock and then added a layer of Very Vanilla cardstock. I embossed another piece of Very Vanilla cardstock, layered it with more Crushed Curry and popped that layer up with Stampin’ Dimensionals. The sentiment was stamped onto Very Vanilla cardstock using the stamp set, Banner Year (which has some great seasonal sentiments and images) and Cajun Craze ink. I cut it out, along with the Cajun Craze mat, using the Stitched Rectangle Dies.


The colors of the leaves are Real Red, Old Olive, Crushed Curry and Cajun Craze. Before adding each one to my card, I added a Mini Stampin’ Dimensional to the back. I added a piece of Very Vanilla to the inside of the card and glued a Real Red leaf to the inside. If you’d like to make today’s card, all the measurements can be found below the Supply List.

Supply List
If you need any stamping supplies, I’d love to be your demonstrator! You can place an order by clicking any of the images below to go to my Stampin’ Up! online store. If you have questions about products you’re considering purchasing or ones you’ve already purchased, I’m just an email away (click the Email Me button on the sidebar of my blog).
Measurements
- Crushed Curry cardstock: 11″ x 4-1/4″
- Crushed Curry cardstock: 5″ x 2-1/4″
- Crushed Curry cardstock: scrap for leaf
- Very Vanilla cardstock: (2) 5-1/4″ x 4″
- Very Vanilla cardstock: 4-3/4″ x 2″
- Very Vanilla cardstock: scrap for sentiment
- Cajun Craze cardstock; scrap for stitched rectangle
- Cajun Craze cardstock; scrap for leaf
- Old Olive cardstock; scrap for leaf
- Real Red cardstock: scrap for leaves

Tracy’s Quick Links
Place an Order
Clearance Rack
$99 Starter Kit
Paper Pumpkin
Tracy’s Customer Rewards
Bradley Points
by Tracy | Oct 16, 2020 | Designer Series Paper, Die-Cutting, Embossing Folders
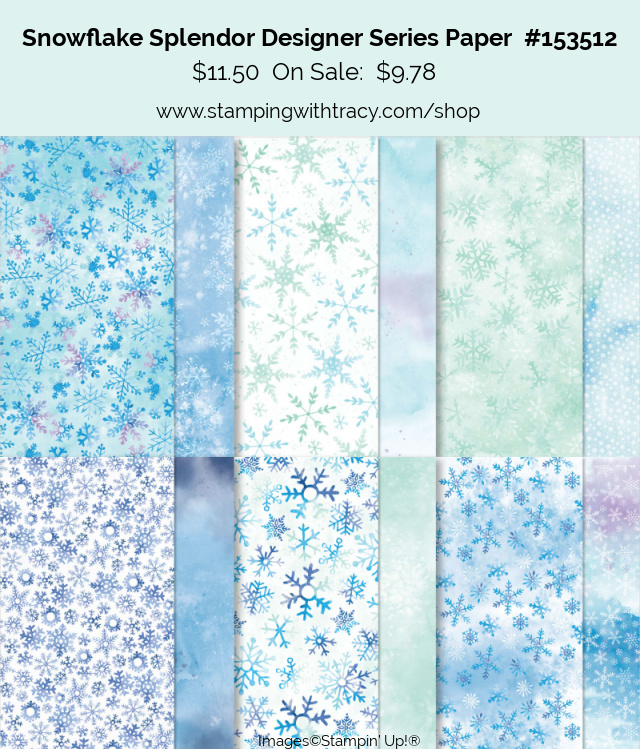
Today’s card features Snowflake Splendor Designer Series Paper (on sale this month!) and the Snowflake Wishes Bundle. The Snowflake Wishes Bundle includes the Snowflake Wishes stamp set and So Many Snowflakes Dies. You can purchase these products individually but the bundle price will save you 10%!
I started with a base of Balmy Blue cardstock and then added a layer of Whisper White cardstock (you can find all the measurements below the Supply List). The next piece of Balmy Blue cardstock was embossed with the Winter Snow Embossing Folder using the Stampin’ Cut & Emboss Machine. Another layer was added of Whisper White cardstock and Snowflake Splendor Designer Series Paper.
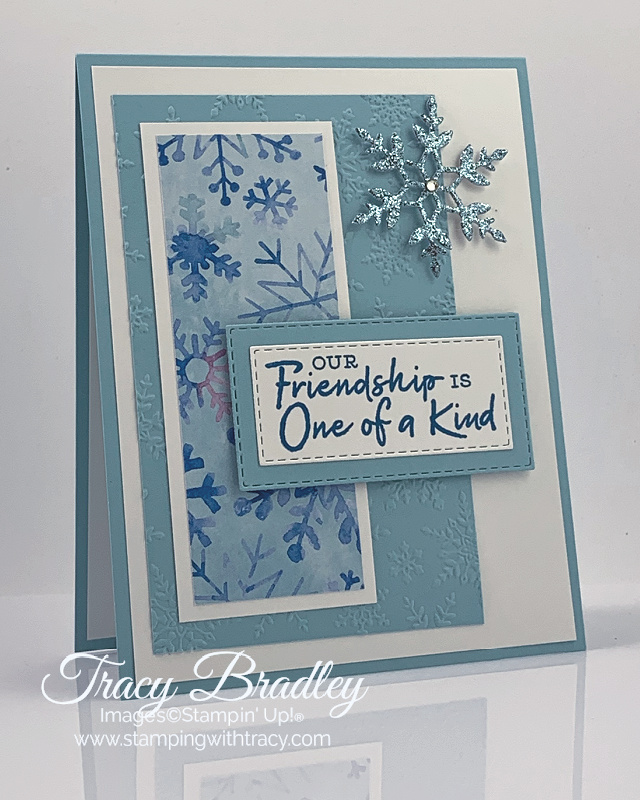

The sentiment was stamped in Pacific Point ink onto Whisper White cardstock and was cut out using the Rectangle Stitched Dies. The Balmy Blue cardstock was also cut out with these dies. The snowflake was made using the beautiful Balmy Blue Glimmer Paper and So Many Snowflakes Dies. I used Mini Glue Dots (rolled into a ball) on the back of the snowflake to adhere it to the card and a rhinestone was added to the center.

Supply List
If you need any stamping supplies, I’d love to be your demonstrator! You can place an order by clicking any of the images below to go to my Stampin’ Up! online store. If you have questions about products you’re considering purchasing or ones you’ve already purchased, I’m just an email away (click the Email Me button on the sidebar of my blog).
Measurements
- Balmy Blue cardstock: 11″ x 4-1/4″
- Balmy Blue cardstock: 4-3/4″ x 3″
- Balmy Blue cardstock: scrap for rectangle
- Whisper White cardstock: (2) 5-1/4″ x 4″
- Whisper White cardstock: 4-1/4″ x 1-3/4″
- Whisper White cardstock: scrap for sentiment
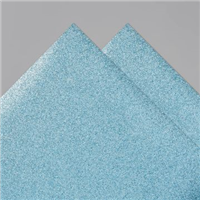
- Balmy Blue Glimmer Paper: scrap for snowflake

Tracy’s Quick Links
Place an Order
Clearance Rack
$99 Starter Kit
Paper Pumpkin
Tracy’s Customer Rewards
Bradley Points
by Tracy | Oct 15, 2020 | Bundle, Designer Series Paper, Die-Cutting, Embossing Folders, Stampin' Cut & Emboss Machine
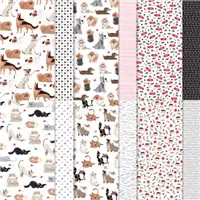
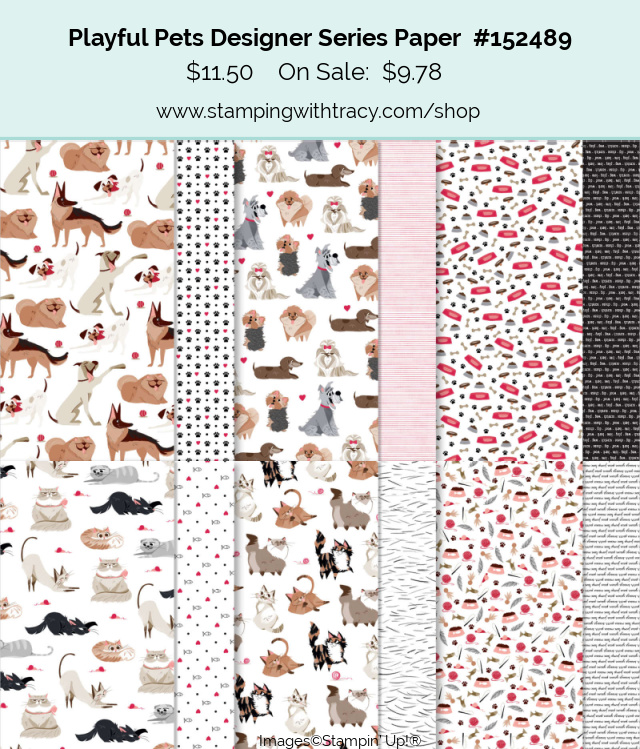
Today’s card features Playful Pets Designer Series Paper (it’s on sale!) and the Pampered Pets Bundle. I initially passed on this paper but when it went on sale, I grabbed several packages. It’s so cute! I don’t know why I waited so long to get it!

I started with a base of Real Red cardstock and then added a layer of Playful Pets Designer Series Paper (you can find all the measurements I used below the Supply List). Whisper White cardstock (it was cut out using the Stitched Rectangle Dies) was embossed with the Tasteful Textile 3D Embossing Folder using the Stampin’ Cut & Emboss Machine and then layered onto a piece of Basic Black cardstock. This layer is popped up with Stampin’ Dimensionals.

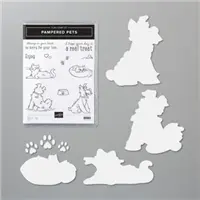
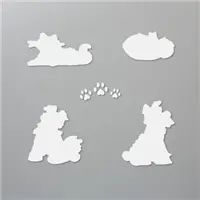
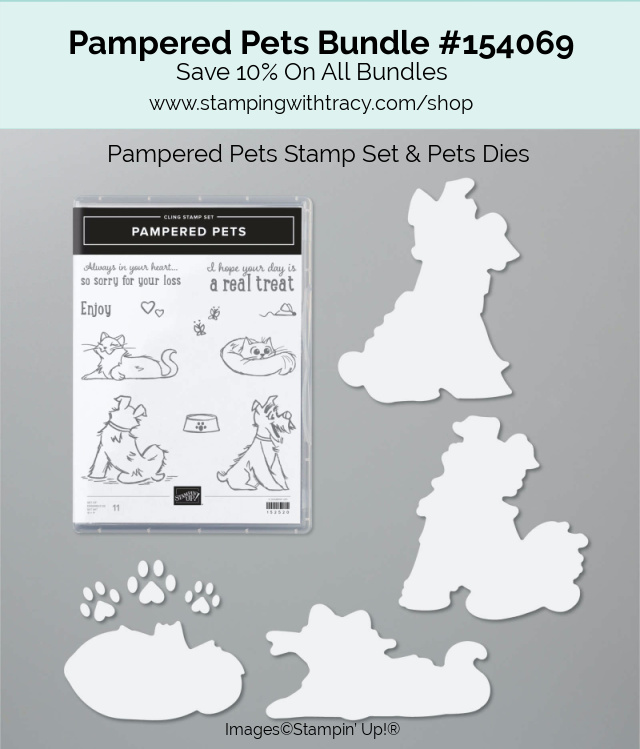
The cute dog was cut out of the Designer Series Paper using the Pets Dies. The sentiment was stamped in Memento Ink onto Whisper White cardstock using the stamp set Pampered Pets. The Pampered Pets Bundle includes both the Pampered Pets stamp set and the Pets Dies and will save you 10% rather than buying each individually.
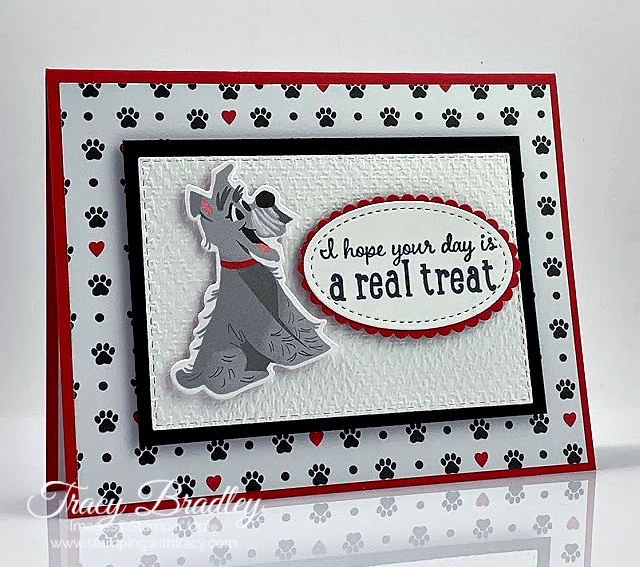
The sentiment was cut out using the Stitched Shapes Dies and is layered onto a piece of Real Red cardstock that was cut out with the Layering Ovals Dies. Both the dog and the sentiment were adhered to the card with Stampin’ Dimensionals.
Supply List
If you need any stamping supplies, I’d love to be your demonstrator! You can place an order by clicking any of the images below to go to my Stampin’ Up! online store. If you have questions about products you’re considering purchasing or ones you’ve already purchased, I’m just an email away (click the Email Me button on the sidebar of my blog).
Sale: $9.78
Price: $11.50
Measurements
- Real Red cardstock; 11″ x 4-1/4″
- Real Red cardstock: scrap for scalloped oval
- Whisper White cardstock: approx 4-1/8″ x 3″
- Whisper White cardstock: scrap for sentiment
- Whisper White cardstock: 5-1/4″ x 4″ (inside card)
- Basic Black cardstock: 4-1/4″ x 2-7/8″
- Playful Pets Designer Series Paper: 5-1/4″ x 4″
Tracy’s Quick Links
Place an Order
Clearance Rack
$99 Starter Kit
Paper Pumpkin
Tracy’s Customer Rewards
Bradley Points
by Tracy | Oct 13, 2020 | Card Sampler, Die-Cutting, Embossing Folders, Free Tutorial
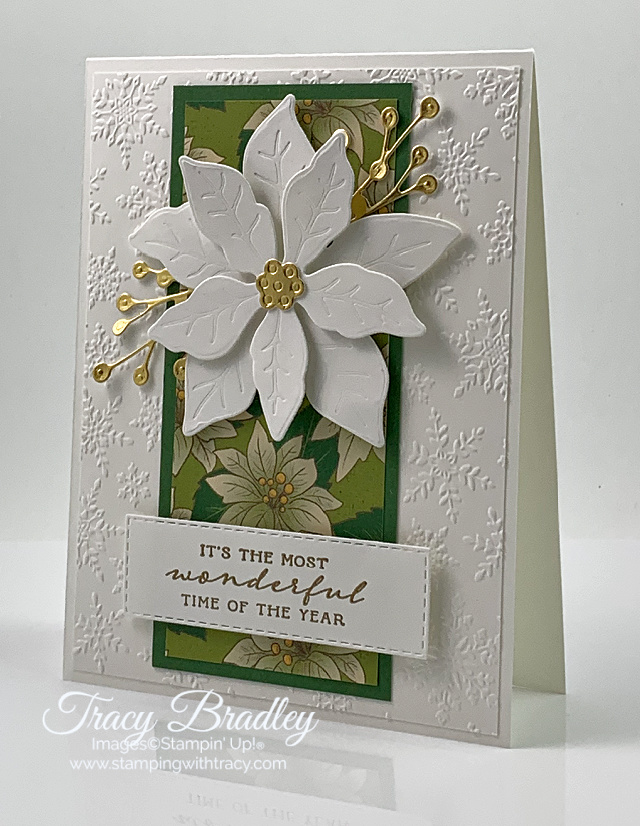
Today’s the last day to place a minimum $50 order at my Stampin’ Up! online store using the host code QF2N6TDS to receive my free Poinsettia Place Card Sampler. You’ll receive 6 card kits (2 each of three designs) with envelopes and a PDF Tutorial with instructions, pictures and a supply list. You’ll receive all the paper and embellishments needed to make the cards and all the paper will be cut, scored and die cut for you (you’ll need to supply your own adhesive, ink and stamp set). All the work is done for you but today is the last day! For all the details, please click here.


Here’s a sneak peek of one of the cards in the Poinsettia Place Card Sampler.

It’s Tuesday which means I have a free tutorial for you and it’s for the card I shared yesterday. If you missed that post, you can see it here. You can access the tutorial below the Supply List.

Supply List
If you need any stamping supplies, I’d love to be your demonstrator! You can place an order by clicking any of the images below to go to my Stampin’ Up! online store. If you have questions about products you’re considering purchasing or ones you’ve already purchased, I’m just an email away (click the Email Me button on the sidebar of my blog).
Tracy’s Quick Links
Place an Order
Clearance Rack
$99 Starter Kit
Paper Pumpkin
Tracy’s Customer Rewards
Bradley Points
by Tracy | Oct 12, 2020 | Die-Cutting, Embossing Folders, Rectangle Stitched Dies
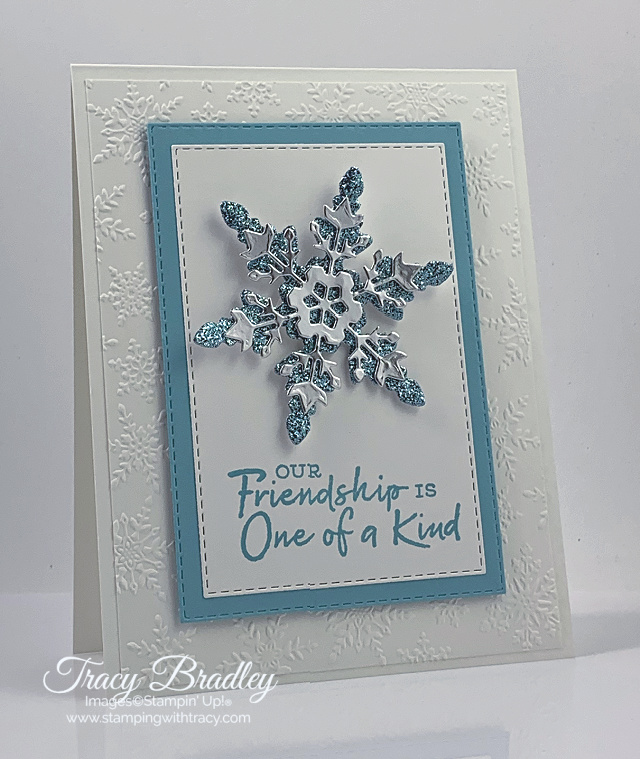
Today’s card features the Snowflake Wishes Bundle which includes the Snowflake Wishes stamp set and So Many Snowflakes Dies.
I started with a base of Thick Whisper White cardstock and then added a layer of Whisper White cardstock that was embossed using the Winter Snow Embossing Folder and the Stampin’ Cut & Emboss Machine. The two stitched rectangles were made using the Rectangle Stitched Dies. These dies are currently on the Low Inventory List which means they could go on backorder soon so grab them while they’re still in stock.


The two snowflakes were made using the So Many Snowflakes Dies. I used Balmy Blue Glimmer Paper for the bottom snowflake (you can find this paper in the Mini Catalog) and Silver Foil for the top snowflake. To the Silver Foil snowflake, I added Glue Dots (I rolled them into a ball) and placed them all around the center before attaching it to the Glimmer Paper snowflake. Two Dimensionals were added to the back before adhering it to the Stitched Rectangle. The sentiment was stamped in Balmy Blue ink. If you’d like to make today’s card, all the measurements I used can be found below the Supply List.
Supply List
If you need any stamping supplies, I’d love to be your demonstrator! You can place an order by clicking any of the images below to go to my Stampin’ Up! online store. If you have questions about products you’re considering purchasing or ones you’ve already purchased, I’m just an email away (click the Email Me button on the sidebar of my blog).
Measurements
- Thick Whisper White cardstock: 11″ x 4-1/4″
- Whisper White cardstock: 5-1/4″ x 4″
- Whisper White cardstock: approx. 4-1/8″ x 2-3/4″ (stitched rectangle)
- Balmy Blue cardstock: approx. 4-5/8″ x 3-1/8″ (stitched rectangle)
- Balmy Blue Glimmer Paper: scrap for snowflake
- Silver Foil Sheet: scrap for snowflake
Poinsettia Place Card Sampler
Place a minimum $50 order at my Stampin’ Up! online store using the host code QF2N6TDS and as a thank you, you’ll receive 6 card kits (2 each of three designs) with envelopes and a PDF Tutorial with instructions, pictures and a supply list. You’ll receive all the paper and embellishments needed to make the cards and all the paper will be cut, scored and die cut for you (you’ll need to supply your own adhesive, ink and stamp set). All the work is done for you! The last day to sign up for the Poinsettia Place Card Sampler is Tuesday, October 13th. For all the details, please click here.
Tracy’s Quick Links
Place an Order
Clearance Rack
$99 Starter Kit
Paper Pumpkin
Tracy’s Customer Rewards
Bradley Points