by Tracy | Mar 4, 2022 | Bundle, Designer Series Paper, Die-Cutting, Embossing Folders, Scalloped Contours Dies
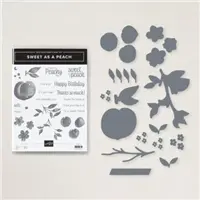
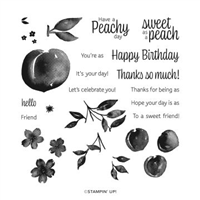
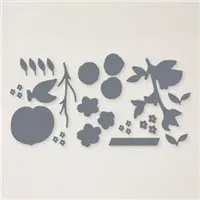
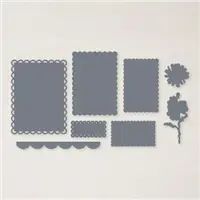
Today’s card features the Sweet as Peach Bundle (on sale the month of March) and the Scalloped Contours Dies. The Sweet as a Peach Bundle (compatible with the Mini Cut & Emboss Machine and on sale this month) includes the Sweet as a Peach stamp set and the Peach Dies.
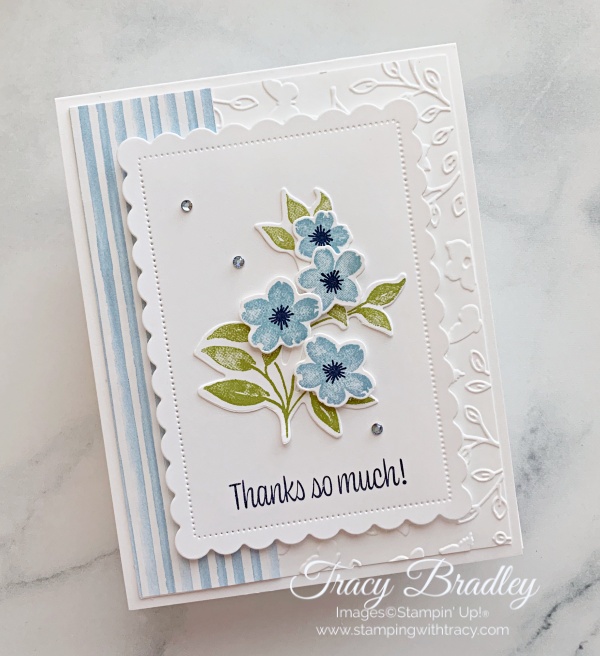

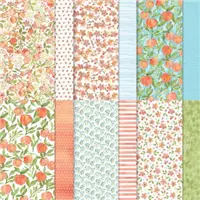
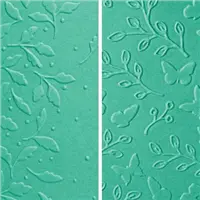
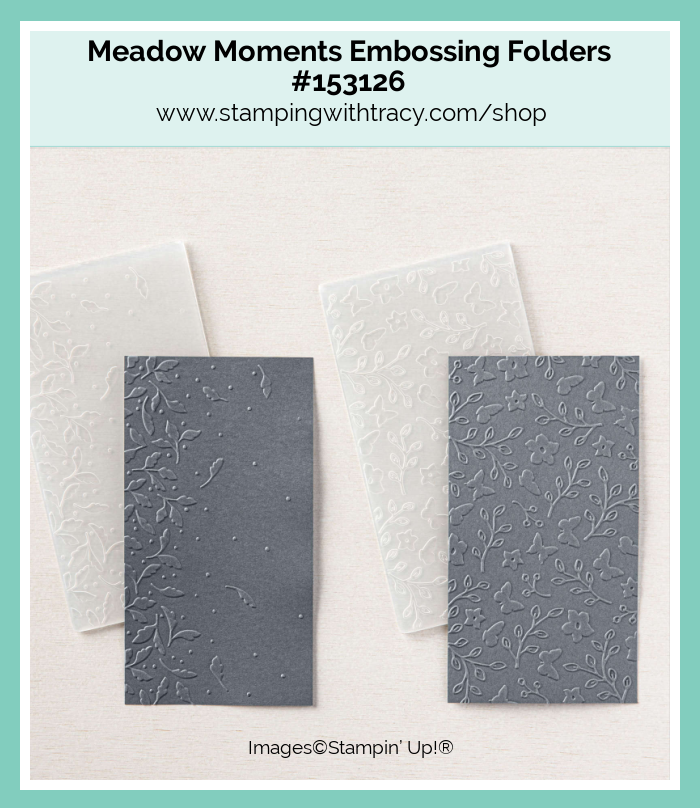
I started with a piece of Thick Basic White cardstock and then added a layer of Basic White Cardstock that I ran through the Stampin’ Cut & Emboss Machine using one of the Meadow Moments Embossing Folders. These embossing folders are smaller (compatible with the Mini Cut & Emboss Machine) and the entire piece of paper will not be completely embossed but I covered the part that wasn’t embossed with a piece of You’re a Peach Designer Series Paper.
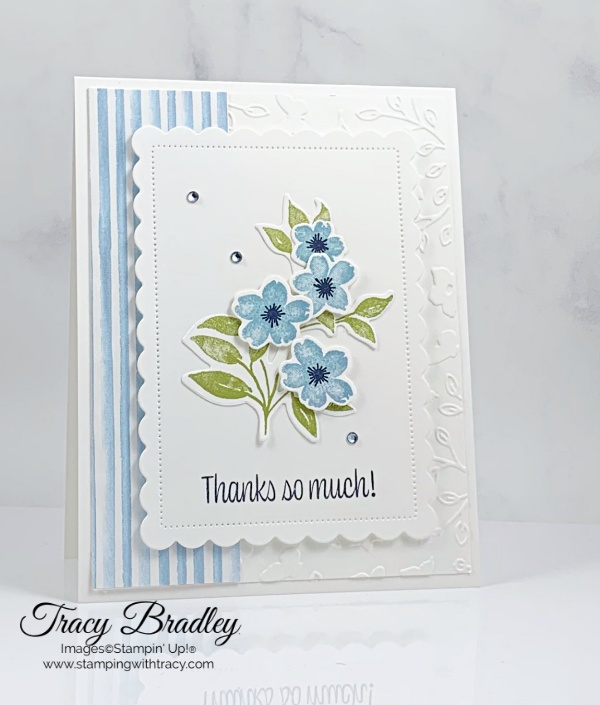
I used the Scalloped Contours Dies to cut a scalloped rectangle out of a piece of Basic White cardstock. I stamped the sentiment in Night of Navy ink using the Sweet as a Peach stamp set and then added Stampin’ Dimensionals to the back and adhered it to the front of the card.
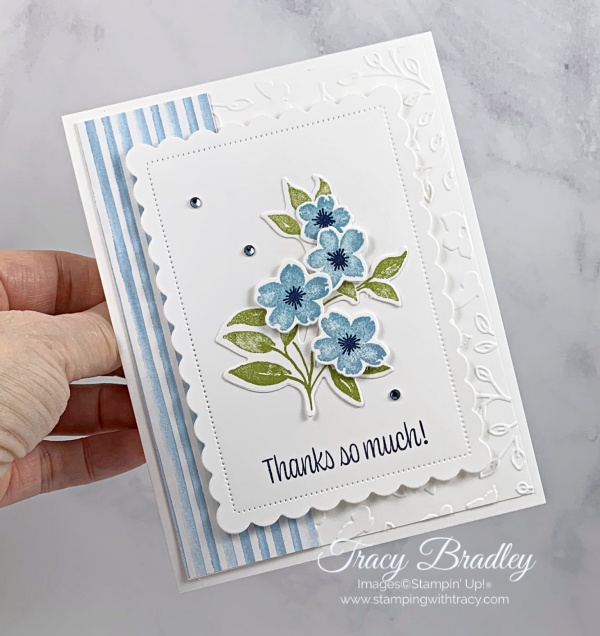

Using the Sweet as a Peach stamp set, I stamped the leaves in Pear Pizzazz ink and the flowers in Balmy Blue and Night of Navy ink onto Basic White cardstock and then cut them out using the Peach Dies. I glued the leaves down and then added Mini Stampin’ Dimensional to three flowers and placed them on the leaves. I added glue to the top flower and tucked it underneath (when I make this card again, I’m going to try adding Dimensionals to the leaves and then glue the flowers). To complete the card, I added three Rhinestone Waves Basic Jewels.

Supply List
Below you’ll find all the Stampin’ Up! supplies I used for today’s card. If you need any stamping supplies, I’d love to be your demonstrator! You can place an order by clicking any of the images below to go to my Stampin’ Up! online store.
Sale: $32.75
Price: $36.75
Measurements
- Thick Basic White cardstock: 11″ x 4-1/4″
- Basic White cardstock: 5-1/4″ x 4″
- Basic White cardstock (scalloped rectangle): approx. 4-3/4″ x 3-1/2″
- Basic White cardstock: approx. scrap for leaves
- Basic White cardstock: scraps for flowers
- You’re a Peach Designer Series Paper: 5-1/4″ x 1-1/2″
Pattern Party Card Kits
Place a minimum $40 order AND use my special host code EGBT4VJY by March 6th to receive at least three of my Pattern Party Card Kits. Each kit includes all the paper you’ll need to complete a beautiful card (the paper will be cut, scored, embossed and die cut for you). You’ll need to supply your own stamps, ink and adhesive. You’ll also receive a PDF Tutorial for the cards that will include pictures, instructions, measurements and a supply list. If your order is $150 or more, please do not use the host code so you can receive Stampin’ Rewards directly from Stampin’ Up!. I will automatically send card kits to you.
I used Pattern Party Designer Series Paper to create all six cards. Each card is the same design but I’ve used different cardstock and ink for all six cards (you can see two of the cards in the graphic below).


Stampin’ Up! Promotions
Click each image for more information


Upcoming
- March 6, 2022: Last Day to Earn Pattern Party Card Kits
- March 7, 2022: New Card Sampler Released
- March 10, 2022: Last Day to Order Beyond the Horizon Paper Pumpkin Kit
- March 31, 2022: Savings Are in Bloom Promotion Ends
by Tracy | Feb 16, 2022 | Hand-Penned Petals Bundle, Sale-a-Bration, Scalloped Contours Dies, Stampin' Blends
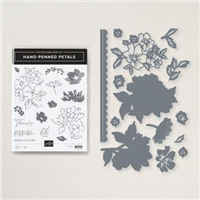
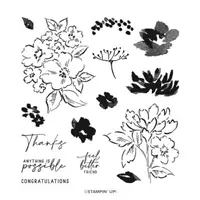
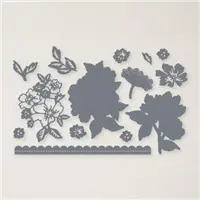
Today’s card features the Stampin’ Up! Hand-Penned Petals Bundle which includes the stamp set, Hand-Penned Petals and the Penned Flowers Dies. I also used the Scalloped Contours Dies and Sunshine & Rainbows Designer Series Paper. This Designer Series Paper is FREE with a $50 purchase during Sale-a-Bration but only until February 28, 2022.
The inspiration for today’s card came from fellow demonstrator, Brian King. You can see his beautiful card, here.


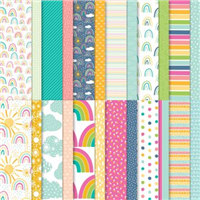
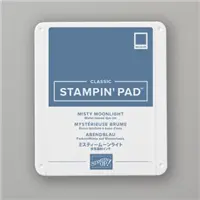
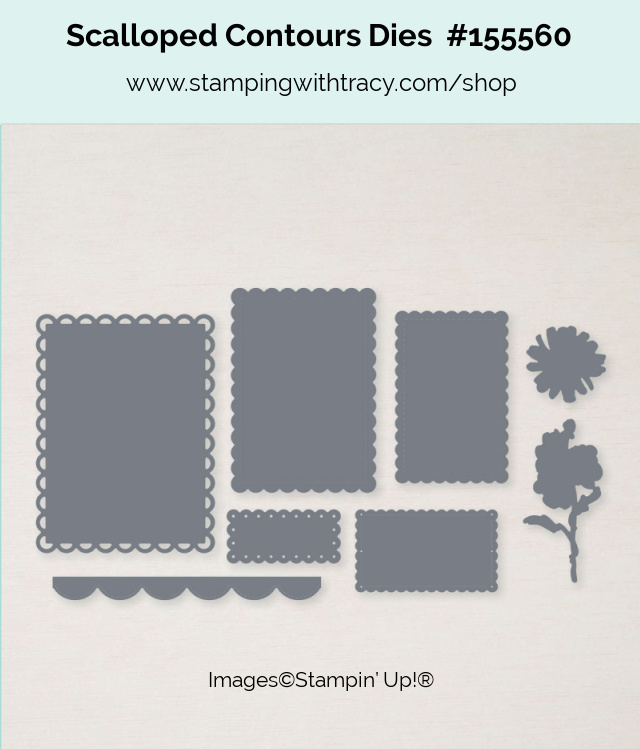
I started with a piece of Thick Basic White cardstock for the base of my card. Then, I adhered a piece of Sunshine & Rainbows Designer Series Paper that I cut out using the Scalloped Contours Dies. Using these same dies, I cut another rectangle out of Basic White cardstock and then stamped the sentiment in Misty Moonlight ink towards the bottom.
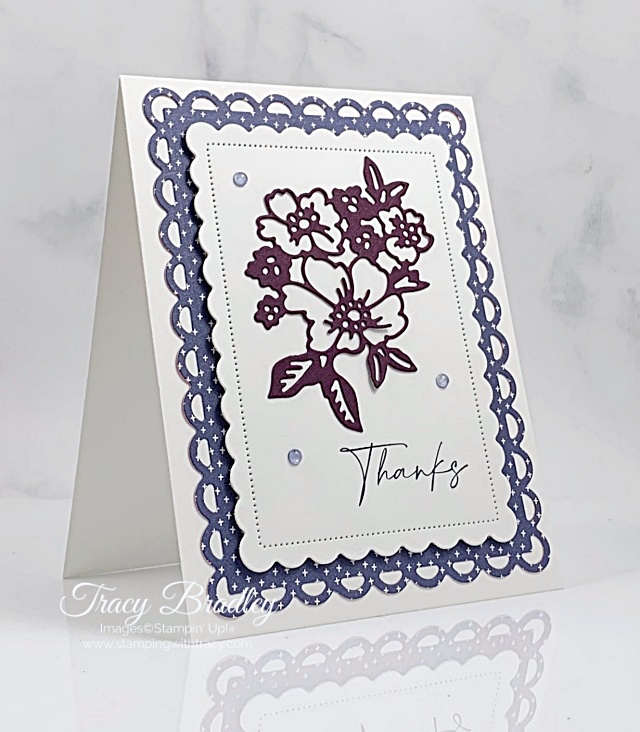

I used the Penned Flowers Dies to cut the flowers out of Blackberry Bliss cardstock. I added small dots of Multipurpose Glue to the back of the flowers and then placed them on the Basic White rectangle (if you’d like this step to be much easier, I’d recommend using our Adhesive Sheets). I added Stampin’ Dimensionals to the back of the rectangle and adhered it to the front of the card.

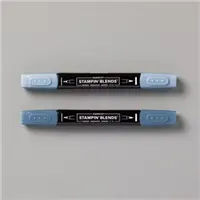
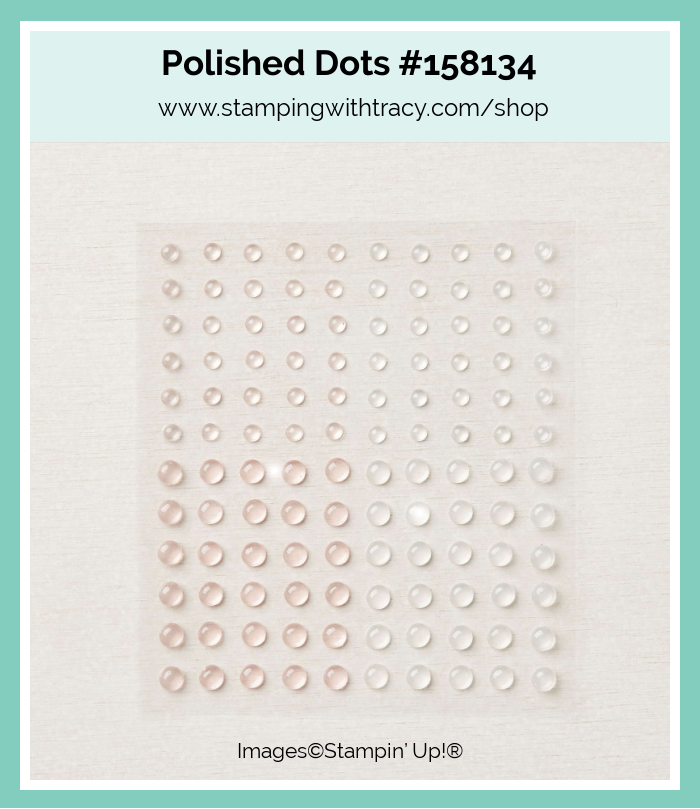
I love our Polished Dots and reach for them over and over again! It’s so easy to color these dots using Stampin’ Blends in a color that will match your card (as of this writing, they are in low inventory status)! I used the Light Misty Moonlight Stampin’ Blend to color three of the Polished Dots and then added them to the front of my card.
Supply List
Below you’ll find all the Stampin’ Up! supplies I used for today’s card. If you need any stamping supplies, I’d love to be your demonstrator! You can place an order by clicking any of the images below to go to my Stampin’ Up! online store.
Measurements
- Thick Basic White cardstock: 11″ x 4-1/4″
- Sunshine & Rainbows Designer Series Paper: approx 5-1/2″ x 4-1/4″
- Basic White cardstock: approx. 4-3/4″ x 3-1/2″
- Blackberry Bliss cardstock: approx. 3-3/4″ x 3-1/4″


Upcoming
- February 18, 2022: New Card Sampler Released
- February 28, 2022: Sale-a-Bration Ends
- February 28, 2022: Last Day to Earn two free stamp sets when you purchase the Starter Kit
- March 1, 2022: New Products Being Released: Waves of the Ocean Collection (click here for the flyer)
- March 10, 2022: Last Day to Order Beyond the Horizon Paper Pumpkin Kit
by Tracy | Feb 11, 2022 | Designer Series Paper, Scalloped Contours Dies
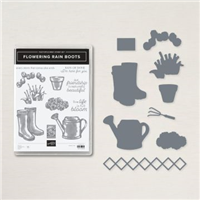
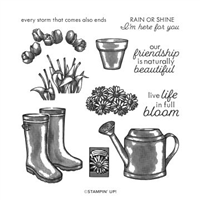
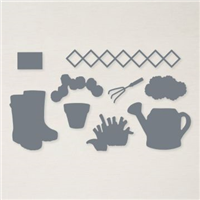
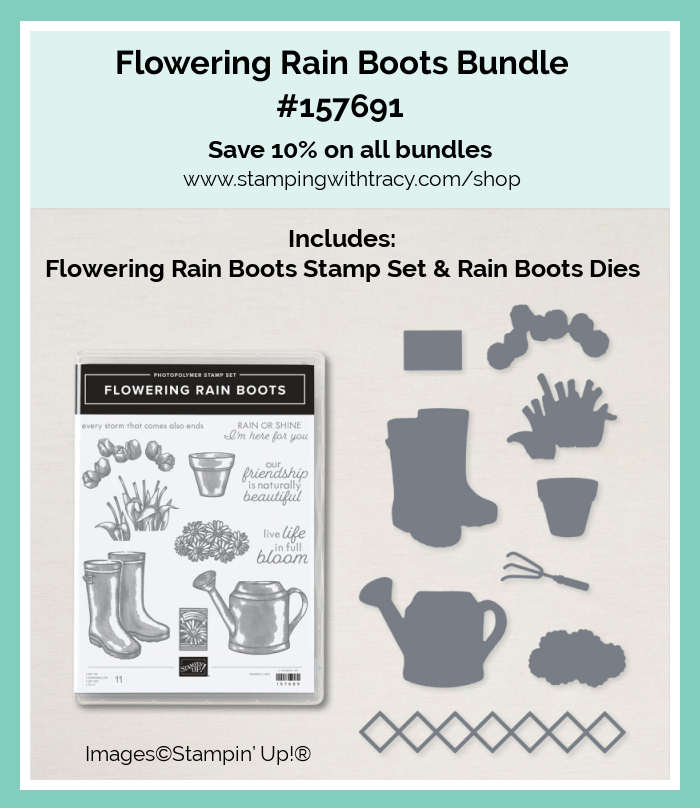
Today’s card features the Flowering Rain Boots Bundle which includes the Flowering Rain Boots stamp set and the Rain Boots Dies. I also used the Scalloped Contours Dies. We sure could use some rain here in California. I had hoped that by simply making a card with this set, that the skies would open up, but they didn’t. Maybe I need to actually use the rain boots? Rain aside, it’s a really cute bundle!
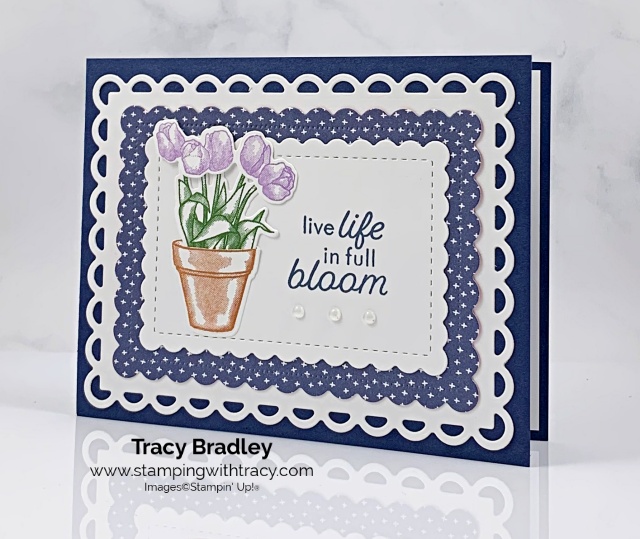
I started with a piece of Night of Navy cardstock for the base. Then I used the Scalloped Contours Dies to cut the large scalloped rectangle out of Basic White cardstock. I also used these dies to cut a piece of Sunshine & Rainbows Designer Series Paper (free with a $50 purchase during Sale-a-Bration). I used the dies again to cut another rectangle out of Basic White cardstock. I stamped the sentiment in Night of Navy ink on the smallest scalloped rectangle and then adhered all three pieces together and placed them on the front of the card.


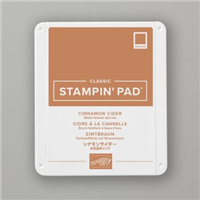
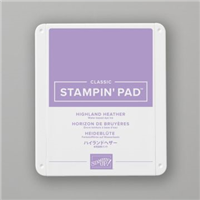
I stamped the pot in Cinnamon Cider ink, the leaves in Garden Green ink and the tulips in Highland Heather ink. I then cut out all three pieces using the Rain Boots Dies. I cut a slit in the pot so I could slide my leaves inside (I learned this from another demo – genius!). I used Multipurpose Glue to adhere the pot and leaves to the front of card and then added the tulips. I originally used Stampin’ Dimensionals on the back of the tulips but they had too much height so I took them off and just used glue.
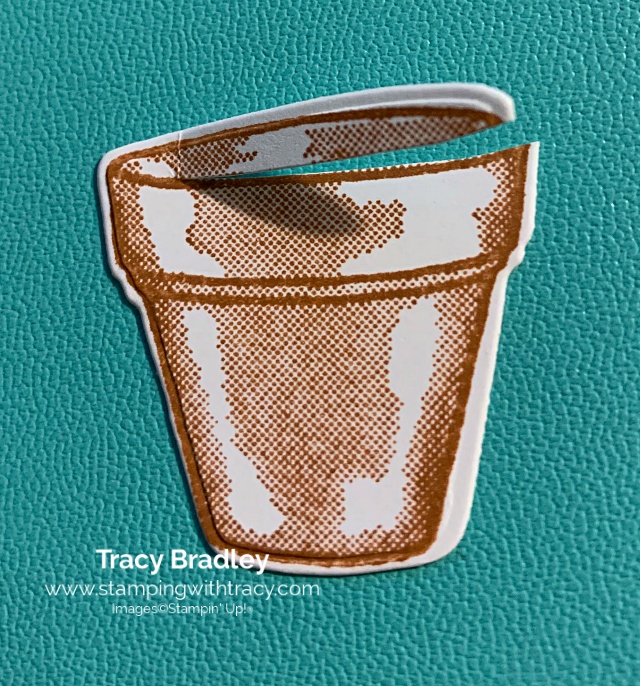

I added three Polished Dots below the sentiment and then adhered a piece of Basic White cardstock to the inside. I think the Polished Dots are my new favorite embellishment. I keep reaching for them and they are perfect for coloring using your Stampin’ Blends.


Supply List
Below you’ll find all the Stampin’ Up! supplies I used for today’s card. If you need any stamping supplies, I’d love to be your demonstrator! You can place an order by clicking any of the images below to go to my Stampin’ Up! online store.
Measurements
- Night of Navy cardstock: 11″ x 4-1/4″ score at 5-1/2″
- Sunshine & Rainbows Designer Series Paper: approx. 4-3/4″ x 3-1/2″
- Basic White cardstock (largest rectangle): approx. 5-1/2″ x 4-1/4″
- Basic White cardstock (smaller rectangle): approx. 4-1/4″ x 2-3/4″
- Basic White cardstock (pot): scrap
- Basic White cardstock (leaves): scrap
- Basic White cardstock (tulips): scrap
- Basic White cardstock (inside): 5-1/4″ x 4″
Sale-a-Bration
Sale-a-Bration is winding down and will be over on February 28th. For EVERY $50 or $100 purchase you make, you can choose a Sale-a-Bration gift. Click here for more information!


Upcoming
- February 28, 2022: Sale-a-Bration Ends
- February 28, 2022: Last Day to Earn two free stamp sets when you purchase the Starter Kit
- March 1, 2022: New Products Being Released: Waves of the Ocean Collection (click here for the flyer)
by Tracy | Sep 16, 2021 | Card Sampler, Designer Series Paper, Die-Cutting, Embossing Folders, Rectangle Stitched Dies, Scalloped Contours Dies
Today’s card features Beautifully Penned Designer Series Paper (free during Sale-a-Bration with a $50 order), the stamp set, Heartfelt Wishes and the Scalloped Contours Dies.


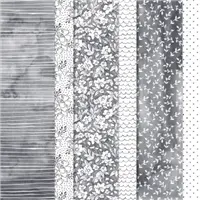
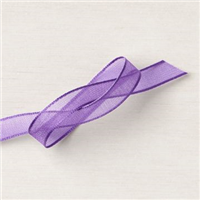
I started with a piece of Gorgeous Grape cardstock and then added a layer of Basic White cardstock that I embossed using the Ornate Floral Embossing Folder. Then I used the Scalloped Contours Dies to cut two scalloped rectangles using Basic White cardstock and Beautifully Penned Designer Series Paper. I layered those two pieces together and then wrapped a piece of Gorgeous Grape Sheer Ribbon around them and tied a knot. I added Stampin’ Dimensionals to the back and placed it in the center of the card.


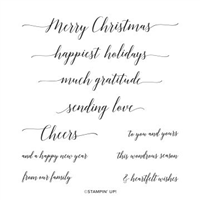
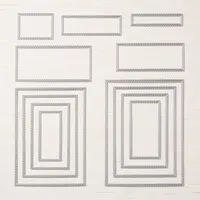
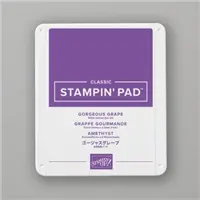
I stamped the sentiment in Gorgeous Grape ink onto Basic White cardstock using the stamp set, Heartfelt Wishes. This is a new stamp set in the Mini Catalog. It has a lot of Christmas greetings but also includes a few sentiments for other occasions as well. I cut the sentiment out using the Stitched Rectangle Dies, added Stampin’ Dimensionals to the back and adhered it to the front of the card.

To complete the card, I added a piece of Basic White cardstock to the inside.
Bundle Alert: The Scalloped Contours Dies can be purchased individually but can also be purchased in the Color & Contour Bundle that also includes the Color & Contour Stamp Set. Bundles always save you 10%.
Supply List
Below you’ll find all the Stampin’ Up! supplies I used for today’s card. If you need any stamping supplies, I’d love to be your demonstrator! You can place an order by clicking any of the images below to go to my Stampin’ Up! online store.
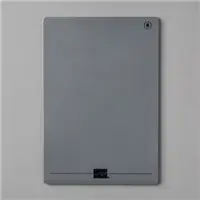
The Specialty Plate is used with 3D Embossing Folders.
Measurements
- Gorgeous Grape cardstock:11″ x 4-1/4″ score at 5-1/2″
- Basic White cardstock: (2) 5-1/4″ x 4″
- Basic White cardstock: approx. 4-5/8″ x 3-1/4″
- Basic White cardstock (sentiment): approx. 3-1/8″ x 1″
- Beautifully Penned Designer Series Paper: approx. 4″ x 2-5/8″
Love of Leaves Card Sampler
For all the details on how you can earn my FREE Card Sampler, please click here. Offer good until September 20, 2021.


Sale-a-Bration Ends on September 30th
Please note: Be Dazzling 6″ x 6″ Specialty Paper is no longer available.

Thanks for stopping by today!
by Tracy | Sep 8, 2021 | Die-Cutting, Scalloped Contours Dies, Stampin' Blends
Today’s card features the Sweets & Treats stamp set and the Scalloped Contours Dies. These dies have been on backorder for several months but are available again as well as the Color & Contour Bundle which includes the Color & Contour stamp set and the Scalloped Contours Dies.
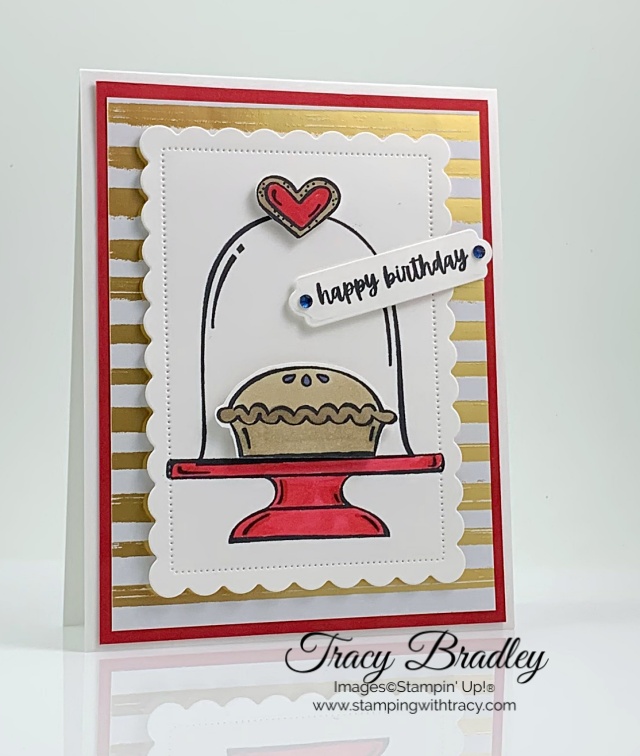
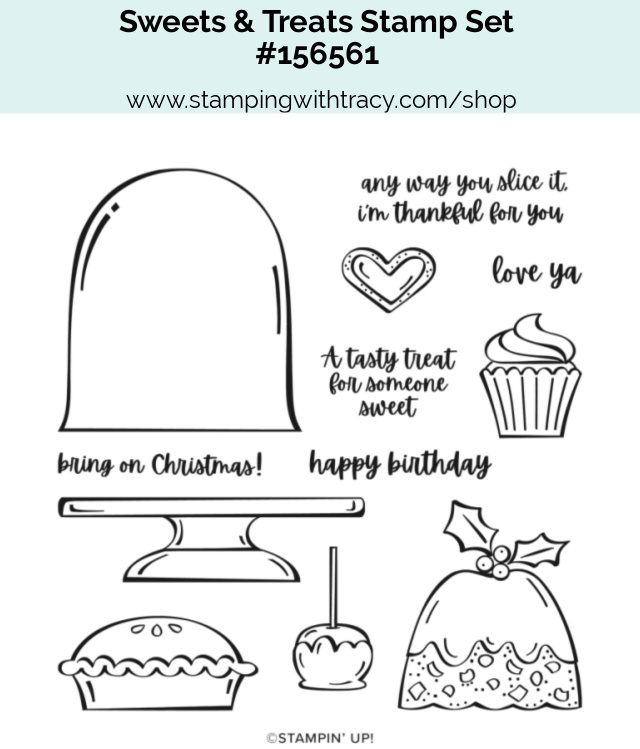
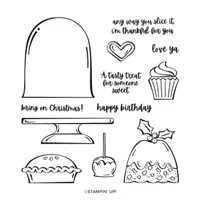
I started with a base of Thick Basic White cardstock and then added a layer of Real Red cardstock along with a piece of Expressions in Ink Designer Series Paper. Then I used the Scalloped Contours Dies to cut a piece of Basic White cardstock. Onto the rectangle, I used Memento ink to stamp the pie stand using the stamp set, Sweets & Treats. Then I stamped the pie cover. I colored the pie stand using Real Red Stampin’ Blends.


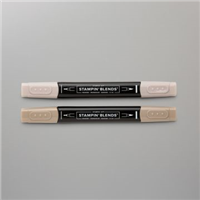
On another piece of Basic White cardstock, I stamped the pie and heart. I colored the pie using Crumb Cake & Misty Moonlight Stampin’ Blends (my husband loves blueberry pie so I made my pie, blueberry). I used Crumb Cake & Real Red Stampin’ Blends to color the heart. I fussy cut each one out and then adhered them to the card using Stampin’ Dimensionals. If I make the card again, I won’t use Stampin’ Dimensionals on the back of the pie but use regular adhesive instead.

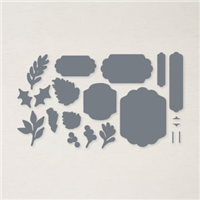
I stamped the sentiment onto Basic White cardstock in Memento Ink using the stamp set, Sweets & Treats. It was cut out using the Seasonal Labels Dies (a new set of dies in the Mini Catalog). I added Stampin’ Dimensionals to the back and adhered it to the card front. To complete the card, I added two Night of Navy Holiday Rhinestones, to each end of the sentiment.

Supply List
Below you’ll find all the Stampin’ Up! supplies I used for today’s card. If you need any stamping supplies, I’d love to be your demonstrator! You can place an order by clicking any of the images below to go to my Stampin’ Up! online store.
Measurements
- Thick Basic White cardstock: 11″ x 4-1/4″ or 8-1/2″ x 5-1/2″
- Real Red cardstock: 5-1/4″ x 4″
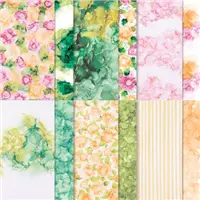
- Expressions in Ink Designer Series Paper: 5″ x 3-3/4″
- Basic White cardstock (scalloped rectangle): approx. 4-3/4″ x 3-3/8″
- Basic White cardstock: scrap for sentiment
- Basic White cardstock: scrap for pie
- Basic White cardstock: scrap for heart


September Paper Pumpkin
The last day to sign up for the September Paper Pumpkin is this Friday, September 10th.

Haunts & Harvest Paper Pumpkin Kit
- Kit contains enough supplies to create 12 treat packages—4 each of 3 designs. The all-inclusive kit includes printed die-cut boxes, die-cut sheets, adhesive, and more!
- Finished treat box size: 2-1/2″ x 2″
- Includes an exclusive stamp set and a Classic Stampin’ Spot
- Coordinating colors: Basic Black, Pale Papaya, Poppy Parade, Pumpkin Pie, Soft Succulent
Click here to subscribe today
You can cancel at any time or even skip a month

Sale-a-Bration Special – Good Until September 30th
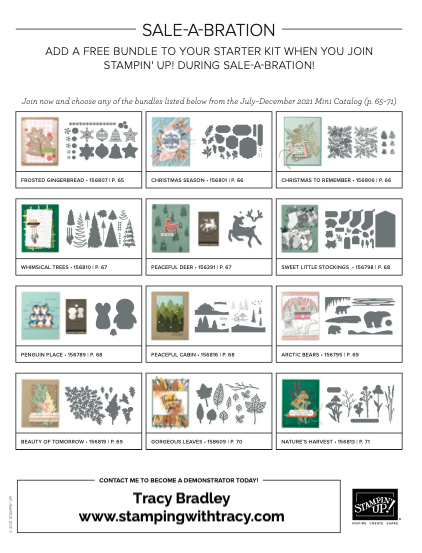
During Sale-a-Bration, choose one of twelve bundles to add to your Starter Kit, absolutely FREE! If you’re planning to make a $99 Stampin’ Up! purchase, you may want to consider the Starter Kit. When you purchase the $99 Starter Kit you can then choose $125 worth of Stampin’ Up! product from any current catalog PLUS, during Sale-a-Bration you can choose a FREE bundle from those listed above. The Starter Kit always ships FREE and once you purchase it you will start receiving a 20% discount on your future Stampin’ Up! purchases. You can purchase just for yourself or start your own business, it’s totally up to you. Purchasing the Starter Kit is absolutely risk free! If you’d like more information, please click here. If you’re ready right now to purchase the Starter Kit, click here! As always, if you have questions, don’t hesitate to contact me! Click the image below to download the flyer with all the bundle choices.

Have a wonderful day!


