by Tracy | Sep 8, 2021 | Die-Cutting, Scalloped Contours Dies, Stampin' Blends
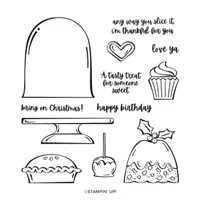
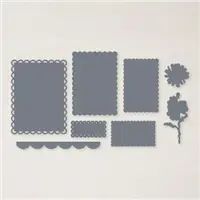
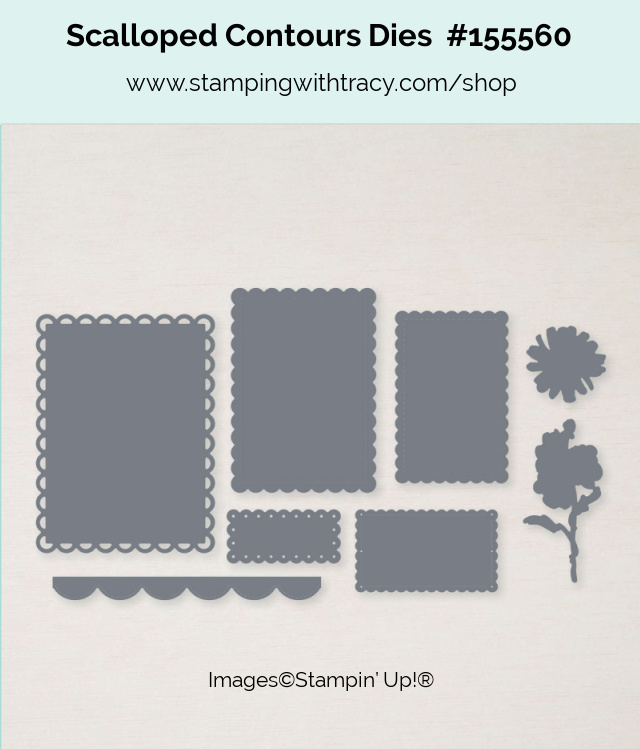
Today’s card features the Sweets & Treats stamp set and the Scalloped Contours Dies. These dies have been on backorder for several months but are available again as well as the Color & Contour Bundle which includes the Color & Contour stamp set and the Scalloped Contours Dies.
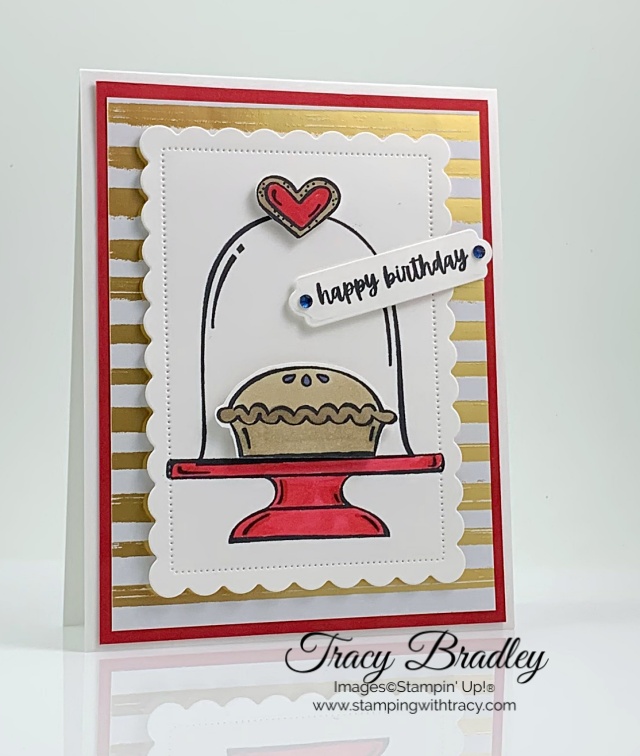
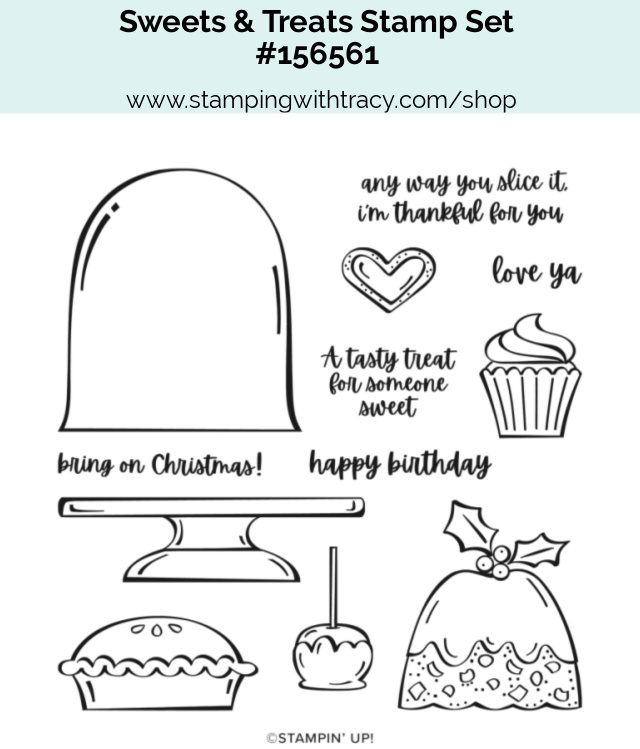
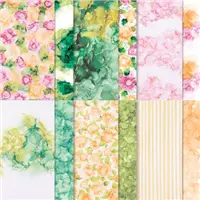
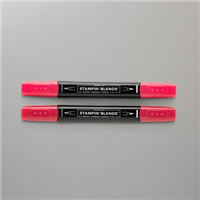
I started with a base of Thick Basic White cardstock and then added a layer of Real Red cardstock along with a piece of Expressions in Ink Designer Series Paper. Then I used the Scalloped Contours Dies to cut a piece of Basic White cardstock. Onto the rectangle, I used Memento ink to stamp the pie stand using the stamp set, Sweets & Treats. Then I stamped the pie cover. I colored the pie stand using Real Red Stampin’ Blends.

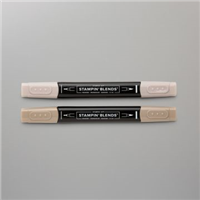
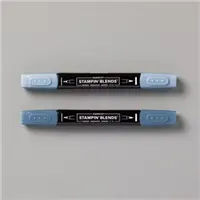
On another piece of Basic White cardstock, I stamped the pie and heart. I colored the pie using Crumb Cake & Misty Moonlight Stampin’ Blends (my husband loves blueberry pie so I made my pie, blueberry). I used Crumb Cake & Real Red Stampin’ Blends to color the heart. I fussy cut each one out and then adhered them to the card using Stampin’ Dimensionals. If I make the card again, I won’t use Stampin’ Dimensionals on the back of the pie but use regular adhesive instead.

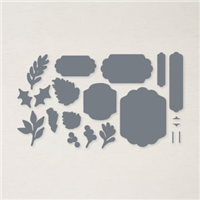
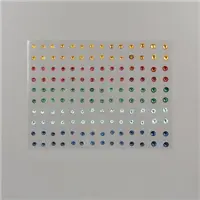
I stamped the sentiment onto Basic White cardstock in Memento Ink using the stamp set, Sweets & Treats. It was cut out using the Seasonal Labels Dies (a new set of dies in the Mini Catalog). I added Stampin’ Dimensionals to the back and adhered it to the card front. To complete the card, I added two Night of Navy Holiday Rhinestones, to each end of the sentiment.

Supply List
Below you’ll find all the Stampin’ Up! supplies I used for today’s card. If you need any stamping supplies, I’d love to be your demonstrator! You can place an order by clicking any of the images below to go to my Stampin’ Up! online store.
Measurements
- Thick Basic White cardstock: 11″ x 4-1/4″ or 8-1/2″ x 5-1/2″
- Real Red cardstock: 5-1/4″ x 4″
- Expressions in Ink Designer Series Paper: 5″ x 3-3/4″
- Basic White cardstock (scalloped rectangle): approx. 4-3/4″ x 3-3/8″
- Basic White cardstock: scrap for sentiment
- Basic White cardstock: scrap for pie
- Basic White cardstock: scrap for heart


September Paper Pumpkin
The last day to sign up for the September Paper Pumpkin is this Friday, September 10th.

Haunts & Harvest Paper Pumpkin Kit
- Kit contains enough supplies to create 12 treat packages—4 each of 3 designs. The all-inclusive kit includes printed die-cut boxes, die-cut sheets, adhesive, and more!
- Finished treat box size: 2-1/2″ x 2″
- Includes an exclusive stamp set and a Classic Stampin’ Spot
- Coordinating colors: Basic Black, Pale Papaya, Poppy Parade, Pumpkin Pie, Soft Succulent
Click here to subscribe today
You can cancel at any time or even skip a month

Sale-a-Bration Special – Good Until September 30th
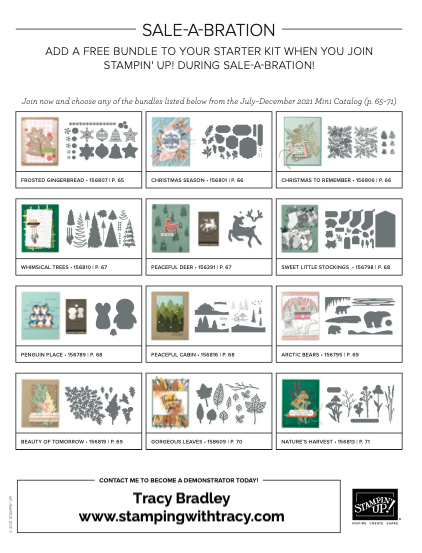
During Sale-a-Bration, choose one of twelve bundles to add to your Starter Kit, absolutely FREE! If you’re planning to make a $99 Stampin’ Up! purchase, you may want to consider the Starter Kit. When you purchase the $99 Starter Kit you can then choose $125 worth of Stampin’ Up! product from any current catalog PLUS, during Sale-a-Bration you can choose a FREE bundle from those listed above. The Starter Kit always ships FREE and once you purchase it you will start receiving a 20% discount on your future Stampin’ Up! purchases. You can purchase just for yourself or start your own business, it’s totally up to you. Purchasing the Starter Kit is absolutely risk free! If you’d like more information, please click here. If you’re ready right now to purchase the Starter Kit, click here! As always, if you have questions, don’t hesitate to contact me! Click the image below to download the flyer with all the bundle choices.

Have a wonderful day!
by Tracy | Jul 27, 2021 | Embossing Folders, Stamparatus, Stampin' Blends, Uncategorized
Today’s card features a sneak peek of a Sale-a-Bration free gift you can earn with a $100 order beginning on August 3rd! There are eight different products you will be able to earn with a $50 purchase and two that you can earn with a $100 purchase and there’s no limit to how many products you can earn!
The sneak peek product I used is the Summer Shadows Dies (I can’t share a picture until these dies go live on August 3rd) and they coordinate with our Shaded Summer stamp set in the Annual Catalog. During this round of Sale-a-Bration, some products will only be available while supplies last. The Summer Shadows Dies are one of three products with a limited supply so once they’re available on August 3rd, you’ll want to grab your set as soon as you can.


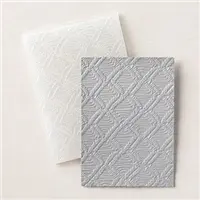
I started with a base of Highland Heather cardstock and then added a layer of Basic White cardstock that I placed inside the Macrame 3D Embossing Folder and ran through the Stampin’ Cut & Emboss Machine (you’ll need to use our Specialty Plate when using our 3D embossing folders). Using the Scalloped Contours Dies I cut a rectangle out of Basic White cardstock and stamped the sentiment in Memento Ink using the Artistically Inked stamp set. I added Stampin’ Dimensionals to the back and adhered it to the embossed Basic White cardstock.

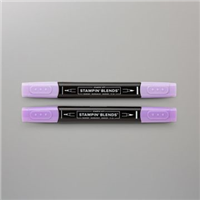
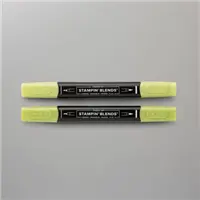
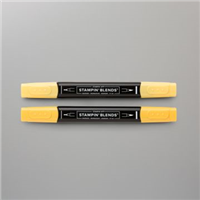
On another piece of Basic White cardstock, I stamped the flower image from the Shaded Summer stamp set using Memento Ink. Because I wanted a good solid image, I used my Stamparatus to stamp the image. I die cut the flowers (using the Summer Shadows Dies – available August 3rd) before coloring them because I didn’t want to make a mistake cutting them out after taking the time to color them. Then I colored the image using my Stampin’ Blends: Highland Heather, Granny Apple Green and Daffodil Delight. I added Stampin’ Dimensionals to the back and adhered it to the scalloped rectangle.

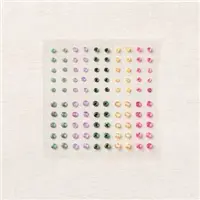
To complete the card, I added three 2021-2023 In Color Jewels in Fresh Freesia.
Supply List
Below you’ll find all the Stampin’ Up! supplies I used for today’s card. If you need any stamping supplies, I’d love to be your demonstrator! You can place an order by clicking any of the images below to go to my Stampin’ Up! online store.
The Summer Shadows Dies #156618 will be available as a Sale-a-Bration gift with a $100 purchase beginning on August 3rd.
Measurements
- Highland Heather cardstock: 11″ x 4-1/4″ (score at 5-1/2″) or 8-1/2″ x 5-1/2″ (score at 4-1/4″)
- Basic White cardstock (embossed piece): 5″ x 3-3/4″
- Basic White cardstock (scalloped rectangle): approx. 4-5/8″ x 3-1/4″
- Basic White cardstock: scrap for flowers
- Basic White cardstock: 5-1/4″ x 4″ (inside card)

Designer Series Paper – Select Packages on sale until August 2nd
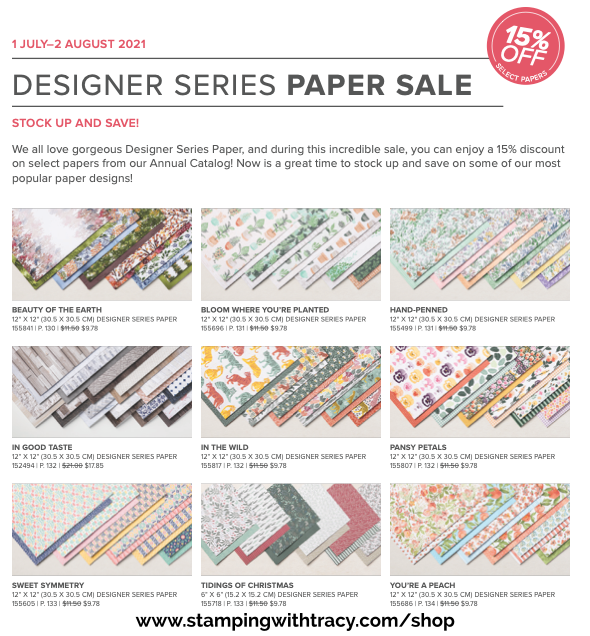
Save 15% on select packages of Designer Series Paper! Sale ends on August 2nd. Click HERE to see which packages are on sale or click the graphic below!
August Paper Pumpkin

Mini Catalog & Sale-a-Bration

Thanks for stopping by!
by Tracy | Jul 20, 2021 | Designer Series Paper, Die-Cutting, Stampin' Blends
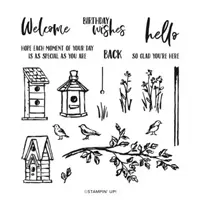
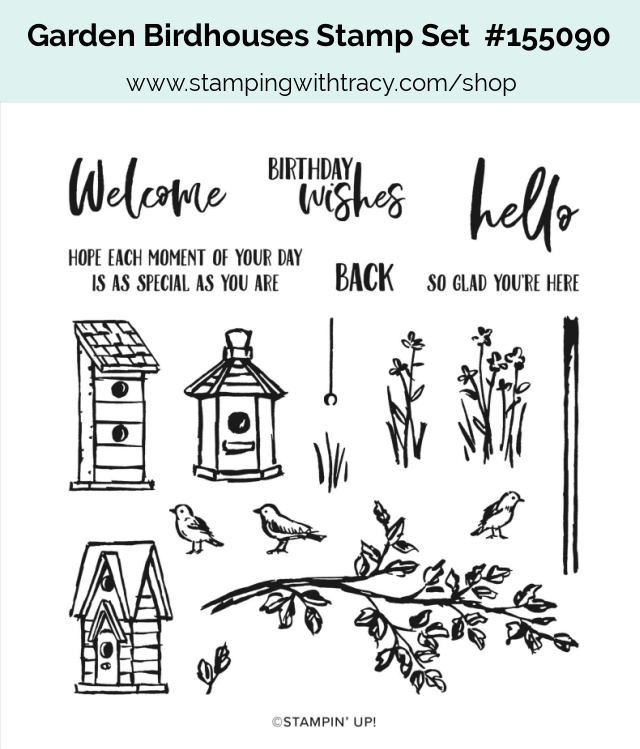
I think I’ve mentioned before that my husband and I have several bird feeders in our backyard. When I saw the Garden Birdhouses stamp set, I knew I had to have it. Cute birds and birdhouses? Yes, please!
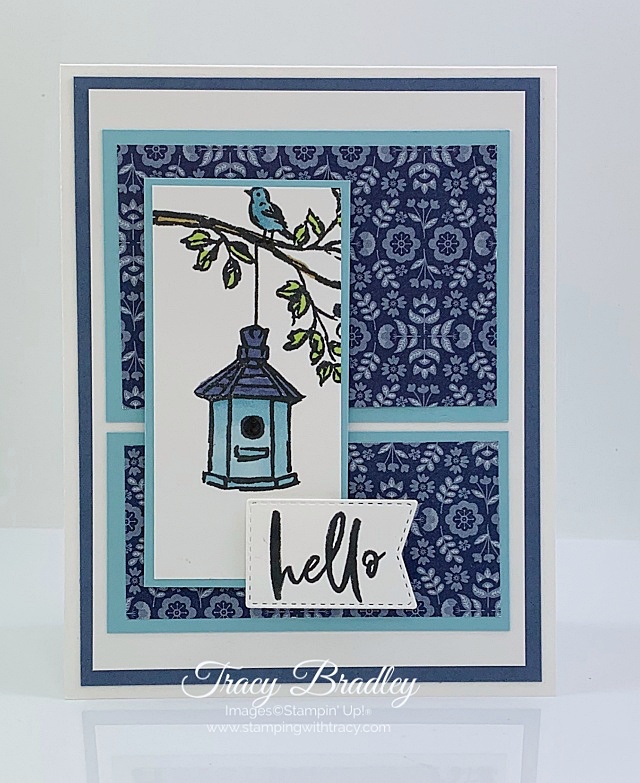
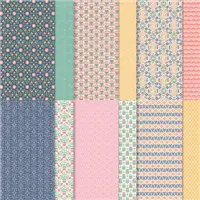
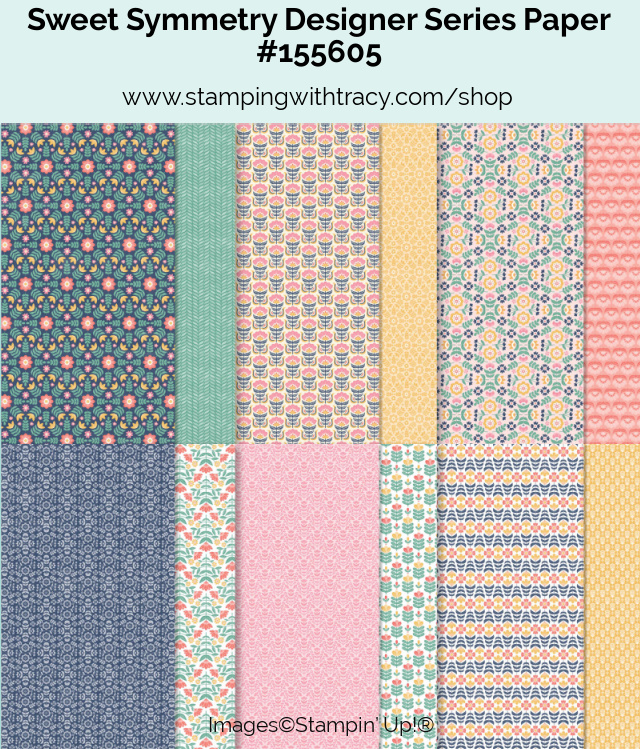
I started with a base of Thick Basic White cardstock and then added a layer of Misty Moonlight cardstock and Basic White cardstock (you can find the measurements I used below the Supply List). I layered pieces of Sweet Symmetry Designer Series Paper to pieces of Balmy Blue cardstock and then adhered them to the card front. Sweet Symmetry is one of nine Designer Series Papers on sale until August 2nd!

I stamped the branch and birdhouse onto Basic White cardstock using Memento Ink and the Garden Birdhouses stamp set. I colored the birdhouse using Balmy Blue and Misty Moonlight Stampin’ Blends. I used Soft Suede Stampin’ Blends to fill in areas of the branch and Granny Apple Green Stampin’ Blends to color the leaves. At the last minute I decided to add the bird and stamped it with Memento Ink and colored it with Balmy Blue Stampin’ Blends.
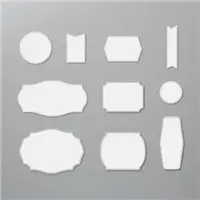
I layered the birdhouse onto a piece of Balmy Blue cardstock and then added Stampin’ Blends to the back and adhered it to the Balmy Blue/Designer Series Paper panels. The sentiment was stamped in Memento Ink and cut out with the Tasteful Labels Dies (these dies can be used with Mini Stampin’ Cut & Emboss Machine). On the back, I added Stampin’ Dimensionals to the right-side only and adhered the sentiment below the birdhouse.

Supply List
Below you’ll find all the Stampin’ Up! supplies I used for today’s card. If you need any stamping supplies, I’d love to be your demonstrator! You can place an order by clicking any of the images below to go to my Stampin’ Up! online store.
Sale: $9.78
Price: $11.50
Measurements
- Thick Basic White cardstock: 11″ x 4-1/4″ score @ 5-1/2″ OR 8-1/2″ x 5-1/2″ score @ 4-1/4″
- Misty Moonlight cardstock: 5-1/4″ x 4″
- Basic White cardstock: 5″ x 3-3/4″
- Basic White cardstock: 3-3/8″ x 1-5/8″ (piece with birdhouse)
- Basic White cardstock: scrap for sentiment
- Balmy Blue cardstock: 3-1/2″ x 2-1/2″
- Balmy Blue cardstock: 3-1/2″ x 1-3/4″ (piece under birdhouse)
- Sweet Symmetry Designer Series Paper: 3-1/4″ x 2-1/4″
- Sweet Symmetry Designer Series Paper: 3-1/4″ x 1-1/2″
Designer Series Paper Sale
Save 15% on select packages of Designer Series Paper! Sale ends on August 2nd. Click HERE to see which packages are on sale!

August Paper Pumpkin

Hope Box Paper Pumpkin Kit
- Kit contains supplies to create nine cards and coordinating envelopes and comes in a special box!
- The box is specially designed to turn into a Hope Box—a keepsake box full of cherished items to add hope to your life or in the lives of others.
- Includes an exclusive stamp set and a Classic Stampin’ Spot
- Card size: 4-1/4″ x 5-1/2″
- Envelope size: 4-1/2″ x 5-3/4″
- Coordinating colors: Bermuda Bay, Blackberry Bliss, Bumblebee, Melon Mambo, Petal Pink, Pool Party, Poppy Parade
Click here to subscribe today
You can cancel at any time or even skip a month

Have a great day!
by Tracy | Jun 24, 2021 | Die-Cutting, Stampin' Blends

All orders $50 or more are shipping FREE, today ONLY!!!

Today’s card is a variation of the card I posted yesterday. If you missed yesterday’s card, you can see it here. I changed up the color of the cardstock, used a different sentiment and embossed my cardstock using the Stitched Greenery Die.

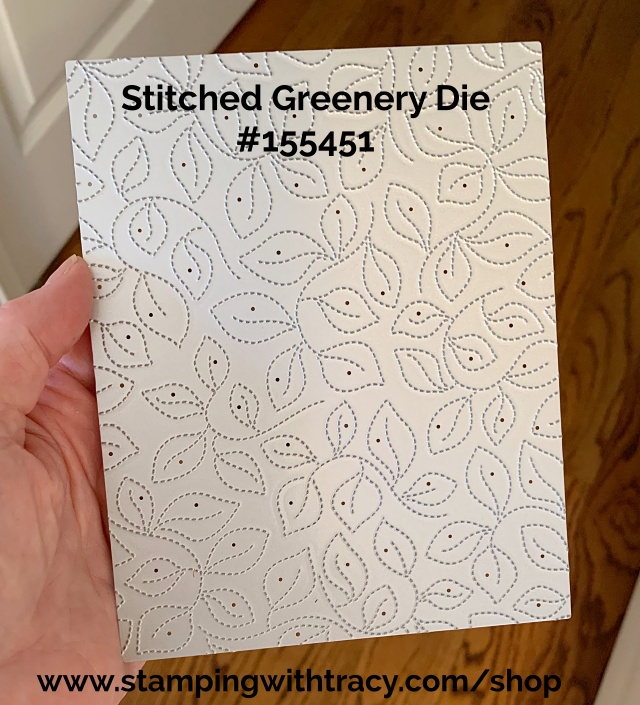
The base of my card is Thick Basic White cardstock with layers of Pale Papaya cardstock that I embossed using the Stitched Greenery Die. This die is used like any other die but your paper comes out of the Stampin’ Cut & Emboss Machine embossed!
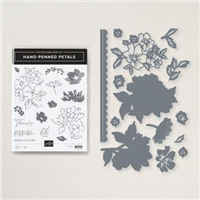
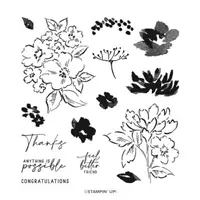
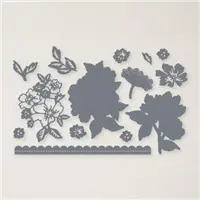
I stamped the flowers onto Basic White cardstock using Memento ink and the Hand-Penned Petals stamp set. They were colored using Pale Papaya and Granny Apple Green Stampin’ Blends. I cut them out using the coordinating Penned Flowers Dies. You can purchase this stamp set and dies as a bundle and save 10%.


The scalloped rectangle was cut out of Basic White cardstock using the Scalloped Contours Dies and the sentiment was stamped in Memento Ink with the stamp set Beauty of Friendship. I added Stampin’ Dimensionals to the back of the flowers before adhering them to the scalloped rectangle.

On the back of the scalloped rectangle, I added Stampin’ Dimensionals, on the right side only, before adhering it to the card base.
Supply List
If you need any stamping supplies, I’d love to be your demonstrator! You can place an order by clicking any of the images below to go to my Stampin’ Up! online store.
Measurements
- Thick Basic White cardstock: 7-1/2″ x 5-1/2″ score at 3-1/4″
- Pale Papaya cardstock: 5-1/4″ x 3″
- Pale Papaya cardstock: 5-1/4″ x 3/4″
- Basic White cardstock (scalloped rectangle); approx. 4″ x 2-3/4″
- Basic White cardstock: approx. 3-1/4″ x 3″
Potpourri Card Sampler

My Card Samplers give you the chance to “sample” different products. You are able to see our Designer Series Paper, cardstock, embossed paper, die cuts and embellishments “in person” as you assemble the cards. Usually all three cards have one product in common but this Sampler was made using a variety of products so I called it Potpourri!
Place a minimum $50 order (before shipping/tax) at my Stampin’ Up! online store using the host code VREDTDDM and as a thank you, you’ll receive my Potpourri Card Sampler which includes 6 card kits (2 each of three different designs) with envelopes and a PDF Tutorial with instructions, pictures and a supply list. You’ll receive all the paper and embellishments needed to make the cards and all the paper will be cut, scored and die cut for you (you’ll need to supply your own adhesive, ink and stamp set). If your order is $150 or more, please do not use the host code so you can earn Stampin’ Rewards (free product) directly from Stampin’ Up! After placing your order, please contact me to let me know you’d like the Potpourri Card Sampler (you only need to contact me if your order is $150 or more). If I don’t hear from you, I’ll assume you’d like my regular card kits. The last day this offer will be available is Saturday, June 26, 2021. For all the details, please click here.
July Paper Pumpkin

- Contains enough supplies to create twelve cards and coordinating envelopes.
- Card size: 4-1/4” x 5-1/2”
- Envelope size: 4-1/2” x 5-3/4”
- Comes with a Stampin’ Spot plus an exclusive Stamp Set.
- Includes inspirational sentiments and adventure-themed imagery featuring these nature-inspired coordinating colors: Basic Black, Basic White, Bermuda Bay, Crushed Curry, Early Espresso, Flirty Flamingo, Garden Green, Granny Apple Green, Mango Melody, Night of Navy.
Click here to subscribe today
You can cancel at any time or even skip a month
Enjoy your day!
by Tracy | May 24, 2021 | Embossing Folders, Stampin' Blends
Today I’m sharing several more versions of the card I shared on Friday. For these versions, I used different colors and the new Animal Print embossing folder. On Friday I shared a FREE PDF Tutorial for this card using the Tasteful Textile 3D Embossing Folder. If you’d like the measurements I used, you can see that post here and be sure to scroll down past the Supply List to access the tutorial.
All three of my cards today were made using the Stampin’ Up! Flowers of Friendship stamp set. For this first card I used Fresh Freesia Stampin’ Blends and Fresh Freesia cardstock.

For this next card, I used Pale Papaya Stampin’ Blends and Pale Papaya cardstock.
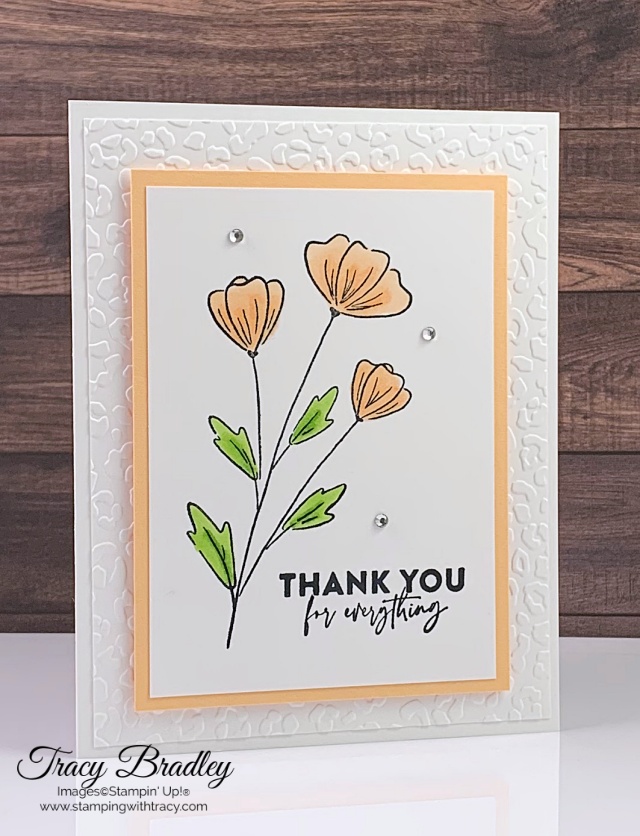
For this last card, I used Poppy Parade Stampin’ Blends and Poppy Parade cardstock.


Flowers of Friendship is a great stamp set for coloring, especially for someone who doesn’t have much experience using our Blends. The coloring areas aren’t super detailed so it makes for a relaxing experience!
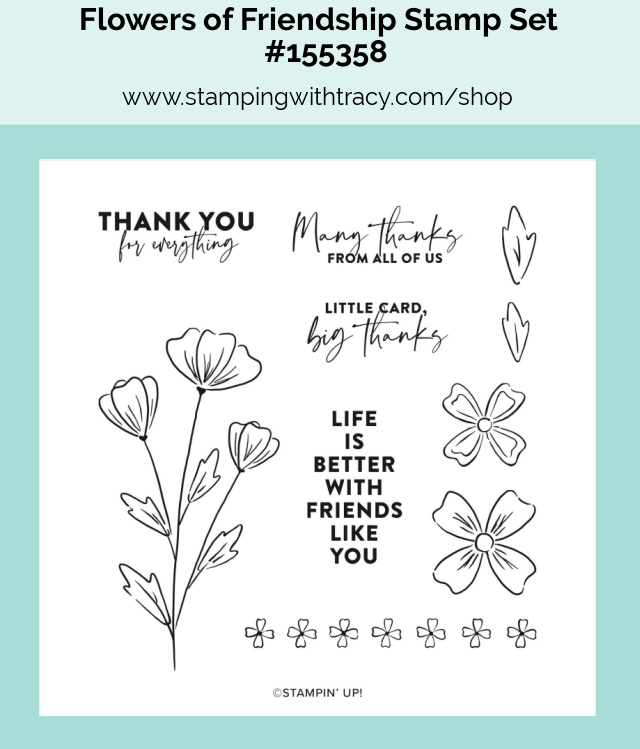
The Flowers of Friendship Bundle (bundles save you 10%) is also available. It includes the Flowers of Friendship stamp set and the Flowers & Leaves punch.
Supply List
If you need any stamping supplies, I’d love to be your demonstrator! You can place an order by clicking any of the images below to go to my Stampin’ Up! online store. If you have questions about products you’re considering purchasing or ones you’ve already purchased, I’m just an email away (click the Email Me button on the sidebar of my blog).


June Paper Pumpkin
I love Stampin’ Up! Expressions in Ink Designer Series Paper so I’m really looking forward to receiving this kit!

- Kit contains enough supplies to create 9 cards—3 each of 3 designs—and coordinating envelopes. This all-inclusive kit includes printed card bases, die-cut paper pieces, embellishments, adhesive, and more!
- Card size: 4-1/4″ x 5-1/2″
- Envelope size: 4-1/2″ x 5-3/4″
- Coordinating colors: Bumblebee, Evening Evergreen, Fresh Freesia, Polished Pink
- As always, this month’s kit features an exclusive stamp set. But, this month’s kit also includes not one, but two Classic Stampin’ Spots!
- Comes in a cute, colorful, and collectible box.
- Coordinates with products from the Expressions in Ink Suite (item #155459)
- Once you sign up, you can cancel at any time or even skip a month!
To receive the June Paper Pumpkin Kit, subscribe by June 10th!
Click here to subscribe today!

Tracy’s Quick Links
Place an Order
Clearance Rack
$99 Starter Kit
Paper Pumpkin
Tracy’s Customer Rewards
Bradley Points
by Tracy | Jul 17, 2020 | Designer Series Paper, Die-Cutting, Stampin' Blends
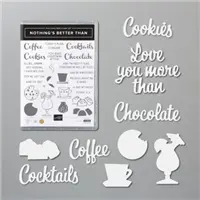
Today’s card features the Nothing’s Better Than bundle. How can you go wrong with a stamp set and dies that feature not only chocolate but cookies and cocktails too??!! Yes, please!
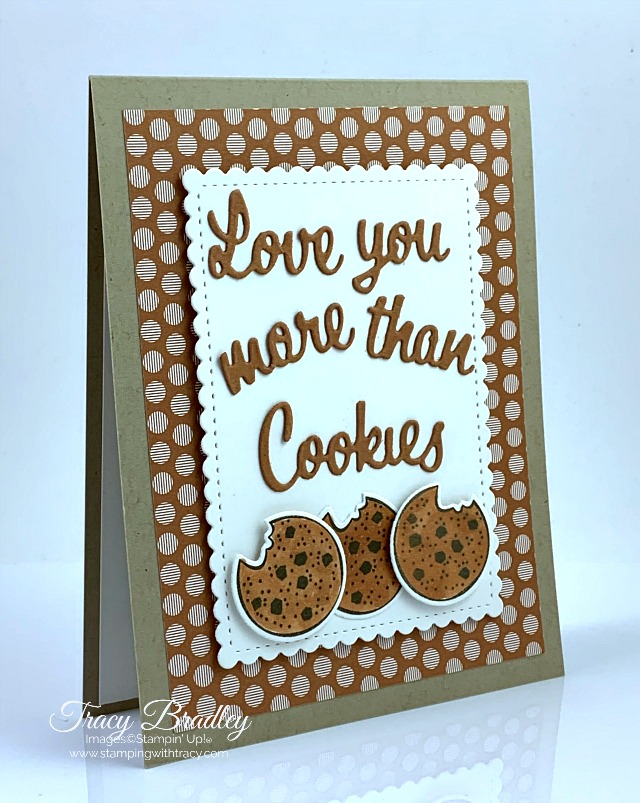

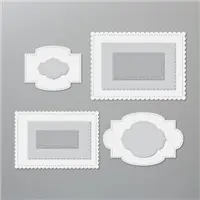
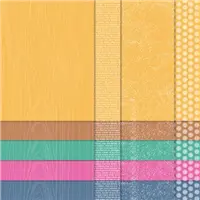
I started with a base of Crumb Cake cardstock and added a layer of our 2020-2022 In Color Designer Series Paper in Cider Cinnamon. I cut a piece of Whisper White cardstock using the Stitched So Sweetly Dies (this is the largest die in the set) and popped it up with Stampin’ Dimensionals.

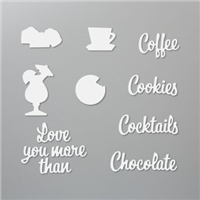
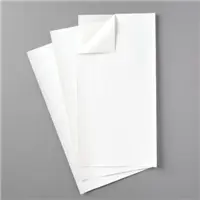
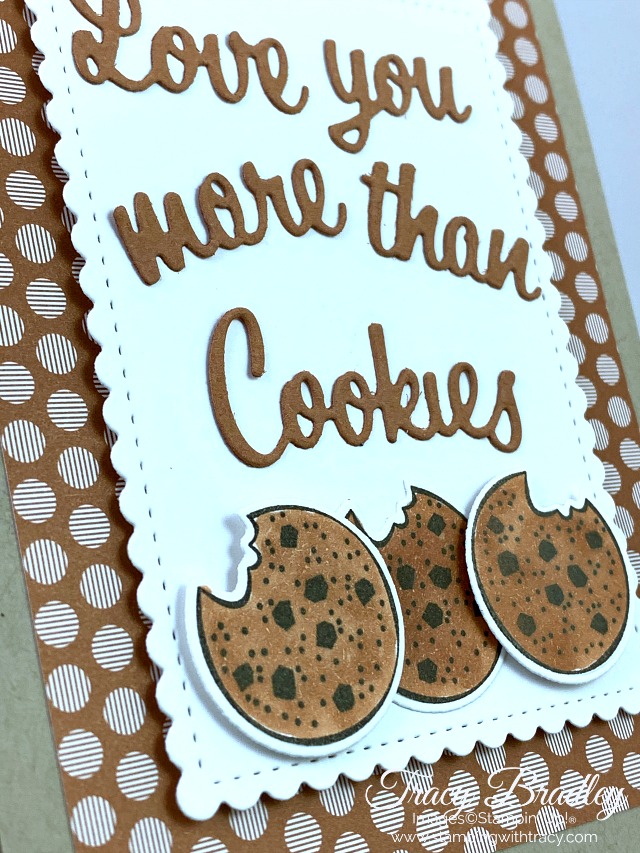
Before cutting the words “Love You More Than Cookies” in Cinnamon Cider cardstock using the Love You More Than Dies, I adhered the cardstock to our brand new Adhesive Sheets. I love these sheets!!! I tend to shy away from intricate designs that require being super careful when applying glue but these sheets make it so easy. Peel the sheet from the cardstock and your glue is applied! Easy and mess-free!

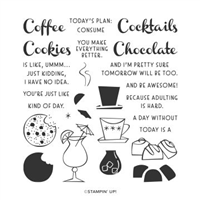
In the stamp set, Nothing’s Better Than, there are two stamps to create the cookies but I used just one. I used the stamp with the outline of the cookie and chocolate chips and stamped it in Early Espresso and then used my Light Cinnamon Cider Stampin’ Blend to color them in. They were cut out using the Love You More Than dies. The center cookie was adhered to the card using Multipurpose Glue but the outside ones have a Stampin’ Dimensional on the back. Hmmm, suddenly I’m in the mood to bake some cookies!
If you’d like the measurements for today’s card, you can find them below the Supply List.
Supply List
If you need any stamping supplies, I’d love to be your demonstrator! You can place an order by clicking any of the images below to go to my Stampin’ Up! online store. If you have questions about products you’re considering purchasing or ones you’ve already purchased, I’m just an email away (click the Email Me button on the sidebar of my blog).
Measurements
- Crumb Cake cardstock: 11″ x 4-1/4″
- 2020-2022 In Color Designer Series Paper (Cinnamon Cider): 5″ x 3-3/4″
- Whisper White cardstock: 5-1/4″ x 4 (optional for inside card)
- Whisper White cardstock: approximately 4-1/4″ x 3-1/4″
- Whisper White cardstock: scraps for cookies
- Cinnamon Cider cardstock: scraps for words
Tracy’s Quick Links
Place an Order
My Customer Rewards
Bradley Points
$99 Starter Kit
Clearance Rack
2020-2021 Annual Catalog
Paper Pumpkin
Thanks for stopping by today!


