Note from Tracy: Creating cards is a wonderful way to relieve stress and we’re all under so much of that right now. I’m spending time in my craft room creating cards to share with you and it’s my hope that you’ll be inspired to start creating. Brighten someone’s day by sending them your beautiful card! Take Care, my friends
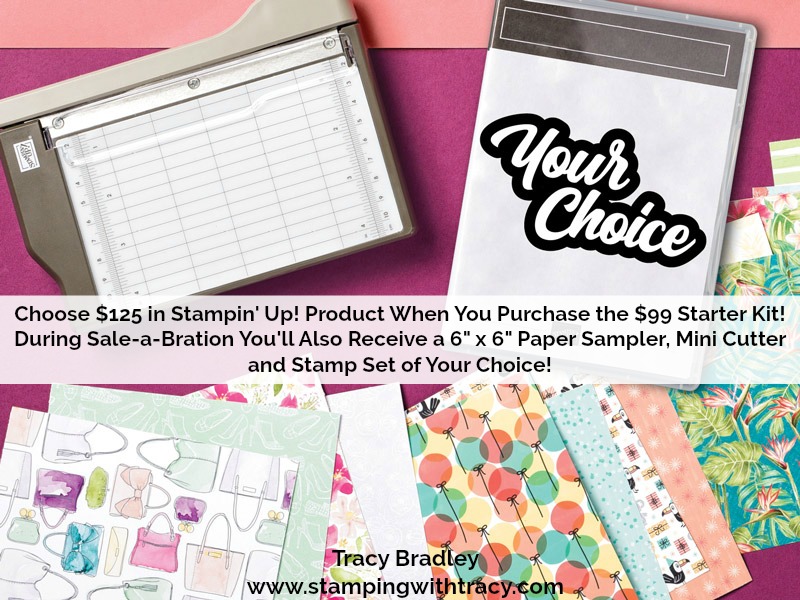
Before sharing my FREE tutorial with you, I want to let you know that new Sale-a-Bration gifts just became available! It’s important to note that the item numbers for the Sale-a-Bration Third Release products must be used in order for the products to be redeemed as Sale-a-Bration items. If you use the item numbers from the catalog they will not be recognized as a Sale-A-Bration free gift. Click here to see the flyer below. Click hereto place an order!
Today’s FREE PDF Tutorial is for the card I shared yesterday. To access the tutorial, simply click below the supply list.
Stay safe and healthy today!
Supply List
If you need any stamping supplies, I’d love to be your demonstrator! You can place an order by clicking any of the images below to go to my Stampin’ Up! online store.If you have questions about products you’re considering purchasing or ones you’ve already purchased, I’m just an email away (click the Email Me button on the sidebar of my blog).
Before sharing my card with you today, I want to let you know that starting tomorrow, March 24th, a selection of current catalog items will be available to earn through Sale-a-Bration. Those are the only details I have but be sure to check back tomorrow to see what’s being offered!
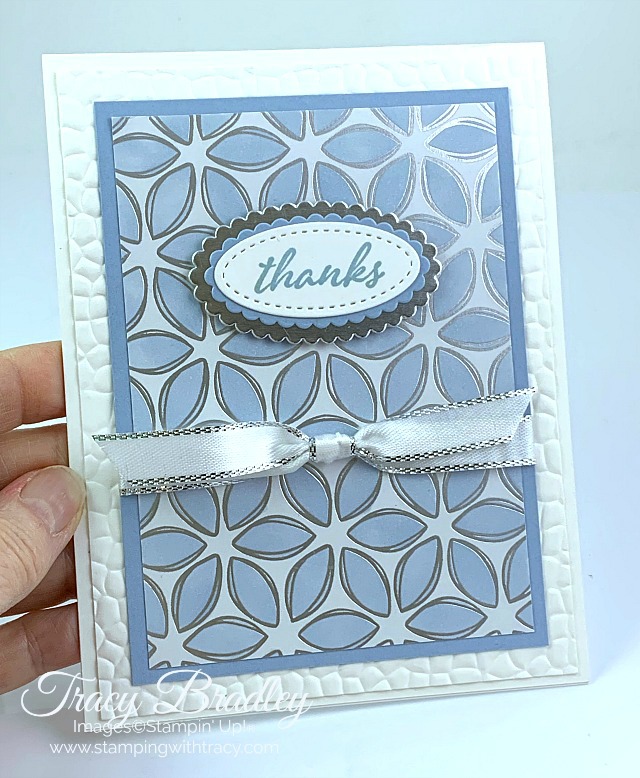
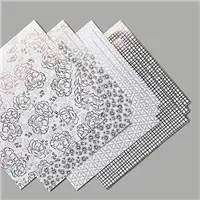
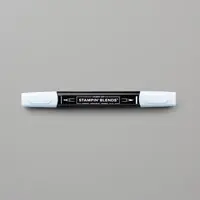
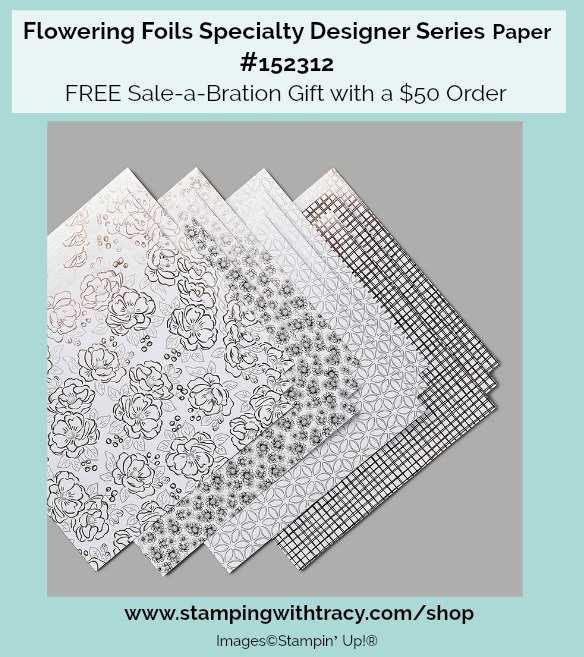
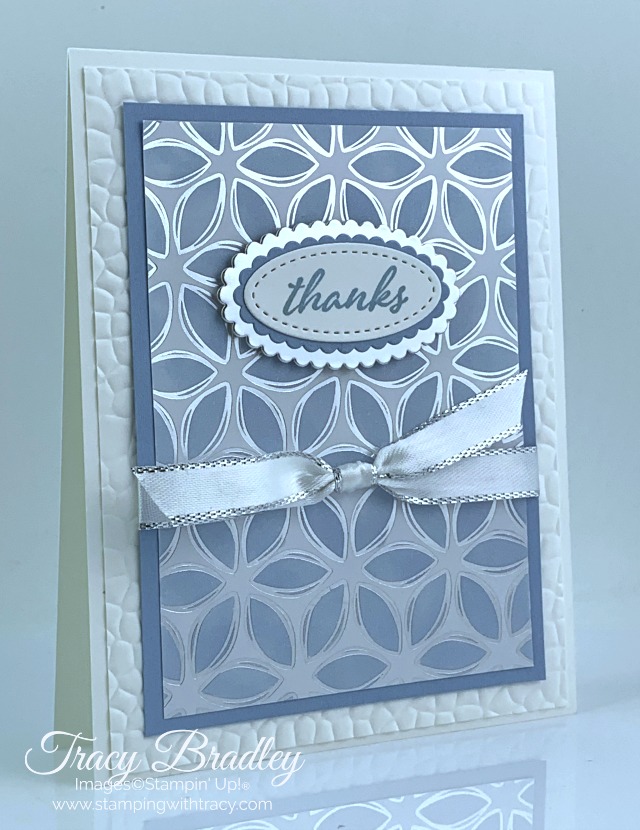
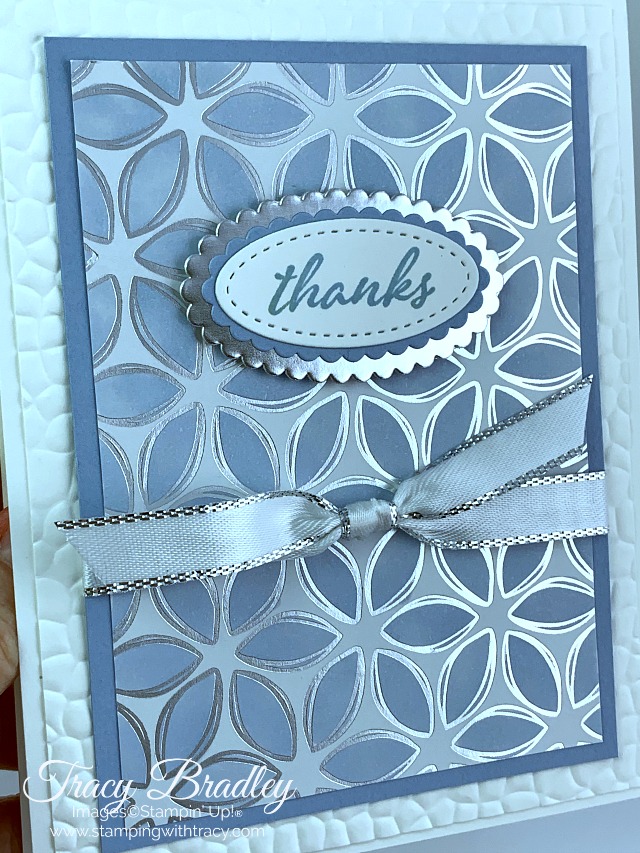
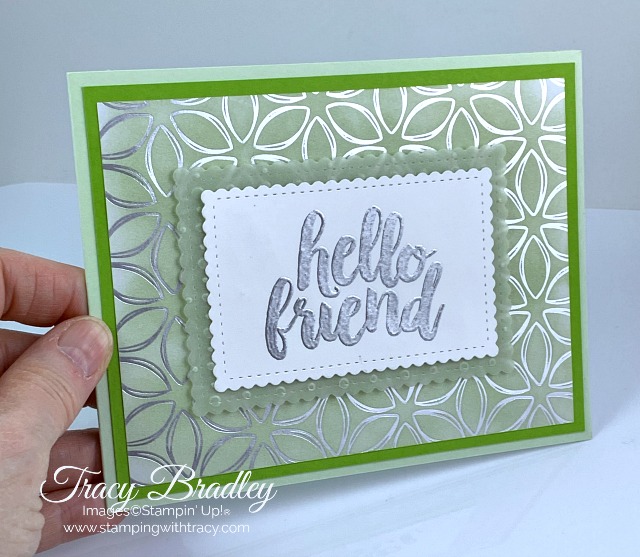
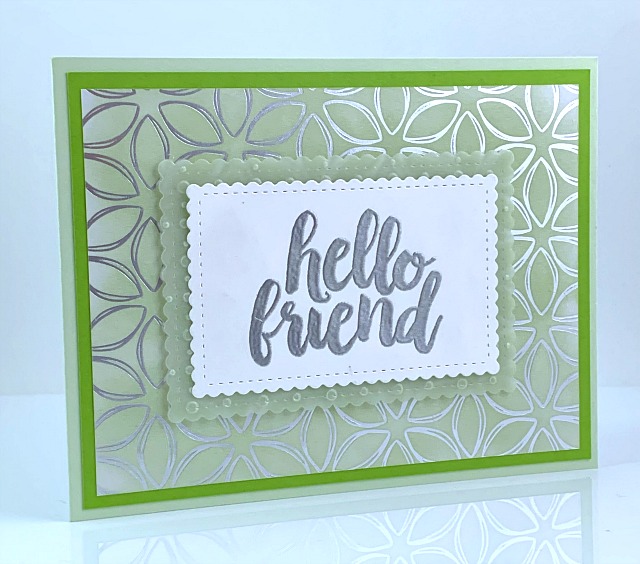
Today’s card was created using one of the designs in Flowering Foils Specialty Designer Series Paper. All of the designs in the package can stand alone but changing up the look is really fun! I used a Light Seaside Spray Stampin’ Blend to color in all the flower petals. Imagine all the possibilities! The very best part? This paper is free with a $50 order during Sale-a-Bration, while supplies last!
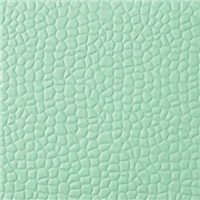
The base of the card is Thick Whisper White with a layer of regular Whisper White on top that was embossed using the Hammered Metal 3D embossing folder and a die-cutting machine. After coloring the Flowering Foils paper, I adhered it to a piece of Seaside Spray and wrapped a piece of Silver-Metallic Edge Ribbon around the entire piece. Then I adhered it to the base of the card using Multipurpose Glue.
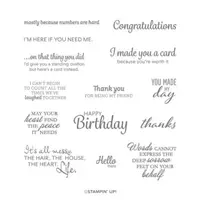
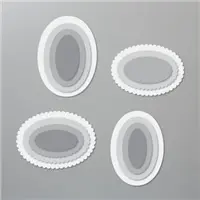
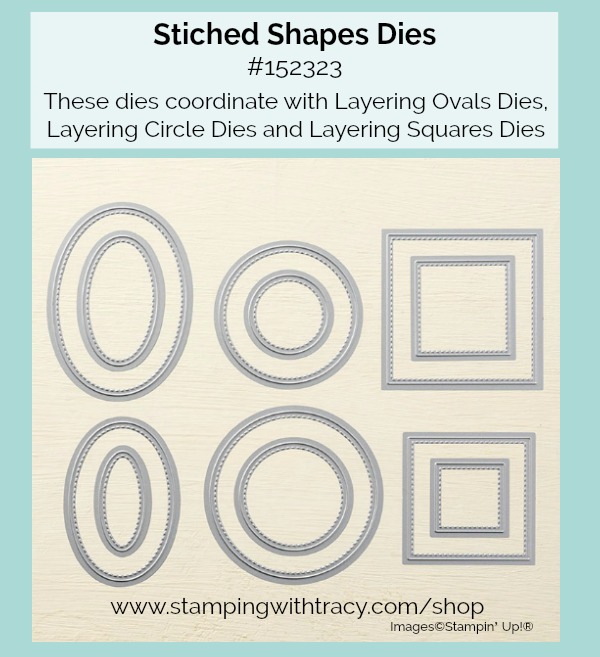
The sentiment was stamped onto Whisper White cardstock using Seaside Spray ink and then cut out with the Stitched Shapes Dies. Using the Layering Ovals Dies, I cut a scalloped oval in Seaside Spray and then a larger one in Silver Foil. I layered all the pieces together using Snail adhesive and then added Stampin’ Diensionals to the back and attached it to the front of the card.
Tomorrow I’ll have a free PDF Tutorial for today’s card but if you want to give it a try today, I’ve included the measurements below the Supply List.
Take good care of yourself!
Supply List
If you need any stamping supplies, I’d love to be your demonstrator! You can place an order by clicking any of the images below to go to my Stampin’ Up! online store.If you have questions about products you’re considering purchasing or ones you’ve already purchased, I’m just an email away (click the Email Me button on the sidebar of my blog).
To create today’s card, I used Pineapple Punch cardstock, one of our five 2018-2020 In Colors. Each year five new colors are introduced and five are retired so Pineapple Punch will be gone in a few months.
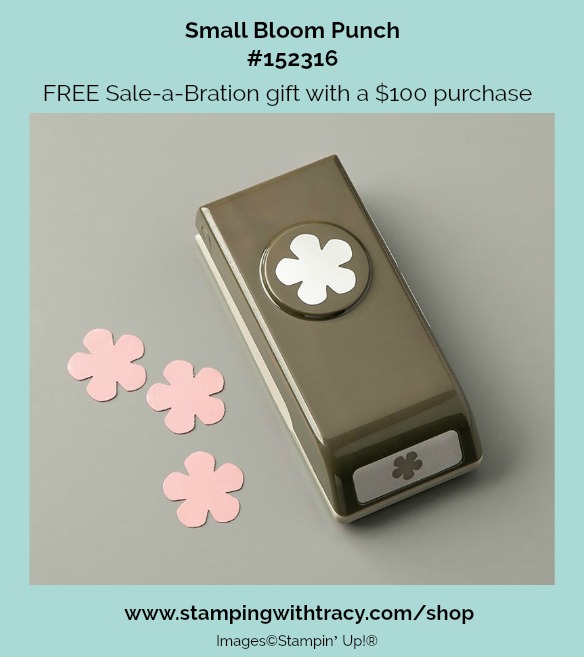
I used the Stitched Shapes Dies to create all the squares and to cut out the sentiment. The flowers were cut out using the Small Bloom Punch, a FREE Sale-a-Bration gift with a $100 purchase and available while supplies last. Each flower was attached to the stitched square using a Mini Stampin’ Dimensional and a Gold Faceted Gem was added to the center of each one for some sparkle!
The sentiment is from the stamp set Under My Umbrella and was stamped with Memento ink. To give a little more dimension to the care, it was popped up with Stampin’ Dimensionals. With the help of the dies and punch, this card came together very quickly!
Bundle Alert: The Under My Umbrella Bundle includes the stamp set Under My Umbrella and the Umbrella Builder Punch. You can purchase these items separately but when you use the special bundle item #153786, you’ll save 10%!
Supply List
If you need any stamping supplies, I’d love to be your demonstrator! You can place an order by clicking any of the images below to go to my Stampin’ Up! online store.If you have questions about products you’re considering purchasing or ones you’ve already purchased, I’m just an email away (click the Email Me button on the sidebar of my blog).
Today’s card features Flowering Foils Specialty Designer Series Paper. I used Soft Sea Foam ink and a Sponge Dauber to add color to this very versatile paper. I actually used two FREE Sale-a-Bration gifts to create my card:
With every $50 purchase (before tax and shipping) you can choose either of these papers as your Sale-a-Bration gift. There’s no limit to how many gift you can earn! These products are available until March 31, 2020 or while supplies last!
I used the Stitched So Sweetly Dies to cut out both sentiment and the So Very Vellum Designer Series Paper. These dies are currently on the Low Inventory List so if you love them, I’d recommend purchasing them quickly. It’s possible that once they go into backorder status, it will take some time to get them back in stock.
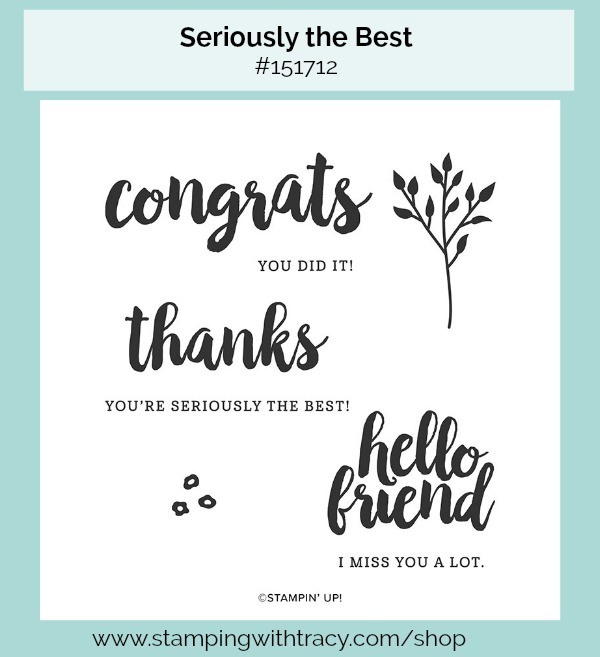
The sentiment is from the stamp set, Seriously the Best, and was heat embossed using Silver Stampin’ Emboss Powder. If you haven’t tried embossing, now is the time!
How to Heat Emboss
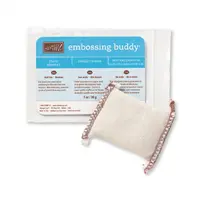
Rub an Embossing Buddy over the surface of your cardstock (this helps keep away stray particles of embossing powder). Stamp your sentiment or image using a Versamark pad. This is very sticky ink and your embossing powder will stick right to it. Sprinkle embossing powder over the stamped image. Shake off any excess. Before applying heat to your paper, heat the Heat Toolfor about 10 seconds to minimize warping of your paper. Direct the heat over your image and watch the magic happen!
If you have any questions, please feel free to reach out to me!
Supply List
If you need any stamping supplies, I’d love to be your demonstrator! You can place an order by clicking any of the images below to go to my Stampin’ Up! online store.If you have questions about products you’re considering purchasing or ones you’ve already purchased, I’m just an email away (click the Email Me button on the sidebar of my blog).
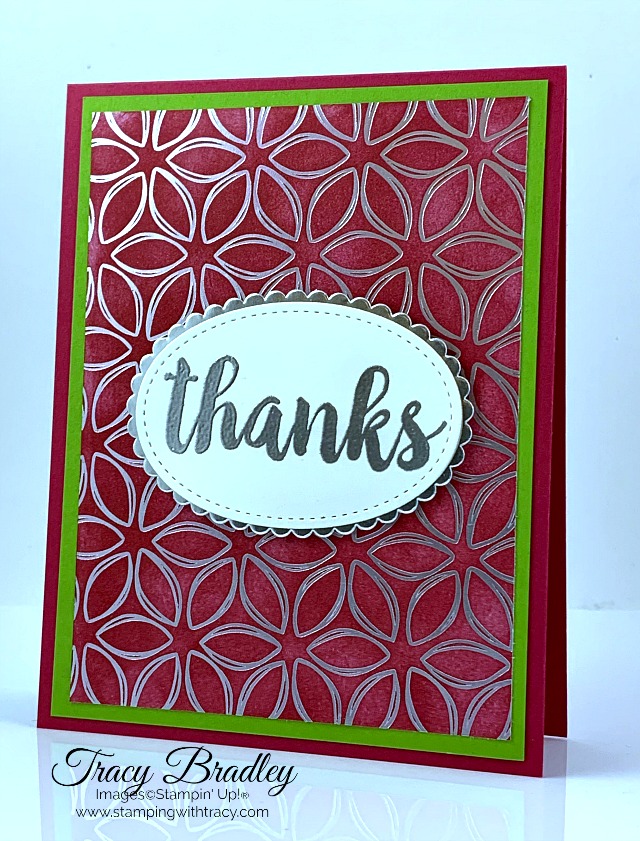
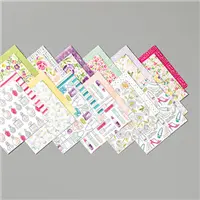
To create today’s card I used Flowering Foils Specialty Designer Series Paper, a free Sale-a-Bration gift when you place a $50 order (before shipping/tax). You’ll receive (12) 12″ x 12″ sheets of these rose gold and silver foil designs. This paper is only available until March 31, 2020 or while supplies last!
I also used the stamp set, Seriously the Best, and embossed the sentiment with Silver Stampin’ Emboss Powder. I love the boldness of the sentiments in this set and when they’re embossed, a beautiful focal point is created.
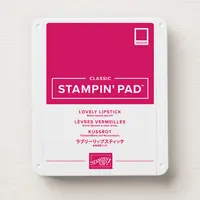
The beauty of this Designer Series Paper is that you can easily add any Stampin’ Up! color to the white areas. I used Lovely Lipstick ink and applied it with a Sponge Dauber. It’s a good idea to take a tissue or a soft cloth and rub it over the surface of the paper after applying color to pick up any ink that’s sitting on top of the raised foil.
How to Heat Emboss
Rub an Embossing Buddy over the surface of your cardstock (this helps keep away stray particles of embossing powder). Stamp your sentiment or image using a Versamark pad. This is very sticky ink and your embossing powder will stick right to it. Sprinkle embossing powder over the stamped image. Shake off any excess. Before applying heat to your paper, heat the Heat Tool for about 10 seconds to minimize warping of your paper. Direct the heat over your image and watch the magic happen!
Supply List
If you need any stamping supplies, I’d love to be your demonstrator! You can place an order by clicking any of the images below to go to my Stampin’ Up! online store.If you have questions about products you’re considering purchasing or ones you’ve already purchased, I’m just an email away (click the Email Me button on the sidebar of my blog).
It’s Tutorial Tuesday and I have a quick and easy card for you! I shared this card last week and you can access the tutorial today by clicking the link below the Supply List.
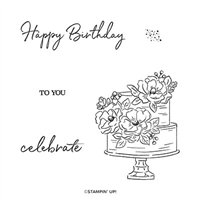
Unfortunately the Happy Birthday Dies, used to create today’s card, have sold out! They were part of a while supplies last promotion and they are now gone. But the good news is that the Happy Birthday to You stamp set, one of our Sale-a-Bration gifts IS still available and the flower image can simply be cut out or stamped directly onto the Whisper White cardstock.
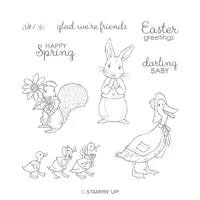
The stamp set I used for the sentiment on my card, Fable Friends, is currently on the Low Inventory List. It’s a great set for Easter so if you’ve been thinking of purchasing it, my recommendation is to grab it while it’s still in stock.
Supply List
If you need any stamping supplies, I’d love to be your demonstrator! You can place an order by clicking any of the images below to go to my Stampin’ Up! online store.If you have questions about products you’re considering purchasing or ones you’ve already purchased, I’m just an email away (click the Email Me button on the sidebar of my blog).
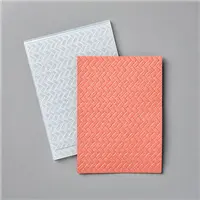
The card I’m sharing with you today was created using Best Dressed 6″ x 6″ Designer Series Paper and the Coastal Weave 3D Embossing Folder. If you’d like to make today’s card, you can find all the measurements below the Supply List.
One of the colors I used in today’s card is Lovely Lipstick, which is one of the 2018-2020 In Colorsand will be retiring very soon! Anything in our retiring colors (paper, ink refills, stamp pads, etc.) always tend to sell out fast once the retiring list is published so if you love Lovely Lipstick, like I do, I’d recommend stocking up now!
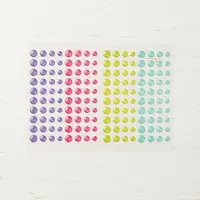
The other colors I used are Whisper White and Petal Pink. The sentiment is from the stamp set Bloom & Grow and it was stamped in Memento Ink onto Whisper White cardstock. It was cut out with the Stitched Shapes Dies and adhered to a scalloped oval in Lovely Lipstick, cut out with the Layering Ovals Dies. To complete the card, I added three Glitter Enamel Dots in Melon Mambo.
Supply List
If you need any stamping supplies, I’d love to be your demonstrator! You can place an order by clicking any of the images below to go to my Stampin’ Up! online store.If you have questions about products you’re considering purchasing or ones you’ve already purchased, I’m just an email away (click the Email Me button on the sidebar of my blog).
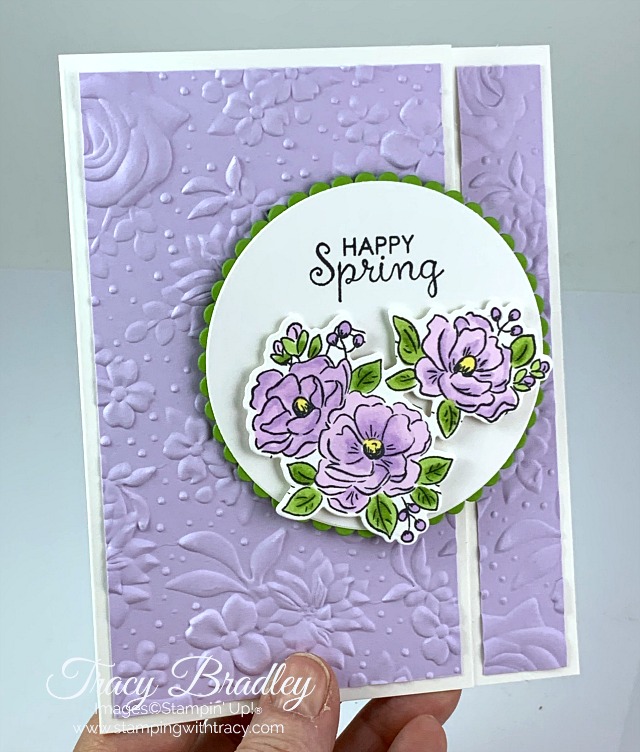
Today’s card features the Stampin’ Up! Happy Birthday to You stamp set, a free gift during Sale-a-Bration with a $50 order and the coordinating Birthday Dies. This stamp set is only available during Sale-a-Bration and only while supplies last!
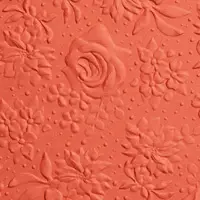
To get the beautiful texture on my Purple Posy cardstock, I used the Country Floral 3D Embossing Folder and my die-cutting machine. I recommend using Multipurpose Glue to adhere the embossed pieces to the Thick Whisper White card base.
After stamping the flower images using Memento Ink, I colored them with Purple Posy & Granny Apple Green Stampin’ Blends. It was so easy cutting the flowers out with the Birthday Dies! I added Stampin’ Dimensionals to the back and adhered them to a circle of Whisper White cardstock that was cut out using the Layering Circles Dies. The sentiment is from the stamp set, Fable Friends, and was inked up with Memento ink. A scalloped circle was cut out of Granny Apple Green cardstock, again using the Layering Circles Dies, and the Whisper White circle was adhered to this. Stampin’ Dimensionals were added to the back (only on the right hand side) before adhering it to the front of the card.
Supply List
If you need any stamping supplies, I’d love to be your demonstrator! You can place an order by clicking any of the images below to go to my Stampin’ Up! online store.If you have questions about products you’re considering purchasing or ones you’ve already purchased, I’m just an email away (click the Email Me button on the sidebar of my blog).
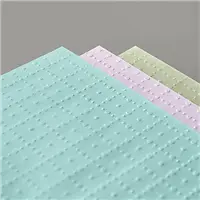
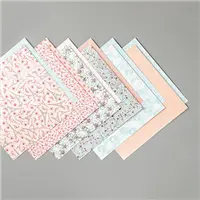
Today’s card was created using the beautiful So Very Vellum Specialty Designer Series Paper. This paper is FREE with a $50 order until March 31, 2020 or while supplies last!! Each package contains 6 sheets of 12″ x 12″ paper in Pool Party, Purple Posy and Soft Sea Foam (2 of each color). It’s so pretty!
The base of the card is Purple Posy cardstock as well as the smaller layer which was popped up with Stampin’ Dimensionals. Because vellum is very sheer, I was a bit apprehensive about attaching the vellum to the cardstock but I used Mini Glue Dots, one in each corner, and you can’t even see them!
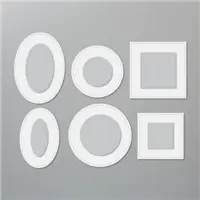
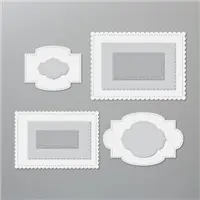
The Peaceful Moments stamp set was used to stamp the sentiment in Gorgeous Grape ink onto Whisper White cardstock and cut out with the Stitched Shapes Dies. The larger Purple Posy scalloped oval was cut out with the Layering Ovals Dies. The Stitched Shapes Dies coordinate not only with the Layering Ovals Dies but the Layering Circles Dies and Layering Squares Dies.
If you need any stamping supplies, I’d love to be your demonstrator! You can place an order by clicking any of the images below to go to my Stampin’ Up! online store.If you have questions about products you’re considering purchasing or ones you’ve already purchased, I’m just an email away (click the Email Me button on the sidebar of my blog).
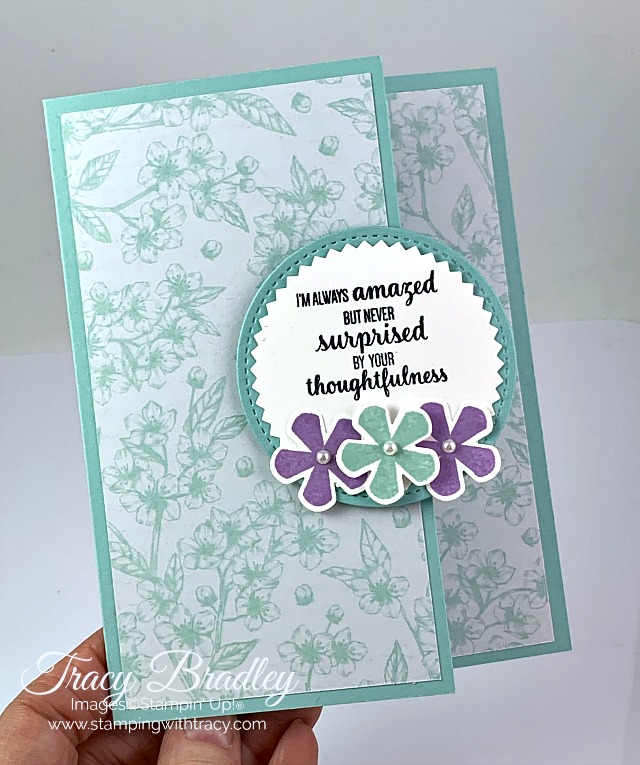
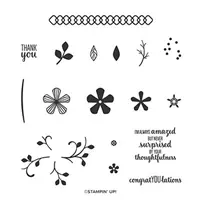
It’s Tuesday which means I have another free tutorial for you! This fun fold card was on my blog several weeks ago and features two Sale-a-Bration gifts: the Thoughtful Blooms stamp set (FREE with a $50 purchase) and the Small Bloom Punch (FREE with a $100 purchase). Sale-a-Bration ends on the 31st but all of the free gifts are while supplies last. Unfortunately three items have already sold out:
Golden Honey Designer Series Paper
Metallic Baker’s Twine & Sequins Combo
Kerchief Card Kit
But there are many items still available! If you’ve been planning to place an order and you’ve had your eye on any of the Sale-a-Bration gifts, please order as soon as you can! I don’t want you to be disappointed that one of your favorites has sold out.
Click here to see all of the Sale-a-Bration gifts you can earn with your $50 and $100 purchase!
Supply List
If you need any stamping supplies, I’d love to be your demonstrator! You can place an order by clicking any of the images below to go to my Stampin’ Up! online store.If you have questions about products you’re considering purchasing or ones you’ve already purchased, I’m just an email away (click the Email Me button on the sidebar of my blog).
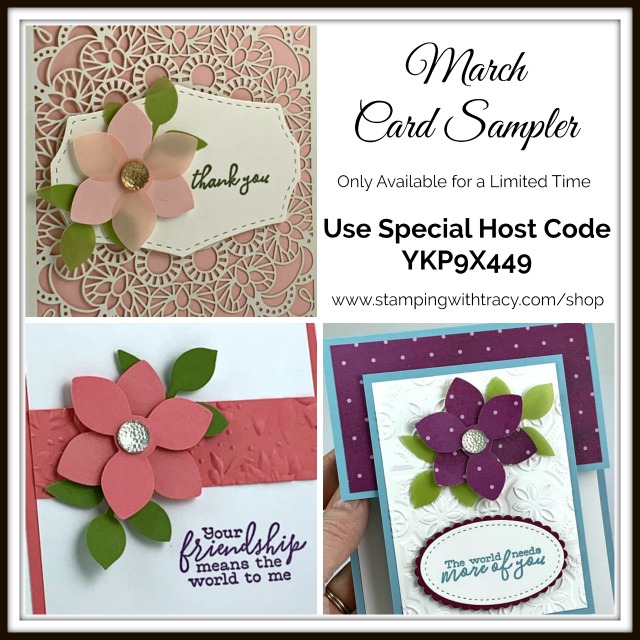
Don’t miss out! Today’s the last day to place your minimum $50 order to receive my March Card Sampler. The Sampler includes six cards, individually packaged and ready for you to assemble (you’ll need to supply your own adhesive, ink and stamp set).
This month I’m also including a FREE package of Clear Faceted Gems that you’ll use on four of the cards. You’ll also receive a link to a video that will guide you as you assemble your cards, along with a PDF Tutorial that includes directions, measurements, pictures and a supply list. And because it’s Sale-A-Bration time, you’ll also choose a FREE gift, directly from Stampin’ Up! For all the details, please click here!
Tomorrow is the last day to sign up for the March Paper Pumpkin. This month each box will receive two stamp sets! Yay! Click hereto sign up before it’s too late!
One of the new 2nd Release Sale-a-Bration products is the Rise and Shine Stamp Set, available absolutely FREE with a $100 purchase. This set coordinates with the Cup of Cheer Dies which debuted in the Holiday Catalog. Check out the video below for more information about this fun stamp set!
All Sale-A-Bration gifts are available while supplies last!!!
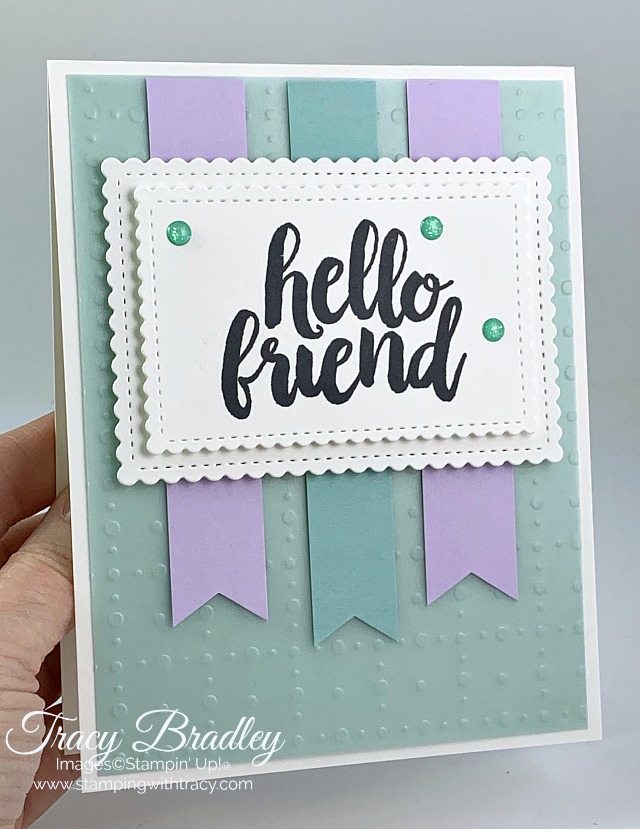
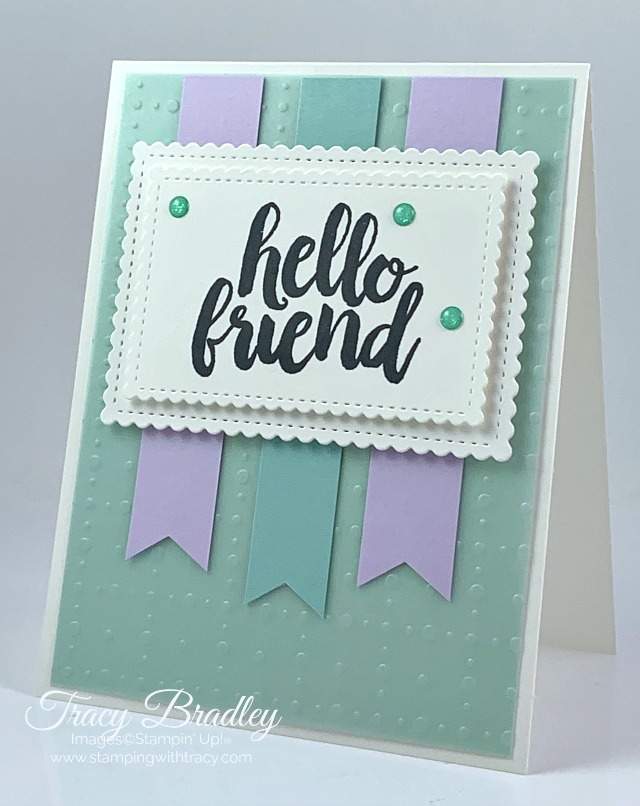
Today’s card features a FREE Sale-a-Bration gift – So Very Vellum Specialty Designer Series Paper (DSP). You can choose this as your free gift with a $50 order (before shipping/tax) and there’s no limit to how many free gifts you can earn. All Sale-a-Bration products are while supplies last or March 31. 2020.
The base of my card is Thick Whisper White with a layer of So Very Vellum DSP. Because the vellum is see-through, I used glue dots to secure it to the card base. I only put one in each corner of the paper and tried to place it where there was a “bump” in the paper.
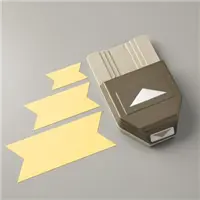
To make my Purple Posy and Pool Party banners, I used the Banner Triple Punch (all measurements are below the Supply List). The sentiment was stamped onto Whisper White cardstock using Memento Ink and the stamp set, Seriously the Best. It was cut using the Stitched So Sweetly Dies and another, larger one, also in Whisper White cardstock, was cut out to adhere the sentiment. I used Stampin’ Dimensionals on both layers. To complete the card, I added three Glitter Enamel Dots which give the card some sparkle!
Supply List
If you need any stamping supplies, I’d love to be your demonstrator! You can place an order by clicking any of the images below to go to my Stampin’ Up! online store.If you have questions about products you’re considering purchasing or ones you’ve already purchased, I’m just an email away (click the Email Me button on the sidebar of my blog).
Whisper White cardstock: approx. 8-1/2″ x 5-1/2″ for (2) stitched rectangles
When you place a minimum $50 order AND use the host code YKP9X449, you’ll receive my March Card Sampler. It includes all the paper (cut, scored, die-cut & punched) and embellishments needed to complete six cards, a PDF tutorial, a link to a video showing how to complete the cards and a free package of Clear Faceted Gems. My March Card Sampler is only available for a limited time so click here for all the details!