Thank you for visiting my blog. I’m sorry but I don’t have anything new to share with you today, You may have noticed that I’ve been showing up here and there in the last week. I’m a pretty private person but rather than just disappear for a while, I want to be honest and say that I will continue to show up sporadically for a while. Last week my mother in law, Pat, was taken to the ER (not COVID-19 related). She is back home but with hospice. My husband is with her but with COVID-19 restrictions and concerns, the rest of the family is not which is heartbreaking.
I’m trying to stay busy and creating cards is a wonderful way to relieve stress but finding joy right now is difficult.
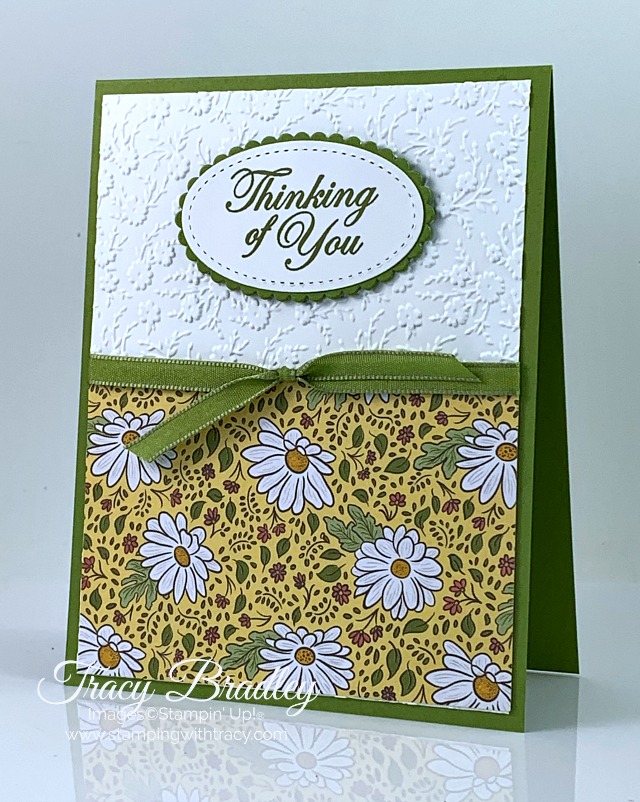
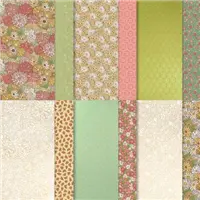
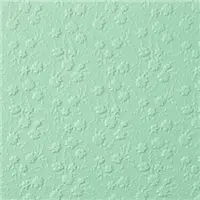
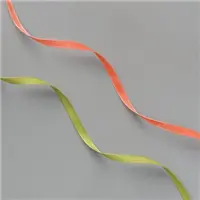
I began by running my Whisper White cardstock through the Ornate Floral Embossing Folder (you can find the measurements below the Supply List). Then I added a piece of Ornate Garden Designer Series Paper to the bottom half. I wrapped a piece of the Old Olive ribbon from the Ornate Garden Ribbon Combo Pack around the cardstock and tied a bow. Then I added Multipurpose Glue to the back and adhered it to an Old Olive card base. I’d recommend adding another piece of Whisper White cardstock to the inside of the card. (I don’t usually photograph my cards with the Whisper White inside because I like to write my message to the recipient before adhering it, just in case I make a mistake).
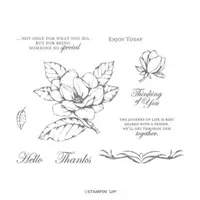
The sentiment was stamped onto Whisper White cardstock using Old Olive ink and the stamp set, Good Morning Magnolia. Do you know someone who would love to receive a thinking of you card?
Stay safe and healthy!
Supply List
If you need any stamping supplies, I’d love to be your demonstrator! You can place an order by clicking any of the images below to go to my Stampin’ Up! online store.If you have questions about products you’re considering purchasing or ones you’ve already purchased, I’m just an email away (click the Email Me button on the sidebar of my blog).
Today’s Tuesday Tutorial is for a fun fold card I posted last week. If you missed that post, you can see it here. You can access your free tutorial below the supply list. Enjoy your day!
Supply List
If you need any stamping supplies, I’d love to be your demonstrator! You can place an order by clicking any of the images below to go to my Stampin’ Up! online store.If you have questions about products you’re considering purchasing or ones you’ve already purchased, I’m just an email away (click the Email Me button on the sidebar of my blog).
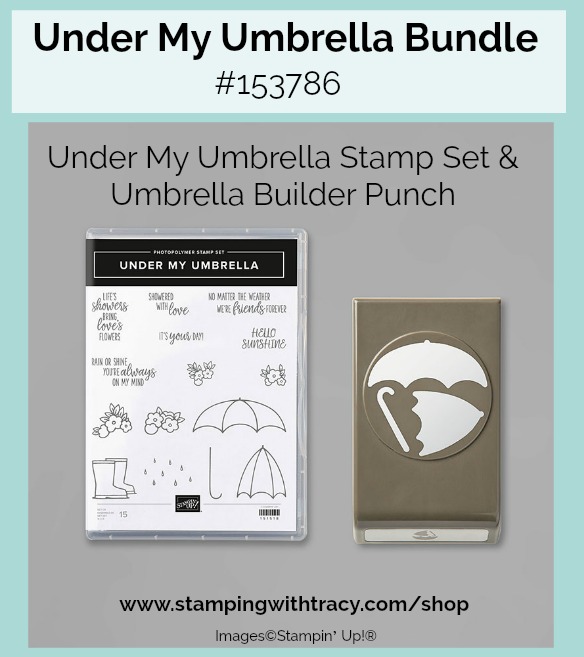
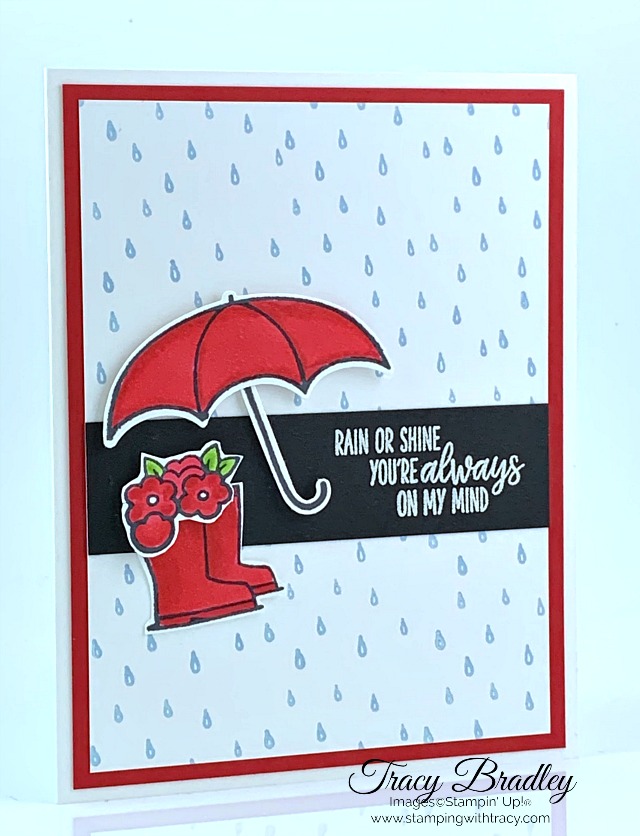
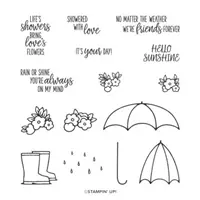
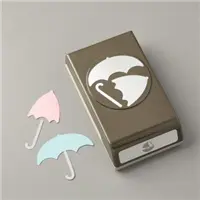
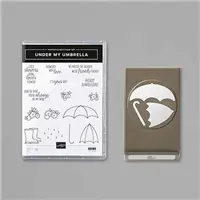
I used the bundle, Under My Umbrella, to create today’s card. This bundle includes the stamp set, Under My Umbrella and the Umbrella Builder Punch. You can purchase both of these products separately but if you want both of them, be sure to use the special bundle item number and you’ll save 10%.
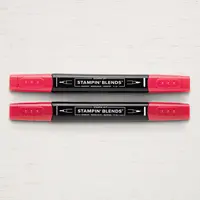
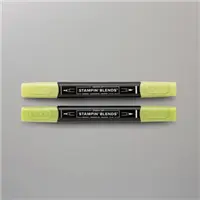
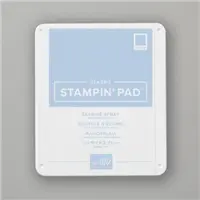
The base of my card is Thick Whisper White with a panel of Real Red cardstock. On Whisper White cardstock, I stamped the raindrops using Seaside Spray ink. The umbrella, handle, boots and flowers were all stamped onto Whisper White cardstock using Memento Ink and I used Real Red and Granny Apple Green Stampin’ Blends to color them all in. The umbrella and handle were cut out with the punch and I fussy cut the boots and flowers.
I embossed the sentiment and here are some quick instructions how to do that:
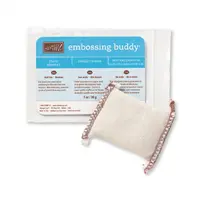
Prepare your cardstock by rubbing the Embossing Buddy over the surface (this helps keep away stray particles of embossing powder). Stamp your sentiment or image using a Versamark pad. This is very sticky ink and your embossing powder will stick right to it. Sprinkle embossing powder over the stamped image. Shake off any excess. Before applying heat to your paper, heat the Heat Tool first so the paper won’t warp (about 10 seconds). Direct the heat over your image and watch the magic happen!
The umbrella and flowers were both popped up with Stampin’ Dimensionals (the handle and boots were adhered with Multipurpose Glue).
If you’d like to make today’s card, you’ll find all the measurements below the Supply List.
Supply List
If you need any stamping supplies, I’d love to be your demonstrator! You can place an order by clicking any of the images below to go to my Stampin’ Up! online store.If you have questions about products you’re considering purchasing or ones you’ve already purchased, I’m just an email away (click the Email Me button on the sidebar of my blog).
I think the star of this card is the Ornate Floral Embossing Folder. Oh my gosh, it’s so pretty! I love using embossing folders because they completely transform a plain piece of cardstock into a work of art!
This is a very quick and easy card to make! After running Seaside Spray cardstock through my die-cutting machine using the Ornate Floral Embossing Folder, I wrapped our Seaside Spray Metallic Ribbon around the cardstock. I used Multipurpose Liquid Glue to attach it to the card base.
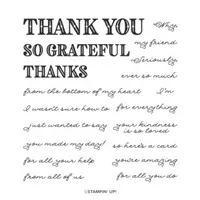
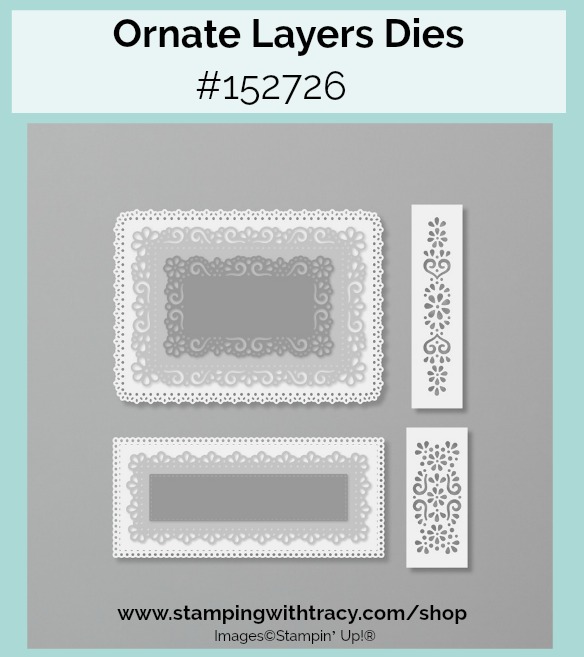
The sentiment was stamped onto Whisper White cardstock with Seaside Spray ink using the stamp set, Ornate Thanks. It was then cut out using a die-cutting machine using the Ornate Layers Dies.
If you’d like to create today’s card, here are the measurements!
Measurements
Seaside Spray cardstock; 11″ x 4-1/4″
Seaside Spray cardstock: 5-1/4″ x 4″
Whisper White cardstock: 5-1/4″ x 4″ (for inside)
Whisper White cardstock: scrap for sentiment
Supply List
If you need any stamping supplies, I’d love to be your demonstrator! You can place an order by clicking any of the images below to go to my Stampin’ Up! online store.If you have questions about products you’re considering purchasing or ones you’ve already purchased, I’m just an email away (click the Email Me button on the sidebar of my blog).
Today’s the last day to earn my FREE Mini Card Sampler. Place a $50 order using the host code R7JNSGQH and I’ll send you all the paper and embellishments you’ll need to create four cards using Golden Honey Designer Series Paper along with a PDF Tutorial. Please note: Golden Honey Designer Series Paper is no longer available. For more information, click here.
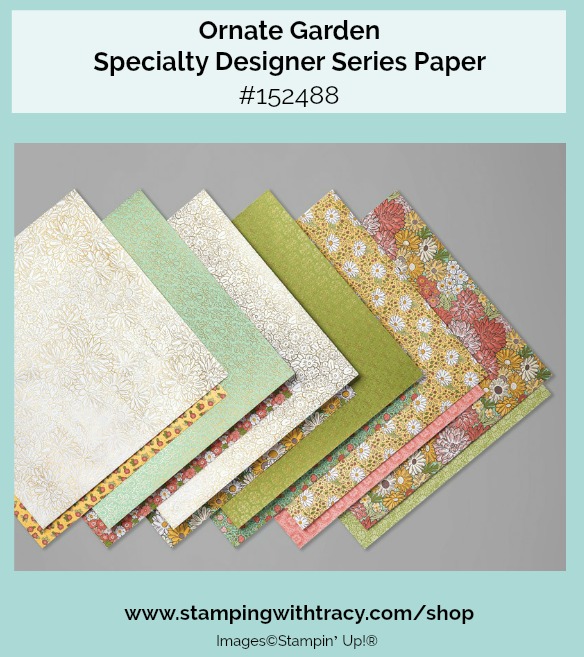
Sale-a-Bration is officially over but starting today a brand new suite of products is available – The Ornate Garden Suite! My card today showcases one of those new products: Ornate Garden Specialty Designer Series Paper.
It’s hard to see in my photos but this beautiful paper is covered in foil designs so I added some Gold Foil accents using our Gold Foil Sheets.
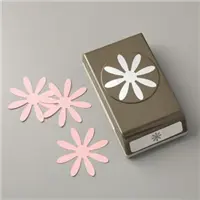
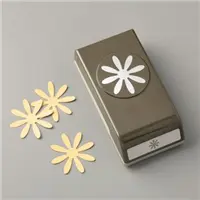
To create the daisy I used our Daisy Punch (the larger one) to cut a daisy out of gold foil and another one using Ornate Garden Designer Series Paper (DSP). The Medium Daisy Punch was used to cut another daisy out of the DSP. To add dimension, I placed a Stampin’ Dimensional between each layer of the daisy (a Mini Stampin’ Dimensionals was used under the smaller daisy). A Gold Faceted Gem was added to the center of the daisy for some extra sparkle. The Old Olive & Whisper White panel is also popped up with dimensionals. .
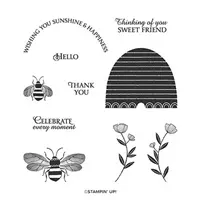
I used the Honey Bee stamp set for the sentiment and stamped it in Old Olive ink onto Whisper White Paper. It was cut out using the Layering Ovals Dies. The Gold Foil oval was also cut out using these dies. Stampin’ Dimensionals were added to the back.
All the supplies I used can be found in the supply list below. If you’d like to create today’s card, I’ve included all the measurements below.
Supply List
If you need any stamping supplies, I’d love to be your demonstrator! You can place an order by clicking any of the images below to go to my Stampin’ Up! online store.If you have questions about products you’re considering purchasing or ones you’ve already purchased, I’m just an email away (click the Email Me button on the sidebar of my blog).
Ornate Garden DSP: scrap for daisy and medium daisy
Whisper White cardstock: 5-1/4″ x 4″ (inside card)
Whisper White cardstock: 3-3/4″ x 2-3/4″
Whisper White cardstock: scrap for sentiment
Gold Foil Sheets: scrap for daisy & scalloped oval
Mini Card Sampler
My Mini Card Sampler is available until Thursday, April 2nd. Place a $50 order using the host code R7JNSGQH and I’ll send you all the paper and embellishments you’ll need to create four cards using Golden Honey Designer Series Paper along with a PDF Tutorial. Please note: Golden Honey Designer Series Paper is no longer available. For more information, click here.
Before sharing my free tutorial, I just want to remind you that today’s the last day of Sale-a-Bration. It’s the last day to earn FREE products with every $50 or $100 purchase. Click here to see what’s still available!
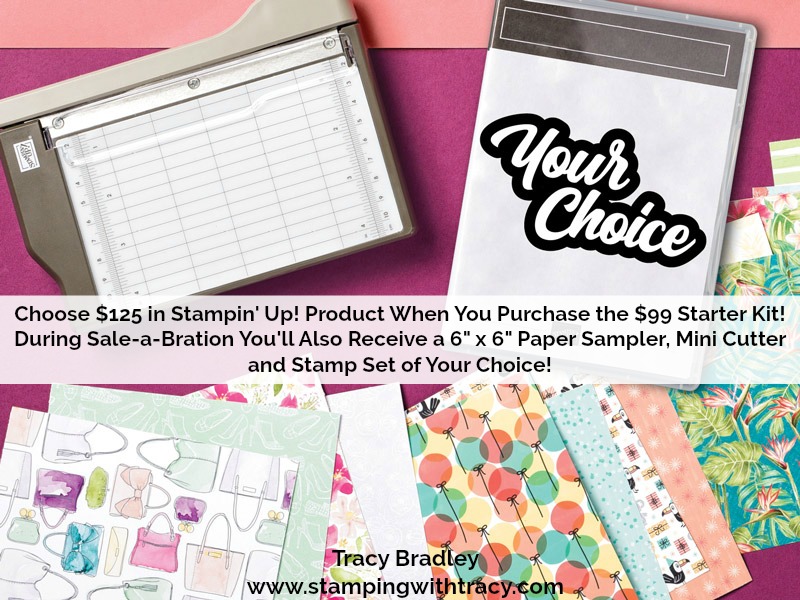
It’s also the last day to take advantage of extra gifts that have been added to the Starter Kit. When you purchase the $99 Starter Kit you then choose $125 worth of Stampin’ Up! products from any current catalog and the Starter Kit always ships free! Today’s the last day to also receive a stamp set of your choice, a mini paper cutter and a 6″ x 6″ Paper Sampler. Once you purchase the Starter Kit, you’ll start placing your own orders and start receiving a 20% discount on everything you buy or sell (it isn’t necessary to sell if you don’t want to). If you’d like to purchase the Starter Kit today, click here. If you’d like more information, click here. Please feel free to contact me with additional questions!
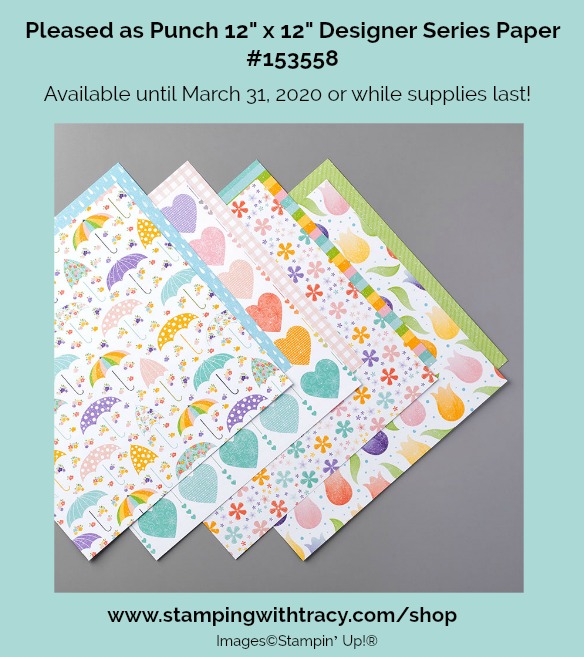
The Coordination Product Release also ends today. The products in this release coordinate with items in the Mini Catalog and several Sale-a-Bration items. Pleased as Punch Designer Series Paper is also part of this promotion. The Birthday Dies have already sold out but click here to see what’s still available.
As always, because it’s Tuesday, I have a FREE tutorial for you! This card was created using Pleased as Punch Designer Series Paper (today’s the last day it’ll be available), the Banner Triple Punch and the Eyelet Lace Embossing Folder. You can access your tutorial below.
Supply List for Today’s Tuesday Tutorial
If you need any stamping supplies, I’d love to be your demonstrator! You can place an order by clicking any of the images below to go to my Stampin’ Up! online store.If you have questions about products you’re considering purchasing or ones you’ve already purchased, I’m just an email away (click the Email Me button on the sidebar of my blog).
For all the details about my Mini Card Sampler, available until Thursday, April 2nd, please click here.
Customer Rewards
If the Mini Sampler doesn’t appeal to you, all orders placed at my Stampin’ Up! online store always receive one of my regular card kits. And if you use my host code EAY6FAUN, you’ll receive an extra card kit! Click here for more information about my Customer Rewards.
Today’s card is a Sneak Peek of new products debuting on Wednesday, April 1st. The Ornate Garden Suite is a collection of products in the upcoming 2020-2021 Annual Catalog but Stampin’ Up! is releasing the products early!
The new products (available on April 1st) used on my card are:
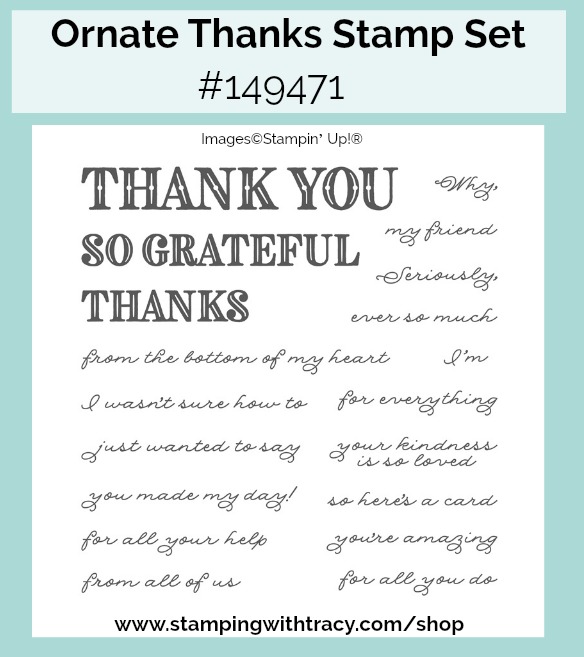
Ornate Thanks Stamp Set
Ornate Garden Specialty Designer Series Paper
Gilded Gems
This fun fold may seem complicated but it really isn’t. I don’t have a video for today’s card but I did make one about six months ago using this same fold. You can check it out HERE.
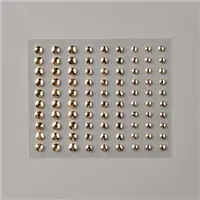
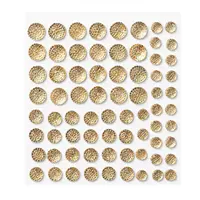
The base of the card is Terracotta Tile cardstock and the Ornate Garden Specialty Designer Series coordinates perfectly with it. The sentiment was stamped onto Whisper White cardstock using Old Olive ink and the stamp set, Ornate Thanks. This stamp set comes with a whopping 19 photopolymer stamps. To finish the card, I added three Gilded Gems for some pretty sparkle!
I’ve included all the measurements below the supply list if you’d like to give this fun fold a try!
Supply List
If you need any stamping supplies, I’d love to be your demonstrator! You can place an order by clicking any of the images below to go to my Stampin’ Up! online store.If you have questions about products you’re considering purchasing or ones you’ve already purchased, I’m just an email away (click the Email Me button on the sidebar of my blog).
Tuesday, March 31, 2020, is the last day of Sale-a-Bration, that time of year when you earn free product for every $50 or $100 purchase. One of the free gifts, which unfortunately has sold out, was Golden Honey Speciality Designer Series Paper but because I earned several packages, I decided to offer a Mini Card Sampler using this pretty paper.
Here’s How It Works:
Place an order at my Stampin’ Up! online store (yes, Stampin’ Up! is open) by Thursday, April 2, 2020 and if your order totals $50 or more you’ll receive my FREE Mini Sampler. You’ll also be able to choose a Sale-a-Bration gift directly from Stampin’ Up!
When placing your order, use the special host code R7JNSGQH Using this host code alerts me that you’d like the Mini Card Sampler.
You’ll receive all the paper and embellishments needed to make four cards. The paper will be be cut, scored, punched and embossed for you. Per Stampin’ Up! I cannot included stamped images. You’ll need to supply your own stamp set, ink and adhesive.
You’ll receive a PDF with instructions, pictures and a list of supplies. The PDF will be emailed to you within 24 hours of your purchase.
Your card kits will be shipped on or before Thursday, April 9, 2020 to the address used when you placed your order.
When using the Mini Card Sampler host code when placing your order, you will not qualify for my regular Customer Rewards Card Kits.
If your order reaches $150 or more, please DO NOT use the host code so you can receive Stampin’ Rewards (free product directly from Stampin’ Up!). Once you place your order, simply drop me an email letting me know that you’d like the Mini Card Sampler (you only need to contact me if your order is over $150).
If you’d like to place an order under $50, you’ll receive one of my Regular Card Kits. Use the host code EAY6FAUN when placing your order under $50 and you’ll receive an extra Regular Card Kit. If you have questions, please don’t hesitate to contact me. Click here to place an order.
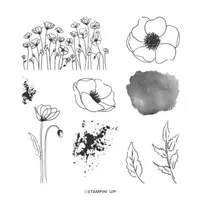
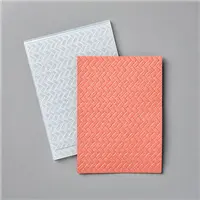
Today’s card is a fun fold that features the Painted Poppies stamp set and the Coastal Weave 3D Embossing Folder. If you’d like to give it a try, I have a video showing how to make it!
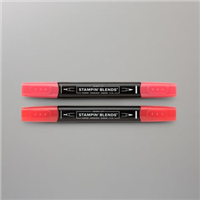
I used Poppy Parade and Granny Apple Green Stampin’ Blends to color the poppies and the flower inside the card but first I stamped the images using Memento Ink. When using alcohol based pens such as Stampin’ Blends, the type of ink you use is important. Because Memento Ink is a water-based dye ink, it’s perfect for use with Stampin’ Blends.
All the supplies I used can be found below in the supply list.
Supply List
If you need any stamping supplies, I’d love to be your demonstrator! You can place an order by clicking any of the images below to go to my Stampin’ Up! online store.If you have questions about products you’re considering purchasing or ones you’ve already purchased, I’m just an email away (click the Email Me button on the sidebar of my blog).
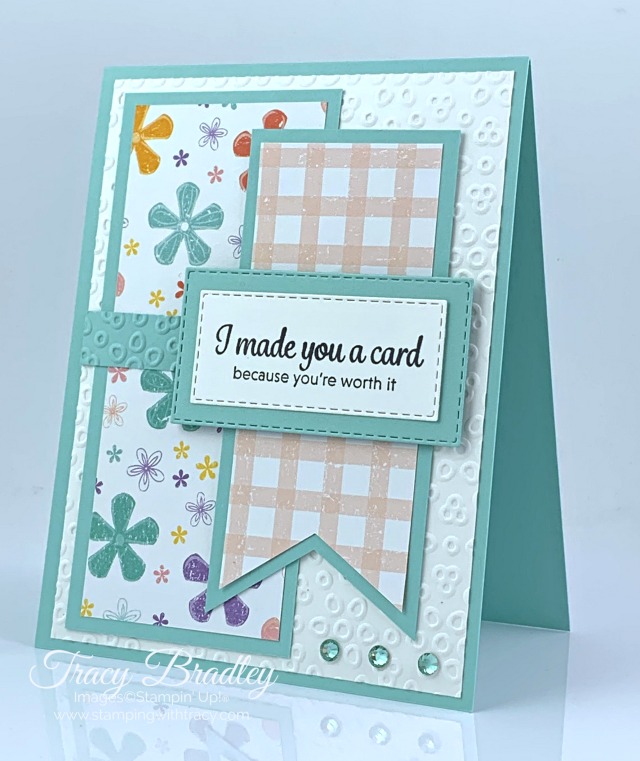
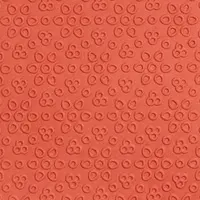
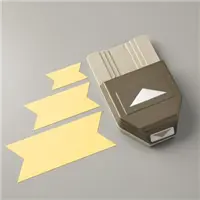
The base of my card is Pool Party cardstock with a layer of Whisper White cardstock that was embossed using the Eyelet Lace embossing folder. The two banners were created using our Banner Triple Punch which will cut three different widths of paper: 2″, 1-1/2″ and 1″.
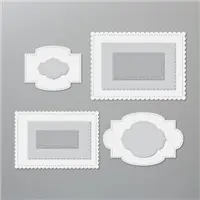
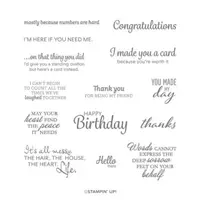
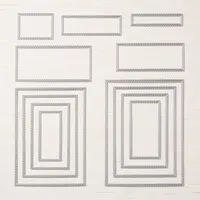
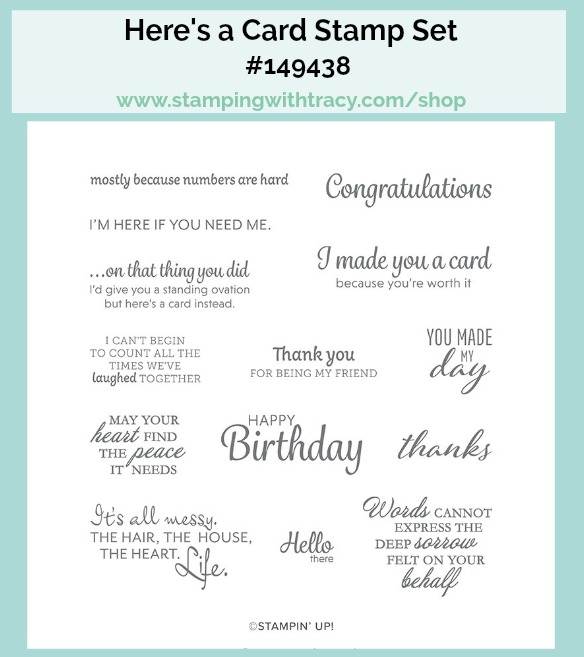
The sentiment is from the stamp set, Here’s a Card, and was stamped onto Whisper White cardstock using Memento Ink. It was cut out using the Stitched Rectangle Dies. To complete the card, I added three rhinestones using our Holiday Rhinestones.
If you’d like to recreate today’s card, all the measurements I used can be found below the Supply List.
Supply List
If you need any stamping supplies, I’d love to be your demonstrator! You can place an order by clicking any of the images below to go to my Stampin’ Up! online store.If you have questions about products you’re considering purchasing or ones you’ve already purchased, I’m just an email away (click the Email Me button on the sidebar of my blog).
Pool Party cardstock: 1-1/2″ x 1/2″ (small embossed piece)
Pool Party cardstock: 5″ x 2-1/4″ (large rectangle)
Pool Party cardstock: scrap for stitched rectangle
Whisper White cardstock: (2) 5-1/4″ x 4″ (embossed piece and inside of card)
Whisper White cardstock: scrap for sentiment
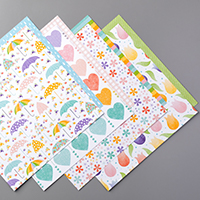
Pleased as Punch Designer Series Paper: 4-3/4″ x 2″ (rectangle)
Pleased as Punch Designer Series Paper: 4-1/4″ x 1-3/4″ (banner)
Sale-a-Bration is winding down and ten more products were added, all from the Annual Catalog. When adding these products as FREE gifts, be sure to use the special Sale-a-Bration item numbers (the item numbers in the catalog won’t register your choice as free). Click here to see everything still available!
Note from Tracy: Creating cards is a wonderful way to relieve stress and we’re all under so much of that right now. I’m spending time in my craft room creating cards to share with you and it’s my hope that you’ll be inspired to start creating. Brighten someone’s day by sending them your beautiful card! Take Care, my friends.
The card I’m sharing with you today was made using Pleased as Punch Designer Series Paper. This paper was released in early February to coordinate with Sale-a-Bration and Mini catalog products but will only be available until March 31, 2020 or while supplies last. These are the products it coordinates with:
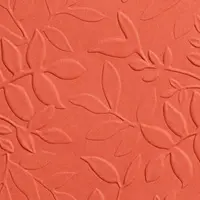
The base of my card is Blushing Bride, not a color I use very often and I’m wondering why. It’s really pretty! I added an embossed layer of Blushing Bride using the Layered Leaves Embossing Folder. The banner was cut using using the Banner Triple Punch. You can make banners with this punch in three widths – 1″, 1-1/2″, and 2″ but here’s a little trick: when choosing the 2″ width, trim your paper about a sixteenth of an inch so it will slide into the punch easily.
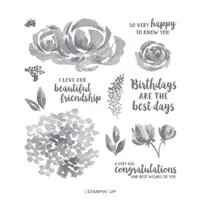
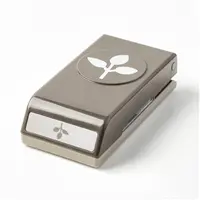
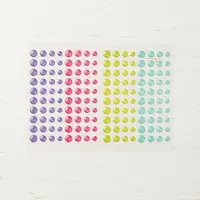
Using the Leaf Punch, I punched out two leaves in Vellum cardstock. The sentiment was stamped in Memento Ink onto Whisper White paper using the stamp set Beautiful Friendship and cut out with the Stitched Shapes Dies. I added Stampin’ Dimensionals to the back and also secured the leaves with the dimensionals. I completed the card by adding three Glitter Enamel Dots, in Granny Apple Green. You can find the measurements I used below the Supply List. Stay safe and healthy!
Supply List
If you need any stamping supplies, I’d love to be your demonstrator! You can place an order by clicking any of the images below to go to my Stampin’ Up! online store.If you have questions about products you’re considering purchasing or ones you’ve already purchased, I’m just an email away (click the Email Me button on the sidebar of my blog).