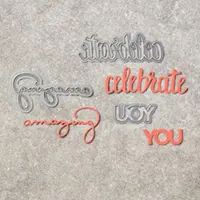
Today’s card uses a Sale-a-bration gift that can be yours with a $100 order. The Celebrate You Thinlit Dies include three words: amazing, you and celebrate. Very rarely do items from the Sale-a-bration catalog carry over into a catalog but these dies will be in the 2018-2019 Annual Catalog and I couldn’t be happier. Get them free only until this Saturday!! After that they won’t be available again until June and they won’t be free! Click to see all of the available free gifts.
I used the Thinlits to make my card and when you open it up, there’s a pocket where a gift card can slide right on in. Check out the video below and see how quick and easy it is to create!
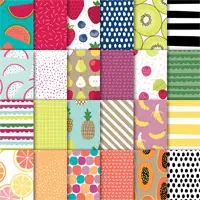
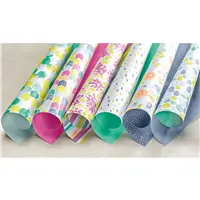
I used Tutti Frutti 6″ x 6″ Designer Series Paper to decorate my Lemon Lime Twist cardstock base. This paper is so cheerful and I though the apples on the front would be perfect to use for a special teacher.
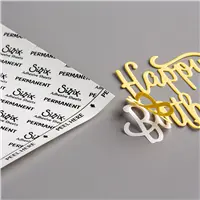
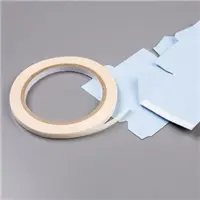
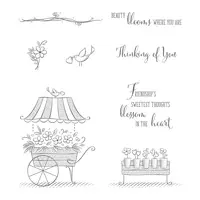
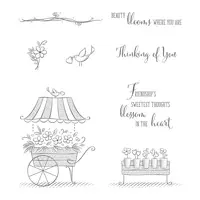
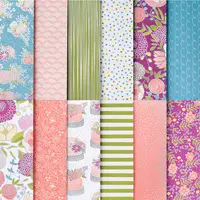
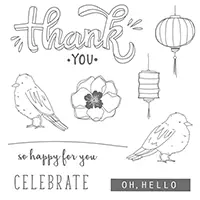
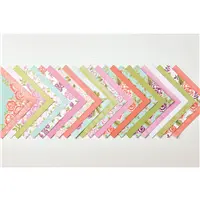
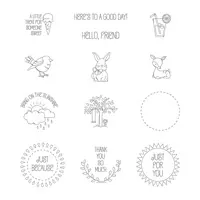
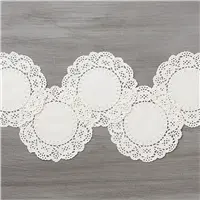
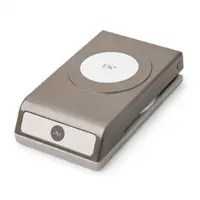
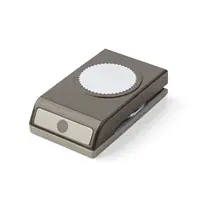
The supplies I used to create today’s card are listed below. Click on any of the images to place an order. If you have any questions, don’t hesitate to ask!
One of the FREE Sale-a-bration gifts you can earn until this Saturday, March 31st, is the stamp set, Heartfelt Blooms. It isn’t your average stamp set! Watch the video below and see what beautiful results you can achieve!
During Sale-a-Bration you earn free gifts for every $50 purchase. This year, there’s also a $100 category of gifts which means that when you place an order for $100, before shipping and tax, you can either choose (2) $50 gifts or (1) $100 gift.
There are so many free items to choose from this year! There are brand new, exclusive gifts and items from the catalog. See all the $50 & $100 choices here!
Sale-a-bration ends this Saturday! If you have any questions, please let me know.
The Ultimate Bundle is the Stampin’ Up! Starter Kit and not telling you about it would just be wrong. I have several credit cards that when I use them, I get a discount. I’m an Amazon Prime member and I get free shipping all year long after paying an up-front fee. The Stampin’ Up! Ultimate Bundle is the Starter Kit for $99 and you get a discount every time you place an order. And during Sale-a-bration it’s even sweeter.
Before I tell you what you’ll receive with the Starter Kit, I want you to know that you don’t have to have parties to get your discount (unless you want to), you can just get it for discounts on what you buy.
When you purchase the $99 Stampin’ Up! Starter Kit here’s what you’ll receive:
$125 in Stampin’ Up! product! You’ll go through the Occasions and Annual Catalogs and choose anything you want that equals $125. Anything!!
Free Shipping on the kit. Add a Big Shot to your kit and you won’t be paying shipping!
A 20% discount on all future orders
Preorder from new catalogs a month before the catalogs go live.
When you order during Sale-a-bration you’ll also receive TWO EXTRA STAMP SETS – any stamp set, any price (excludes bundles and Sale-a-bration sets). That’s a $101 value!
I bought the Starter Kit almost nine years ago. After my first purchase of Stampin’ Up! products, I was hooked and joined just to get the discount! I had absolutely NO interest in having parties trying to sell the product, I just wanted to get a discount on what I wanted. That changed after about six months when I wanted to share what I was making with my friends.
The Starter Kit has absolutely no obligation. Honest! If you decide to drop, there’s no penalty and no one will hassle you. It really is a sweet deal! If you have questions, please contact me and I’d be happy to talk to you about the starter kit. Remember, if you purchase it by this Saturday, March 31st, you’ll receive an additional TWO stamp sets, your choice, any price. Once you join, I’m just a phone call or email away to help you with your Stampin’ Up! journey.
When I joined I had tons of questions so if you have them, ask away! It really is a great deal and to good not to tell you about!
If think you’re ready and want to join, click this link and you’ll head over to the page to sign up: http://www.stampinup.net/esuite/home/teacherstamper/jointhefun
Easter is almost here and today I have a little box that can you can make very quickly. Add some candy and you have a thinking of you treat for someone! Check out the video down towards the end of the post!
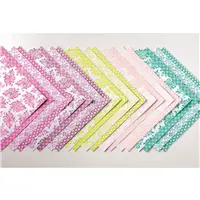
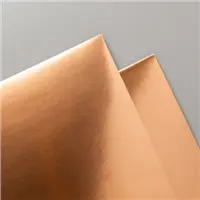
I used Thick Whisper White cardstock and Springtime Foils Designer Series paper to create the box. The gorgeous Designer Series Paper is FREE with a $50 purchase but only until Saturday, March 31, 2018! There are over thirty different Sale-a-Bration productsto choose from with either a $50 or $100 order!
For the bottom of the box, cut a piece of Thick Whisper White cardstock that measures 5 1/4″ x 7. Score at 1″ along all four sides. Holding your paper vertically, cut on the score lines up to the horizontal score line. Turn your paper over and add Tear and Tape to the tabs. Bring up the sides to create the box.
Cut a piece of Springtime Foils Designer Series Paper that measures 5 1/8″ x 10″. Score along the long side at 2″, 3″, 6 1/4″ and 7 1/4″. Fold on all the score lines. Add Tear and Tape to one end and then wrap the paper around the box. Update: Score on the wrong side of the Springtime Foils paper as this will help with any “cracking” of the paper that might occur.
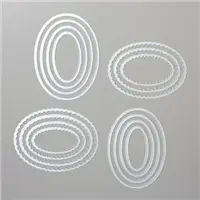
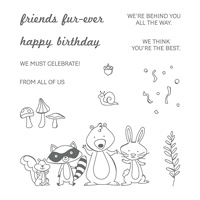
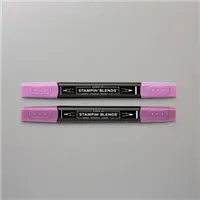
Stamp the bunny from We Must Celebrate onto Thick Whisper White cardstock using Memento Ink. Color the bunny (I used Stampin’ Blends which are currently on backorder until approximately May 2018) and cut it out using the Layering Ovals Framelits (this set includes 15 different ovals that can be layered together). Use these framelits to also cut out ovals using Berry Burst and Silver Foil. Layer all of the pieces together and add Stampin’ Dimensionals to the back of the Berry Burst oval.
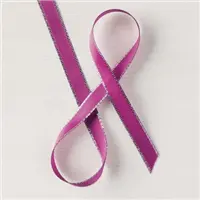
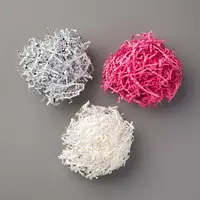
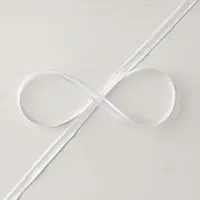
Wrap Berry Burst 3/8″ Metallic-Edge ribbon around the box. The box can still be opened placing it as I did, but you could also wrap it up like a present. Attach the bunny to the front of the box. Add Sweet Soiree Ready Shreddie to the inside of the box along with your favorite treat!
If you’d like a free PDF tutorial of today’s project, it will be in my newsletter that goes out tomorrow!Sign up for my newslettertoday so you don’t miss out!
All of the supplies I used are listed below but the this version of the box uses 5/8″ Crinkled Seam Binding Ribbonand the bunny was colored with Pink Pirouette Stampin’ Blends. (The Blends are currently unavailable but will hopefully be back at the end of May).
You can purchase any of the supplies I used to create today’s project by clicking the images below. With every $50 purchase you’ll not only earn a Sale-a-Bration gift (until March 31, 2018) but aBradley Point too!
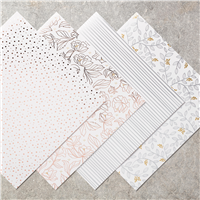
Today’s card features the gorgeous Sweet Soiree Designer Series Paper in the Occasions Catalog. One side of each sheet of 12″ x 12″ paper has silver accents, which is so pretty in person, and the other side has colorful printed images.
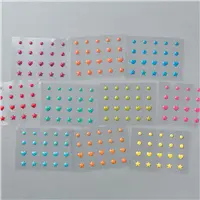
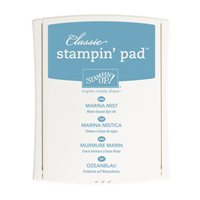
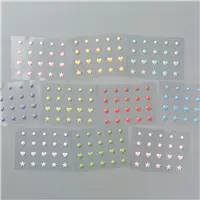
I used the stamp set Friendship’s Sweetest Thoughts for the sentiment using a Marina Mist stamp pad. I tend to use Memento Black Ink for my sentiments but thought the Marina Mist added a bit of softness to the card. The sentiment was cut out with the Stitched Shapes Framelits which gives the look of stitching around the oval. It sits on top of a Calypso Coral scalloped oval from the Layering Ovals Framelits. These two sets coordinate beautifully together! For an extra pop of color, I finished the card by adding three Subtles Enamel Shapes. These shapes are sold by color family and Marina Mist is part of the Subtles collection.
Whisper White Thick Cardstock: 8-1/2″ x 5-1/2″ scored at 4-1/4″ scrap for sentiment
Calypso Coral Cardstock: 3-1/2″ x 4″ scrap for scalloped oval
Sweet Soiree Designer Series Paper: 3-1/4″ x 3-3/4″
If you make today’s card using a different Designer Series Paper or the same paper I used, I’d love to see your creation! An email from you sharing your card would make my day!
Have a wonderful weekend! I’ll be back on Monday with another project and a video!
Today’s card uses the stamp set Color Me Happy, which was released when the Stampin’ Blends became available. It can’t be found in a current catalog but it is available for purchase. It also happens to coordinate with the Color Me Happy Project Kit, a FREE Sale-a-bration gift you can choose with a qualifying order of $50.00. Please note: the order number 150046 must be used when ordering the kit as a Sale-a-bration gift.
I used Thick Whisper White cardstock for the base of my card and sentiment. I also used: Petal Garden Designer Series Paper, Rich Razzleberry, Old Olive & Sweet Sugarplum cardstock. The sentiment was colored with Rich Razzleberry and Old Olive Stampin’ Blends, which unfortunately are in a backorder situation although you can still order them until Friday, March 23rd, at noon, Mountain Time (and receive Sale-a-bration gifts for every $50 you spend). If you’d like more information about the Stampin’ Blends backorder situation, please click here.
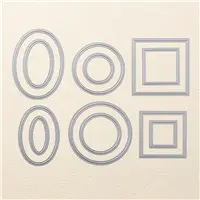
The Layering Ovals Framelits were used to cut out the sentiment and the Old Olive scalloped oval. This set includes fifteen dies in varying sizes which makes it so versatile!
All of the supplies I used to create today’s card are listed below. To place an order, click any of the images and you’ll be taken to my Stampin’ Up! online store. If you have any questions, please let me know!
Stampin’ Blends have been extremely popular since they were first introduced and I couldn’t be happier about that. I love mine!
Week ago many Stampin’ Blends went on backorder. Due to an unexpected increase in demand and complications with their supplier, Stampin’ Up! has made the difficult decision to make the Blends unorderable beginning Friday, March 23 at noon (Mountain Time). Currently some Blends are available right now but many are on backorder which means that if you order them today, you’ll receive them once they arrive in the warehouse. At this time its estimated that more stock will arrive late May. But beginning on Friday, they won’t be available to order at all and you’ll need to wait until approximately the end of May to place an order for them.
You have two choices:
Place your order before Friday at noon, Mountain Time. You will receive your Blends just as soon as they arrive in the warehouse. Plus, you’ll receive Sale-a-bration rewardsfor every $50!
Wait until they arrive in the warehouse to place your order. As soon as they’re available, I will immediately announce their arrival!
I’m so sorry for this inconvenience. I love the Blends and am disappointed that they are on backorder but I’m so happy that many of you are just as excited about them as I am.
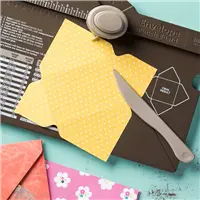
During my Envelope Punch Board Series several weeks ago, I shared a basket and today I have that same basket but with an Easter theme! During the series I made a video showing how to make the basket and you can click here if you’d like to see how to put it together! One change that I did make with this basket is that I used Tear & Tape to adhere the side flaps down rather than glue dots.
I used Fresh Florals Designer Series Paper in Lemon Lime Twist to create the basket and filled it with Sweet Soiree Ready Shreddie paper. It’s a small basket but you can fit quite a few Hershey’s eggs inside or whatever candy you prefer!
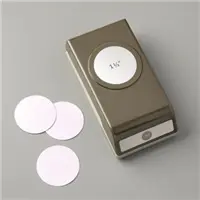
I stamped the bunny from We Must Celebrate in Memento Ink on Thick Whisper White cardstock and then colored him with Stampin’ Blends in Pink Pirouette. I cut him out with the 1-3/8″ Scallop Circle Punch and he’s sitting on top of a Pink Pirouette circle using a 1-1/2″ Circle Punch. The white scallop circle was made with the Layering Circles Framelits and a Subtles Enamel Shape finishes it off.
The sentiment is from a set that I’ve had for years called Teeny Tiny Wishes. The set includes 24 stamps and each one is just as the name implies, teeny tiny! I used the 3/4″ Circle Punch at the top of the basket and tied it up with Silver Metallic Ribbon and Whisper White Baker’s Twine.
If you make today’s project, I’d love to hear from you! Have a great day!
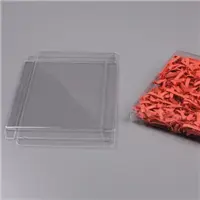
Happy Spring!! Today I have a cute little gift card holder and a video showing how to make it. The gift card holder is nestled inside an Acetate Card Box surrounded by white Sweet Soiree Ready Shreddie. I used the stamp set We Must Celebrate and find out in the video how even though the animals are one stamp, I was able to easily stamp just the bunny!
I used Springtime Foils Designer Series Paper (a FREE Sale-a-bration gift) to make the gift card holder using these measurements:
6-5/8″ x 4-1/8″
score on the long side at 2-3/8″ & 4-7/8″
All of the Stampin’ Up! supplies I used to make today’s project are listed below. Click any of the images to place an order or for more information about each individual product. If you have any questions, don’t hesitate to ask! Enjoy your day!
I love this sweet Tutti Frutti 6″ x 6″ Designer Series Paper from the Occasions catalog. Very close to my home we have both a blueberry and strawberry farm where we like to go and pick fruit. It’s always fun taking our grandchildren and we take tons and tons of pictures. Our favorite though is blueberry picking because we love blueberry pie! This paper brings back all those fun memories.
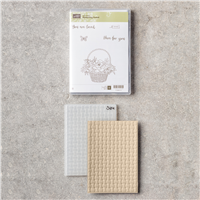
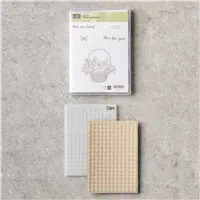
I really like how the Basket Weave Embossing folder looks with the Tutti Frutti paper. The embossing folder is one of the Sale-a-bration gifts you can earn FREE with a $100 order but only until March 31, 2018! It is packaged as a bundle with the Blossoming Basket stamp set. The embossing folder will be available for purchase after Sale-a-bration when it appears in the 2018-2019 Annual Catalog but you can get it free today! You can see all of the FREE items available here!
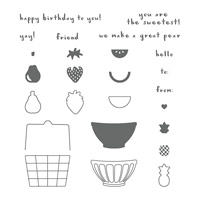
The Tutti Frutti Designer Series Paper is part of the Tutti Frutti Suite which also includes the stamp set Fruit Basket and the Itty Bitty Fruit Punch Packwith four cute little punches and when you purchase both the stamp set and punches, you save 10%. For more information about the bundle, click here.
My sentiment is from the stamp set Fruit Basket and was stamped in Memento Ink and layered with Real Red and Night of Navy scallops using the Layering Ovals Framelits. The Night of Navy scallop has Stampin’ Dimensionals on the back to give it some dimension.
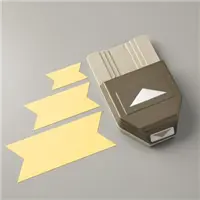
It’s very easy to make a banner using the Banner Triple Punch. You can make banners in three different widths: 1″, 1-1/2″, & 2″. Just slide your paper into the correct groove and punch! Easy! My banner is 2″ wide and 4-3/4″ long.
If you follow my blog regularly, did you notice that I used the same “foundation” measurements for my card again?
Thick Whisper White: 11″ x 4-1/4″ scored at 5-1/2″
Night of Navy: 5-1/4″ x 4″
Whisper White: 5″ x 3-3/4″
Once you build the foundation, you can change up what you add to the to the front of the card!
All of the Stampin’ Up! supplies I used to create today’s card are listed below. You can shop at my online store by clicking here. If you have any questions, please don’t hesitate to ask!
For the past several days I’ve been sharing some basic measurements that I use frequently. Basically it creates a foundation and then you build from there. My layers are:
Card Base: 11″ x 4-1/4″ score paper at 5-1/2″
1st Layer: 5-1/4″ x 4″
2nd Layer: 5″ x 3-3/4″
After making the layers using Naturally Eclectic Designer Series Paper, Soft Sky and Night of Navy cardstock, I wrapped Pool Party Shimmer Ribbon around the the top two layers and secured it with Snail on the back. Then, I added Snail to the center of a Delicate White Doily and attached it to the front of the card.
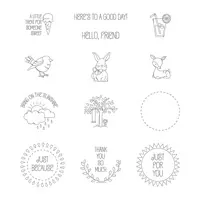
The cute tree and swing are from the stamp set A Good Day. It was stamped using Memento Ink and colored in with the Stampin’ Write markers in Crumb Cake, Lemon Lime Twist, Berry Burst and Daffodil Delight. It was cut out with the 1-3/8″ Scallop punch and sits on a Night of Navy circle using a 1-3/4″ Circle punch. I added Stampin’ Dimensionals to the back and attached it to the doily. The sentiment is also from this same stamp set and I punched it out with the Classic Label punch. It’s tucked under the tree and a Glitter Enamel Dot was added at the end for a little sparkle. Very easy to make but really cute!
Here’s another version but this time the stripes on the Designer Series paper are vertical. I used the same punches but also added the Starburst punch. The colors I used are Fresh Fig and Soft Sky. The sentiment and leaves underneath are also from the stamp set A Good Day. I colored the leaves in with a Lemon Lime Twist marker. I used 1/2″ Finely Woven Ribbon in Fresh Fig and wrapped it around the Soft Sky cardstock and Naturally Eclectic Designer Series Paper before attaching it to the card base.
All of the supplies I used for both cards are listed below.
The end of Sale-a-bration is fast approaching! There are so many free items to choose from for every $50 purchase you make! Stampin’ Up! has really knocked it out of the park with all the wonderful products available. Click here to see what you can choose from! If you have any questions, please don’t hesitate to ask!
Several days ago I shared my favorite card measurements (click here for that post) and for the next few days I’ll be sharing cards using these same measurements.
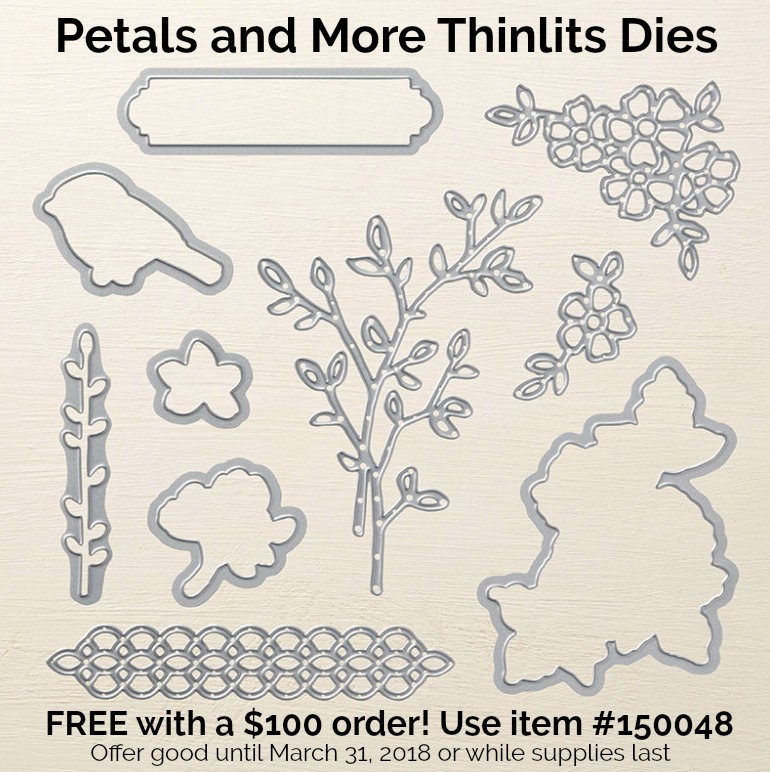
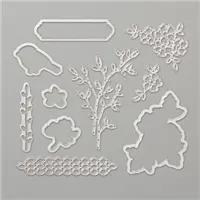
I used the very popular Petal Palettestamp set from the Occasions catalog for my sentiment and the cute little bird. This stamp set has matching Thinlits dies which make it easy to cut out the bird! Starting today you can earn Petals and More Thinlits dies FREE with a $100 purchase!!! If you choose these thinlits as your free item, do not use the catalog number because it won’t pop up as a Sale-a-bration gift. Use 150048 instead and it will be added as a free item!! I really like the die in the top left because it’s a great size for sentiments! Click here to see all of the FREE items available during Sale-A-Bration!
A beautiful paper makes it easy to create a quick card. I used Naturally Eclectic Designer Series Paper along with Lemon Lime Twist & Emerald Envy cardstock. Emerald Envy is one of the In Colors that will be retiring in just a few months. It’s such a pretty shade of green and I’m really going to miss it. If it’s a color that you really enjoy using, I recommend purchasing cardstock, ink refills, markers, etc. in this color now. The In Colors items always sell out way before the catalog ends, which this year is May 31, 2018.
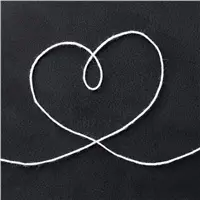
I also used the Lots of Labels Framelits for my sentiment and the layer underneath. I finished it off with a bow using Linen Thread which has a glue dot underneath to secure it.
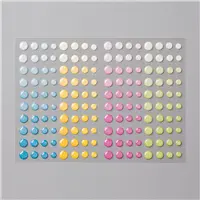
Here’s another version of the card using all the same paper and colors. I used a Lemon Lime Twist Stampin’ Write Marker from the In Color Stampin’ Write Markers pack to color in the little flower at the end of the sentiment and added a Metallic Enamel Shape.
The video from Monday’s post lists the measurements I’m using all week long but here they are:
Card Base: 11″ x 4-1/4″ scored at 5-1/2″
1st Layer: 5-1/4″ x 4″
2nd Layer; 5″ x 3-3/4″
I’ve listed the Petals & More Thinlits Dies in this list but to choose it as a Sale-a-Bration item, you must use the item number 150048, not the catalog number.To place an order, simply click any of the images below and you’ll head over to my Stampin’ Up! online store.
* Visit my online store here.
* Shop the Clearance Rack here.
* Look inside the Occasions catalog here.
* Earn a FREE stamp set! Read all about Bradley Points here.
* Not sure how to use the Host Code? Read all about it here.
* Purchase the $99 Starter Kit (and choose $125 worth of product) here. During Sale-a-bration, choose two ADDITIONAL stamp sets!!