by Tracy | Oct 5, 2021 | Uncategorized
Thank you to everyone who who left a comment over the weekend about their favorite Stampin’ Up! color group! Many of you said it was really hard to pick just one group and I agree. Personally, I tend to gravitate towards the Brights but there are several colors in each group I love.
I used a random generator to pick the winner (I wish I could send the stamp set to each one of you). The winner of the In Your Words stamp set is:
Nancy Boyd
Congratulations Nancy!!! I already have your address and will get your stamp set mailed today! Again, thank you again to everyone who participated!
Clearance Rack Refresh
Update: Stampin’ Up! just announced that they made a mistake in telling demonstrators that the Clearance Rack had been updated. It will be updated TOMORROW, Wednesday, October 6, 2021 (that explains why I saw so few items).
Stampin’ Up! announced early this morning that there’s been a Clearance Rack Refresh. I’ll admit I don’t go over to the Clearance Rack very often so I’m not sure if the new items have been added or if more are being added throughout the day. If you’d like to check it out, click here.
Classic Stamp Pad Bundles
As with many companies around the globe, Stampin’ Up! is experiencing supply chain shortages, global shipping delays, labor shortages, and transportation and delivery difficulties. They are doing their best to get products in our hands. Please read the information below from Stampin’ Up! about our classic stamp pad bundles.
“Due to ongoing supply chain challenges, we are unable to keep Classic Stampin’ Pad Bundles in stock. As such, we’ve made the decision to move these items to “Not Orderable” status for the foreseeable future. We will fill any backorders that currently exist but will not take additional backorders now that the items are turned off. Single Classic Stampin’ Pads are still orderable; while we can’t guarantee that these won’t go on backorder, we expect that they will continue to be available.”
October Paper Pumpkin – Available Until October 10th

Peaceful Christmas
- The kit contains enough elements to create 10 Christmas cards—5 each of 2 designs—and coordinating envelopes. This all-inclusive kit includes printed card bases, die-cut paper pieces, embellishments, adhesive, and more!
- October’s kit arrives in a cute collectible box covered with enchanting evergreen trees. Use this special, limited-edition box to store your holiday handicrafts, or transform it into a well-wrapped package for a present!
- The kit’s contents pair perfectly with the Peaceful Place Suite Collection (item 156277). To continue your Christmas crafting, combine the kit’s components with the suite’s patterned paper, shimmery sequins, and more!
- Card size: 4-1/4″ x 5-1/2″
- Envelope size: 4-1/2″ x 5-3/4″
- Coordinating colors: Basic Gray, Real Red, Shaded Spruce, silver foil
Click here to subscribe today
You can cancel at any time or even skip a month
Host Code
When you use my host code when placing your $18.00 or more online order, I’ll send you at least two complimentary card kits. Included in the kits you’ll find all the paper and embellishments needed to create a beautiful card. The paper will be cut, scored, embossed and die cut for you. You’ll just need to provide your own stamp set, ink and adhesive. You’ll also receive a PDF Tutorial for the card that includes pictures, measurements and a supply list. I always include 8-10 variations of the featured card. If you’d like to place an order, please click here.

Enjoy your day!
by Tracy | Oct 4, 2021 | Designer Series Paper, Tasteful Labels Dies
Thanks so much for all the comments left over the weekend! It was so much fun reading every single one of them. Tomorrow I’ll announce the winner of the stamp set!
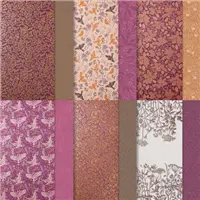
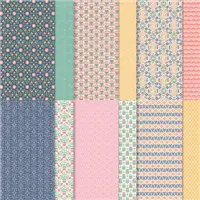
I really enjoy finding a card design I like and then trying it out with different Designer Series Papers. Today’s card is one of those designs and was created using Blackberry Beauty Designer Series Paper. You can see another version of the card HERE using Beauty of the Earth Designer Series Paper.
Blackberry Beauty Designer Series Paper has been on backorder but is estimated to be back in stock sometime this week.

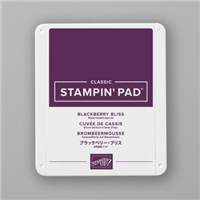
I started with a piece of Thick Basic White cardstock. I adhered six pieces of Blackberry Beauty Designer Series Paper (you can find the measurements I used below the Supply List) to a piece of Blackberry Bliss cardstock, added Stampin’ Dimensionals to the back and adhered it to the front of the card.

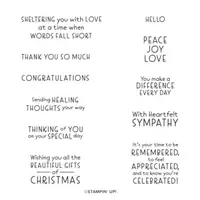
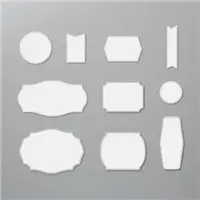
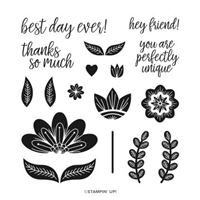
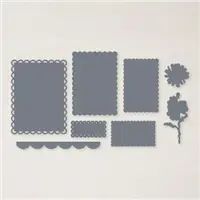
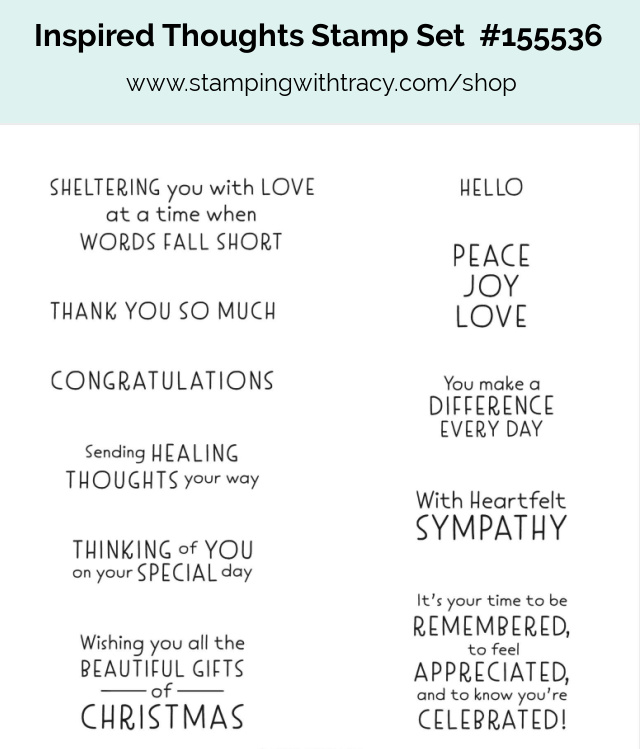
Using the Tasteful Labels Dies, I cut the sentiment shape out of Basic White cardstock. I stamped the sentiment using the stamp set, Inspired Thoughts, and Blackberry Bliss ink. I added Stampin’ Dimensionals to the back and adhered it to the front of the card. How’s that for a quick and easy card?

Supply List
Below you’ll find all the Stampin’ Up! supplies I used for today’s card. If you need any stamping supplies, I’d love to be your demonstrator! You can place an order by clicking any of the images below to go to my Stampin’ Up! online store.
Measurements
- Thick Basic White cardstock: 11″ x 4-1/4″ score at 5-1/2″
- Blackberry Bliss cardstock: 5″ x 3-3/8″
- Blackberry Beauty Designer Series Paper: (6) 1-1/2″ x 1-1/2″
- Basic White cardstock: scrap for sentiment

October Paper Pumpkin
Peaceful Christmas
- The kit contains enough elements to create 10 Christmas cards—5 each of 2 designs—and coordinating envelopes. This all-inclusive kit includes printed card bases, die-cut paper pieces, embellishments, adhesive, and more!
- October’s kit arrives in a cute collectible box covered with enchanting evergreen trees. Use this special, limited-edition box to store your holiday handicrafts, or transform it into a well-wrapped package for a present!
- The kit’s contents pair perfectly with the Peaceful Place Suite Collection (item 156277). To continue your Christmas crafting, combine the kit’s components with the suite’s patterned paper, shimmery sequins, and more!
- Card size: 4-1/4″ x 5-1/2″
- Envelope size: 4-1/2″ x 5-3/4″
- Coordinating colors: Basic Gray, Real Red, Shaded Spruce, silver foil
Click here to subscribe today
You can cancel at any time or even skip a month
Enjoy your day!
by Tracy | Oct 2, 2021 | Uncategorized
Today, October 2, 2021, is World Card Making Day! I hope you have plans to make some cards to share with your friends and family! If not, you can think about what you’d like to create. To celebrate today I have some Blog Candy. You’ll find all the details below on how you can enter to win this stamp set!

The stamp set I’m giving away is called In Your Words. This stamp set was offered during Sale-a-Bration and now one lucky person will win it.
How to Enter: For your chance to win the Stampin’ Up! stamp set, In Your Words, please leave a comment at the end of this post telling me your favorite Stampin’ Up! Color Family (to leave a comment, you may need to click on the title of the post and then scroll down to the bottom). Which set of colors do you gravitate towards?

Please leave your comment by Sunday, October 3, 2021 at 12PM Pacific Time. I’ll choose a random comment and announce the winner on Tuesday, October 5th on my blog!
Please note: I can only ship within the United States. The winner will have 24 hours to email me their name and mailing address. If I don’t hear from the winner within 24 hours, I’ll choose another winner.
Good luck and enjoy World Card Making Day! I can’t wait to read your comments!
by Tracy | Oct 1, 2021 | Uncategorized
Happy Friday! Today I have a card to share with you but I was unable to find the time to create a tutorial. It’s been one of those weeks but I’ll be back next week with another one. Before sharing my card, I want to share some happy news.
The last day of the Stampin’ Up! year was yesterday and each year Stampin’ Up! offers an incentive trip for demonstrators to work towards. This was a goal I never thought I could attain but in June I earned my first incentive trip!!! Thank you so very much to each and every one of you who chose me as your demonstrator when you placed your Stampin’ Up! orders this past year. I could not have done it without you and I can’t thank you enough for helping me to achieve this goal! The trip is to the Western Caribbean on the largest cruise ship in the world in May 2022. Now that the new Stampin’ Up! year has begun, I’ll be working towards a Baltic Sea Cruise that will take place in 2023. Again, thank you so much to everyone who helped me to earn the incentive trip!!!!

It’s now time for today’s card!

To create today’s card I started with a base of Thick Basic White cardstock. Then I added two pieces of Sweet Symmetry Designer Series Paper. I then added another piece of Sweet Symmetry and layered it on a piece of Basic White cardstock. I added Stampin’ Dimensiionals to the back and adhered it to the front of the card.

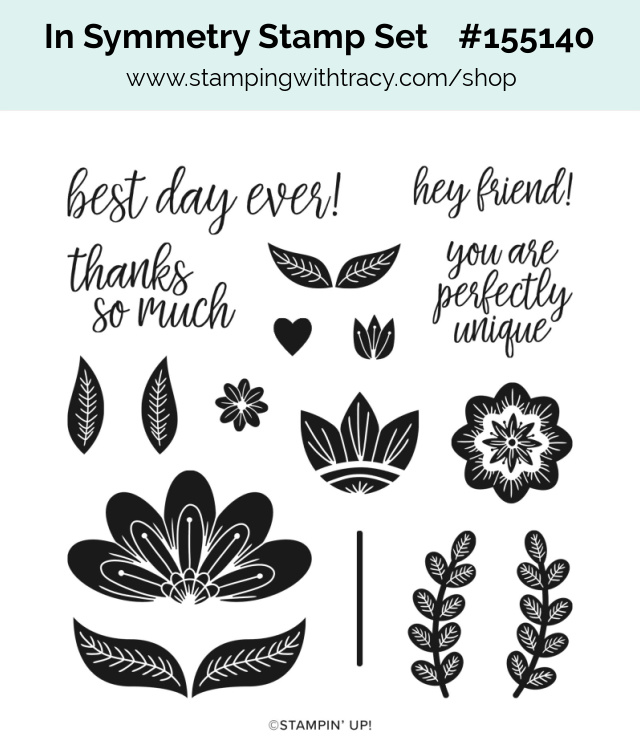
Using the Scalloped Contours Dies, I cut a piece of Basic White cardstock and then stamped the sentiment in Night of Navy ink using the stamp set, In Symmetry. I added Stampin’ Dimensionals to the back and adhered it the front. This is a very quick and easy card to make!

Here’s another version using two more designs from Sweet Symmetry Designer Series Paper and Just Jade ink. You can find all the measurements I used below the Supply List.

Bundle Alert (bundles always save you 10%): The In Symmetry Bundle (#155599) includes the In Symmetry stamp set and the Symmetrical Stems Border Punch.
Supply List
Below you’ll find all the Stampin’ Up! supplies I used for today’s card. If you need any stamping supplies, I’d love to be your demonstrator! You can place an order by clicking any of the images below to go to my Stampin’ Up! online store.
Measurements
- Thick Basic White cardstock: 8-1/2″ x 5-1/2″ score at 4-1/4″
- Basic White cardstock: 4-1/4″ x 3-1/4″
- Basic White cardstock: scrap for sentiment
- Sweet Symmetry Designer Series Paper: (2) 4″ x 2-1/2″
- Sweet Symmetry Designer Series Paper: 4″ x 3″
October Paper Pumpkin – Subscribe by October 10th
Peaceful Christmas
- The kit contains enough elements to create 10 Christmas cards—5 each of 2 designs—and coordinating envelopes. This all-inclusive kit includes printed card bases, die-cut paper pieces, embellishments, adhesive, and more!
- October’s kit arrives in a cute collectible box covered with enchanting evergreen trees. Use this special, limited-edition box to store your holiday handicrafts, or transform it into a well-wrapped package for a present!
- The kit’s contents pair perfectly with the Peaceful Place Suite Collection (item 156277). To continue your Christmas crafting, combine the kit’s components with the suite’s patterned paper, shimmery sequins, and more!
- Card size: 4-1/4″ x 5-1/2″
- Envelope size: 4-1/2″ x 5-3/4″
- Coordinating colors: Basic Gray, Real Red, Shaded Spruce, silver foil
Click here to subscribe today
You can cancel at any time or even skip a month
World Card Making Day!
Tomorrow is World Card Making Day! Check back tomorrow because I just might have some blog candy!
Have a wonderful weekend!
by Tracy | Sep 30, 2021 | Uncategorized
Today is the last day of the Stampin’ Up! year and the last day of Sale-a-Bration. To celebrate, I’m offering a one day ordering special! Place a minimum $50 order at my Stampin’ Up! Online Store using the Host Code H77FHGQC and receive a FREE Paper Sampler that includes: (1) 6″ x 6″ sheet of Be Dazzling Specialty Paper, (6) 6″ x 6″ sheets of Penguin Playmates Designer Series Paper and (6) 6″ x 6″ sheets of Beautifully Penned Designer Series Paper. You’ll also receive four of my regular card kits plus a Sale-a-Bration gift from Stampin’ Up!
This offer ends at midnight tonight.

Last Day of Sale-a-Bratiion
This is the last day of Sale-a-Bration. For every $50 or $100 purchase, you can choose free product from Stampin’ Up! There’s no limit to how many free items you can earn!

Click here to see what you an earn during Sale-a-Bration!
Click here to place an order!
Last Chance to Grab the Starter Kit Special
Today is also the last day to pick up the Starter Kit Special! The Starter Kit is always a good deal but during Sale-a-Bration you can choose a free bundle (see graphic below) valued up to $60.25.There’s no obligation to sell Stampin’ Up! products and there’s no risk when you purchase the Starter Kit. The Stampin’ Up! Starter Kit is for anyone who loves Stampin’ Up! product.
Click here to purchase the Starter Kit

The Stampin’ Up! Starter Kit is $99 (plus tax) and here’s what you’ll receive:
- $125 worth of Stampin’ Up! product for $99. You can choose anything from any current catalog
- Free Bundle of your choice from the ones listed below (click here for the flyer of the bundles you can choose from)
- Free shipping on your Starter Kit
- At least 20% off of all your future products (you don’t have to have parties or sell to anyone unless you’d like to)
- Stampin’ Rewards for personal purchases over $150
- Become a member of my Stamp the Day Away Team and receive free access to my Card Sampler and Card Kit tutorials
- Complimentary copy of each new catalog
- And so much more!
- If you have questions, please don’t hesitate to contact me (click the email me button on the sidebar).
To order the Starter Kit you’ll need to:
Choose $125 in product from any Stampin’ Up! catalog
Choose which Bundle you’d like
Click here to start your order

Below you’ll find a few cards I’ve made in the last few months with Sale-a-Bration product. For more information about each card, please click the image.
This card was made using the Delicate Dahlias stamp set, free with a $100 order.

This card was made using the Summer Shadows Dies, free with a $100 order. The stamp set is called Shaded Summer and is a regular catalog item and can be found in the Annual Catalog.

The next four cards were made using Beautifully Penned Designer Series Paper, free with a $50 order.
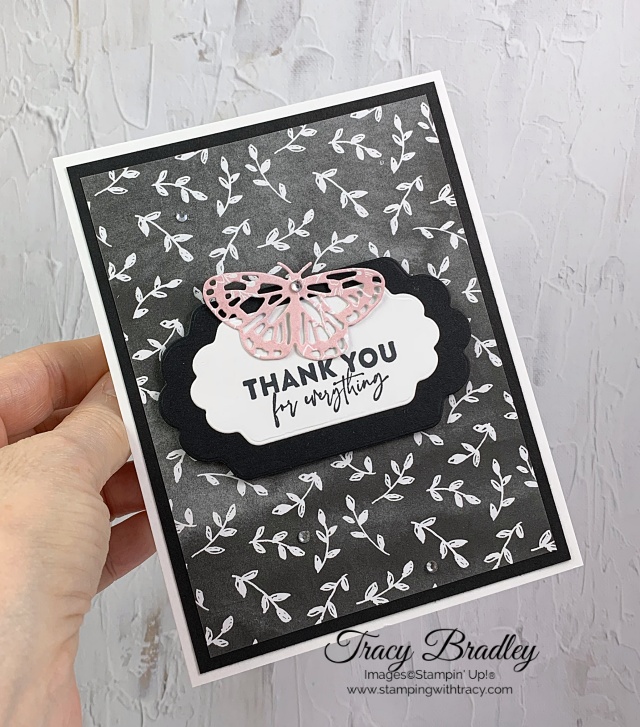
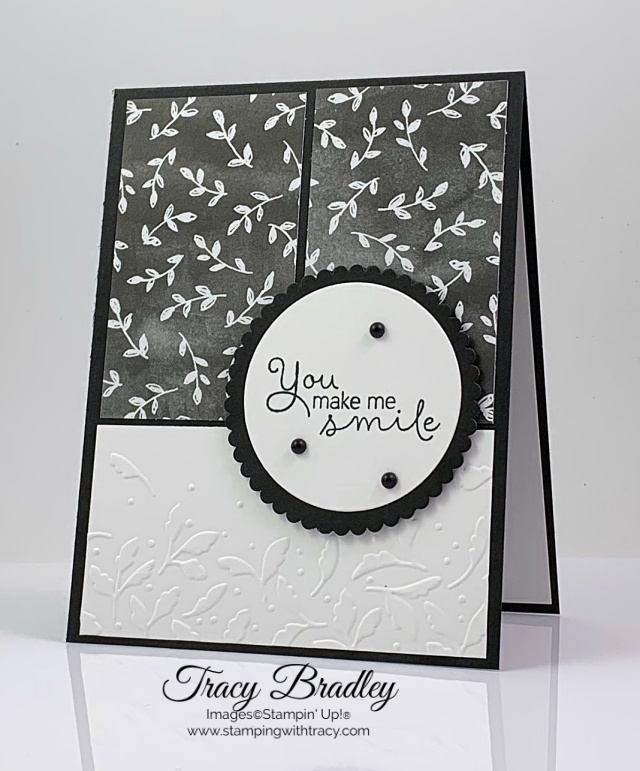
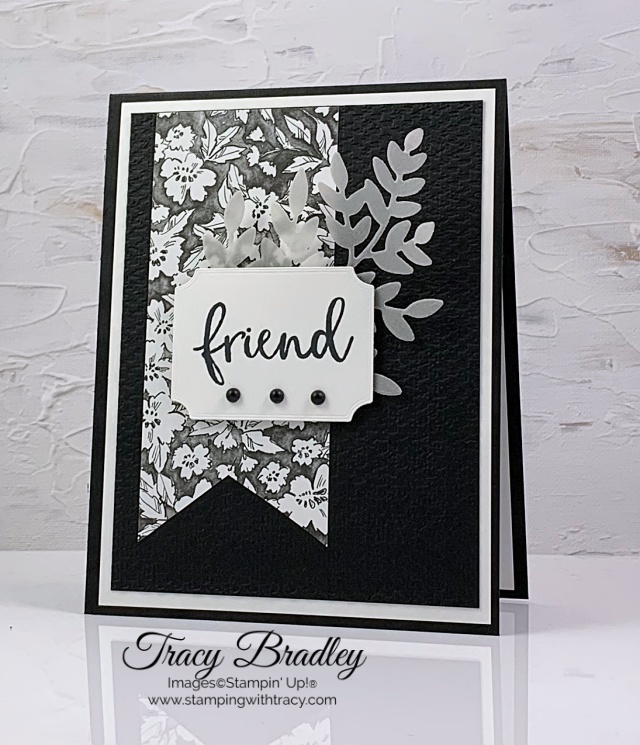

These next two cards were made using Peaceful Prints Designer Series Paper, free with a $50 order.
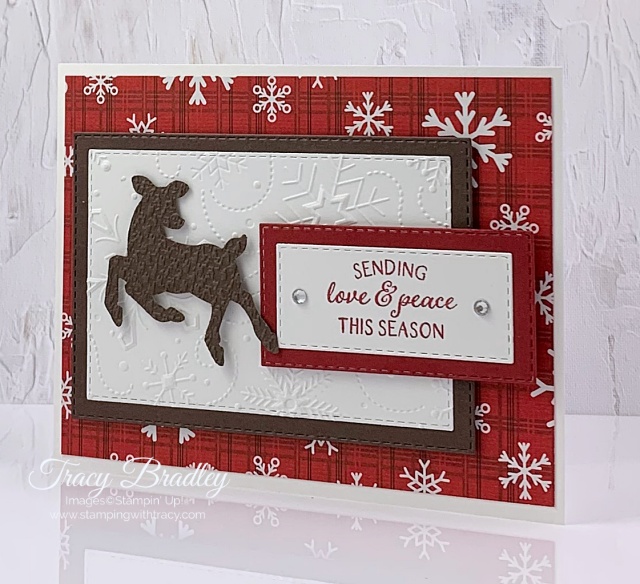

If you have any questions, please reach out to me. You can find my email on the sidebar. Have a wonderful day!