by Tracy | Sep 28, 2021 | Uncategorized
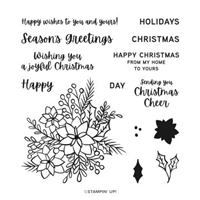
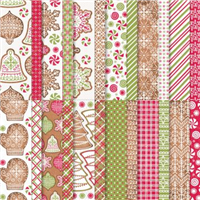
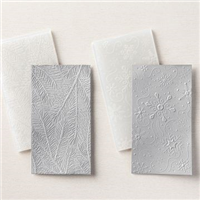
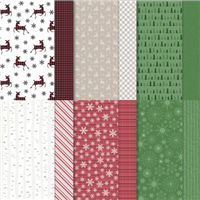
I created today’s card as part of a challenge and I used the stamp set, Words of Cheer, Gingerbread & Peppermint 6″ x 6″ Designer Series Paper and one of the Wintry 3D Embossing Folders (these embossing folders are currently unavailable but are expected to be back in stock later this week).
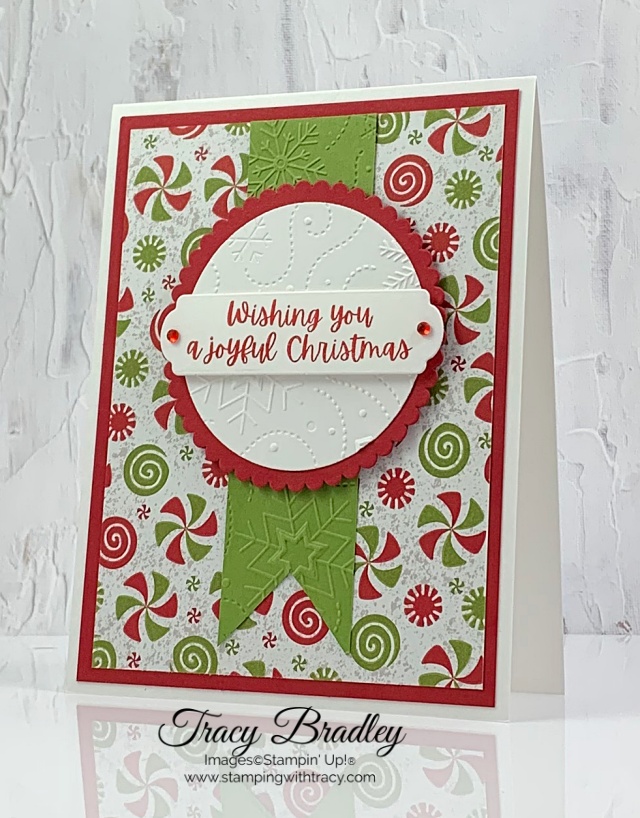
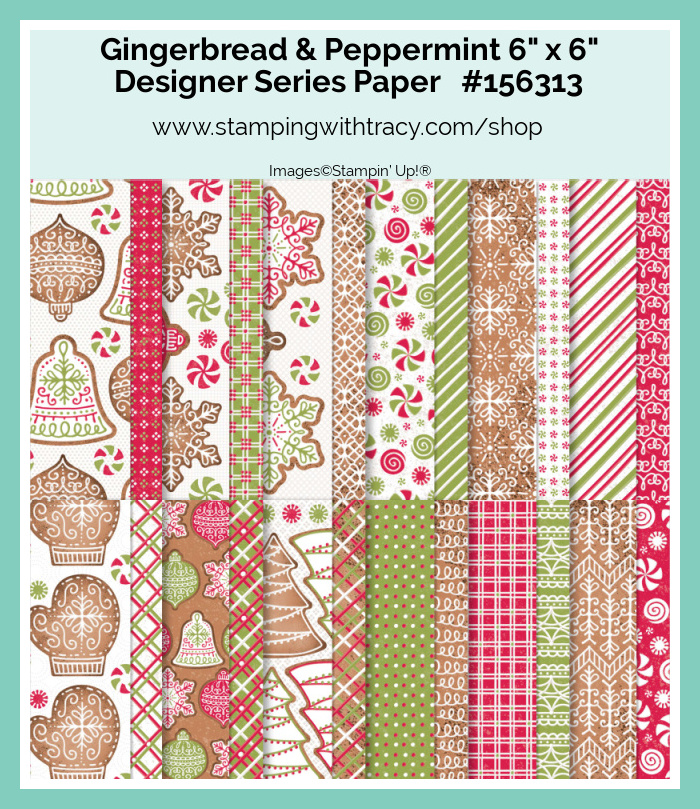
I started with a base of Thick Basic White cardstock and then added a layer of Real Red cardstock and a layer of Gingerbread & Peppermint Designer Series Paper. The coordinating colors for this Designer Series Paper are: Real Red, Old Olive, Early Espresso and Cinnamon Cider.


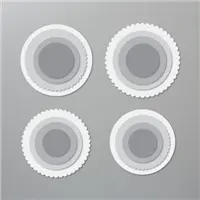
I cut a piece of Old Olive cardstock, notched one end and then before adhering it the card base, I placed it in one of the Wintry 3D Embossing Folders and ran it through my Stampin’ Cut & Emboss Machine. Then I used the Layering Circles Dies to cut a Basic White circle and a scalloped Real Red circle. I embossed the Basic White circle using the same Wintry 3D Embossing Folder and then adhered it on top of the scalloped circle. I added Stampin’ Dimensionals to the back and added it to the front of the card.

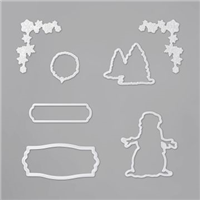
Using the Snow Time Dies, I cut the sentiment piece out of Basic White cardstock and then stamped the sentiment in Real Red ink. I added Stampin’ Dimensionals to the back and adhered it on top of the circles.
Bundle Alert: The Words of Cheer Bundle (156389) includes the Words of Cheer Stamp Set and the Christmas Cheer Dies. Bundles always save you 10%.
Supply List
Below you’ll find all the Stampin’ Up! supplies I used for today’s card. If you need any stamping supplies, I’d love to be your demonstrator! You can place an order by clicking any of the images below to go to my Stampin’ Up! online store.
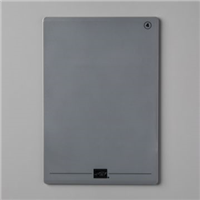
The Specialty Plate is used with 3D Embossing Folders.
Measurements
- Thick Basic White cardstock: 11″ x 4-1/4″
- Basic White cardstock: approx 2-3/4″ x 2-3/4″
- Basic White cardstock: scrap for sentiment
- Real Red cardstock: 5-1/4″ x 4″
- Real Red cardstock:approx. 3″ x 3″
- Old Olive cardstock: 4-3/4″ x 1-1/4″
- Gingerbread & Peppermint Designer Series Paper: 5″ x 3-3/4″
Christmas to Remember Card Sampler


For all the details, please click here.

Click here to place an order
Two Days Left of Sale-a-Bration
Sale-a-Bration ends on Thursday, September 30th. Don’t miss your chance to get free product with every $50 purchase you make. Click here for all the details!

by Tracy | Sep 24, 2021 | Card Sampler, Designer Series Paper, Die-Cutting, Free Tutorial

Today’s card and free tutorial features Stampin’ Up! Poinsettia Dies and Peaceful Prints Designer Series Paper. This paper is only available until September 30th during Sale-a-Bration! You can choose free products for every $50 and $100 purchase you make and this paper is one of the free products you can earn absolutely free. There’s no limit to how many free products you can earn. But hurry! There’s only one week left of Sale-a-Bration! You can find the tutorial for today’s card below the Supply List.


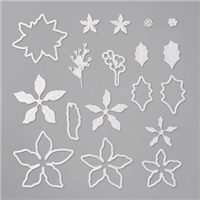
The Poinsettia Dies cut out AND emboss! To achieve that look, you’ll place two dies on your paper before running it through your Stampin’ Cut & Emboss Machine. The outside die cuts the shape and the inside die embosses your cardstock!

Supply List
Below you’ll find all the Stampin’ Up! supplies I used for today’s card. If you need any stamping supplies, I’d love to be your demonstrator! You can place an order by clicking any of the images below to go to my Stampin’ Up! online store.

Christmas to Remember Card Sampler
Here’s how you can earn my Christmas to Remember Card Sampler FREE!
- Place a minimum $50 order (before tax/shipping) at my Stampin’ Up! online store.
- Use my special Christmas to Remember Card Sampler Host Code when placing your order: H7CKCB7K
- Place your order on or before Wednesday, September 29, 2021.
- If your order reaches $150 or more, please DO NOT use the host code so you can receive Stampin’ Rewards (free product directly from Stampin’ Up!). Once you place your order, simply drop me an email (only necessary if your order is over $150) letting me know that you’d like the Christmas to Remember Card Sampler. If I don’t hear from you, I’ll assume you’d prefer to receive my regular card kits.
Here’s What You’ll Receive:
- All the paper and embellishments needed to make six cards (two each of three different designs). The paper will be cut, scored, embossed and die cut for you! You’ll need to supply your own adhesive, ink and stamp set (per Stampin’ Up! I cannot send stamped images). Envelopes will also be provided.
- A PDF Tutorial with instructions, pictures, cutting measurements and a complete supply list of all the products used.
- Earn at least one Bradley Point (earn ten Bradley Points and redeem them for free product).
- You’ll also earn at least one Sale-a-Bration gift directly from Stampin’ Up!
- PLUS, you’ll earn a free pack of Matte Decorative Dots
All the Other Important Information:
- Your Christmas to Remember Card Sampler will ship first-class mail on or before October 8, 2021 and will be mailed to the address used on your online order.
- You’ll receive an email when I mail your Card Sampler. The PDF Tutorial will be included in that email.
- When using the Christmas to Remember Card Sampler Host Code to place your order, you will not qualify for my regular Customer Rewards Card Kits.
- Per Stampin’ Up! policy, kits can only be mailed within the United States.
- Limit 1 per person
The special Christmas to Remember Card Sampler HOST CODE will close at the end of the day on Wednesday, September 29, 2021 and after that date, the Card Sampler will no longer be available.
Expected ship date of the Card Sampler is October 8, 2021.

Have a wonderful weekend!
by Tracy | Sep 23, 2021 | Card Sampler
My Christmas to Remember Card Sampler is now available!
My Card Samplers give you the chance to “sample” different products and you’re able to see our Designer Series Paper, cardstock, embossed paper, die cut pieces and embellishments “in person” as you assemble the cards.
Here’s how you can earn it FREE!
- Place a minimum $50 order (before tax/shipping) at my Stampin’ Up! online store.
- Use my special Christmas to Remember Card Sampler Host Code when placing your order: H7CKCB7K
- Place your order on or before Wednesday, September 29, 2021.
- If your order reaches $150 or more, please DO NOT use the host code so you can receive Stampin’ Rewards (free product directly from Stampin’ Up!). Once you place your order, simply drop me an email (only necessary if your order is over $150) letting me know that you’d like the Christmas to Remember Card Sampler. If I don’t hear from you, I’ll assume you’d prefer to receive my regular card kits.
Here’s What You’ll Receive:
- All the paper and embellishments needed to make six cards (two each of three different designs). The paper will be cut, scored, embossed and die cut for you! You’ll need to supply your own adhesive, ink and stamp set (per Stampin’ Up! I cannot send stamped images). Envelopes will also be provided.
- A PDF Tutorial with instructions, pictures, cutting measurements and a complete supply list of all the products used.
- Earn at least one Bradley Point (earn ten Bradley Points and redeem them for free product).
- You’ll also earn at least one Sale-a-Bration gift directly from Stampin’ Up!
- You’ll also receive a FREE package of Matte Decorative Dots
All the Other Important Information:
- Your Christmas to Remember Card Sampler will ship first-class mail on Friday, October 8, 2021 and will be mailed to the address used on your online order.
- You’ll receive an email when I mail your Card Sampler. The PDF Tutorial will be included in that email.
- When using the Christmas to Remember Card Sampler Host Code to place your order, you will not qualify for my regular Customer Rewards Card Kits.
- Per Stampin’ Up! policy, kits can only be mailed within the United States.
- Limit 1 per person
The special Christmas to Remember Card Sampler HOST CODE will close at the end of the day on Wednesday, September 29, 2021 and after that date, the Card Sampler will no longer be available.
Expected ship date of the Card Sampler is October 8, 2021.
Click here to place an order
Supplies Needed To Create the Card Sampler
Listed below are the supplies you’ll need to complete the cards exactly as shown (or you can use what you already own). Simply click any of the products and you’ll be taken to my Stampin’ Up! online store. When placing your order, don’t forget to use the special Christmas to Remember Card Sampler Host Code (please do not use host code if your order is over $150 – see above).
Click here to place an order
Sale-a-Bration Is Almost Over

Click here to learn more about Sale-a-Bration!
by Tracy | Sep 22, 2021 | Die-Cutting, Embossing Folders, Sympathy Card
Unfortunately I needed a sympathy card this week and I used the stamp set, Positive Thoughts along with the coordinating Nature’s Thoughts Dies to create today’s card.
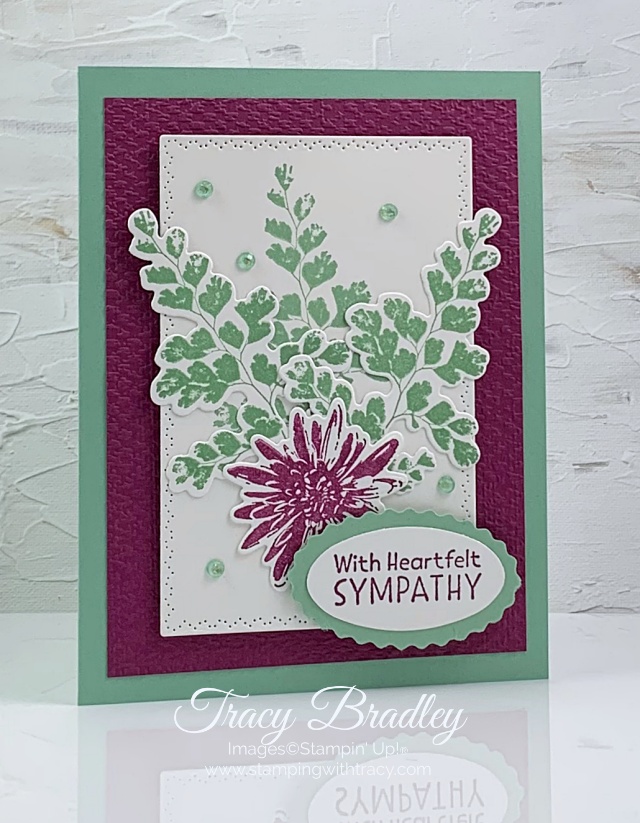
I started with a base of Mint Macaron cardstock and then added a layer of Rich Razzleberry cardstock that I embossed using the Tasteful Textile 3D Embossing Folder. I used the Nature’s Thoughts Dies and the Stampin’ Cut & Emboss Machine to cut the Basic White rectangle
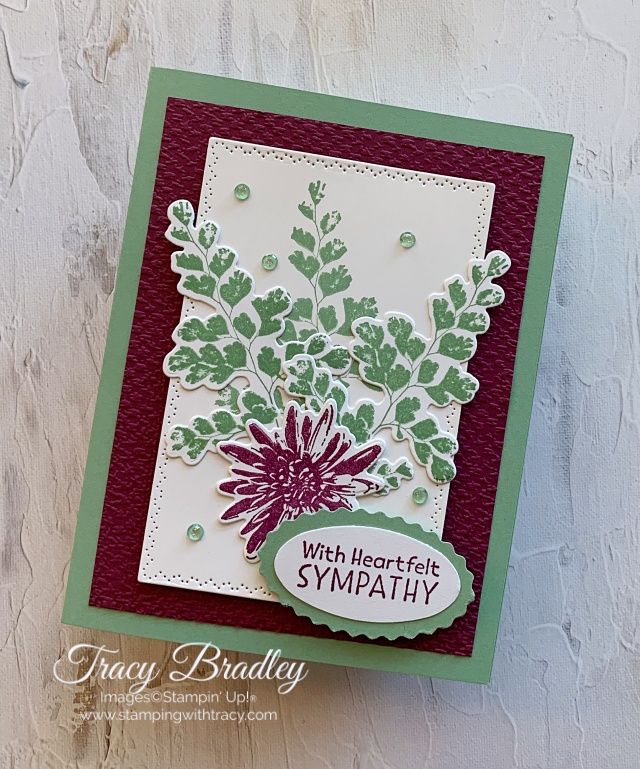
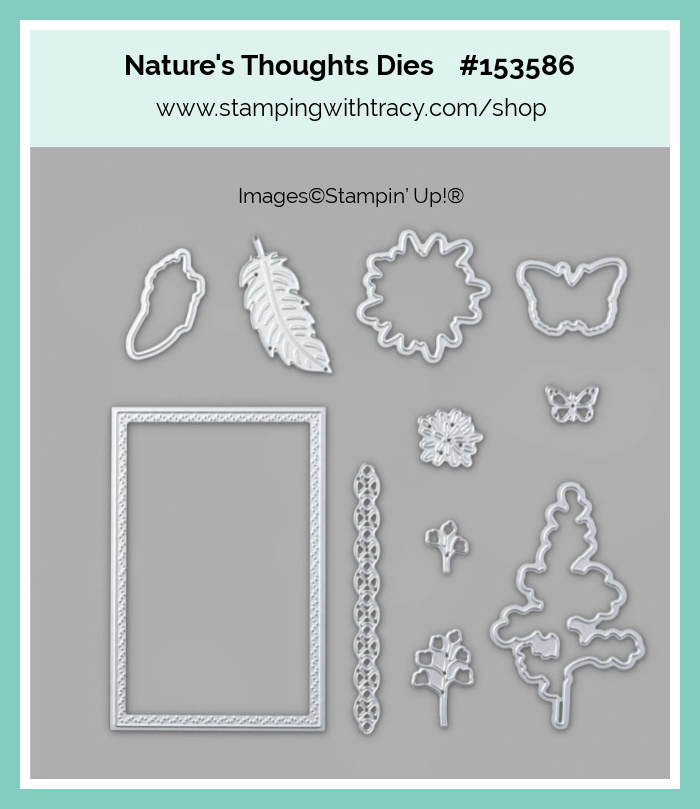
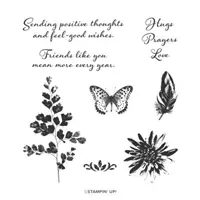
I stamped a leafy frond directly onto the Basic White rectangle in Mint Macaron ink using the stamp set Positive Thoughts. Then I stamped two more onto Basic White cardstock, also using Mint Macaron ink and cut them out using the Nature’s Thoughts Dies. I also stamped the flower in Rich Razzleberry ink and cut it out using these same dies.

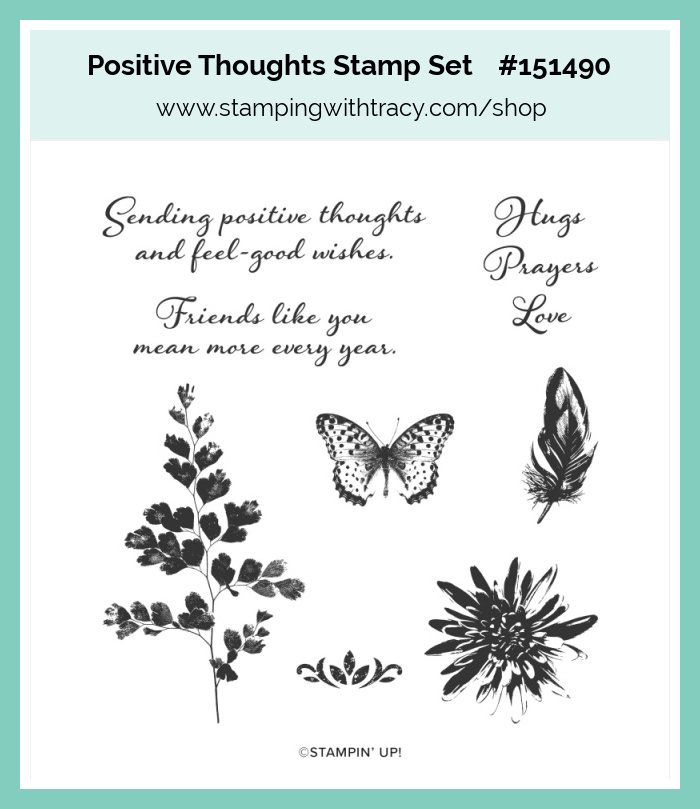
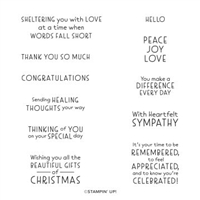
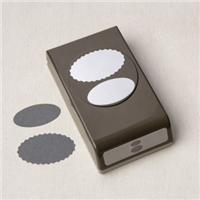
I adhered the fronds and the flower to the Basic White rectangle using Multipurpose Glue. I stamped the sentiment in Rich Razzleberry ink using the stamp set Inspired Thoughts and then cut it out using the Double Oval punch. Using this same punch, I also cut a Mint Macaron scalloped oval. I layered the two piece together and then added Stampin’ Dimensionals to the back before adhering it to the front of the card.


To complete the card, I adhered a piece of Basic White cardstock to the inside and then added five Genial Gems to the front.
Supply List
Below you’ll find all the Stampin’ Up! supplies I used for today’s card. If you need any stamping supplies, I’d love to be your demonstrator! You can place an order by clicking any of the images below to go to my Stampin’ Up! online store.
The Specialty Plate is used with 3D Embossing Folders.
Measurements
- Mint Macaron cardstock: 8-1/2″ x 5-1/2″ score at 4-1/4″
- Mint Macaron cardstock: scrap for oval
- Rich Razzleberry cardstock: 5″ x 3-3/4″
- Basic White cardstock: approx. 4-1/2″ x 3″
- Basic White cardstock: scraps for leafy fronds
- Basic White cardstock: scrap for flower
- Basic White cardstock: scrap for oval sentiment
- Basic White cardstock (inside card): 5-1/4″ x 4″

Thanks for stopping by today!
by Tracy | Sep 21, 2021 | Designer Series Paper, Die-Cutting, Embossing Folders, Rectangle Stitched Dies, Stampin' Cut & Emboss Machine
Today’s card features Stampin’ Up! Poinsettia Dies, Encircled in Warmth stamp set, Wintry 3D Embossing Folders and Tidings of Christmas 6″ x 6″ Designer Series Paper. If the Poinsettia Dies look familiar, it’s because they debuted in the 2020 Mini Catalog and can now be found in the Stampin’ Up! Annual Catalog. The beauty of many of the dies in this set is that they cut and emboss at the same time! To see what I mean, take a look at the embossing on the poinsettia!

I started with a piece of Evening Evergreen cardstock and then added a layer of Tidings of Christmas Designer Series Paper. Next, I adhered a piece of Soft Succulent cardstock that I ran through one of the Wintry 3D Embossing Folders. These embossing folders are currently on backorder and as of today, they can still be added to your order and will ship when they are back in stock (estimated to be back in stock next week). The rest of your order will ship without the embossing folders.
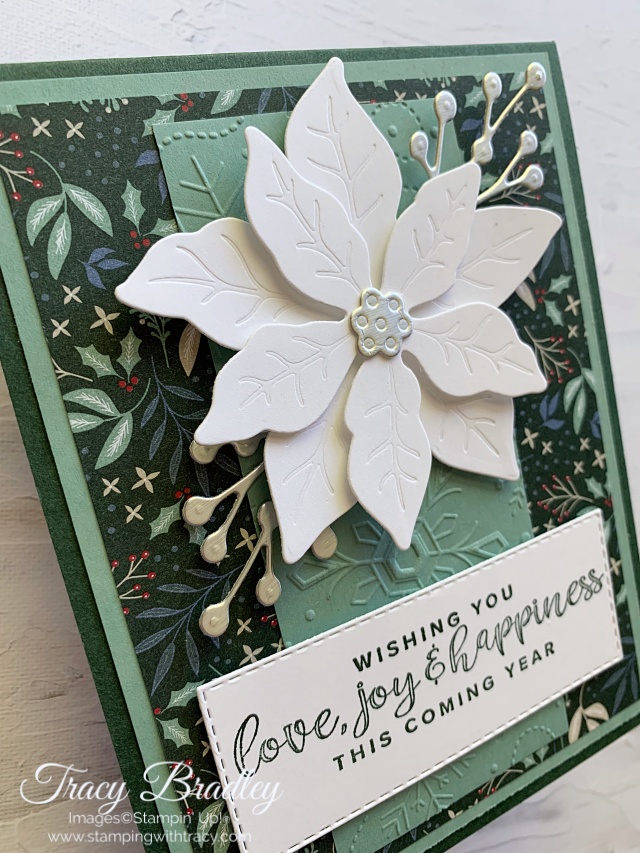
I used the Poinsettia Dies to cut two Silver Foil sprigs. Before running one of the sprigs though the Stampin’ Cut & Emboss machine, I added the little piece for the center of the flower onto the paper. I also cut two poinsettia flowers out of Basic White cardstock. I adhered a Mini Stampin’ Dimensional between the two flower pieces and then added a regular Stampin’ Dimensionals to the back of the larger flower. I used our Mini Glue Dots to adhere the foil sprigs to the back of the poinsettia and then adhered the flower to the front of the card.
When using the poinsettia and leaves dies, you’ll use two dies. One of the dies cuts the flower shape and the other embosses the paper. I used a Sharpie to mark the dies so I would know exactly how the inside piece fits (it’s a big time saver).
I used the Stitched Rectangles Dies to cut a rectangle out of Basic White cardstock and then stamped the sentiment in Evening Evergreen ink. I added Stampin’ Dimensionals to the back and adhered it to the front of the card. To complete the card, I adhered a piece of Basic White cardstock to the inside.


Supply List
Below you’ll find all the Stampin’ Up! supplies I used for today’s card. If you need any stamping supplies, I’d love to be your demonstrator! You can place an order by clicking any of the images below to go to my Stampin’ Up! online store.
The Specialty Plate is used with 3D Embossing Folders.
Measurements
- Evening Evergreen cardstock: 11″ x 4-1/4″ score at 5-1/2″ or 8-1/2″ x 5-1/2″ score at 4-1/4″ (the only difference is how the card opens)
- Soft Succulent cardstock: 5-1/4″ x 4″
- Soft Succulent cardstock (embossed piece): 4-3/4″ x 2″
- Tidings of Christmas Designer Series Paper: 5″ x 3-3/4″
- Basic White cardstock (smaller poinsettia piece): approx. 3″ x 3″
- Basic White cardstock (larger poinsettia piece): approx. 3-1/2″ x 3-1/2″
- Basic White cardstock (sentiment): approx. 3-3/4″ x 1-3/4″
- Basic White cardstock (inside card): 5-1/4″ x 4″
- Silver Foil: (2) approx. 2-3/4″ x 1-1/2″
- Silver Foil: scrap for center of poinsettia

Thanks for stopping by! Enjoy your day!