It’s Tuesday which means I have a free tutorial for you! But first, I want to let you know that the Clearance Rack has been replenished! Many of the items are deeply discounted and you’ll find great prices on embossing folders, punches, paper, the Envelope Punch Board and more! Everything is while supplies last so check it out as soon as you can. Click here to go right to the Clearance Rack!
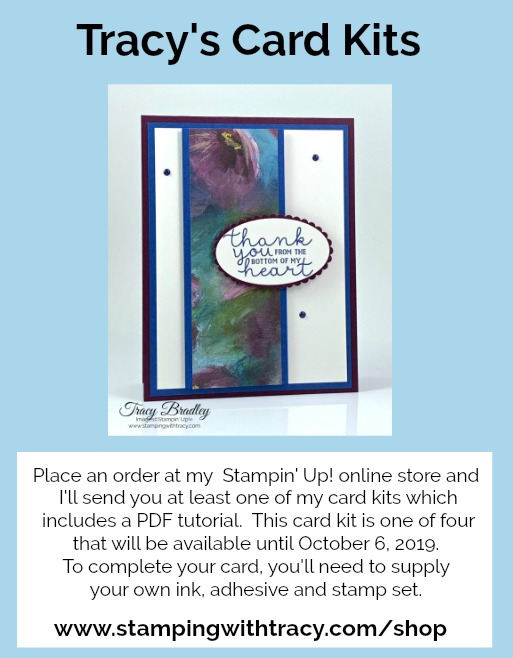
My FREE tutorial is for the card pictured below. If you missed the original post when I featured this card, you can see it here.
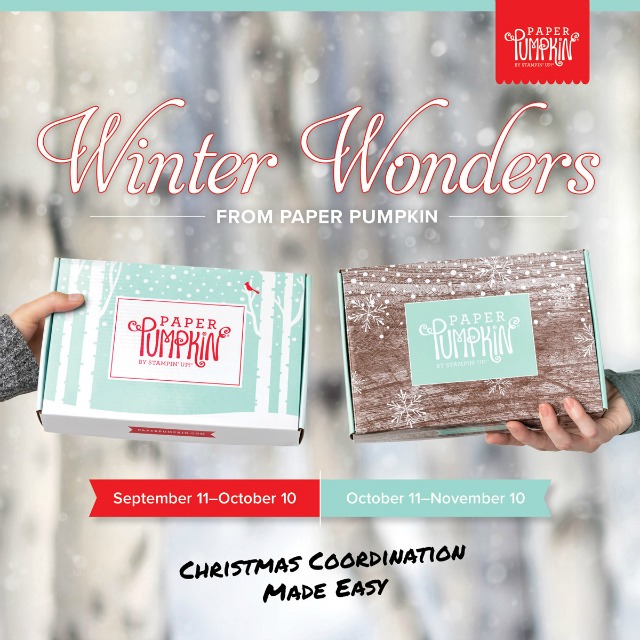
Sign up by October 10th to receive the next Paper Pumpkin kit! Click here to sign up and for more information!
Before I share today’s card and video, I want to let you know that today is the last day to sign up for my September Online Card Class. To receive all the paper and embellishments needed to create six cards (two of three different designs), place a minimum $50 order at my Stampin’ Up! online store (before the end of today) using the host code, H2J6FK66. Click here for more details!
Today’s card is an easy to make fun fold! Be sure to check out the video below that will show you how to make it.
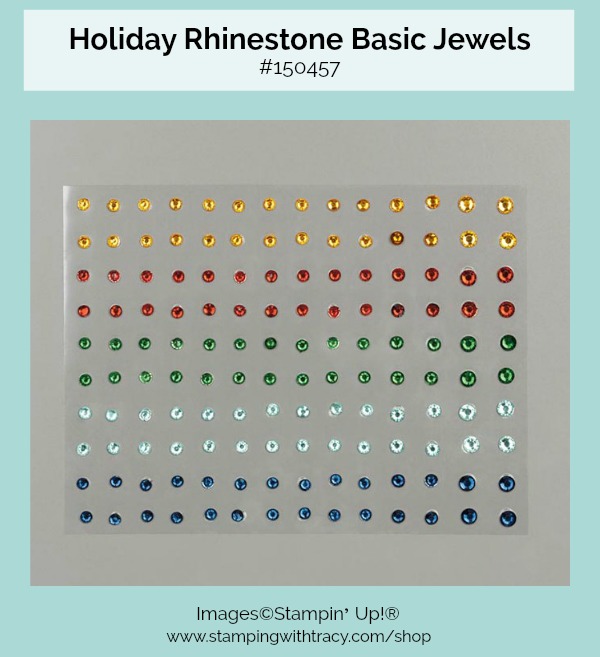
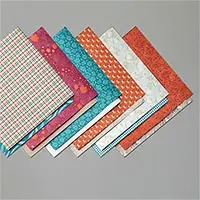
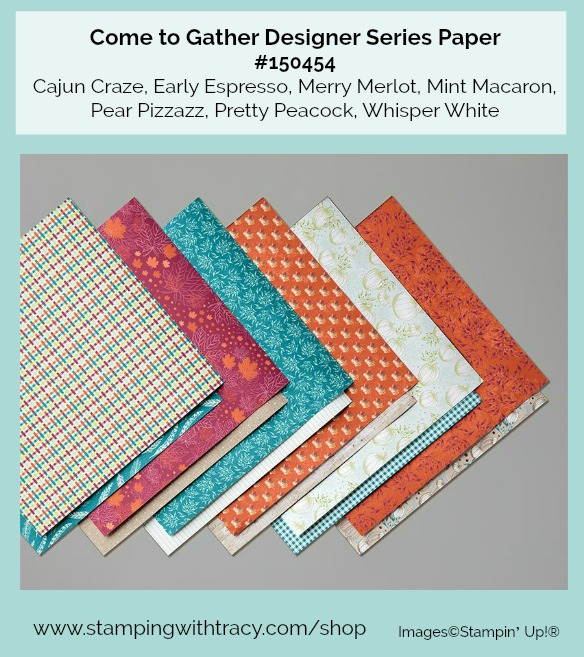
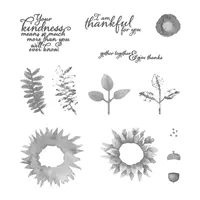
I used the stamp set Gather Together and Come to Gather Designer Series Paper, both which can be found in the Holiday Catalog. I also used Pretty Peacock and Mint Macaron cardstock and our new Holiday Rhinestone Basic Jewels.
Supply List
If you need any stamping supplies, I’d love to be your demonstrator! You can place an order by clicking any of the images below to go to the homepage of my Stampin’ Up! online store.If you have questions about products you’re considering purchasing or ones you’ve already purchased, I’m just an email away (click the Email Me button on the sidebar of my blog).
The October and November Paper Pumpkin kits coordinate! Sign up by October 10th to receive the October kit which will include 10 cards and envelopes. Both the October and November kits will include these coordinating colors: Early Espresso, Pool Party, Poppy Parade and Shaded Spruce. These two kits coordinate but each kit is all-inclusive and can stand alone. (The November kit will include 24 holiday themed gift tags of 4 various sizes and designs). Sign up here to receive the October Paper Pumpkin Kit (the November kit will be available next month).
If you have any questions, don’t hesitate to contact me!
Today’s card features Come to Gather Designer Series Paper and the Mosaic3D Embossing Folder.
The base of the card is Merry Merlot cardstock and I added another layer of Merry Merlot, embossed with our Mosaic 3D Embossing Folder.
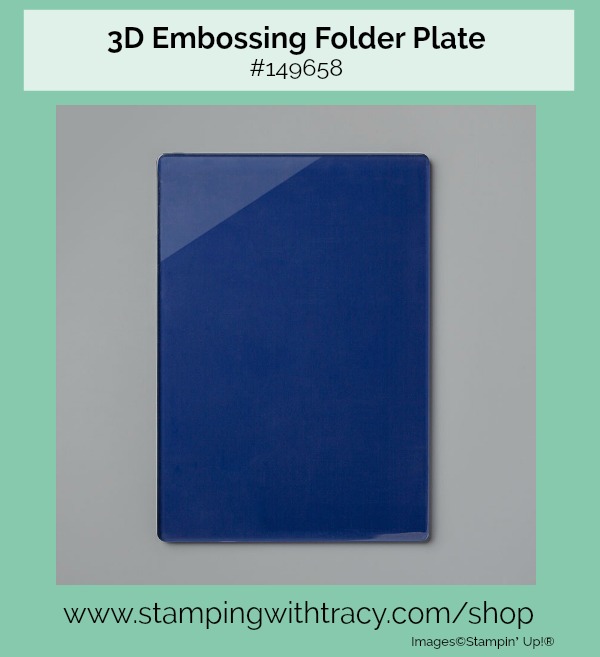
To achieve the very best results when using our new style of 3D Embossing Folders, I used our 3D Embossing Folder Plate . This plate replaces the standard cutting plates when using the 3D folders but you’ll use the regular cutting plates for all other embossing folders. This is the sandwich you’ll use when using a 3D folder and the 3D Embossing Folder Plate:
Embossing Machine Platform
Embossing Folder with cardstock inside
3D Embossing Folder Plate
You won’t find this plate in a current catalog but you can find it in my online store here or by clicking the image of the plate below. If you have any questions, please reach out to me!
Let’s get back to my card! The piece of Come to Gather Designer Series Paper is layered with Cajun Craze cardstock, two colors I wouldn’t have paired together had I not seen how beautiful these colors are in this paper! This layer has Stampin’ Dimensionals on the back.
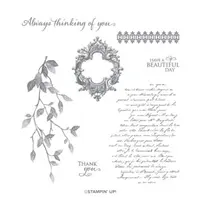
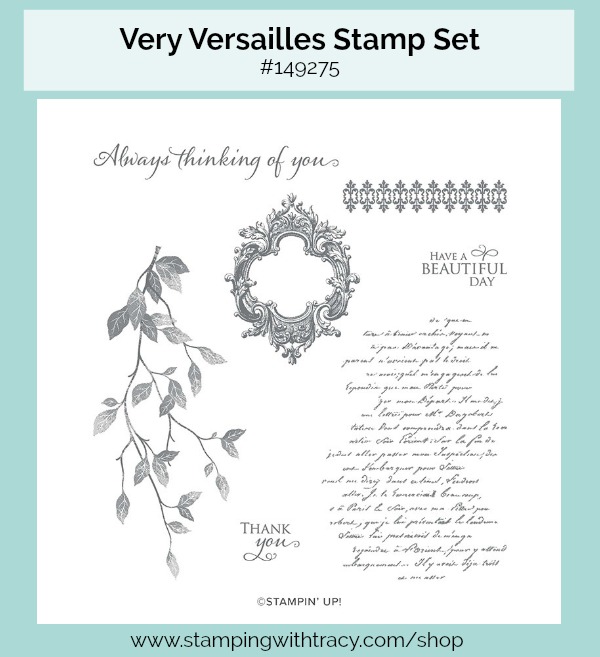
The sentiment is from the stamp set, Very Versailles, and it was cut out with a 1″ Circle Punch. I tend to primarily use Whisper White cardstock but for today’s card, I used Very Vanilla when stamping the sentiment. It sits on a layer of Merry Merlot cardstock that was cut using the 1-1/8″ Scallop Circle Punch and a Cajun Craze layer using the 1-3/8″ Scallop Circle Punch. If you’d like to make today’s card, I’ve included the measurements below the supply list!
Supply List
If you need any stamping supplies, I’d love to be your demonstrator! You can place an order by clicking any of the images below to go to the homepage of my Stampin’ Up! online store.If you have questions about products you’re considering purchasing or ones you’ve already purchased, I’m just an email away (click the Email Me button on the sidebar of my blog).
I’ve really been enjoying making cards with fall colors. I just wish the weather would cooperate where I live and show up with some fall weather! It’s suppose to be 101 today and tomorrow. Ugh. Thank goodness for air conditioners!
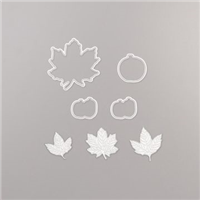
Today’s card features Come to Gather Designer Series Paper and the Gathered Leaves Dies. I learned something new while making this card! Our new 3D embossing folders will give a much deeper impression if the paper is first sprayed with a fine mist of water. I already knew that and to be honest, I’d prefer not to do this step and I usually don’t because I’m happy with the results I get not spraying my paper BUT what a difference it makes when you spray the paper first when using our Gathered Leaves Dies. Three of the leaves in the set will come out embossed when you run them through your die-cutting machine and if you spritz the paper first, you’ll love the results. Can you tell which one I spritzed with water before I cut it out?
It’s the one on the right! Big difference, don’t you think?
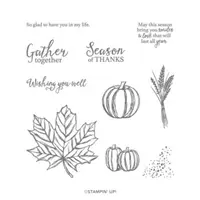
I also used the stamp set Gather Together for the sentiment which was stamped in Merry Merlot ink and cut out with the Stitched Nested Label Dies. After cutting my Pear Pizzazz and Pretty Peacock cardstock, I ran it through my die-cutting machine using the Mosaic embossing folder (I did not spritz the paper with water).
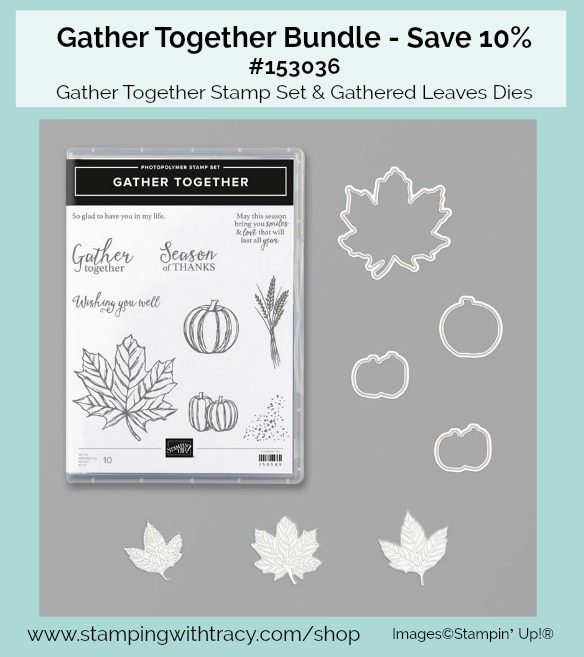
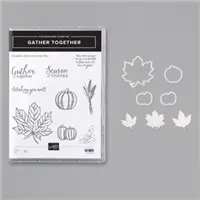
If you are interested in purchasing the Gather Together stamp set and Gathered Leaves Dies, don’t purchase them separately but use the bundle item number 153036 and you’ll save 10%!
All of the supplies I used can be found below in the Supply List. If you’d like to recreate today’s card, I’ve included the measurements for you, farther down in the post.
Supply List
If you need any stamping supplies, I’d love to be your demonstrator! You can place an order by clicking any of the images below to go to the homepage of my Stampin’ Up! online store.If you have questions about products you’re considering purchasing or ones you’ve already purchased, I’m just an email away (click the Email Me button on the sidebar of my blog).
Come to Gather Designer Series Paper: 3-1/2″ x 2-1/2″
Pretty Peacock cardstock: 5″ x 1-1/4″
Pear Pizzazz cardstock: 2-1/2″ x 1-1/4″ plus scrap for leaf
Merry Merlot cardstock: scraps for two leaves
Whisper White cardstock: scrap for sentiment
September Online Card Class
When you place a minimum $50 order AND use the host code H2J6FK66, you’ll receive my September Online Card Class, FREE, but it’s only available for a limited time. Click here for all the details!
Starting today, when you place a minimum $50 order at my Stampin’ Up! online store and use the host code H2J6FK66, I’ll send you my September Card Class which includes all the paper and embellishments needed to create 6 cards, 2 of each design. You’ll need to supply your own stamp set, ink and adhesive (I used the stamp set Very Versailles for all three cards). This card class is only available for a limited time so please read below for all the details!
Here’s how you can earn my FREE September Online Card Class:
Place a minimum $50 order (before tax/shipping) at my Stampin’ Up! online store.
Use my special September Online Card Class Host Code when placing your order: H2J6FK66
Place your order on or before Monday, September 16, 2019.
If your order reaches $150 or more, please do not use the host code so you can receive Stampin’ Rewards (free product directly from Stampin’ Up!). Once you place your order, simply drop me an email letting me know that you’d like the Online Card Class.
Here’s What You’ll Receive:
All the paper and embellishments needed to make 6 cards (2 each of three designs). The paper will be cut, scored, punched and die cut for you! You’ll need to supply your own adhesive, ink and stamp set (per Stampin’ Up! I cannot send stamped images). Envelopes will also be provided for each card.
A FREE video explaining how to make each card along with some tips and tricks.
A FREE PDF Tutorial with instructions, pictures, cutting measurements and a complete supply list of all the products used. Keep the instructions in a binder so you can refer to them over and over again!
All the Other Important Stuff
Your kits will ship first-class mail no later than Monday, September 23, 2019 and will be mailed to the address used on your online order.
On Monday, September 23rd, you’ll receive an email from me that will include your PDF Tutorial and the link for the video.
When using the September Online Card Class Host Code to place your order, you will not qualify for my regular Customer Rewards Card Kits.
Per Stampin’ Up! policy, kits can only be mailed within the United States.
The special September Online Card Class HOST CODE will close at the end of the day on September 16th and after that date, the class will no longer be available!
Expected ship date of the kits is September 23, 2019.
After the deadline of September 16th, I will order all of the product I need to make the kits. It will take me about one week to order, cut, assemble and ship the kits.
If you aren’t sure how to use a host code, click here!
Listed below are the supplies, not included in your kit, that you’ll need to complete the cards (or you can substitute any of these products with what you already own). Click any of the products below and you’ll be taken to my online store. When placing your order, don’t forget to use the special September Online Card Class Host Code to receive your free card kit, PDF tutorial, and video link.
It’s Tutorial Tuesday which means I have a free tutorial for you but first, I want to remind you that today is the last day to order the September Paper Pumpkin Kit! All of the spooky kits are sitting in the warehouse ready to be shipped out but you have to order by today! Each box this month is filled with 20 food safe treat boxes and includes an exclusive Halloween stamp set. Order yours here today!
Today’s tutorial is for the card pictured above which uses the beautiful Come to Gather Designer Series Paper. If you missed the original post for this card, you can see it here.
Enjoy your free tutorial!
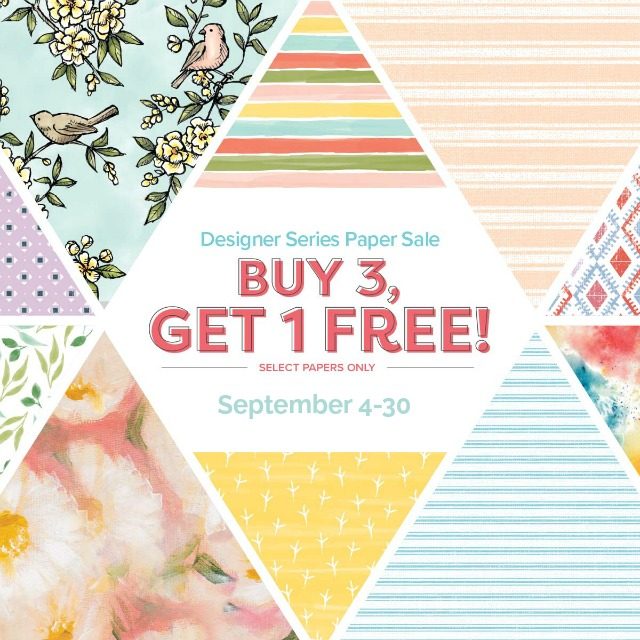
All month long you can purchase 3 select packages of Designer Series Paper and receive the fourth one FREE! Click here for all the details!
If you enjoy making quick and easy cards, today’s card fits into that category! I used the beautiful Very Versailles stamp set along with the Layered Leaves embossing folder. I love the font used for the sentiment! It’s so pretty!
Please note: I just found out this morning that the Layered Leaves embossing folder is unavailable and can’t be found in my online store BUT it IS in the catalog and will be available soon. Stampin’ Up! up has switched to a new supplier for the embossing folders and this has caused some delays in getting new stock. I apologize for this inconvenience.
I used Old Olive for the base of the card and then added another layer of Old Olive so that I could emboss it. I used the Layered Leaves embossing folder and kept with the theme of leaves. I again used Old Olive to stamp the leaves and for the sentiment, I used Blackberry Bliss. This top layer has been popped up with Stampin’ Dimensionals.
Supply List
Please see note at the beginning of my post about the Layered Leaves embossing folder. If you need any stamping supplies, I’d love to be your demonstrator! You can place an order by clicking any of the images below to go to the homepage of my Stampin’ Up! online store.If you have questions about products you’re considering purchasing or ones you’ve already purchased, I’m just an email away (click the Email Me button on the sidebar of my blog).
It’s time for the Glitter Queens Blog Hop and this month we’re all creating Fall Fun Fold Cards! I hope you’ll visit all the Glitter Queens in the hop this month and see their beautiful projects!
My card is a Joy Fold Card and I have a video showing you how easy it is to make!
Bundle Alert: Purchase the Gather Together Bundle and you’ll save 10%! It includes the Gather Together stamp set and the Gathered Leaves Dies.
Measurements
Whisper White cardstock (base): 8-1/2″ x 4-1/4″ score at 3″
Whisper White cardstock (inside panel): 3″ x 8″ score at 4″
Cajun Craze cardstock (on panel): 3-3/4″ x 2-3/4″
Whisper White cardstock (on panel): 3-1/2″ x 2-1/2″
Come to Gather Designer Series Paper: 5-1/4″ x 4″ (2) 4″ x 2-3/4″ 3-3/4″ x 2-3/4″
Cajun Craze, Merry Merlot and Crumb Cake cardstock: scraps for leaves
Supply List
If you need any stamping supplies, I’d love to be your demonstrator! You can place an order by clicking any of the images below to go to the homepage of my Stampin’ Up! online store.If you have questions about products you’re considering purchasing or ones you’ve already purchased, I’m just an email away (click the Email Me button on the sidebar of my blog).
Today’s card showcases another design from our brand new Come to Gather Designer Series Paper(DSP) in the Holiday Catalog. Oh my gosh, this paper is really pretty in person! If you didn’t see my card on Tuesday, it was also made using Come to Gather DSP and you can see it here.
This is a quick and easy card to make! I paired this paper with Merry Merlot and Cajun Craze cardstock. Stampin’ Up! makes it easy to figure out which colors coordinate because they are listed on the back of the paper and in the catalog. Sometimes I’ll use a color not indicated on the package but I always look at the colors they recommend.
I used the stamp set Very Versailles for the sentiment which was inked up with Merry Merlot.
I’ve included the measurements below if you’d like to recreate today’s card.
Measurements
Merry Merlot cardstock: 11″ x 4-1/4″
Cajun Craze cardstock: 5-1/4″ x 4″
Come to Gather Designer Series Paper: 5″ x 3-3/4″
Cajun Craze cardstock: 3-3/4″ x 1-1/2″
Merry Merlot cardstock: 3-1/2″ x 1-1/4″
Whisper White cardstock: 3-1/4″ x 1″
Supply List
If you need any stamping supplies, I’d love to be your demonstrator! You can place an order by clicking any of the images below to go to the homepage of my Stampin’ Up! online store. If you have questions about products you’re considering purchasing or ones you’ve already purchased, I’m just an email away (click the Email Me button on the sidebar of my blog).
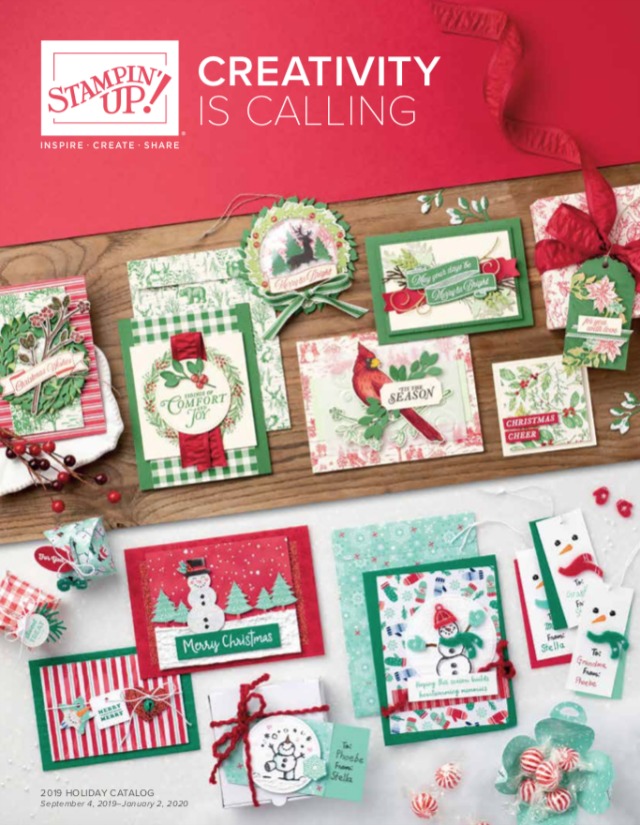
The Holiday Catalog is live and you can now start ordering all the fun new products inside! Click on the catalog above to take a look inside. If you don’t have a demonstrator and would like a copy, email me your name and address and I’d be happy to send you a complimentary copy (U.S. residents only). If you’re already a current customer of mine, you should have received your catalog several weeks ago and if you didn’t, please contact me!
I have several videos today of the brand new products in this catalog!
This first video showcases the Cup of Christmas stamp set and the matching Cup of Cheer dies. You’ll see a brand new type of stamp: reversible! When you purchase the Cup of Cheer Bundle, which includes both the Cup of Christmas stamp set and the Cup of Cheer Dies, you’ll save 10%.
Today’s a big day because it’s also the start of the Designer Series Paper Buy 3 Get 1 Free Promotion. You’ll be able to choose from a select assortment of Designer Series Paper. Add three papers to your cart and then you’ll be prompted to enter the fourth one you’d like free! This sale will end on September 30, 2019. Click here to see which papers are included in the promotion!
If you have any questions, please reach out to me by clicking the Email Me button on the sidebar! Have a great day!
It’s Tuesday which means I have a tutorial for you! Usually I choose a card that I’ve previously posted but today it’s for today’s card and it’s one that uses a brand new Designer Series Paper (Come to Gather) that will be available tomorrow when the Holiday Catalog goes live!
All the products I used are listed below and you can click below to access the tutorial which includes directions, measurements and a supply list.
Designer Series Paper Sale starting tomorrow, September 4th!
These papers will be included in the promotion:
Perennial Essence #149100
See a Silhouette #149443
Come Sail Away #149481
Magnolia Lane #149484
Garden Lane #149488
Follow Your Art #149489
Woven Threads #149497
Dinoroar #149589
Bird Ballad #149592
Pressed Petals #149500
Buy 3 select papers and get the fourth one free! When placing your order, you’ll enter the three papers you’d like and then a prompt will appear and you’ll enter your fourth one. The sale starts tomorrow!
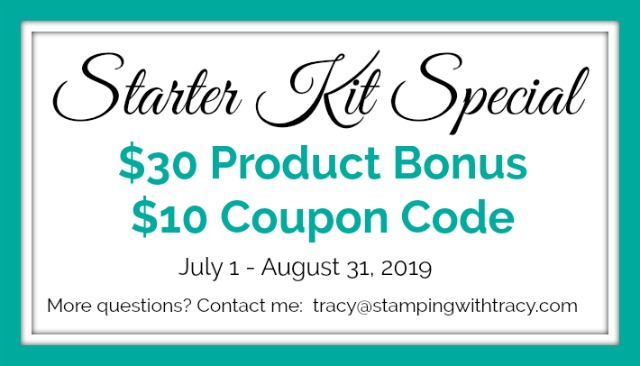
Don’t you love when free shipping is offered? That’s what you’ll get when you purchase the Starter Kit which will include all the Stampin’ Up! products you love because YOU select exactly what you want. From time to time, Stampin’ Up! offers a special when you purchase the Starter Kit and today is the very last day to receive an extra $30 in product! Plus you’ll also receive a $10 coupon to use next month AND shipping will be FREE!
The Starter Kit is always $99 but with this special, you’ll receive $155 in free product plus you’ll enjoy all the perks of being a demonstrator. I purchased my Starter Kit, ten years ago, because I just wanted a discount on all the products in the catalog because my shopping list was a mile long!
Here are some questions I’m frequently asked:
Once I purchase the Starter Kit do I have to start selling Stampin’ Up! product? Only if you want to! If you want to purchase discounted products just for yourself, that is perfectly ok!
How much of a discount will I receive after I purchase the Starter Kit? You’ll receive at least a 20% discount on everything you purchase.
Do I have to buy/sell a certain amount of product? The quarterly minimum is $300. When you purchase the Starter Kit, your quarterly minimum begins during your first full quarter. If you purchase it today, the first full quarter begins in October so you would have until the end of December to reach it.
What happens if I don’t reach my minimum? You’ll simply be dropped. It truly is risk free to purchase the Starter Kit. It sounds too good to be true but it isn’t! Free product, free shipping, discounted product!
If I have questions (and I may have a lot), will you be able to help me? Absolutely! You can contact me with any and all questions! I’m here for you! As with anything new, there’s always a learning curve. I’m more than happy to help!
If I don’t make my minimum and I’m dropped, can I go back to being your customer? Yes!
As a customer, if my order reaches $150, I receive Stampin’ Rewards. Will I still be able to get rewards? Yes!! You’ll receive free product just as you do as a customer. Plus, if Stampin’ Up! has any kind of promotion, you’ll also receive it. For instance, during Sale-a-bration, free product can be earned. Demonstrators can also earn those same products!
If you don’t want to miss out on $30.00 in extra product and a $10 coupon to use next month, be sure to purchase the Starter Kit before 11:59 pm Mountain Time, today!
If you have any questions, please don’t hesitate to contact me! Simply click the email me button on the sidebar!