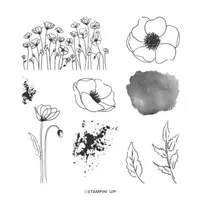
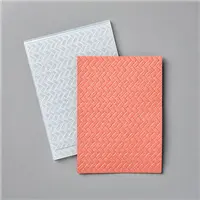
Today’s card is a fun fold that features the Painted Poppies stamp set and the Coastal Weave 3D Embossing Folder. If you’d like to give it a try, I have a video showing how to make it!
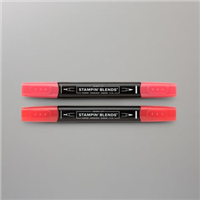
I used Poppy Parade and Granny Apple Green Stampin’ Blends to color the poppies and the flower inside the card but first I stamped the images using Memento Ink. When using alcohol based pens such as Stampin’ Blends, the type of ink you use is important. Because Memento Ink is a water-based dye ink, it’s perfect for use with Stampin’ Blends.
All the supplies I used can be found below in the supply list.
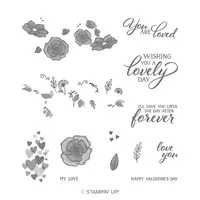
Supply List
If you need any stamping supplies, I’d love to be your demonstrator! You can place an order by clicking any of the images below to go to my Stampin’ Up! online store.If you have questions about products you’re considering purchasing or ones you’ve already purchased, I’m just an email away (click the Email Me button on the sidebar of my blog).
It’s Tutorial Tuesday and I have a quick and easy card for you! I shared this card last week and you can access the tutorial today by clicking the link below the Supply List.
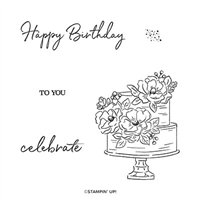
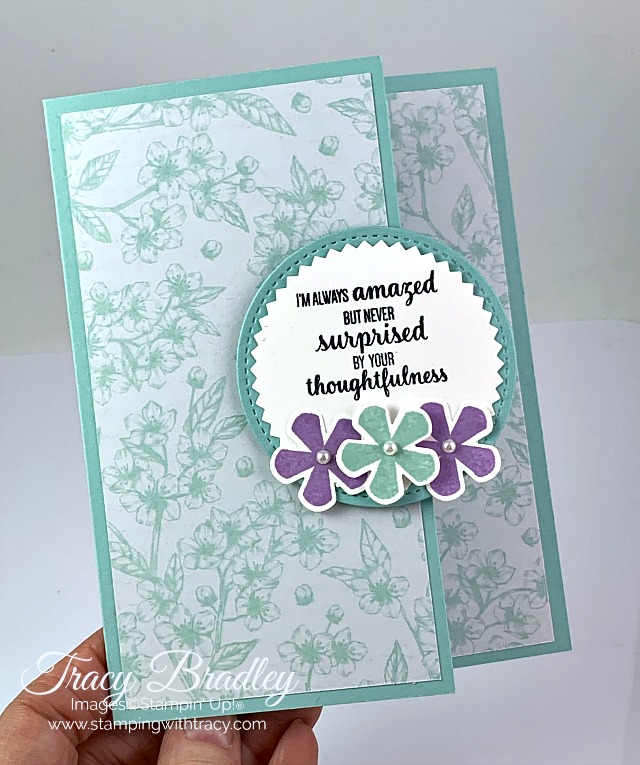
Unfortunately the Happy Birthday Dies, used to create today’s card, have sold out! They were part of a while supplies last promotion and they are now gone. But the good news is that the Happy Birthday to You stamp set, one of our Sale-a-Bration gifts IS still available and the flower image can simply be cut out or stamped directly onto the Whisper White cardstock.
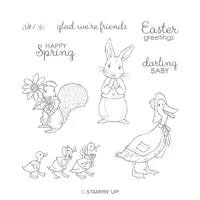
The stamp set I used for the sentiment on my card, Fable Friends, is currently on the Low Inventory List. It’s a great set for Easter so if you’ve been thinking of purchasing it, my recommendation is to grab it while it’s still in stock.
Supply List
If you need any stamping supplies, I’d love to be your demonstrator! You can place an order by clicking any of the images below to go to my Stampin’ Up! online store.If you have questions about products you’re considering purchasing or ones you’ve already purchased, I’m just an email away (click the Email Me button on the sidebar of my blog).
Today’s card features the Stampin’ Up! Happy Birthday to You stamp set, a free gift during Sale-a-Bration with a $50 order and the coordinating Birthday Dies. This stamp set is only available during Sale-a-Bration and only while supplies last!
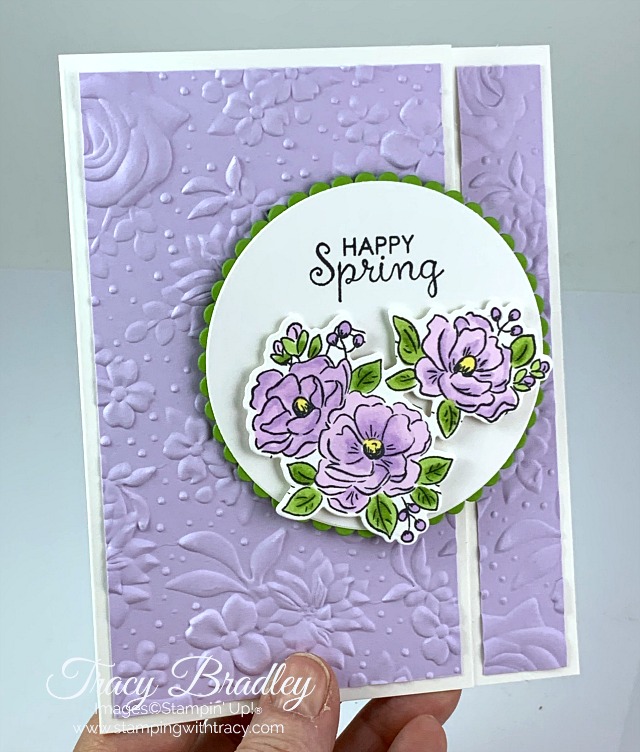
To get the beautiful texture on my Purple Posy cardstock, I used the Country Floral 3D Embossing Folder and my die-cutting machine. I recommend using Multipurpose Glue to adhere the embossed pieces to the Thick Whisper White card base.
After stamping the flower images using Memento Ink, I colored them with Purple Posy & Granny Apple Green Stampin’ Blends. It was so easy cutting the flowers out with the Birthday Dies! I added Stampin’ Dimensionals to the back and adhered them to a circle of Whisper White cardstock that was cut out using the Layering Circles Dies. The sentiment is from the stamp set, Fable Friends, and was inked up with Memento ink. A scalloped circle was cut out of Granny Apple Green cardstock, again using the Layering Circles Dies, and the Whisper White circle was adhered to this. Stampin’ Dimensionals were added to the back (only on the right hand side) before adhering it to the front of the card.
Supply List
If you need any stamping supplies, I’d love to be your demonstrator! You can place an order by clicking any of the images below to go to my Stampin’ Up! online store.If you have questions about products you’re considering purchasing or ones you’ve already purchased, I’m just an email away (click the Email Me button on the sidebar of my blog).
It’s Tuesday which means I have another free tutorial for you! This fun fold card was on my blog several weeks ago and features two Sale-a-Bration gifts: the Thoughtful Blooms stamp set (FREE with a $50 purchase) and the Small Bloom Punch (FREE with a $100 purchase). Sale-a-Bration ends on the 31st but all of the free gifts are while supplies last. Unfortunately three items have already sold out:
Golden Honey Designer Series Paper
Metallic Baker’s Twine & Sequins Combo
Kerchief Card Kit
But there are many items still available! If you’ve been planning to place an order and you’ve had your eye on any of the Sale-a-Bration gifts, please order as soon as you can! I don’t want you to be disappointed that one of your favorites has sold out.
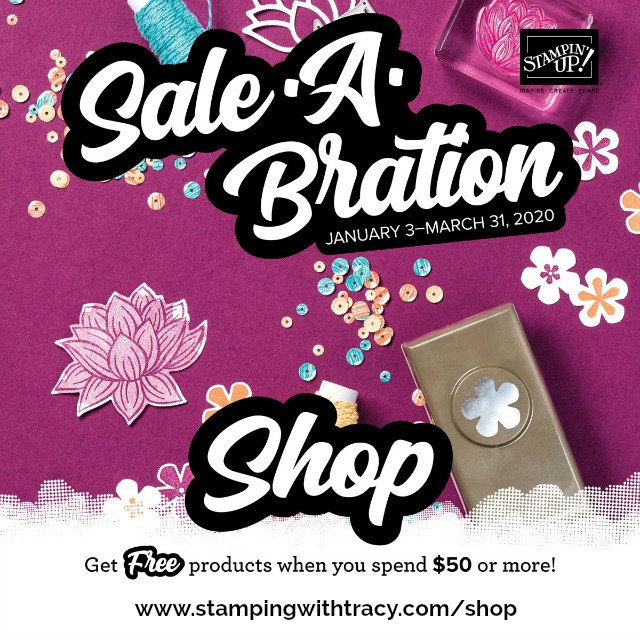
Click here to see all of the Sale-a-Bration gifts you can earn with your $50 and $100 purchase!
Supply List
If you need any stamping supplies, I’d love to be your demonstrator! You can place an order by clicking any of the images below to go to my Stampin’ Up! online store.If you have questions about products you’re considering purchasing or ones you’ve already purchased, I’m just an email away (click the Email Me button on the sidebar of my blog).
It’s time for the Glitter Queens Blog Hop and this month we’re all creating Fall Fun Fold Cards! I hope you’ll visit all the Glitter Queens in the hop this month and see their beautiful projects!
My card is a Joy Fold Card and I have a video showing you how easy it is to make!
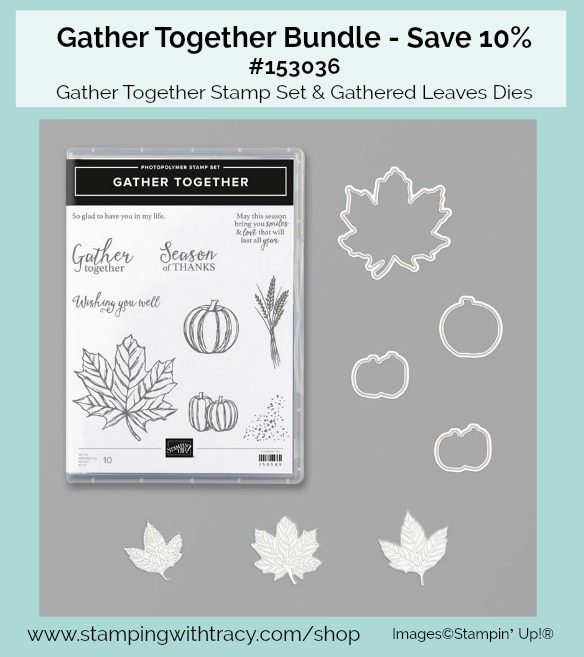
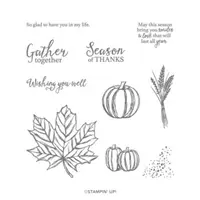
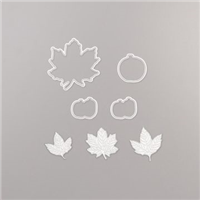
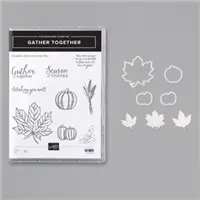
Bundle Alert: Purchase the Gather Together Bundle and you’ll save 10%! It includes the Gather Together stamp set and the Gathered Leaves Dies.
Measurements
Whisper White cardstock (base): 8-1/2″ x 4-1/4″ score at 3″
Whisper White cardstock (inside panel): 3″ x 8″ score at 4″
Cajun Craze cardstock (on panel): 3-3/4″ x 2-3/4″
Whisper White cardstock (on panel): 3-1/2″ x 2-1/2″
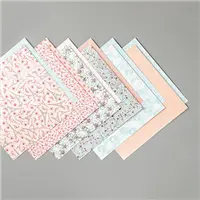
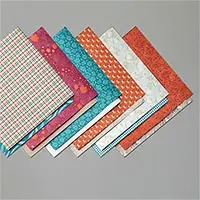
Come to Gather Designer Series Paper: 5-1/4″ x 4″ (2) 4″ x 2-3/4″ 3-3/4″ x 2-3/4″
Cajun Craze, Merry Merlot and Crumb Cake cardstock: scraps for leaves
Supply List
If you need any stamping supplies, I’d love to be your demonstrator! You can place an order by clicking any of the images below to go to the homepage of my Stampin’ Up! online store.If you have questions about products you’re considering purchasing or ones you’ve already purchased, I’m just an email away (click the Email Me button on the sidebar of my blog).
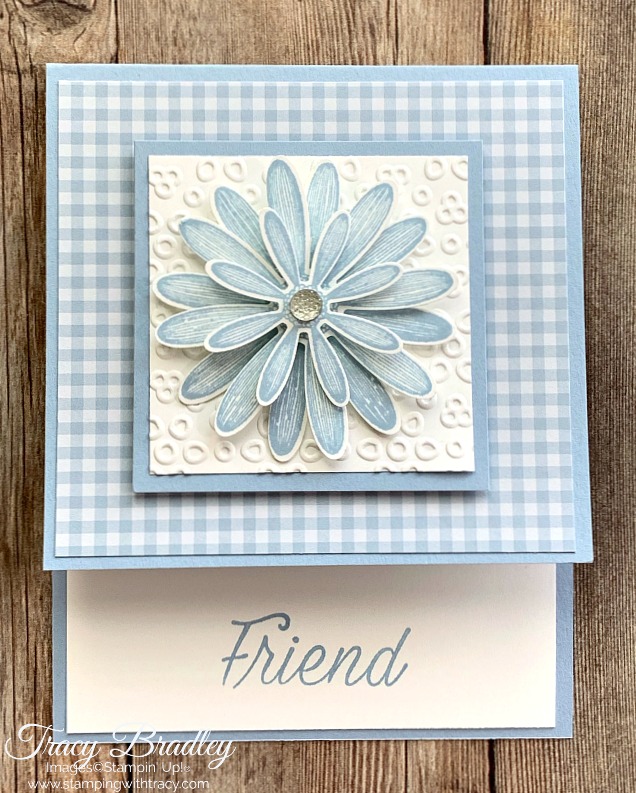
Today’s fun fold card features a brand new punch, a new stamp set and a coordinating punch that carried over into the new Annual Catalog. We now have two daisy punches! The brand new one is the Medium Daisy Punch and the Daisy Punch carried over from last year.
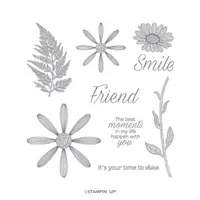
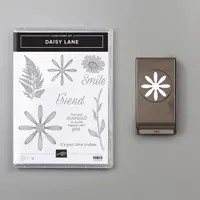
For the base of the card I used a brand new In Color, Seaside Spray, a new embossing folder called Eyelet Lace, new 6″ x 6″ In Color 2019-2012 Designer Series Paper and the new stamp set, Daisy Lane It’s so fun playing with new products!
Directions to Make Today’s Card
Cut a piece of Seaside Spray cardstock that measures 4-1/4″ x 9-1/2″ and score at 5-1/2″.
Cut a piece of In Color 2019-2021 6″ x 6″ Designer Series Paper that measures 4″ x 3-3/4″. Adhere it to the top part of the card base.
Cut a piece of Seaside Spray cardstock that measures 2-3/4″ x 2-3/4″. Cut a piece of Whisper White cardstock that measures 2-1/2″ x 2-1/2″. Run it through a die-cutting machine using the Eyelet Lace Embossing Folder. Attach it to the piece of Seaside Spray. Add Stampin’ Dimensionals to the back and attach to the front of the card.
Using the Daisy punch and the stamp set, Daisy Lane, stamp two daisies on Whisper White cardstock using Seaside Spray ink. Stamp another smaller daisy, also from Daisy Lane and punch it out using the new Medium Daisy punch. Layer all three daisies using Stampin’ Dimensionals (I used Mini Dimensionals for the small daisy). Add a Stampin’ Dimensional to the back and attach to the front of the card.
Cut a piece of Whisper White cardstock that measures 5-1/4″ x 4″. Glue it to the inside of the card. Using the Daisy Lane stamp set, stamp “Friend” in Seaside Spray ink.
Add a Clear Faceted Gem to the center of the daisy.
Bundle Alert
Supply List
If you need any stamping supplies, I’d love to be your demonstrator! You can place an order by clicking any of the images below to go to the homepage of my Stampin’ Up! online store.If you have questions about products you’re considering purchasing or ones you’ve already purchased, I’m just an email away (click the Email Me button on the sidebar of my blog).