by Tracy | Jan 19, 2022 | Designer Series Paper, Embossing Folders, Punches
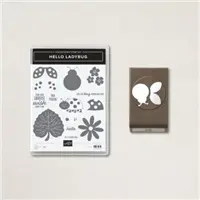
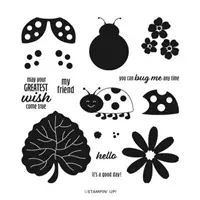
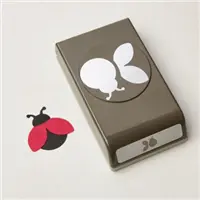
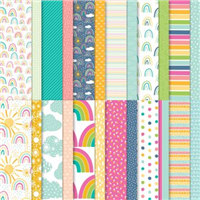
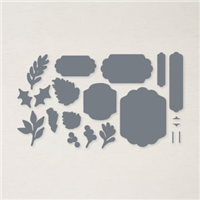
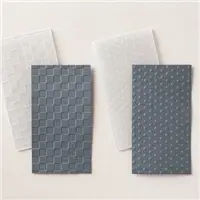
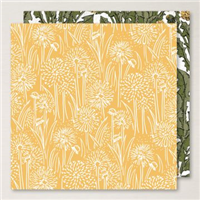
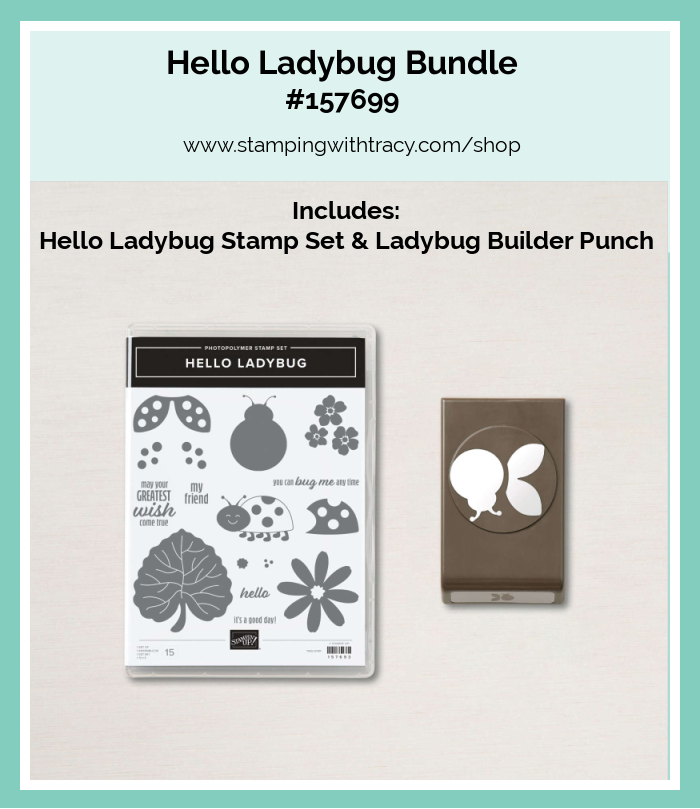
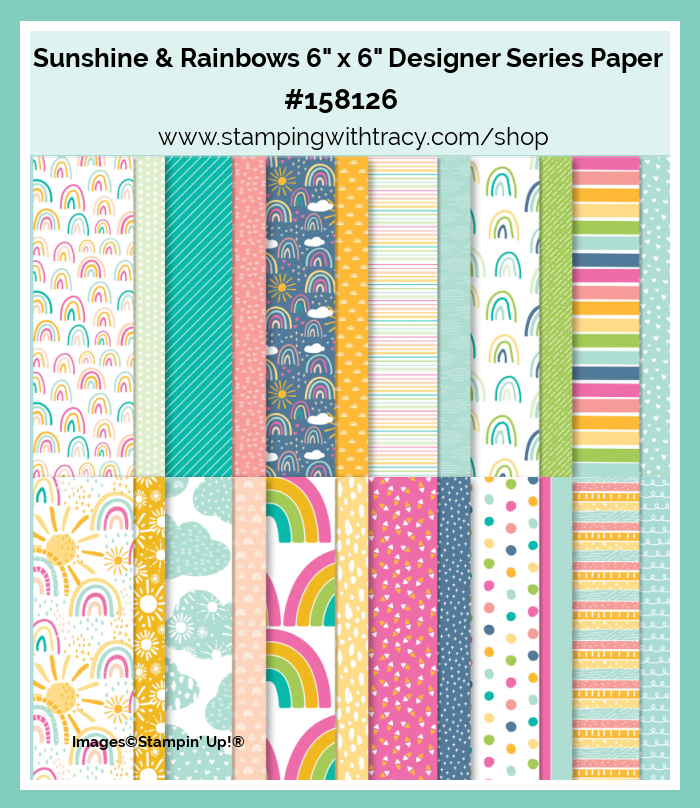
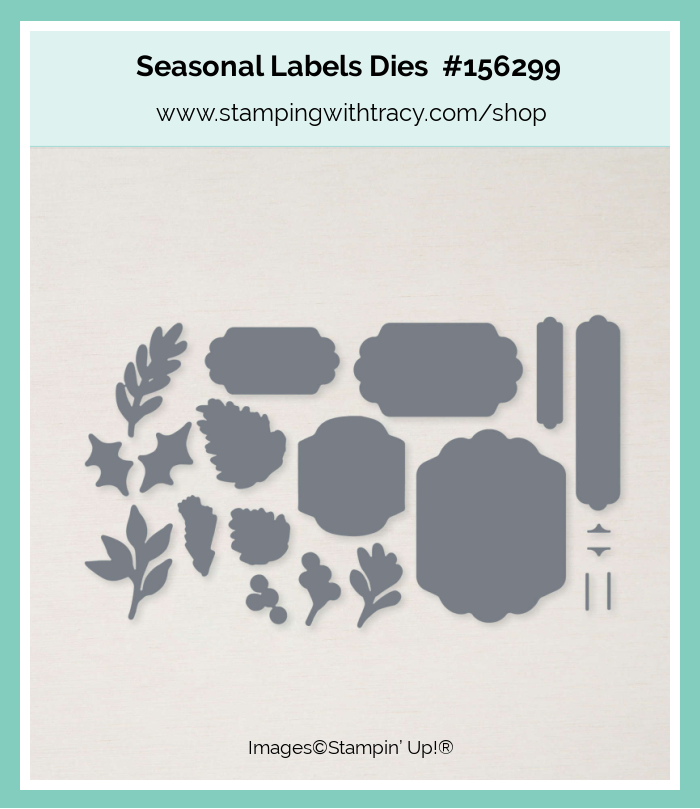
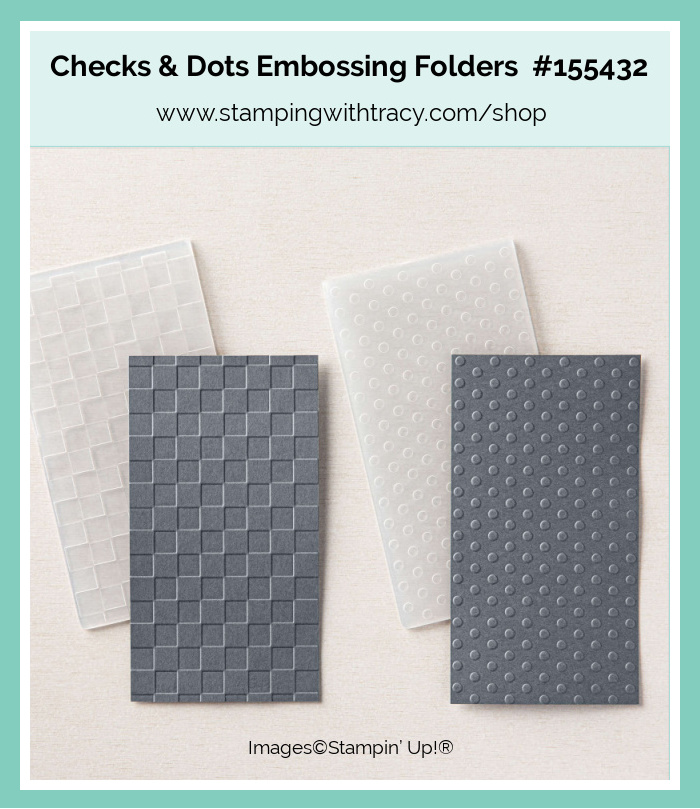
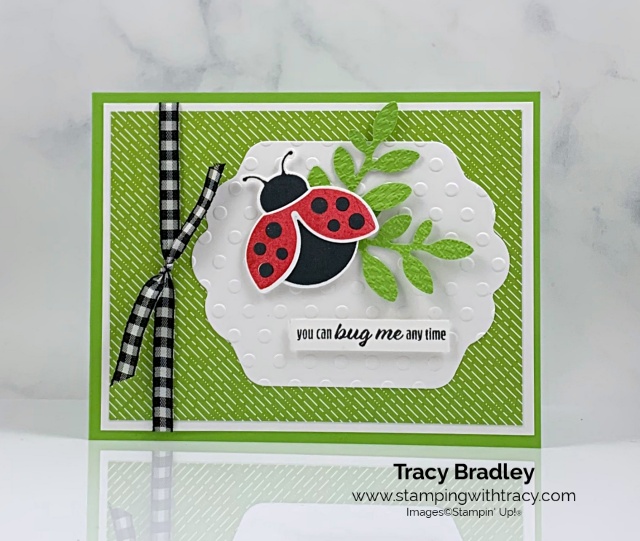
Today’s card features the Hello Ladybug Bundle which includes the Hello Ladybug stamp set and the Ladybug Builder Punch (you save 10% when you purchase a bundle but the products can also be purchased separately). I also used Sunshine & Rainbows Designer Series Paper (a free Sale-a-Bration product), Seasonal Labels Dies and the Checks & Dots Embossing Folders.

I started with a piece of Granny Apple Green cardstock. Then, I layered a piece of Basic White cardstock with a piece of Sunshine & Rainbows Designer Series Paper. Sunshine & Rainbows Designer Series Paper is one of the FREE Sale-a-Bration gifts you can choose when you place a $50 order! To learn more about Sale-a-Bration and all the free products you can earn, click here!
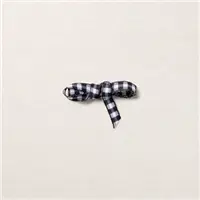
Before adhering the cardstock and Designer Series Paper to the card front, I wrapped a piece of Black & White Gingham ribbon around the left side, tied a knot and then placed it on the card base.
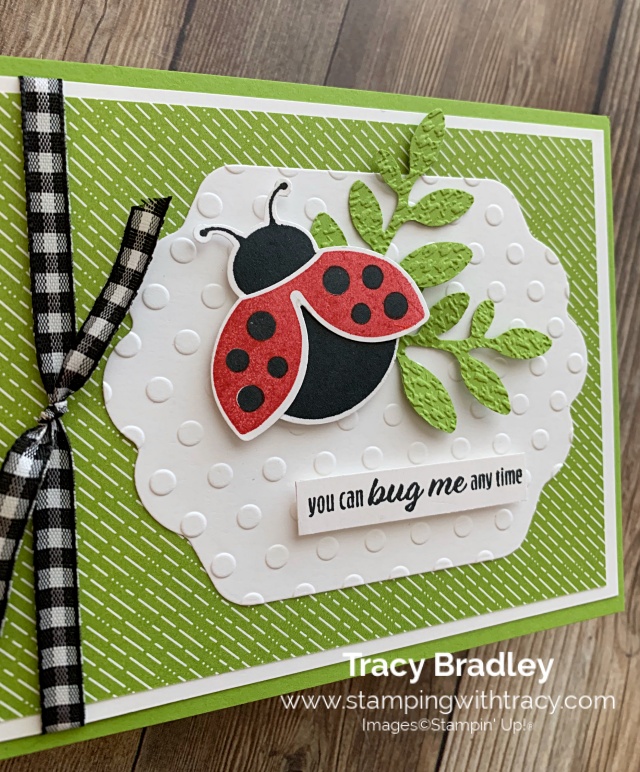
I used the Seasonal Labels Dies to cut a shape out of Basic White cardstock and then placed it in one of the Checks & Dots Embossing Folders. Normally I’d add Stampin’ Dimensionals to the back before adhering it to the front of the card but I used Multipurpose Glue instead. I have a little bit of Creator’s Remorse (my made-up phrase) and wish I had used Dimensionals. I really, really like the look I achieve when I use Dimensionals and it looks a bit flat to me but oh well. The cuteness of the ladybug makes up for it.
I used Memento ink and the Stamparatus to stamp the ladybug’s body and it worked GREAT! I got a really good solid impression. Then I stamped the wings onto another piece of Basic White cardstock using Real Red ink. I stamped the dots in Memento ink. Then I used the Ladybug Builder Punch to cut it out.
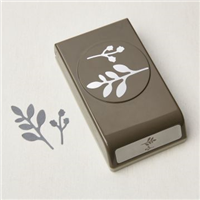
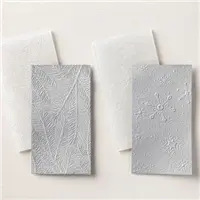
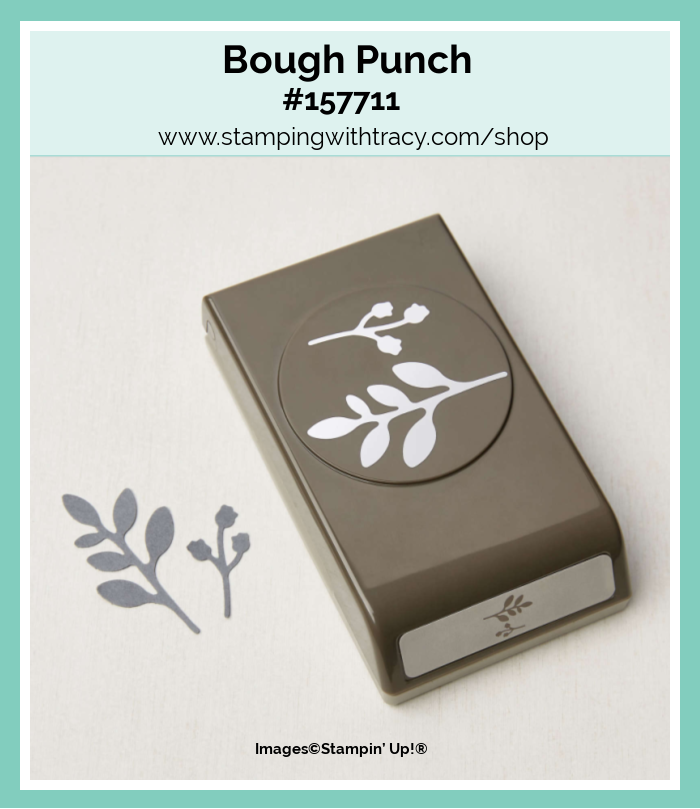
I used the Bough Punch to cut two leaves out of Granny Apple Green cardstock and then placed them inside the Tasteful Textile 3D Embossing Folder to give them a little bit of texture. I added Stampin’ Dimensionals to the back of the ladybug and placed the ends of the leaves on the dimensionals and attached it all to the front of the card.

I stamped the sentiment onto a piece of Basic White cardstock in Memento Ink using the stamp set Hello Ladybug and then cut it out with my Paper Snips. When I stamp small sentiments like this, I stamp at the bottom of the paper so that I have one straight edge and then trim the rest. I added Mini Stampin’ Dimensionals to the back and placed it on the card. To complete the card, I added a piece of Basic White cardstock to the inside.
Supply List
Below you’ll find all the Stampin’ Up! supplies I used for today’s card. If you need any stamping supplies, I’d love to be your demonstrator! You can place an order by clicking any of the images below to go to my Stampin’ Up! online store.
Measurements
- Granny Apple Green cardstock: 11″ x 4-1/4″ score at 5-1/2″
- Granny Apple Green cardstock: scraps for leaves
- Basic White cardstock (one for the front & inside): (2) 5-1/4″ x 4″
- Basic White cardstock: approx. 4-1/4″ x 3-1/2″
- Basic White cardstock: scrap for ladybug body and wings
- Basic White cardstock: scrap for sentiment
- Sunshine & Rainbows Designer Series Paper: 5″ x 3-3/4″
January Host Code
Use the host code below when you place a minimum $50 order and you’ll receive an embellishment from me from the new catalog (it will be a surprise). Once I close the host code on January 31st, I’ll order all the embellishments and as soon as I receive them, I’ll mail them out which will be approximately February 15th. You must use the host code to receive your free gift BUT if your order is $150 or more, please do not use the host code so you can receive Stampin’ Rewards (free product) directly from Stampin’ Up! You will automatically receive the free gift from me.

Paper Pumpkin

Safari Celebration Paper Pumpkin Kit
- This month’s kit contains enough elements to create 9 cards—3 each of 3 designs—and 9 coordinating envelopes. This all-inclusive kit includes printed card bases, die-cut paper pieces, embellishments, adhesive, and more!
- The Safari Celebration Paper Pumpkin Kit includes a Rich Razzleberry Classic Stampin’ Spot!
- This kit’s stamp set is an uplifting one! Make every occasion a celebration with sentiments that say “yay!”, “fantastic!”, and other fun phrases.
- Explore each of our current In Color collections with this colorful kit! Discover designs and paper pieces in Bumblebee (a 2020–2022 In Color), Fresh Freesia (a 2021–2023 In Color), and Soft Succulent (a 2021–2023 In Color).
- Card size: 4-1/4″ x 5-1/2″ (10.8 x 14 cm)
- Envelope size: 4-1/2″ x 5-3/4″ (11.4 x 14.6 cm)
- Coordinating colors: Bumblebee, Fresh Freesia, Pear Pizzazz, Rich Razzleberry, Soft Succulent, Soft Suede
Click here to order Safari Celebration
You can cancel at any time or even skip a month


Thanks for stopping by today!
by Tracy | Dec 15, 2021 | Designer Series Paper, Embossing Folders, Punches
Today’s card features a sneak peek of three new products from the upcoming January – June 2022 Mini Catalog!

The Designer Series Paper I used is called Flowering Fields (#157670) and I have to say I’m in love with this paper with the tulips and beautiful colors! Unfortunately I can’t link these products up to the online store until the catalog goes live.
I started with a base of Rich Razzleberry cardstock and then added a layer of Fresh Freesia cardstock that I embossed using the Tasteful Textile 3D Embossing Folder. Then I added another layer of Rich Razzleberry and Flowering Fields Designer Series Paper.

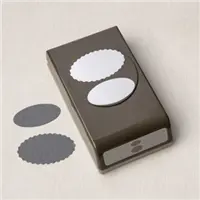
I stamped the sentiment in Fresh Freesia ink using another new product, the Happy & Heartfelt stamp set (#158005). There are 15 stamps in this set and they are all in the same font as on my card. Love it!! I used the Double Oval Punch to cut out the sentiment as well as the Rich Razzleberry oval. I added Stampin’ Dimensionals to the back of the Rich Razzleberry oval and adhered it to the front of the card.

The cute little butterflies are also new and they’re called Brushed Brass Butterflies (#158136). You can purchase all three of these new products on January 4, 2022.
Supply List
Below you’ll find all the Stampin’ Up! supplies I used for today’s card. If you need any stamping supplies, I’d love to be your demonstrator! You can place an order by clicking any of the images below to go to my Stampin’ Up! online store.
The Specialty Plate is used with 3D Embossing Folders.
Reminder: Pictures of new products can’t be posted online until the catalog goes live
Measurements
- Rich Razzleberry cardstock: 11″ x 4-1/4″ score at 5-1/2″
- Rich Razzleberry cardstock: 4-3/4″ x 2″
- Rich Razzleberry cardstock: scrap for oval
- Basic White cardstock (inside card): 5-1/4″ x 4″
- Basic White cardstock: scrap for sentiment
- Flowering Fields Designer Series Paper: 4-1/2″ x 1-3/4″
Paper Pumpkin

Kisses & Hugs Paper Pumpkin Kit
- Kit contains enough supplies to create 10 cards—5 each of 2 designs—and 10 coordinating envelopes
- Kit features an exclusive Two-Step photopolymer stamp set
- Kit includes a Gray Granite Classic Stampin’ Spot
- Card size: 4-1/2″ x 4-1/4″ heart-shaped cards; folded
- Coordinating colors: Blushing Bride, Flirty Flamingo, Gray Granite, Very Vanilla
Click here to order Kisses & Hugs
You can cancel at any time or even skip a month
This month’s Paper Pumpkin Kit has an Add On (see the photo above)! The coordinated treat boxes are not included in this month’s kit and are only available for purchase separately as an add-on online starting January 25, 2022. You must be a Paper Pumpkin subscriber to purchase and they are only available while supplies last.
Kisses & Hugs Mini Treat Boxes Add On For Paper Pumpkin Subscribers
Available January 25, 2022
Item number: 160147 | $10.00 USD
- Contains 20 mini treat boxes and 20 heart tags
- Gold cord: 10-1/2″ yards (9.6 m)
- Finished size: 1-3/4″ x 1-3/4″ x 1-3/4″
- Printed with gold foil
Upcoming
December 20, 2021: New Card Sampler Will Be Released (it’s being delayed due to the holidays)
January 3, 2022: Last Day to Order Last Chance Products
January 4, 2022: January – June 2022 Mini Catalog Debuts
January 4, 2022: Sale-a-Bration Begins
January 10, 2022: Last Day to Order Hugs & Kisses Paper Pumpkin
by Tracy | Dec 14, 2021 | Designer Series Paper, Die-Cutting, Punches
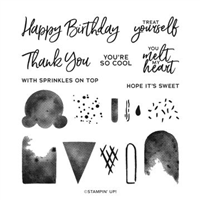
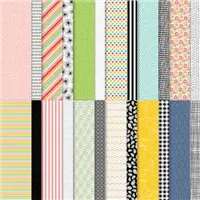
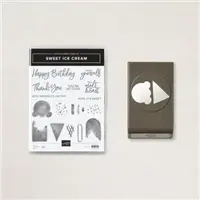
Today’s card features a birthday card using the Sweet Ice Cream stamp set and the Ice Cream Cone Builder Punch. The Designer Series Paper I used is called Pattern Party and it’s a host only item. You can earn it with a personal order or by hosting a party. It’s a huge pack of paper and includes 48 pieces of beautiful paper. You can see more information about it in the Annual Catalog on page 171 or here.

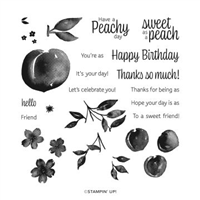
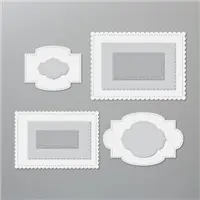
I started with a base of Thick Basic White cardstock and then added a piece of Pattern Party Designer Series Paper. Next, using Basic White cardstock, I cut a stitched rectangle using the Stitched So Sweetly Dies. I stamped the sentiment towards the bottom of the rectangle using Memento ink and the stamp set Sweet as a Peach.

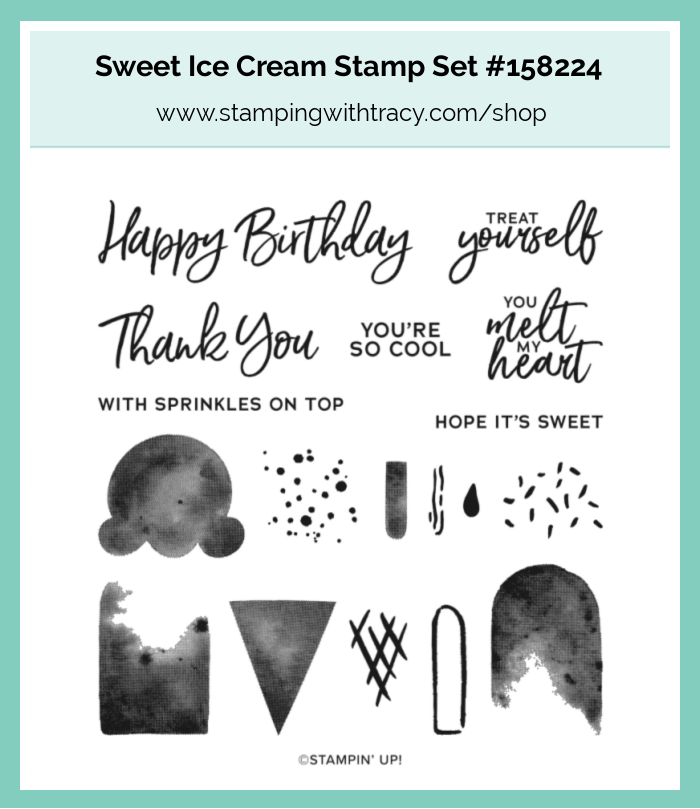
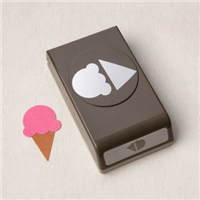
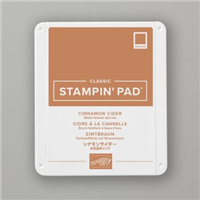
Using a scrap of Basic White cardstock, I stamped the cone in Cinnamon Cider ink. I also used Cinnamon Cider ink to stamp the marks on the cone and cut it out using the Ice Cream Cone Builder Punch. I stamped the ice cream scoop onto Basic White cardstock using Coastal Cabana ink and used Early Espresso ink to stamp the sprinkles. I love Mint Chocolate Chip ice cream so to me, they look like little chocolate chips. I cut the scoop out using the Ice Cream Cone Builder Punch. I adhered the cone to the stitched rectangle using Multipurpose Glue but added Stampin’ Dimensionals to the scoop before placing it on the cone. Then I added Stampin’ Dimensionals to the back of the rectangle and adhered it to the front of the card.


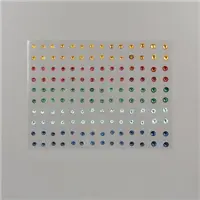
To complete the card, I added three Holiday Rhinestones to the front of the card. Another option would be to use our Artistry Blooms Adhesive Backed Sequins. You can find the measurements I used below the Supply List.
Supply List
Below you’ll find all the Stampin’ Up! supplies I used for today’s card. If you need any stamping supplies, I’d love to be your demonstrator! You can place an order by clicking any of the images below to go to my Stampin’ Up! online store.
Measurements
- Thick Basic White cardstock: 8-1/2″ x 5-1/2″
- Pattern Party Designer Series Paper: 4″ x 2-1/2″
- Basic White cardstock (stitched rectangle): approx. 4-1/4″ x 3-1/4″
- Basic White cardstock: scrap for cone
- Basic White cardstock: scrap for scoop of ice cream
Last Chance Products

Click here to shop Stampin’ Up! Last Chance Products from the Mini Catalog
All Last Chance Products are available while supplies last or January 3, 2021.

Kisses & Hugs Paper Pumpkin Kit
- Kit contains enough supplies to create 10 cards—5 each of 2 designs—and 10 coordinating envelopes
- Kit features an exclusive Two-Step photopolymer stamp set
- Kit includes a Gray Granite Classic Stampin’ Spot
- Card size: 4-1/2″ x 4-1/4″ heart-shaped cards; folded
- Coordinating colors: Blushing Bride, Flirty Flamingo, Gray Granite, Very Vanilla
Click here to order Kisses & Hugs
You can cancel at any time or even skip a month
This month’s Paper Pumpkin Kit has an Add On (see the photo above)! The coordinated treat boxes are not included in this month’s kit and are only available for purchase separately as an add-on online starting January 25, 2022. You must be a Paper Pumpkin subscriber to purchase and they are only available while supplies last.
Kisses & Hugs Mini Treat Boxes Add On For Paper Pumpkin Subscribers
Available January 25, 2022
Item number: 160147 | $10.00 USD
- Contains 20 mini treat boxes and 20 heart tags
- Gold cord: 10-1/2″ yards (9.6 m)
- Finished size: 1-3/4″ x 1-3/4″ x 1-3/4″
- Printed with gold foil
Upcoming
December 20, 2021: New Card Sampler Will Be Released (it’s being delayed due to the holidays)
January 3, 2022: Last Day to Order Last Chance Products
January 4, 2022: January – June 2022 Mini Catalog Debuts
January 4, 2022: Sale-a-Bration Begins
January 10, 2022: Last Day to Order Hugs & Kisses Paper Pumpkin
Enjoy your day!
by Tracy | Oct 11, 2021 | Designer Series Paper, Die-Cutting, Embossing Folders, Punches, Rectangle Stitched Dies
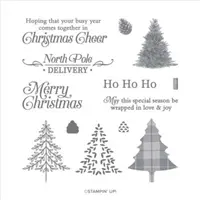
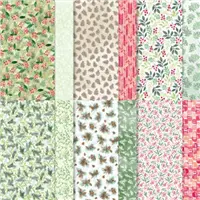
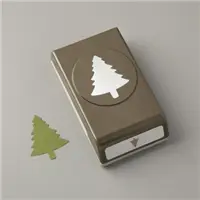
Today’s card features the stamp set Perfectly Plaid, the Pine Tree Punch, the Wintry 3D Embossing Folders and Painted Christmas Designer Series Paper.

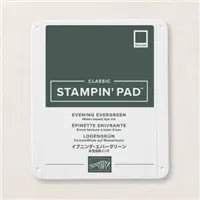
I began with a base of Early Espresso cardstock (all the measurements I used can be found below the Supply List) and then added a layer of Evening Evergreen cardstock. Then I added two squares of Painted Christmas Designer Series Paper.


I embossed a piece of Basic White cardstock using one of the Wintry 3D Embossing Folders and then layered it onto a piece of Early Espresso cardstock. I added Stampin’ Dimensionals to the back and adhered it to the front of the card.

I used the Perfectly Plaid stamp set to stamp two trees in Evening Evergreen ink. The tree in the forefront was stamped onto a piece of scrap paper and then stamped onto my Basic White cardstock. The darker tree was adhered using Multipurpse Liquid Glue and the other tree has a Stampin’ Dimensionals on the back. The sentiment was stamped in Early Espresso ink and cut out using the Stitched Rectangles Dies. I added Stampin’ Dimensionals to the back and adhered it below the trees.


To complete my card, I added two Rhinestone Basic Jewels.

Supply List
Below you’ll find all the Stampin’ Up! supplies I used for today’s card. If you need any stamping supplies, I’d love to be your demonstrator! You can place an order by clicking any of the images below to go to my Stampin’ Up! online store.
The Specialty Plate is used with 3D Embossing Folders.
Measurements
- Early Espresso cardstock: 11″ x 4-1/4″ score at 5-1/2″
- Early Espresso cardstock: 4″ x 2-1/2″
- Evening Evergreen cardstock: 5-1/4″ x 4″
- Painted Christmas Designer Series Paper: (2) 2-1/2″ x 2-1/2″
- Basic White cardstock: 5-1/4″ x 4 (inside card)
- Basic White cardstock: 3-3/4″ x 2-1/4″ (embossed piece)
- Basic White cardstock: scraps for trees
- Basic White cardstock: approx. 3″ x 1″
Encircled in Warmth Card Sampler


Tomorrow is the last day my Encircled in Warmth Card Sampler will be available. For all the details, please click here.
Enjoy your day!
by Tracy | Jun 17, 2021 | Birthday Card, Designer Series Paper, Embossing Folders, Punches
Today’s card features the Sweet Ice Cream Bundle which includes the Sweet Ice Cream stamp set and the Ice Cream Cone Builder Punch. These two products are in the new Annual Catalog but the bundle will only be available until June 30th (bundles always save you 10%).


The inspiration for my card came right from the Annual Catalog on page 33. I made a few changes but if you’re ever stuck for an idea, browse through the catalog! It’s a great resource!
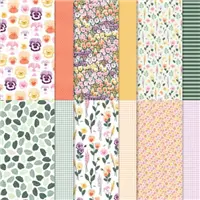
I started with a base of Thick Basic White cardstock and then added a layer of Pansy Petals Designer Series Paper (you can find the measurements I used below the Supply List). Next, I added a piece of Basic White cardstock that I partially embossed using one of the Checks & Dots Embossing Folders. In the Supply List, I listed the big Stampin’ Cut & Emboss Machine but these smaller embossing folders WILL fit in the Mini Stampin’ Cut & Emboss Machine.


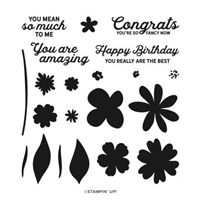
After embossing, I stamped the sentiment in Polished Pink ink using the stamp set, In Bloom and then adhered this piece to the Designer Series Paper. On Basic White cardstock, I stamped the cones in Crumb Cake and Early Espresso ink. The scoops were stamped in Pale Papaya and Polished Pink ink. Both the cones and scoops were cut out using the Ice Cream Cone Builder Punch. I glued the cones down onto the embossing paper but added Stampin’ Dimensionals to each scoop of ice cream.

To complete the card, I added five Artistry Blooms Adhesive-Backed Sequins.
Supply List
If you need any stamping supplies, I’d love to be your demonstrator! You can place an order by clicking any of the images below to go to my Stampin’ Up! online store.
Measurements
- Thick Basic White cardstock:11″ x 4-1/4″
- Pansy Petals Designer Series Paper: 5-1/4″ x 4′
- Basic White cardstock: 4-3/4″ x 3-1/4″
- Basic White cardstock: scraps for cones and scoops


Last Chance Products
The January-June Mini Catalog is retiring in less than two weeks so be sure to get your favorites before they’re gone! All retiring items are available while supplies last or June 30th and some items have already sold out. Click here to see what’s available.


July Paper Pumpkin

- Contains enough supplies to create twelve cards and coordinating envelopes.
- Card size: 4-1/4” x 5-1/2”
- Envelope size: 4-1/2” x 5-3/4”
- Comes with a Stampin’ Spot plus an exclusive Stamp Set.
- Includes inspirational sentiments and adventure-themed imagery featuring these nature-inspired coordinating colors: Basic Black, Basic White, Bermuda Bay, Crushed Curry, Early Espresso, Flirty Flamingo, Garden Green, Granny Apple Green, Mango Melody, Night of Navy.
Click here to subscribe to Paper Pumpkin today!
You can cancel at any time or even skip a month!
Thanks for stopping by today!
by Tracy | Jan 20, 2021 | Card Sampler, Designer Series Paper, Die-Cutting, Punches
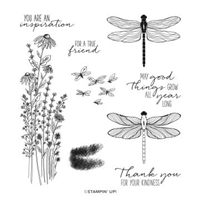
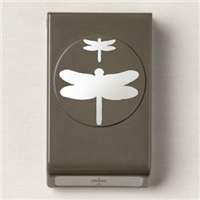
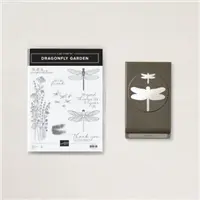
Today’s card features the Stampin’ Up! Dragonfly Garden Bundle which includes the Dragonfly Garden stamp set and the Dragonflies Punch. If you purchase the Dragonfly Bundle which includes the stamp set and punch, you’ll save 10%!

I started with a base of Thick Basic White cardstock and then added a layer of Misty Moonlight cardstock. The next layer is Basic White cardstock with another layer of Misty Moonlight cardstock and Dandy Garden 6″ x 6″ Designer Series Paper. The coordinating colors in this paper are: Basic Black, Blackberry Bliss, Bumblebee, Calypso Coral, Misty Moonlight, Mossy Meadow, and Basic White.

I stamped the dragonfly onto Basic White cardstock using Memento Ink, which works really well with our Stampin’ Blends. I colored the dragonfly using a Dark Balmy Blue Stampin’ Blend and a Light Misty Moonlight Stampin’ Blend. I cut the dragonfly out using the Dragonflies Punch.

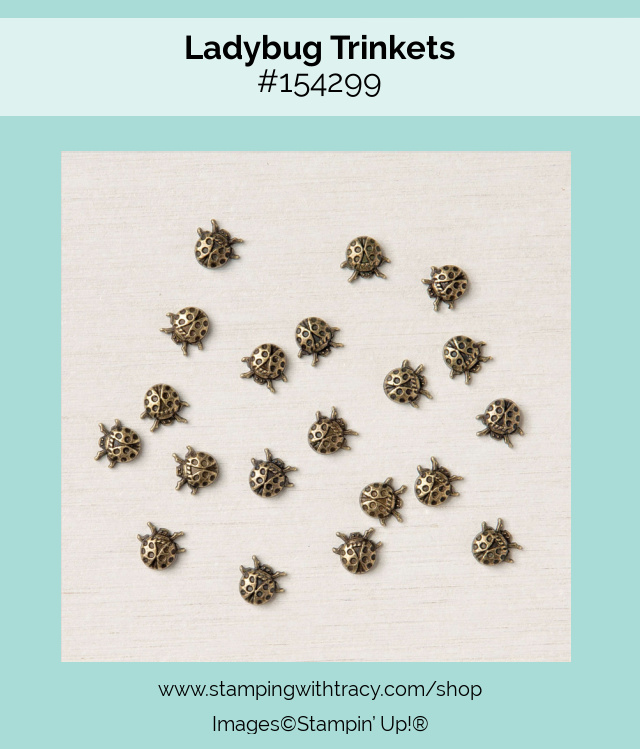
I cut a circle out of Basic White using the Layering Circles Dies. The sentiment was stamped using Misty Moonlight ink and the stamp set, Dragonfly Garden. I added Stampin’ Dimensionals to the back and attached the circle to the front of the card. I also put Stampin’ Dimensionals on the back of the dragonfly before adhering it to the circle. The final touch was to add a Mini Glue Dot to the back of the ladybug before placing it beside the dragonfly.

If you’d like to make today’s card, you can find all the measurements I used below the Supply List.
Supply List
If you need any stamping supplies, I’d love to be your demonstrator! You can place an order by clicking any of the images below to go to my Stampin’ Up! online store. If you have questions about products you’re considering purchasing or ones you’ve already purchased, I’m just an email away (click the Email Me button on the sidebar of my blog).
Measurements
- Thick Basic White cardstock: 11″ x 4-1/4″
- Basic White cardstock: 4-3/4″ x 3-1/2″
- Basic White cardstock: approx. 2-3/4″ x 2-3/4″
- Basic White cardstock: scrap for dragonfly
- Misty Moonlight cardstock: 5″ x 3-3/4″
- Misty Moonlight cardstock: 4-3/4″ x 1-3/4″
- Dandy Garden 6″ x 6″ Designer Series Paper: 3-3/4″ x 1-1/2″
Happy Thoughts Card Sampler
Place a minimum $50 order at my Stampin’ Up! online store using the host code PQBHQZVH and as a thank you, you’ll receive 6 card kits (2 each of three designs) with envelopes and a PDF Tutorial with instructions, pictures and a supply list. You’ll receive all the paper and embellishments needed to make the cards and all the paper will be cut, scored and die cut for you (you’ll need to supply your own adhesive, ink and stamp set). All the work is done for you! The last day this offer will be available is Saturday, January 23, 2021. For all the details, please click here.


Click here to place an order
Paper Pumpkin

Tracy’s Quick Links
Place an Order
Clearance Rack
$99 Starter Kit
Paper Pumpkin
Tracy’s Customer Rewards
Bradley Points


