by Tracy | Sep 21, 2021 | Designer Series Paper, Die-Cutting, Embossing Folders, Rectangle Stitched Dies, Stampin' Cut & Emboss Machine
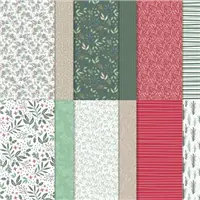
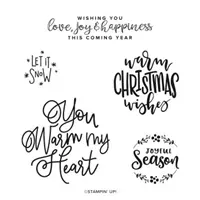
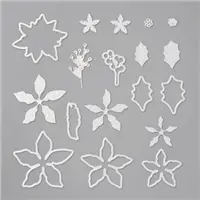
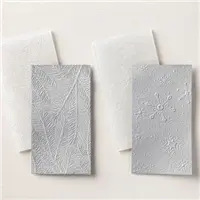
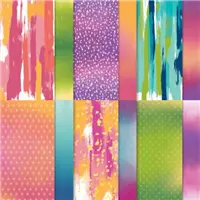
Today’s card features Stampin’ Up! Poinsettia Dies, Encircled in Warmth stamp set, Wintry 3D Embossing Folders and Tidings of Christmas 6″ x 6″ Designer Series Paper. If the Poinsettia Dies look familiar, it’s because they debuted in the 2020 Mini Catalog and can now be found in the Stampin’ Up! Annual Catalog. The beauty of many of the dies in this set is that they cut and emboss at the same time! To see what I mean, take a look at the embossing on the poinsettia!


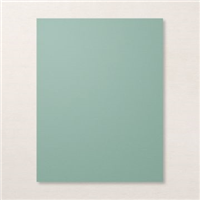
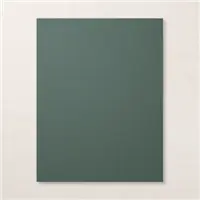
I started with a piece of Evening Evergreen cardstock and then added a layer of Tidings of Christmas Designer Series Paper. Next, I adhered a piece of Soft Succulent cardstock that I ran through one of the Wintry 3D Embossing Folders. These embossing folders are currently on backorder and as of today, they can still be added to your order and will ship when they are back in stock (estimated to be back in stock next week). The rest of your order will ship without the embossing folders.
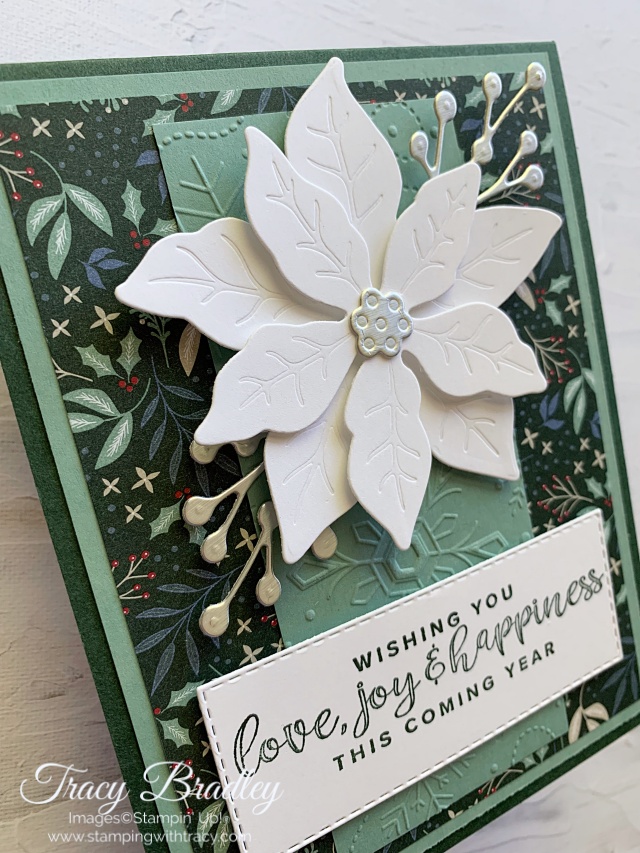
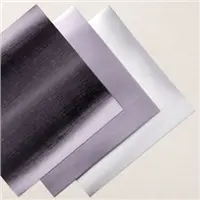
I used the Poinsettia Dies to cut two Silver Foil sprigs. Before running one of the sprigs though the Stampin’ Cut & Emboss machine, I added the little piece for the center of the flower onto the paper. I also cut two poinsettia flowers out of Basic White cardstock. I adhered a Mini Stampin’ Dimensional between the two flower pieces and then added a regular Stampin’ Dimensionals to the back of the larger flower. I used our Mini Glue Dots to adhere the foil sprigs to the back of the poinsettia and then adhered the flower to the front of the card.
When using the poinsettia and leaves dies, you’ll use two dies. One of the dies cuts the flower shape and the other embosses the paper. I used a Sharpie to mark the dies so I would know exactly how the inside piece fits (it’s a big time saver).

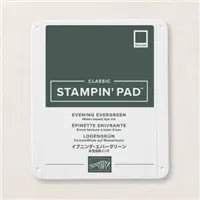
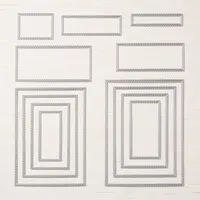
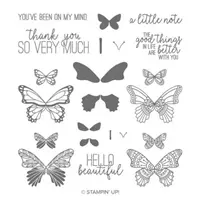
I used the Stitched Rectangles Dies to cut a rectangle out of Basic White cardstock and then stamped the sentiment in Evening Evergreen ink. I added Stampin’ Dimensionals to the back and adhered it to the front of the card. To complete the card, I adhered a piece of Basic White cardstock to the inside.


Supply List
Below you’ll find all the Stampin’ Up! supplies I used for today’s card. If you need any stamping supplies, I’d love to be your demonstrator! You can place an order by clicking any of the images below to go to my Stampin’ Up! online store.
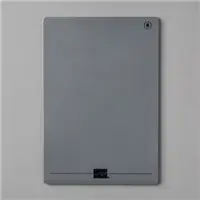
The Specialty Plate is used with 3D Embossing Folders.
Measurements
- Evening Evergreen cardstock: 11″ x 4-1/4″ score at 5-1/2″ or 8-1/2″ x 5-1/2″ score at 4-1/4″ (the only difference is how the card opens)
- Soft Succulent cardstock: 5-1/4″ x 4″
- Soft Succulent cardstock (embossed piece): 4-3/4″ x 2″
- Tidings of Christmas Designer Series Paper: 5″ x 3-3/4″
- Basic White cardstock (smaller poinsettia piece): approx. 3″ x 3″
- Basic White cardstock (larger poinsettia piece): approx. 3-1/2″ x 3-1/2″
- Basic White cardstock (sentiment): approx. 3-3/4″ x 1-3/4″
- Basic White cardstock (inside card): 5-1/4″ x 4″
- Silver Foil: (2) approx. 2-3/4″ x 1-1/2″
- Silver Foil: scrap for center of poinsettia


Thanks for stopping by! Enjoy your day!
by Tracy | Sep 15, 2021 | Card Sampler, Designer Series Paper, Die-Cutting, Embossing Folders, Stampin' Cut & Emboss Machine
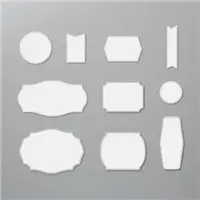
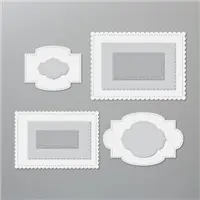
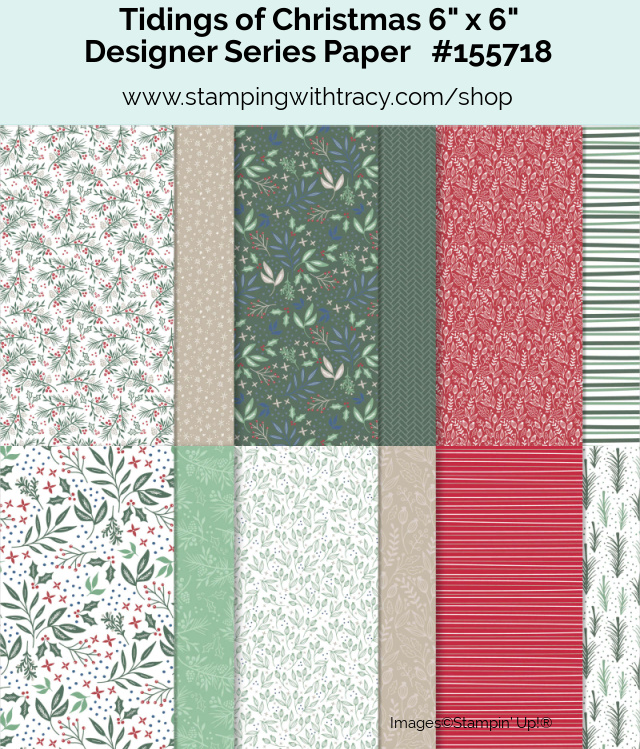
My card today is a quick and easy one to make using the Picture This Dies. There are two dies included in this set, one that cuts out stitched circles and the other one cuts out stitched rectangles (see the image of the dies below my card). Today’s card was made using the die that cuts out rectangular stitched shapes. You can see previous cards I’ve made using the other die here and here. I also used Tidings of Christmas 6″ x 6″ Designer Series Paper and the Tasteful Textile 3D Embossing Folder.


I started with a piece of Soft Succulent cardstock and then added a layer of Basic White cardstock that I embossed using the Tasteful Textile 3D Embossing Folder. I reach for this embossing folder over and over again because it has such a nice subtle effect.

There are two different ways to cut out the shapes using the dies. You can cut them out using a piece of paper that measures approximately 4-3/4″ x 3-3/4″. This will give you three pieces and you can save some of the extras for another project. I decided not to do that and for the sentiment, I placed a small piece of Basic White cardstock in the center of the die and then did that same thing with the Tidings of Christmas Designer Series Paper.

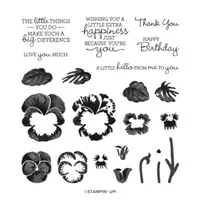
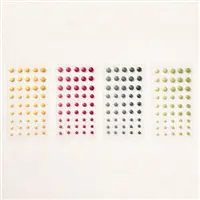
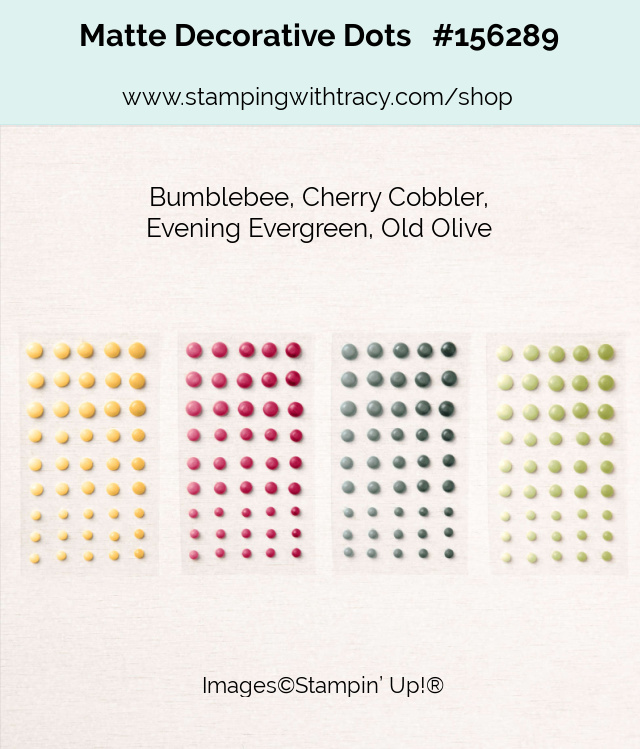
I stamped the sentiment using Evening Evergreen ink and the stamp set, Pansy Patch onto the Basic White rectangle. Then, I added Stampin’ Dimensionals to the back of each rectangle and placed them on the front of the card. If you’ve never used Stampin’ Dimensionals, they make a huge difference. Just that little bit of dimension takes your card to a whole new level! To complete my card, I added three Matte Decorative Dots below the sentiment and added a layer of Basic White to the inside. Imagine all the possibilities with this design!
Supply List
Below you’ll find all the Stampin’ Up! supplies I used for today’s card. If you need any stamping supplies, I’d love to be your demonstrator! You can place an order by clicking any of the images below to go to my Stampin’ Up! online store.
The Specialty Plate is used with 3D Embossing Folders.
Measurements
- Soft Succulent cardstock: 11” x 4-1/4” score at 5-1/2” OR 8-1/2” x 5-1/2” score at 4-1/4” (the only difference is how your card opens)
- Basic White cardstock: 5″ x 3-3/4″
- Basic White cardstock: 5-1/4″ x 4″ (inside the card)
- Basic White cardstock: scrap for sentiment
- Tidings of Christmas 6″ x 6″ Designer Series Paper: (2) approx. 2-3/4″ x 1-1/2″
Love of Leaves Card Sampler
For all the details on how you can earn my FREE Card Sampler, please click here.


Click here to place an order!
Just a Few More Weeks Left of Sale-a-Bration!

Sale-a-Bration Starter Kit Promotion

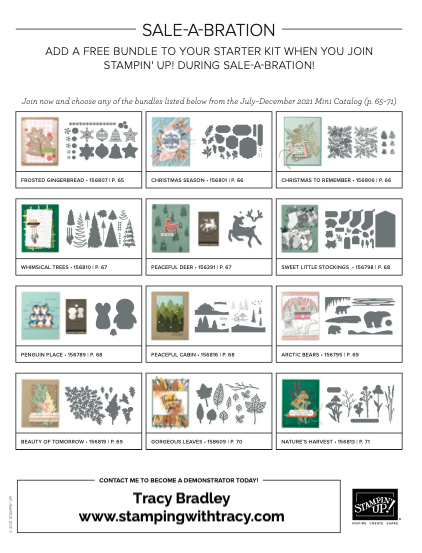
If you’re planning to make a $99 Stampin’ Up! purchase, you may want to consider the Starter Kit. When you purchase the $99 Starter Kit you can then choose $125 worth of Stampin’ Up! product from any current catalog PLUS, during Sale-a-Bration you can choose a FREE bundle from those listed above. The Starter Kit always ships FREE and once you purchase it, you will start receiving a 20% discount on your future purchases. You can purchase just for yourself or start your own business, it’s totally up to you. Purchasing the Starter Kit is absolutely risk free! If you’d like more information, please click here. If you’re ready right now to purchase the Starter Kit, click here! As always, if you have questions, don’t hesitate to contact me! Click the image below for the flyer of all the bundle choices.
Have a wonderful day!
by Tracy | Sep 7, 2021 | Designer Series Paper, Die-Cutting, Embossing Folders, Stampin' Cut & Emboss Machine
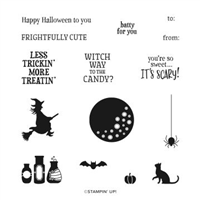
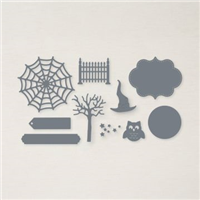
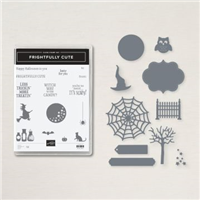
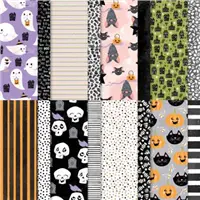
Today’s card features Stampin’ Up! Cute Halloween 6″ x 6″ Designer Series Paper and this paper is just as the name implies, CUTE! I also used the Frightfully Cute Bundle which includes the Frightfully Cute Stamp Set and the Frightful Tags Dies.


I started with a base of Basic Black cardstock and then added a layer of Basic White cardstock that I ran through the Tasteful Textile 3D Embossing Folder (you can find all the measurements I used below the Supply List). Next I made a banner using the Cute Halloween Designer Series Paper and adhered it to the card front (to make a banner, at the bottom of your paper, in the middle, make a small cut up the center; then cut from each corner to the middle).

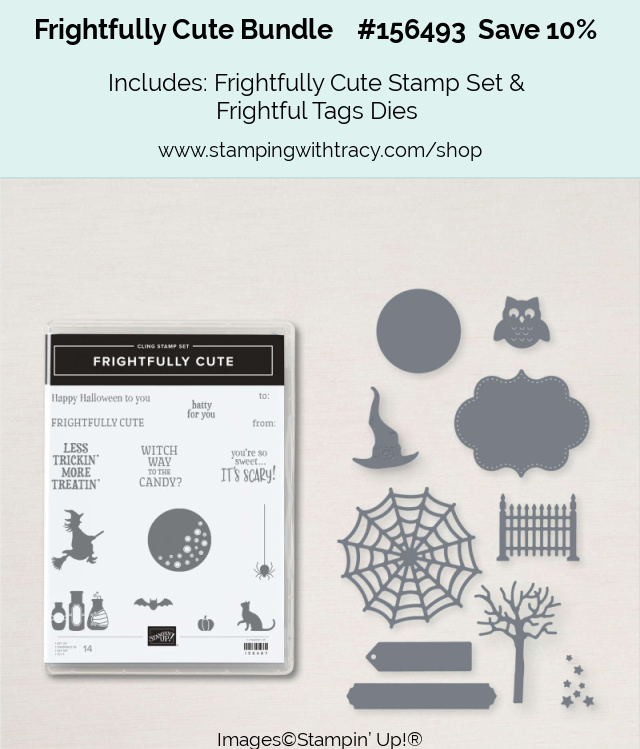
Then I layered a piece of the Cute Halloween Designer Series Paper onto a piece of Basic Black cardstock. I added Stampin’ Dimensionals to the back before adhering it to the front of the card. The sentiment was stamped in Memento ink using the stamp set, Frightfully Cute onto a piece of Basic White cardstock that was cut out using the Frightful Tags Dies. I added Stampin’ Dimensionals to the upper half of the sentiment. I had planned to place the sentiment a bit higher on the Designer Series Paper but I didn’t want to cover up any of the cute bats so I placed it where you could still see the upside down bat.
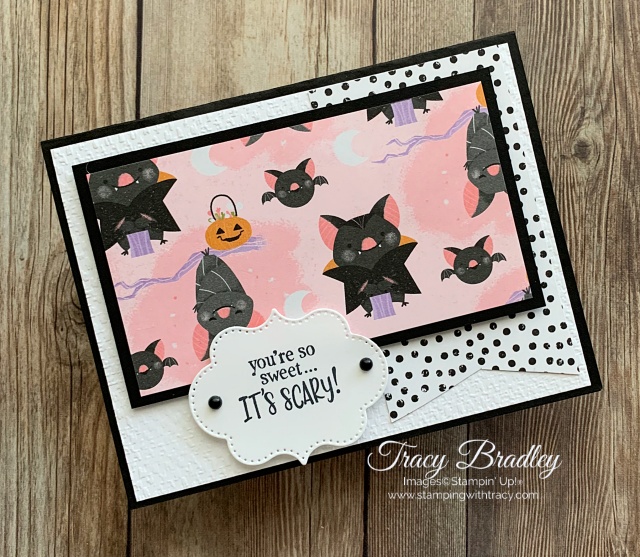
To complete the card, I added two Matte Black Dots on either side of the sentiment.
Supply List
Below you’ll find all the Stampin’ Up! supplies I used for today’s card. If you need any stamping supplies, I’d love to be your demonstrator! You can place an order by clicking any of the images below to go to my Stampin’ Up! online store.
The Specialty Plate is used with 3D Embossing Folders.
Measurements
- Basic Black cardstock: 8-1/2″ x 5-1/2″
- Basic Black cardstock: 4-3/4″ x 2-3/4″
- Cute Halloween 6″ x 6″ Designer Series Paper (bats): 4-1/2″ x 2-1/2″
- Cute Halloween 6″ x 6″ Designer Series Paper (dots): 3-7/8″ x 2-1/4″
- Basic White cardstock: (2) 5-1/4″ x 4″ (one is for the inside of the card)
- Basic White cardstock: scrap for sentiment


Enjoy your day!
by Tracy | Jan 14, 2021 | Die-Cutting, Embossing Folders, Stampin' Cut & Emboss Machine
Valentine’s Day will be here before you know it but really, today’s card could be given to anyone at any time of the year.

I started with a base of Petal Pink cardstock and added a layer of Basic White that I first embossed with the Tasteful Textile 3D Embossing Folder.
Using the Wreath Builder Dies, I cut a wreath out of Petal Pink cardstock and another one using Garden Green cardstock. I cut Mini Stampin’ Dimensional in half and placed them on the back of the green wreath before placing it on the card front. I rolled glue dots between my fingers (high tech here) and placed them in strategic spots on the Petal Pink wreath before adhering it to the other wreath. Another alternative is to add dots of Multipurpose Glue to the wreath instead of glue dots.
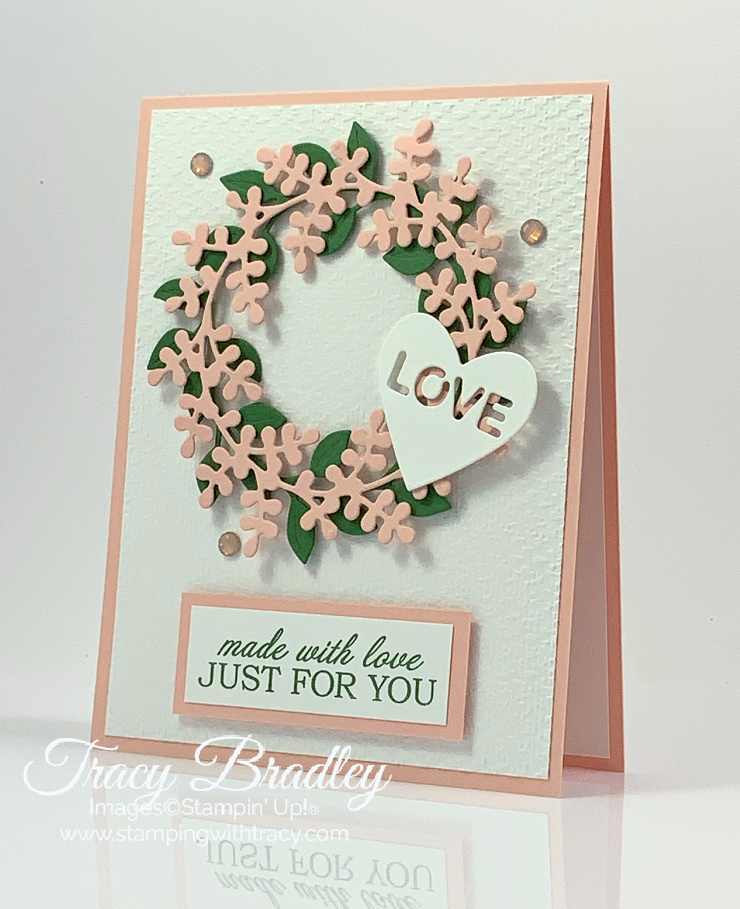
I also used the Wreath Builder Dies to cut out the Basic White heart and used more glue dots to adhere it to the wreath.
The sentiment was stamped in Garden Green ink onto Basic White cardstock using the Quite Curvy stamp set and layered onto a piece of Petal Pink cardstock. I added Stampin’ Dimensionals to the back before adhering it to the card front. To complete the card, I added three Elegant Faceted Gems to the front. If you’d like to make today’s card, you can find all the measurements I used below the Supply List.
Please note: My card today was created using Whisper White cardstock but the mill that made it for Stampin’ Up! had to close down and Whisper White is no longer available. Basic White is its replacement and is now available. To add less confusion, I’ve referred to Basic White throughout my post.
Supply List
If you need any stamping supplies, I’d love to be your demonstrator! You can place an order by clicking any of the images below to go to my Stampin’ Up! online store. If you have questions about products you’re considering purchasing or ones you’ve already purchased, I’m just an email away (click the Email Me button on the sidebar of my blog).
Measurements
- Petal Pink cardstock: 11″ x 4-1/4″ score at 5-1/2″
- Petal Pink cardstock: approx. 4″ x 4″ for wreath
- Petal Pink cardstock: 2-5/8″ x 1″
- Basic White cardstock: (2) 5-1/4″ x 4″
- Basic White cardstock: 3/4″ x 2-3/8″
- Basic White cardstock: scrap for heart
- Garden Green cardstock: approx. 4″ x 4″ for wreath


Use my current host when placing your order and I’ll send you an extra card kit. Please do NOT use the host code when your order is $150 or more, because at $150 you start earning Stampin’ Rewards directly from Stampin’ Up! (if you use my host code, you will not be able to use the rewards). If your order is over $150, I’ll automatically send you an extra card kit. Click here to place an order.
Tracy’s Quick Links
Place an Order
Clearance Rack
$99 Starter Kit
Paper Pumpkin
Tracy’s Customer Rewards
Bradley Points
by Tracy | Oct 15, 2020 | Bundle, Designer Series Paper, Die-Cutting, Embossing Folders, Stampin' Cut & Emboss Machine
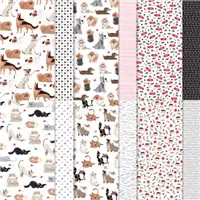
Today’s card features Playful Pets Designer Series Paper (it’s on sale!) and the Pampered Pets Bundle. I initially passed on this paper but when it went on sale, I grabbed several packages. It’s so cute! I don’t know why I waited so long to get it!

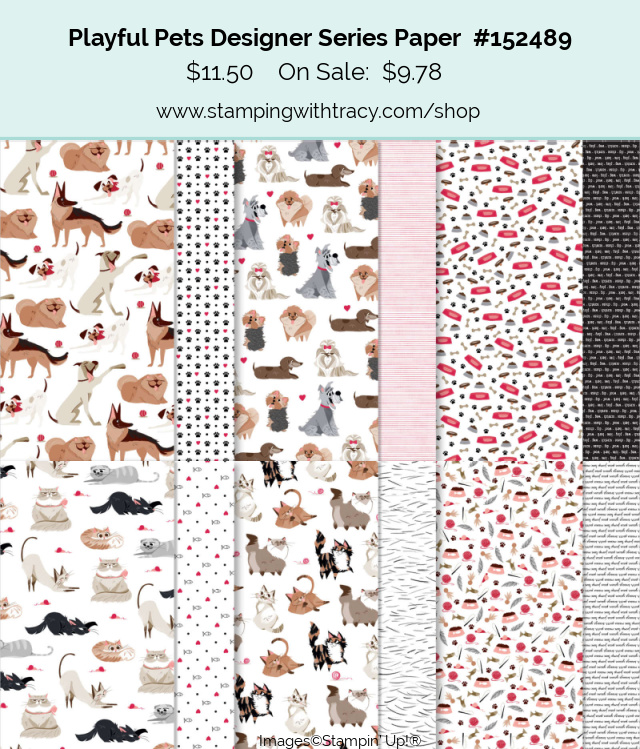
I started with a base of Real Red cardstock and then added a layer of Playful Pets Designer Series Paper (you can find all the measurements I used below the Supply List). Whisper White cardstock (it was cut out using the Stitched Rectangle Dies) was embossed with the Tasteful Textile 3D Embossing Folder using the Stampin’ Cut & Emboss Machine and then layered onto a piece of Basic Black cardstock. This layer is popped up with Stampin’ Dimensionals.

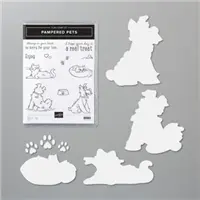
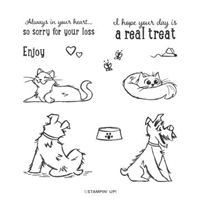
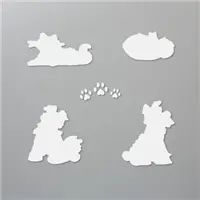
The cute dog was cut out of the Designer Series Paper using the Pets Dies. The sentiment was stamped in Memento Ink onto Whisper White cardstock using the stamp set Pampered Pets. The Pampered Pets Bundle includes both the Pampered Pets stamp set and the Pets Dies and will save you 10% rather than buying each individually.
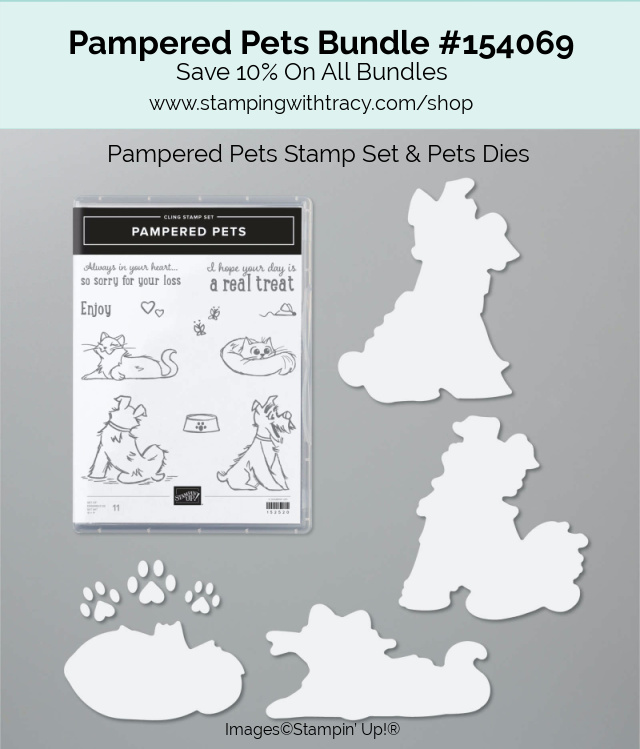
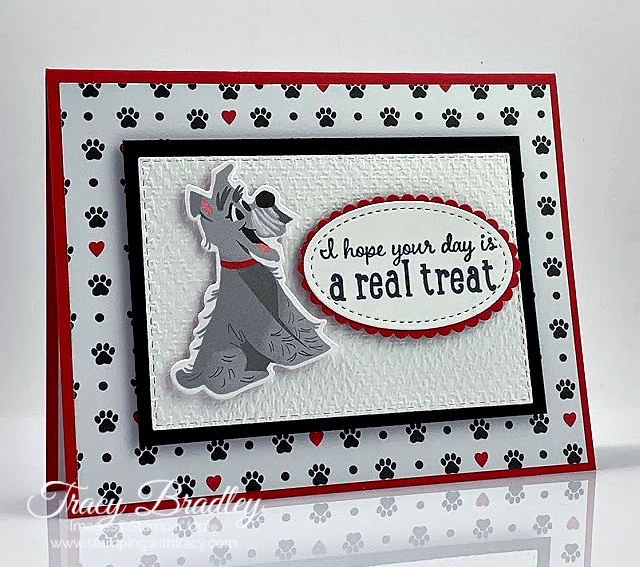
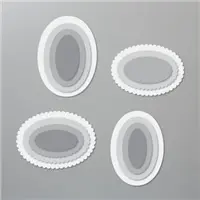
The sentiment was cut out using the Stitched Shapes Dies and is layered onto a piece of Real Red cardstock that was cut out with the Layering Ovals Dies. Both the dog and the sentiment were adhered to the card with Stampin’ Dimensionals.
Supply List
If you need any stamping supplies, I’d love to be your demonstrator! You can place an order by clicking any of the images below to go to my Stampin’ Up! online store. If you have questions about products you’re considering purchasing or ones you’ve already purchased, I’m just an email away (click the Email Me button on the sidebar of my blog).
Sale: $9.78
Price: $11.50
Measurements
- Real Red cardstock; 11″ x 4-1/4″
- Real Red cardstock: scrap for scalloped oval
- Whisper White cardstock: approx 4-1/8″ x 3″
- Whisper White cardstock: scrap for sentiment
- Whisper White cardstock: 5-1/4″ x 4″ (inside card)
- Basic Black cardstock: 4-1/4″ x 2-7/8″
- Playful Pets Designer Series Paper: 5-1/4″ x 4″


Tracy’s Quick Links
Place an Order
Clearance Rack
$99 Starter Kit
Paper Pumpkin
Tracy’s Customer Rewards
Bradley Points
by Tracy | Oct 6, 2020 | Designer Series Paper, Die-Cutting, Embossing Folders, Free Tutorial, Stampin' Cut & Emboss Machine
Today I have my FREE Tuesday Tutorial for you but first I’d like to thank everyone who left a comment about their favorite crafting tool. I loved reading all of your comments!
I used a random generator to choose the winner of the (retired) Country Floral Embossing Folder and it’s “L”. Congratulations!!! Please contact me within 24 hours with your name and mailing address!

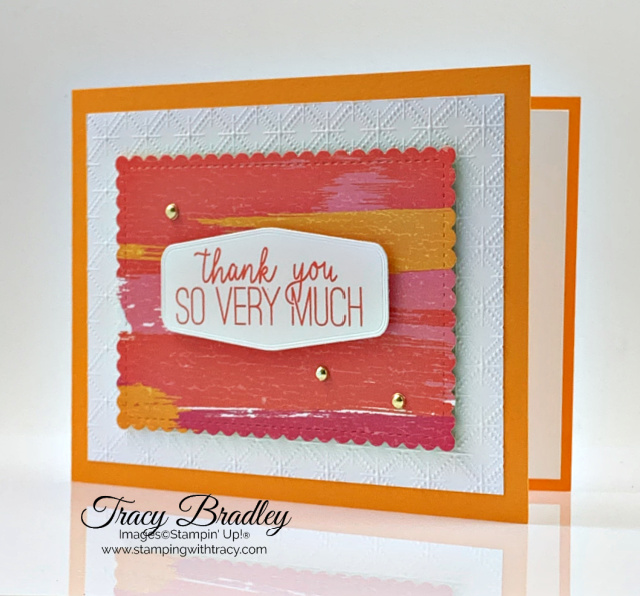
Today’s tutorial is for the card I shared yesterday and you can see that post here. Today I have several more variations of the same card using different designs of our Artistry Blooms Designer Series Paper (this paper, along with 14 others, is on sale all this month)! You can access your free tutorial below the Supply List.
All of the cards below use the same supplies as the one featured in the tutorial (the first card is the one I shared yesterday) except for the cardstock and ink.

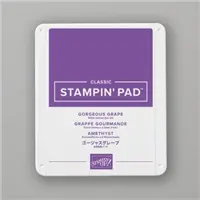
Gorgeous Grape cardstock and Gorgeous Grape ink

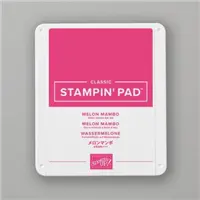
Whisper White Thick & Whisper White cardstock and Melon Mambo Ink
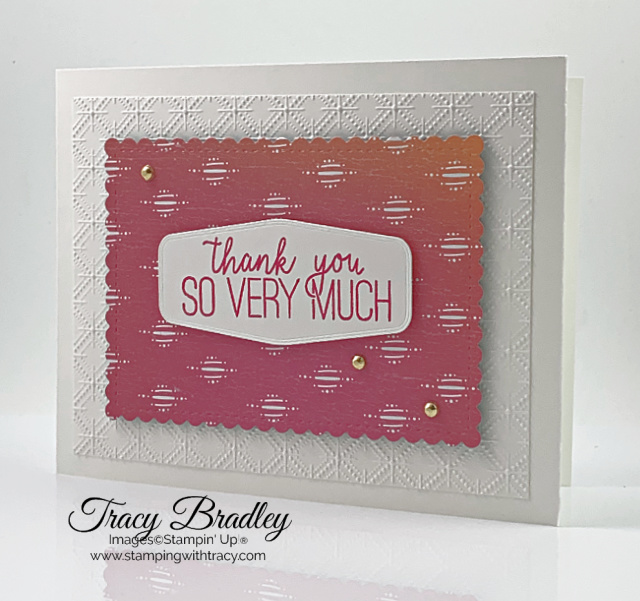
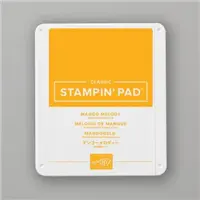
Mango Melody cardstock and Mango Melody ink
Night of Navy cardstock and Night of Navy ink

Supply List
If you need any stamping supplies, I’d love to be your demonstrator! You can place an order by clicking any of the images below to go to my Stampin’ Up! online store. If you have questions about products you’re considering purchasing or ones you’ve already purchased, I’m just an email away (click the Email Me button on the sidebar of my blog).
Sale: $9.78
Price: $11.50



Tracy’s Quick Links
Place an Order
Clearance Rack
$99 Starter Kit
Paper Pumpkin
Tracy’s Customer Rewards
Bradley Points


