Stampin’ Up! Abstract Impressions

Yesterday was the Glitter Queens Blog Hop where our theme was red, white and blue. I thought I’d continue using these beautiful colors one more day! If you missed the hop yesterday, you can start here! (more…)


Yesterday was the Glitter Queens Blog Hop where our theme was red, white and blue. I thought I’d continue using these beautiful colors one more day! If you missed the hop yesterday, you can start here! (more…)

It’s time for the Glitter Queens Blog Hop! In honor of the 4th of July, our projects are all about Red, White and Blue! I hope you’ll visit all the Glitter Queens in the hop today!
At first I wasn’t sure what to create for this month’s theme but then inspiration hit and I created two cards! This first one uses the stamp set Ride with Me. I don’t think I’ve ever purchased a truck stamp before but when I saw this stamp set, I just had to have it. So cute and so versatile!
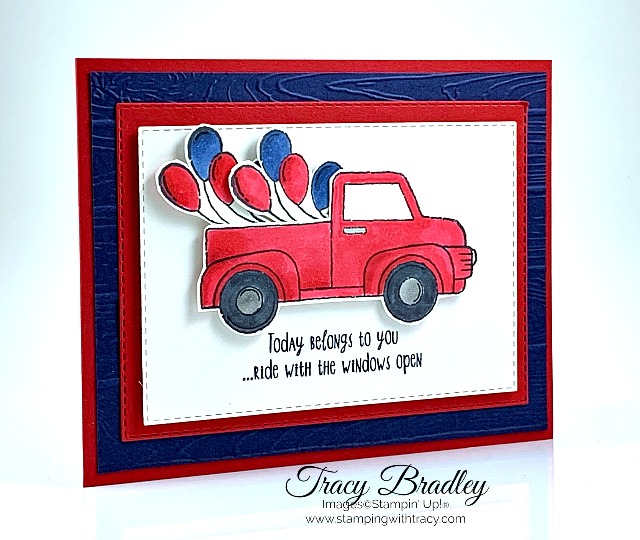
I actually did two versions of the card. Which one do you prefer? The one with the red mat or no mat? (more…)
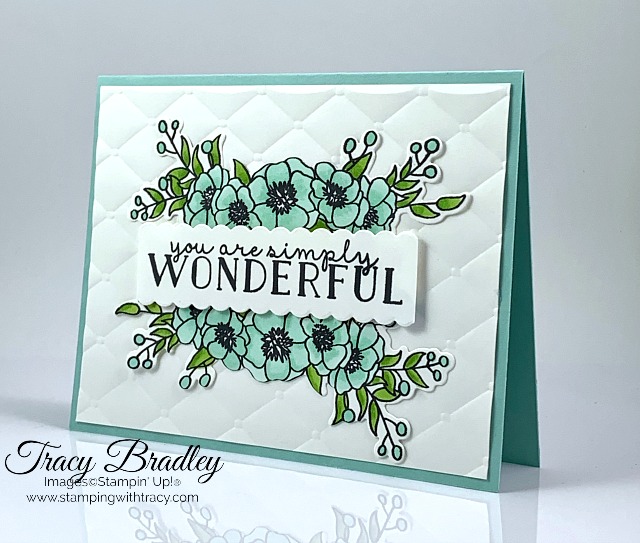
Stampin’ Up! catalogs are filled with cardmaking ideas! The inspiration for today’s card came right from the catalog on page 131.
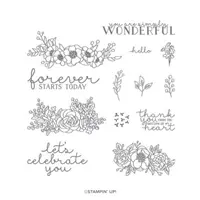
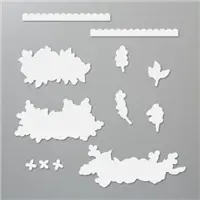
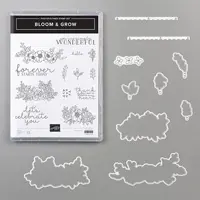
I used the Bloom & Grow Bundle which includes the Bloom & Grow stamp set and the Budding Blooms dies. Did you happen to notice the scalloped edge above & below the sentiment? That was done using the two top dies in the picture below. I love that I can do both edges at the same time!


Directions for Today’s Card
All the products I used are in the Supply List below. Simply click any of the images and you’ll be directed to my Stampin’ Up! online store.


Supply List
If you need any stamping supplies, I’d love to be your demonstrator! You can place an order by clicking any of the images below to go to the homepage of my Stampin’ Up! online store. If you have questions about products you’re considering purchasing or ones you’ve already purchased, I’m just an email away (click the Email Me button on the sidebar of my blog).
Thanks for stopping by! If you have any questions, please let me know!
Click here to place an order!


It’s Tuesday which means I have another free tutorial for you using Stampin’ Up! products. Today’s tutorial is for the card pictured above. To see the original post which includes more pictures and information, click here.

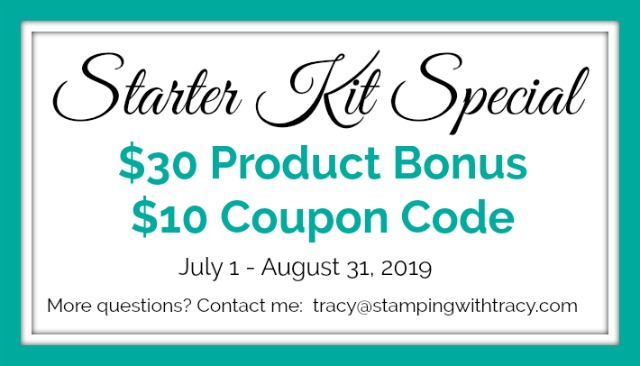
If you’ve ever thought about purchasing the Starter Kit, a great special started on July 1st! Here’s all the details:
The question I always get is, when I purchase the Starter Kit, do I have to start selling Stampin’ Up! products and have parties? No, you don’t. That’s the beauty of the Starter Kit. You can order just for yourself which is how I started my Stampin’ Up! journey. I purchased all the products I loved and was REALLY excited to get a 20% discount on it all. Then I started sharing what I made with my friends and they all wanted catalogs so they could recreate what I was sharing with them. You have nothing to lose when you purchase the Starter Kit! Honest!
If you have more questions, you can visit this page here or you can contact me directly: tracy@stampingwithtracy.com

Receive a $5.00 coupon for every $50 purchase (before shipping/tax) you make in the month of July! You’ll be able to redeem your coupon(s) in August!
Click here to place an order!

Happy July! Bonus Days are here which means you can start earning $5.00 coupons for every $50 (before shipping/tax) in Stampin’ Up! product you purchase in July and there’s no limit to how many coupons you can earn! Be sure to read all the details about Bonus Days farther down in the post!
Online Card Class (previously known as Card Kit Extravaganza)
Do you love creating cards but struggle with ideas? Does being able to sit down and create when it fits into your busy schedule sound appealing? Then my monthly online card class is for you! This month I designed three cards using See a Silhouette Designer Series Paper and the Daisy Lane stamp set. When you place an order at my Stampin’ Up! online store AND use my special host code (XAZ4CZ3M), you’ll receive all the paper and embellishments needed to create six cards, two of each design. My July Online Card Class is only available for a limited time!
Here’s how you can earn my FREE July Online Card Class:

Here’s What You’ll Receive:
All the Other Important Stuff
The special July Online Card Class HOST CODE will close on July 10th and after that date, the class will no longer be available!
Expected ship date of the kits is July 19, 2019.
After the deadline of July 10th, I will order all of the product I need to make the kits. It will take me about one week to order, cut, assemble and ship the kits.
If you aren’t sure how to use a host code, click here! Place your order here!
Supplies You’ll Need
Listed below are the supplies, not included in your kit, that you’ll need to complete the cards (or you can substitute any of these products with what you already own). Click any of the products below and you’ll be taken to my online store. When placing your order, don’t forget to use the special July Online Card Class Host Code to receive your free card kit, PDF tutorial, and video link.
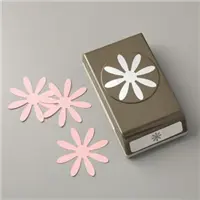
Please note: ** Two of the cards this month require the Medium Daisy Punch and the Daisy Punch. For one of the cards, I will punch the daisies out of Designer Series Paper & Vellum for you. The daisy on the other card needs to be stamped using the Daisy Lane stamp set. It is much easier to stamp first and then punch but I’m unable to send stamped images to you per Stampin’ Up! guidelines. Therefore, I will punch the daisies out of Whisper White cardstock and include them in your kits so you can complete the cards. I will also supply a piece of Whisper White paper so you can stamp the daisies first and then punch them out yourself in case you already have these punches and stamp set or purchase them as part of your order.
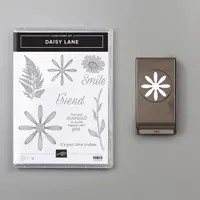
Bundle Alert: You can purchase the Daisy Lane stamp set and the Medium Daisy punch separately but when you purchase the Daisy Lane Bundle which includes both of these products, you’ll save 10%! I’ve included the Bundle in the Supply List below.
Bonus Days are here for the month of July!! For every $50 purchase (before tax/shipping) you make at my Stampin’ Up! online store, you’ll receive a Bonus Days Coupon. Right after you place your order, Stampin’ Up! will send you, via email, a special code to redeem your coupon(s) in August. You will receive a separate coupon code for each $50 in product. For instance, if you place a $101.50 order, Stampin’ Up! will send you ONE email with two coupon codes. If your order is $167.00, you’ll receive one email with three coupon codes. Keep your codes in a special place so you can redeem them in August! There’s no limit to the number of coupon codes you can earn! Click here to start shopping!
Hello there!
Today’s card is all about the new 2019-2021 In Color, Seaside Spray. When you purchase a package of the 2019-2021 In Color 6″ x 6″ Designer Series Paper, you’ll receive all five colors (Seaside Spray, Rococo Rose, Pretty Peacock, Purple Posy and Terracotta Tile) in four different designs.
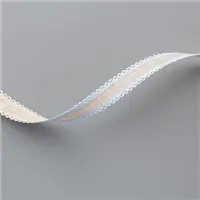
All of the new In Colors have a coordinating ribbon and I used the Seaside Spray Scalloped Linen Ribbon. It’s so pretty in person! Another new product I used is the stamp set, I Say Hello.

After I made the card I wondered what it might look like if I had incorporated Crumb Cake into the card (taking the cue from the ribbon) and used it as the base instead of Whisper White. That’s another variation to try!


Directions to Make Today’s Card
All the products I used are in the Supply List below. Simply click any of the images and you’ll be directed to my online store.

Supply List
If you need any stamping supplies, I’d love to be your demonstrator! You can place an order by clicking any of the images below to go to the homepage of my Stampin’ Up! online store. If you have questions about products you’re considering purchasing or ones you’ve already purchased, I’m just an email away (click the Email Me button on the sidebar of my blog).
Thanks for stopping by today! If you have any questions, don’t hesitate to contact me!

There are still many stamp sets on sale in the Clearance Rack. There are also many dies available. Click here to go right to the Clearance Rack.


Today’s card uses five new products (and one new bundle) from the Stampin’ Up! Annual Catalog:
First up is the stamp set, Bloom & Grow. If you love flowers, you’re going to love this set (plus it includes some great sentiments)! All of the images are perfect for coloring and then you can cut them out using the coordinating Budding Bloom Dies. These two products are also bundled together so if you want to purchase both, be sure to use the bundle item number so you’ll save 10%!
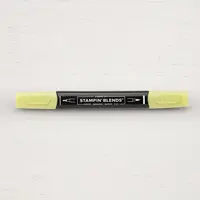
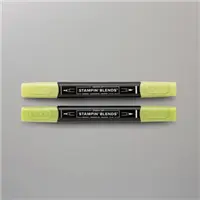
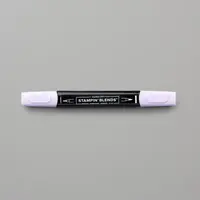
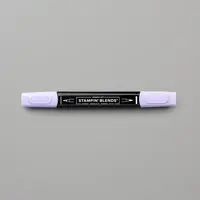
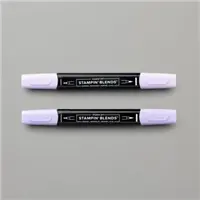
To color the flowers, I stamped the flower image onto Whisper White cardstock using Memento Ink. Then I used both the Light & Dark Purple Posy AND Light & Dark Granny Apple Green Stampin’ Blends to color the flowers and leaves. You always want to use Memento Ink when using our Stampin’ Blends or you’ll find the ink will bleed.
Once I cut the image out with the Budding Blooms Dies, I added Stampin’ Dimensionals to the back and attached it to the front of the card.

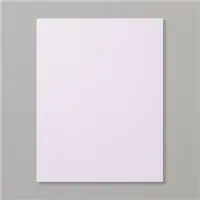
Each year Stampin’ Up! introduces five new colors that are available for two years. I used one of these new colors, Purple Posy on my card today! Sometimes when photographing my cards, some of the colors appear darker than they actually are. The color swatch below of Purple Posy is a better indication of the true color.
Directions for Today’s Card
Supply List
If you need any stamping supplies, I’d love to be your demonstrator! You can place an order by clicking any of the images below to go to the homepage of my Stampin’ Up! online store. If you have questions about products you’re considering purchasing or ones you’ve already purchased, I’m just an email away (click the Email Me button on the sidebar of my blog).
Click here to go to the Clearance Rack!

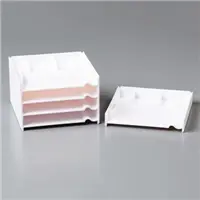
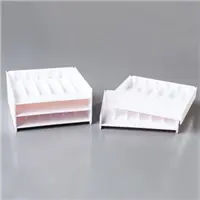
Click here to order Storage by Stampin’ Up!
Before I share my cards and video, I want to let you know that for the first time EVER, stamp sets are on the Clearance Rack and only available while supplies last! Click here to go to the Clearance Rack!
Also, tomorrow at 10:00 am (Mountain Time), Stampin’ Trimmer Blades will be available again but only while supplies last!
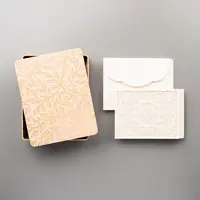
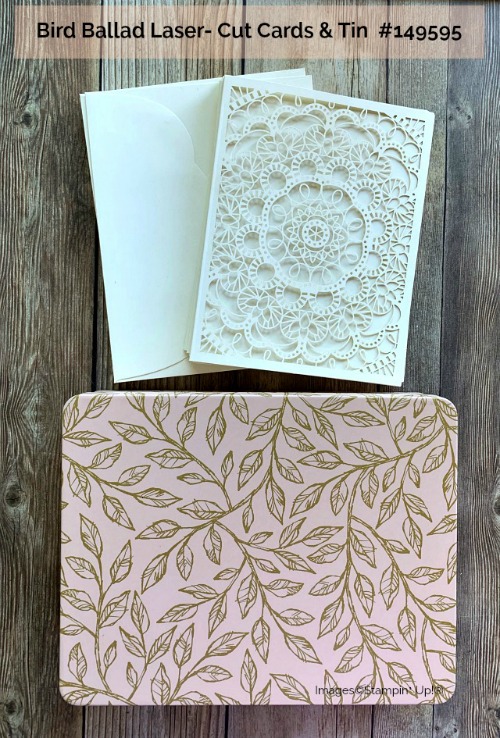
Today’s post is all about a brand new product in the Annual Catalog: Bird Ballad Laser-Cut Cards & Tin. Inside the beautiful tin are 12 Very Vanilla Laser-Cut cards and 12 envelopes. Be sure to check out the video below!

My cards today were made using the laser-cut cards and See a Silhouette Designer Series Paper. When the card is opened, the other side of the paper brightens up the inside of the card! You can dress up the front as I did in the card below or not! The laser-cut front is beautiful with the paper showing through!


Supply List
If you need any stamping supplies, I’d love to be your demonstrator! You can place an order by clicking any of the images below to go to the homepage of my Stampin’ Up! online store. If you have questions about products you’re considering purchasing or ones you’ve already purchased, I’m just an email away (click the Email Me button on the sidebar of my blog).
Storage by Stampin’ Up! is now back in stock! Click here to order!
It’s Tuesday so that means I have another FREE tutorial for you using Stampin’ Up! products! Today’s tutorial is for the fun fold card pictured below. If you missed the original post, you can see it here.

If you love purchasing Stampin’ Up! products and usually spend at least $99 in a single purchase, you might want to consider getting the Starter Kit. You’ll receive $125 in Stampin’ Up! products for $99 and you can choose exactly which products you’d like in your kit. After you purchase the Starter Kit, you’ll start getting a 20% discount on all your future purchases!

Click here to purchase the Starter Kit!
Commonly Asked Questions
If I purchase the Starter Kit, do I have to sell Stampin’ Up! products to my family and friends? No, you are under NO obligation to sell. You can be your only customer. Of course once your friends see the cute cards you’re making, they’ll want to buy their stamping supplies from you.
Will I receive a discount on any products I buy? Yes!! This is the best part! You’ll receive at least a 20% discount on all your purchases.
Do I have to buy/sell a certain amount of product? The quarterly minimum is $300 in product (which is only $240 after your discount!) that can be from your own orders, online orders or ones from family and friends. The quarters are January – March, April – June, July – September, October – December. Once you join, your quarterly minimum begins during your first FULL quarter so if you were to join today (end of June), you’d have until the end of September before your quarterly minimum is due.
What if I can’t make the quarterly minimum? You’ll simply be dropped. No one will hassle you. No one will bother you. It truly is risk free to purchase the Starter Kit!
Are there other perks to purchasing the Starter Kit? Yes! Here are just a few:
If you have more questions, please reach out to me. Simply click the EMAIL button on my sidebar. I’m happy to answer any questions you may have and I’d love for you to join my team! If you’re ready to purchase the Starter Kit now, click here!
Happy Monday!
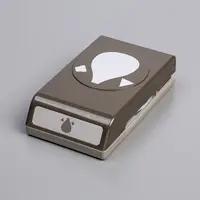
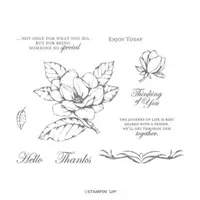
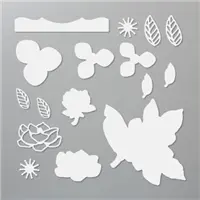
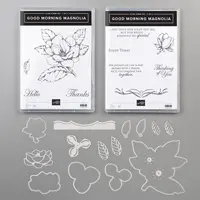
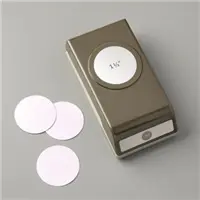
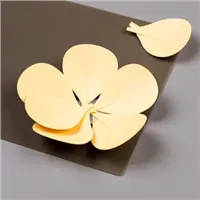
Today I want to share a video from Stampin’ Up! showing how to make beautiful paper flowers using the brand new Hot Air Balloon Punch and the Good Morning Magnolia Bundle which includes the Good Morning Magnolia stamp set and Magnolia Memories Dies. Before watching the video, when looking at the hot air ballon punch all I saw was a hot air balloon but now I see petals! Don’t you love it when you can use a product in a way you hadn’t thought of?
Below the video you’ll find a list of the supplies used. Enjoy!
Supply List
If you need any stamping supplies, I’d love to be your demonstrator! You can place an order by clicking any of the images below to go to the homepage of my Stampin’ Up! online store. If you have questions about products you’re considering purchasing or ones you’ve already purchased, I’m just an email away (click the Email Me button on the sidebar of my blog).
If you have any questions, please contact me! Have a great day!

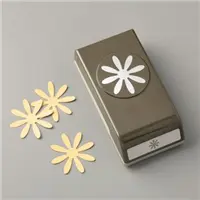
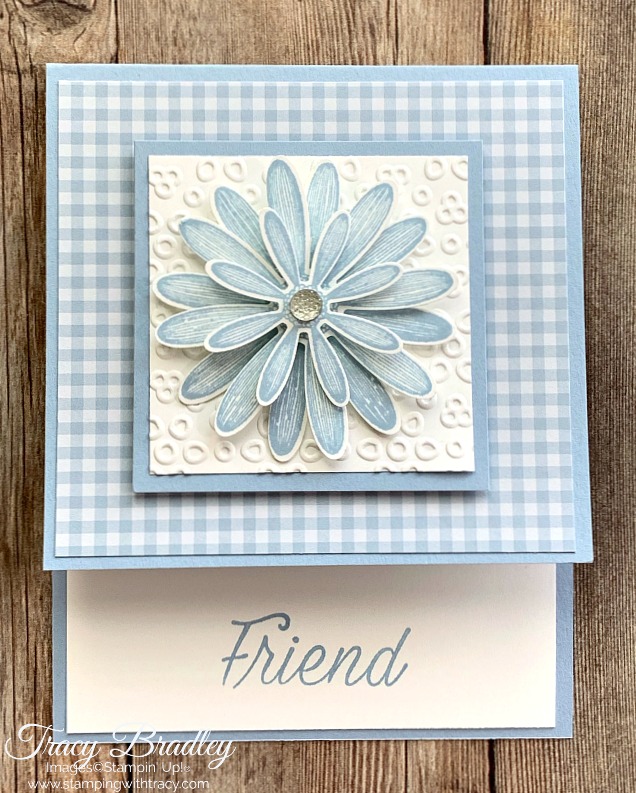
Today’s fun fold card features a brand new punch, a new stamp set and a coordinating punch that carried over into the new Annual Catalog. We now have two daisy punches! The brand new one is the Medium Daisy Punch and the Daisy Punch carried over from last year.
For the base of the card I used a brand new In Color, Seaside Spray, a new embossing folder called Eyelet Lace, new 6″ x 6″ In Color 2019-2012 Designer Series Paper and the new stamp set, Daisy Lane It’s so fun playing with new products!
Directions to Make Today’s Card

Bundle Alert


Supply List
If you need any stamping supplies, I’d love to be your demonstrator! You can place an order by clicking any of the images below to go to the homepage of my Stampin’ Up! online store. If you have questions about products you’re considering purchasing or ones you’ve already purchased, I’m just an email away (click the Email Me button on the sidebar of my blog).
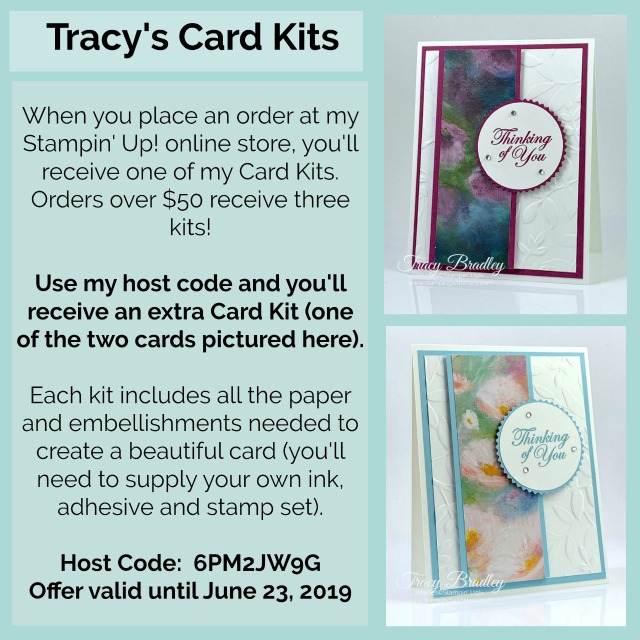
There are just a few more days left to get an EXTRA card kit when you place an order at my Stampin’ Up! online store! Click here to place an order!

Thanks for stopping by! If you have any questions, please let me know!
Have a great weekend!

Yesterday I shared a card using Garden Lane Designer Series Paper and today I have another card using this paper. If you missed yesterday’s card, you can see it here.
I actually made this card, minus the sentiment, before I created yesterday’s card. I went back and forth trying to decide how to do the sentiment, couldn’t make up my mind and it eventually sat unfinished on my craft table. I did finally go back to it and I made several versions that I’m sharing with you today.
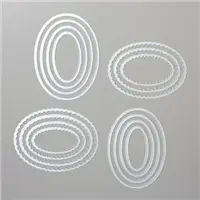
The first card at the beginning of today’s post has the sentiment on a Mossy Meadow oval.
This one has the sentiment on a Pool Party oval.

This one doesn’t have a layer for the sentiment to sit on at all.

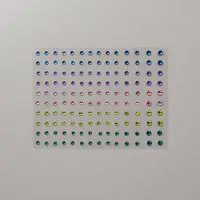
This final one has a little bling on it using our new Noble Peacock Rhinestones, which are gorgeous in person!

So what do you think? Which one do you prefer? I’m leaning towards one but I’d love to know which one is your favorite!
All of the supplies I used for all four cards can be found in the supply list below.
Supply List
If you need any stamping supplies, I’d love to be your demonstrator! You can place an order by clicking any of the images below to go to the homepage of my Stampin’ Up! online store. If you have questions about products you’re considering purchasing or ones you’ve already purchased, I’m just an email away (click the Email Me button on the sidebar of my blog).
Thanks for stopping by! If you have any questions, please let me know!
Click here to place an order.