Stampin’ Up! Abstract Impressions

Yesterday was the Glitter Queens Blog Hop where our theme was red, white and blue. I thought I’d continue using these beautiful colors one more day! If you missed the hop yesterday, you can start here! (more…)


Yesterday was the Glitter Queens Blog Hop where our theme was red, white and blue. I thought I’d continue using these beautiful colors one more day! If you missed the hop yesterday, you can start here! (more…)
Stampin’ Up! catalogs are filled with cardmaking ideas! The inspiration for today’s card came right from the catalog on page 131.
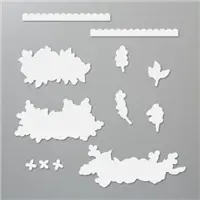
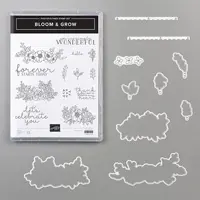
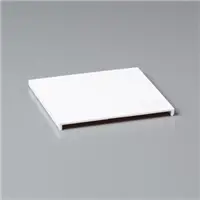
I used the Bloom & Grow Bundle which includes the Bloom & Grow stamp set and the Budding Blooms dies. Did you happen to notice the scalloped edge above & below the sentiment? That was done using the two top dies in the picture below. I love that I can do both edges at the same time!


Directions for Today’s Card
All the products I used are in the Supply List below. Simply click any of the images and you’ll be directed to my Stampin’ Up! online store.


Supply List
If you need any stamping supplies, I’d love to be your demonstrator! You can place an order by clicking any of the images below to go to the homepage of my Stampin’ Up! online store. If you have questions about products you’re considering purchasing or ones you’ve already purchased, I’m just an email away (click the Email Me button on the sidebar of my blog).
Thanks for stopping by! If you have any questions, please let me know!
Click here to place an order!


Hello there!
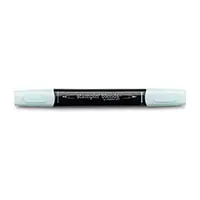
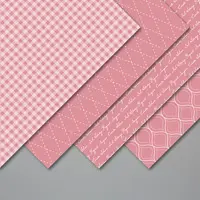
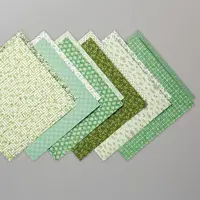
Today’s card is all about the new 2019-2021 In Color, Seaside Spray. When you purchase a package of the 2019-2021 In Color 6″ x 6″ Designer Series Paper, you’ll receive all five colors (Seaside Spray, Rococo Rose, Pretty Peacock, Purple Posy and Terracotta Tile) in four different designs.
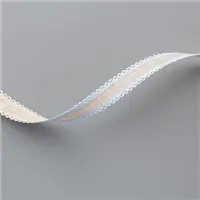
All of the new In Colors have a coordinating ribbon and I used the Seaside Spray Scalloped Linen Ribbon. It’s so pretty in person! Another new product I used is the stamp set, I Say Hello.

After I made the card I wondered what it might look like if I had incorporated Crumb Cake into the card (taking the cue from the ribbon) and used it as the base instead of Whisper White. That’s another variation to try!


Directions to Make Today’s Card
All the products I used are in the Supply List below. Simply click any of the images and you’ll be directed to my online store.

Supply List
If you need any stamping supplies, I’d love to be your demonstrator! You can place an order by clicking any of the images below to go to the homepage of my Stampin’ Up! online store. If you have questions about products you’re considering purchasing or ones you’ve already purchased, I’m just an email away (click the Email Me button on the sidebar of my blog).
Thanks for stopping by today! If you have any questions, don’t hesitate to contact me!

There are still many stamp sets on sale in the Clearance Rack. There are also many dies available. Click here to go right to the Clearance Rack.


Today’s card uses five new products (and one new bundle) from the Stampin’ Up! Annual Catalog:
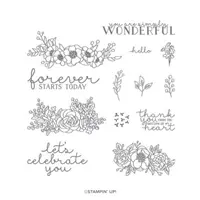
First up is the stamp set, Bloom & Grow. If you love flowers, you’re going to love this set (plus it includes some great sentiments)! All of the images are perfect for coloring and then you can cut them out using the coordinating Budding Bloom Dies. These two products are also bundled together so if you want to purchase both, be sure to use the bundle item number so you’ll save 10%!
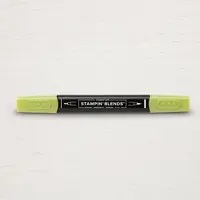
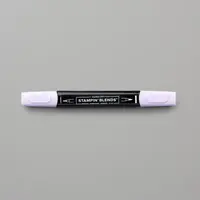
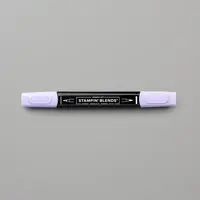
To color the flowers, I stamped the flower image onto Whisper White cardstock using Memento Ink. Then I used both the Light & Dark Purple Posy AND Light & Dark Granny Apple Green Stampin’ Blends to color the flowers and leaves. You always want to use Memento Ink when using our Stampin’ Blends or you’ll find the ink will bleed.
Once I cut the image out with the Budding Blooms Dies, I added Stampin’ Dimensionals to the back and attached it to the front of the card.

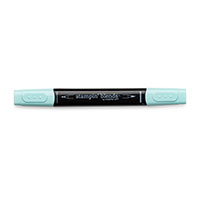
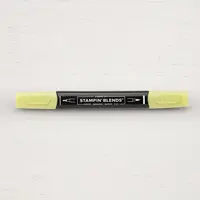
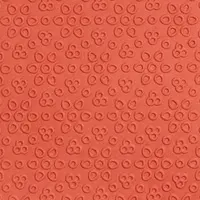
Each year Stampin’ Up! introduces five new colors that are available for two years. I used one of these new colors, Purple Posy on my card today! Sometimes when photographing my cards, some of the colors appear darker than they actually are. The color swatch below of Purple Posy is a better indication of the true color.
Directions for Today’s Card
Supply List
If you need any stamping supplies, I’d love to be your demonstrator! You can place an order by clicking any of the images below to go to the homepage of my Stampin’ Up! online store. If you have questions about products you’re considering purchasing or ones you’ve already purchased, I’m just an email away (click the Email Me button on the sidebar of my blog).
Click here to go to the Clearance Rack!

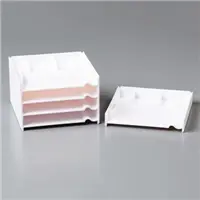
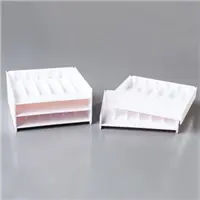
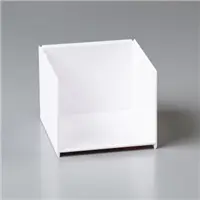
Click here to order Storage by Stampin’ Up!
Happy Monday!
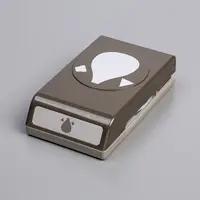
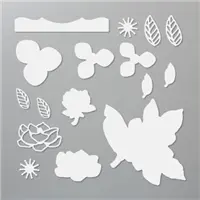
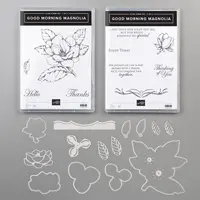
Today I want to share a video from Stampin’ Up! showing how to make beautiful paper flowers using the brand new Hot Air Balloon Punch and the Good Morning Magnolia Bundle which includes the Good Morning Magnolia stamp set and Magnolia Memories Dies. Before watching the video, when looking at the hot air ballon punch all I saw was a hot air balloon but now I see petals! Don’t you love it when you can use a product in a way you hadn’t thought of?
Below the video you’ll find a list of the supplies used. Enjoy!
Supply List
If you need any stamping supplies, I’d love to be your demonstrator! You can place an order by clicking any of the images below to go to the homepage of my Stampin’ Up! online store. If you have questions about products you’re considering purchasing or ones you’ve already purchased, I’m just an email away (click the Email Me button on the sidebar of my blog).
If you have any questions, please contact me! Have a great day!

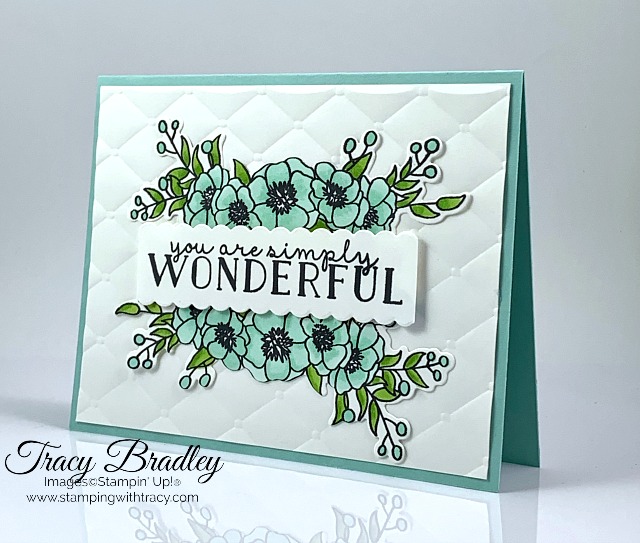
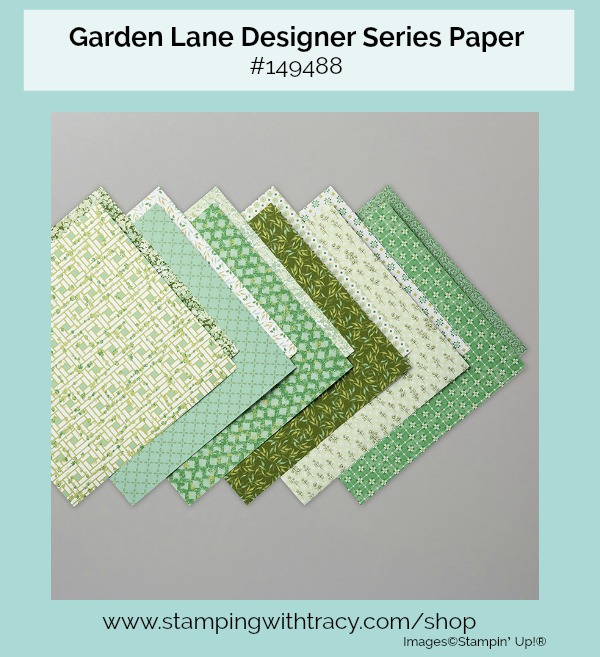
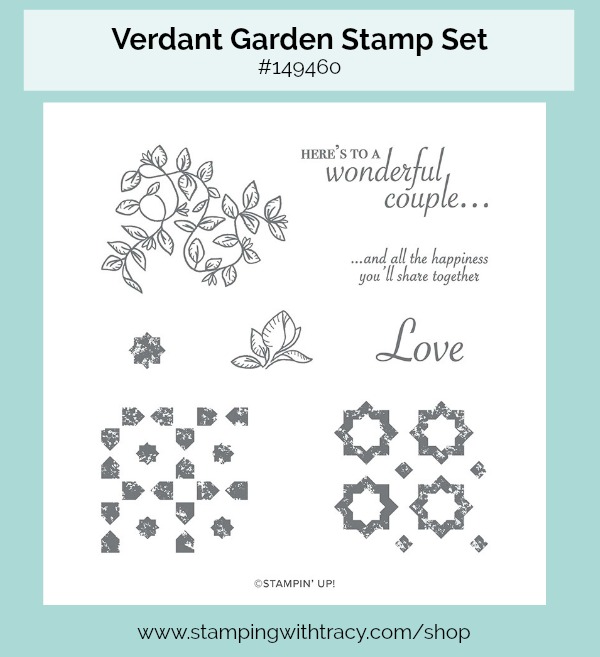
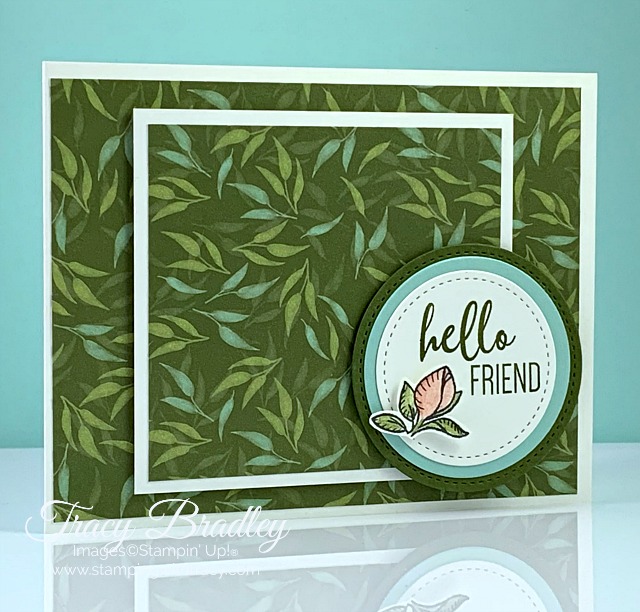
Today’s card was created using Garden Lane Designer Series Paper. It’s part of the Garden Lane Suite which also includes the stamp set Verdant Garden which I also used on my card today.
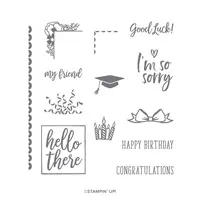
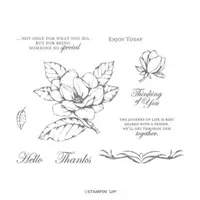
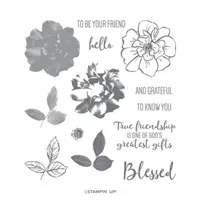
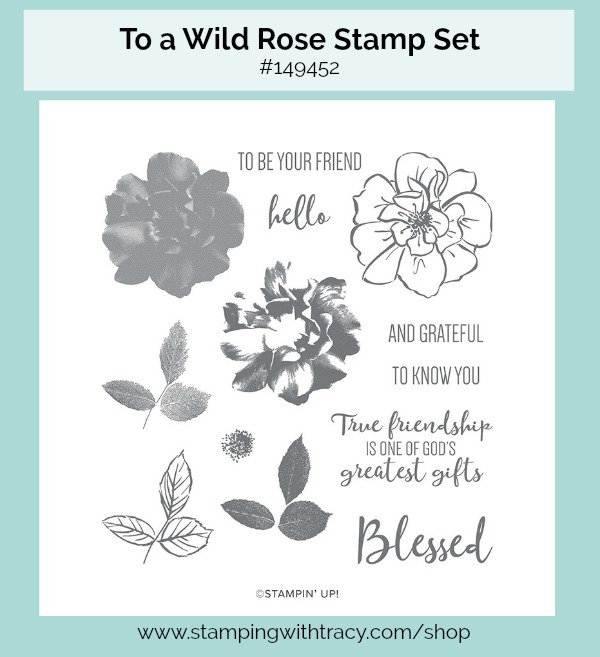
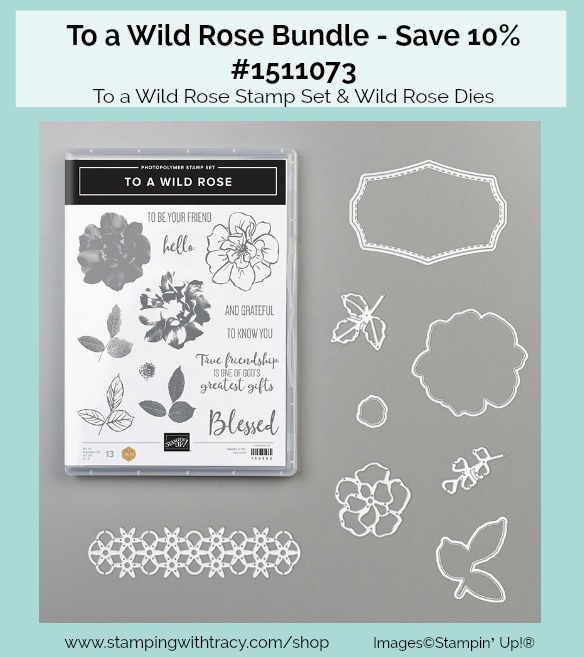
I don’t normally use more than one stamp set but for this card I did. The sentiment is from the stamp set, To a Wild Rose, shown below. Look carefully and you might notice something that will make you shudder. I cut the stamp, “To Be Your Friend”. I realized that I would get more out of the stamp set if “friend” was by itself, so I took my Paper Snips and cut it! It IS a little scary but oh so worth it if you’ll use a particular stamp more often.
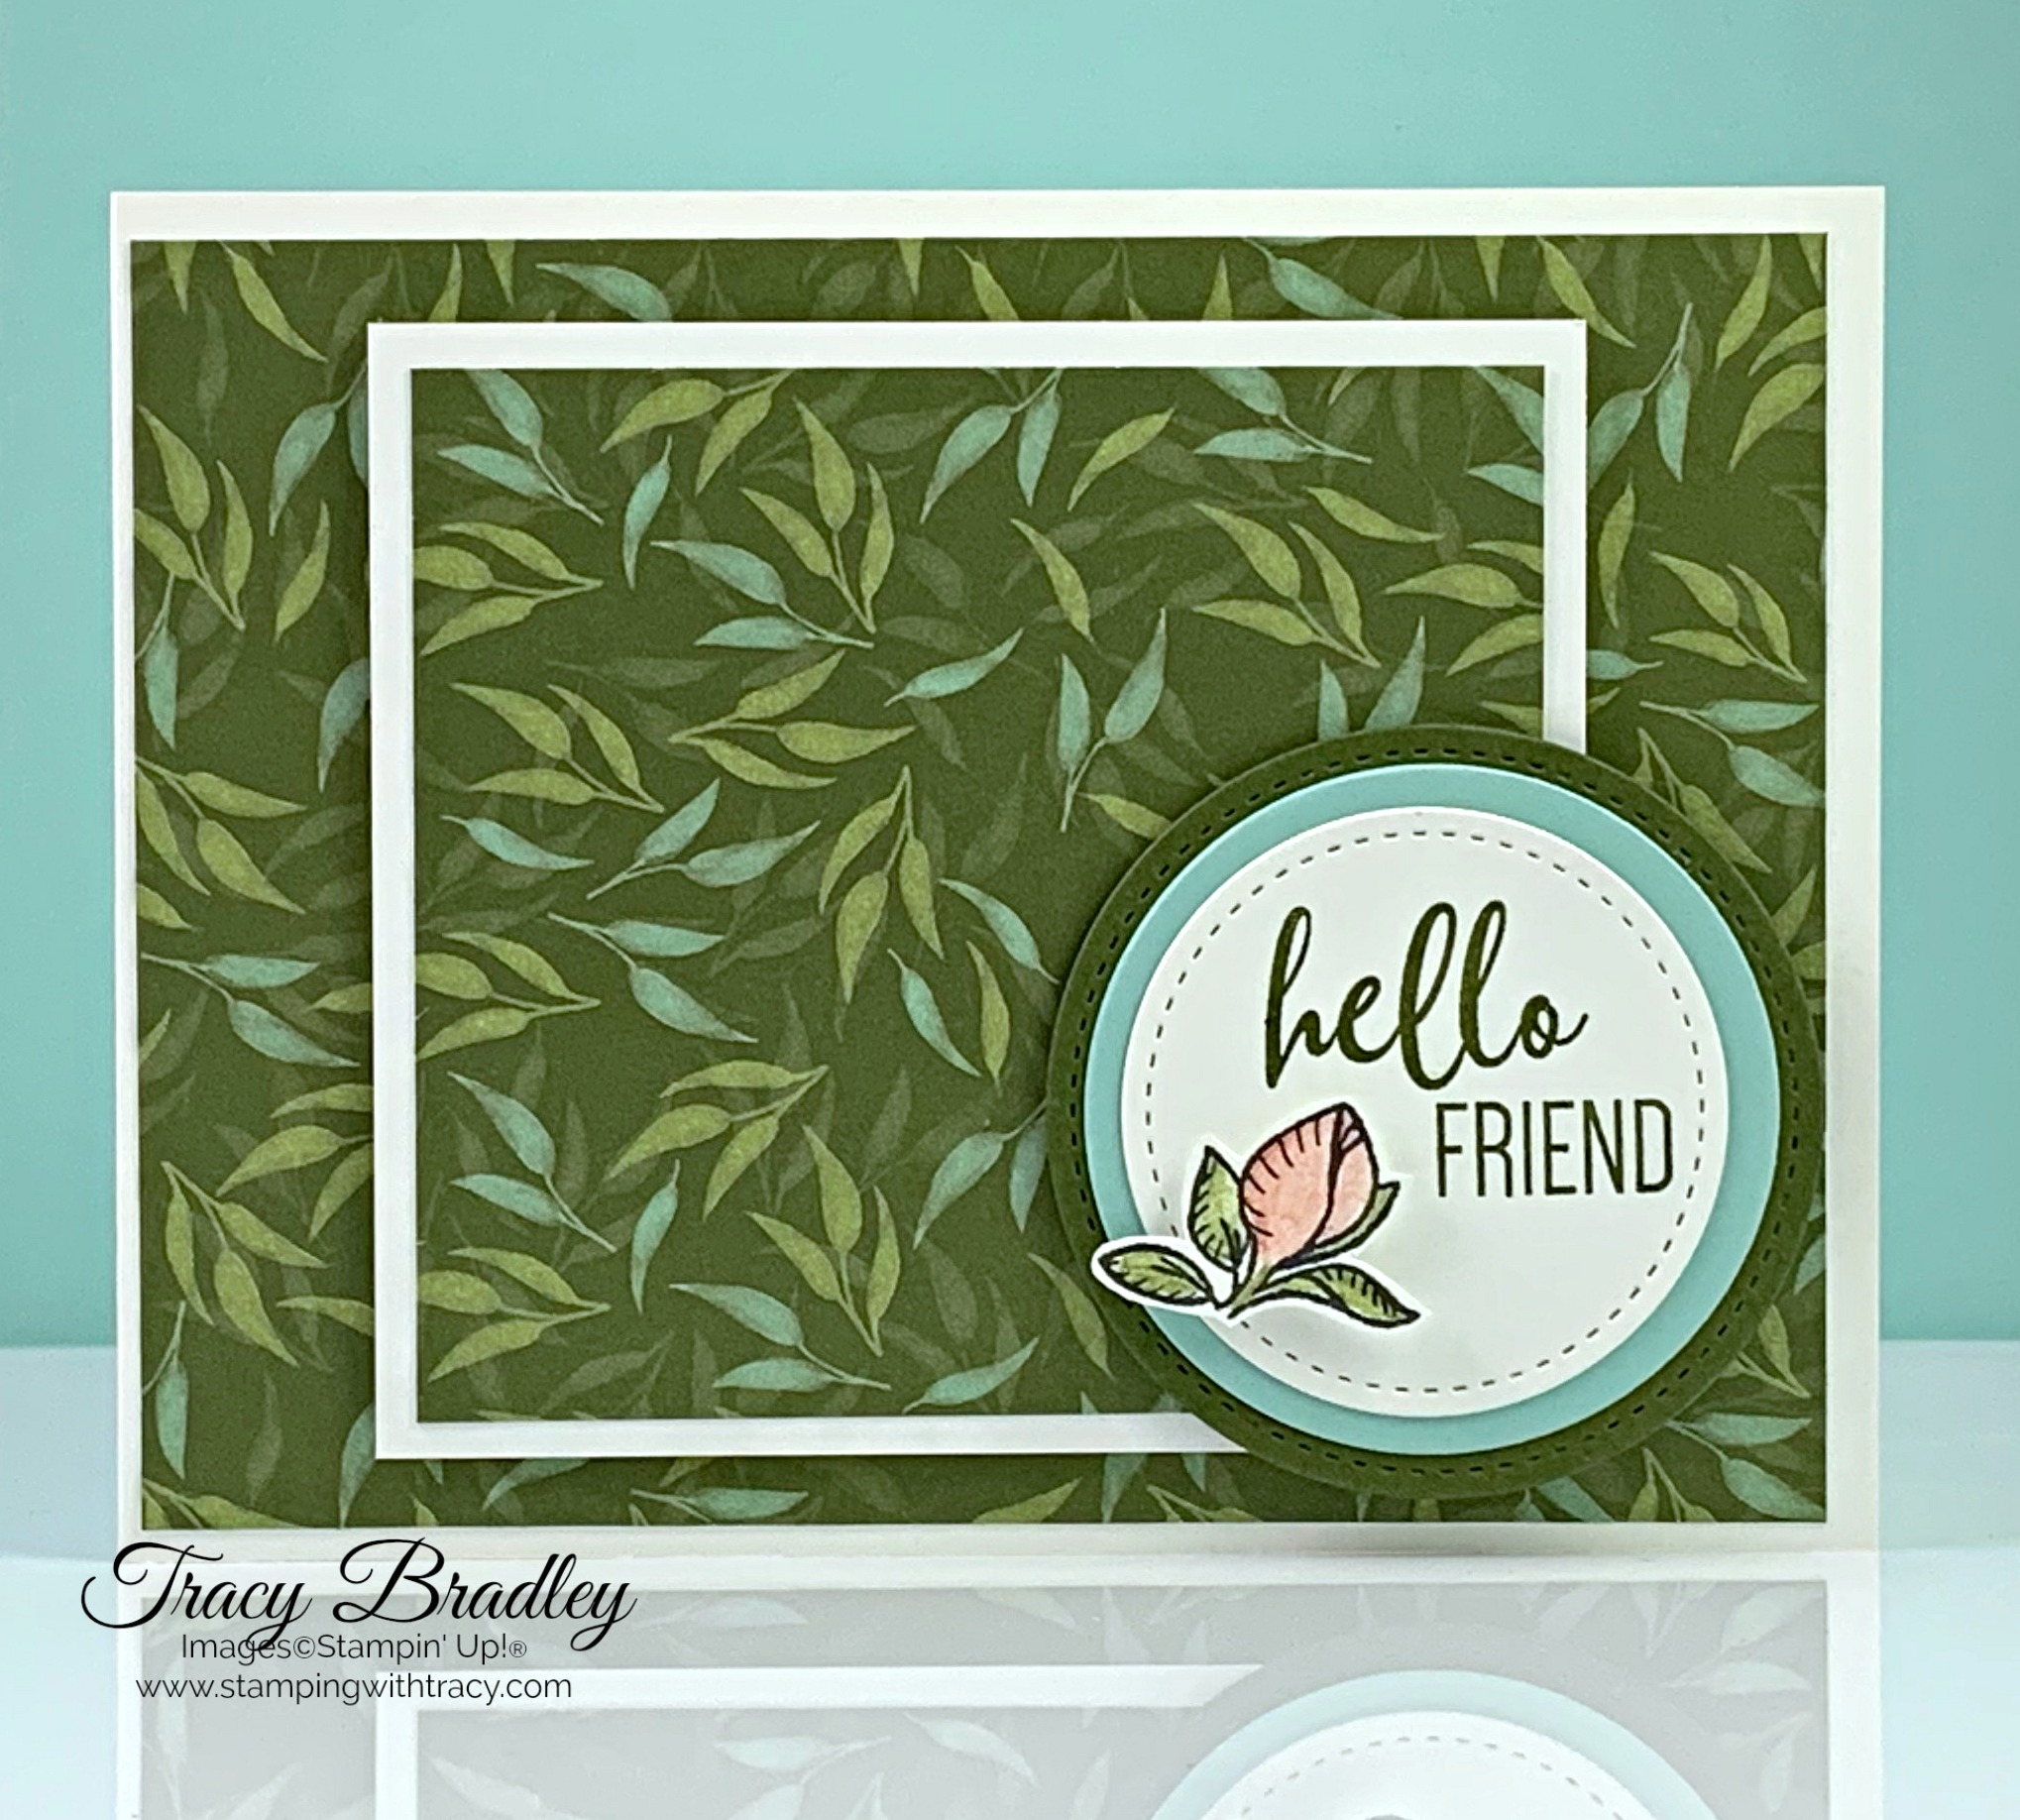
I used the stamp set Verdant Garden for the pretty little rose. I thought it would make a nice little touch especially with the pop of color. I used Watercolor Pencils to color it in and then smoothed it out with the Blender Pen. Sometimes when you color with pencils, you can see streaks of color and a Blender Pen completely solves that problem! I hand cut the rose which was pretty easy to do.
Directions to Create Today’s Card
Bundle Alert
Supply List
If you need any stamping supplies, I’d love to be your demonstrator! You can place an order by clicking any of the images below to go to the homepage of my Stampin’ Up! online store. If you have questions about products you’re considering purchasing or ones you’ve already purchased, I’m just an email away (click the Email Me button on the sidebar of my blog).
Thanks for stopping by! If you have any questions, don’t hesitate to ask!


![]()